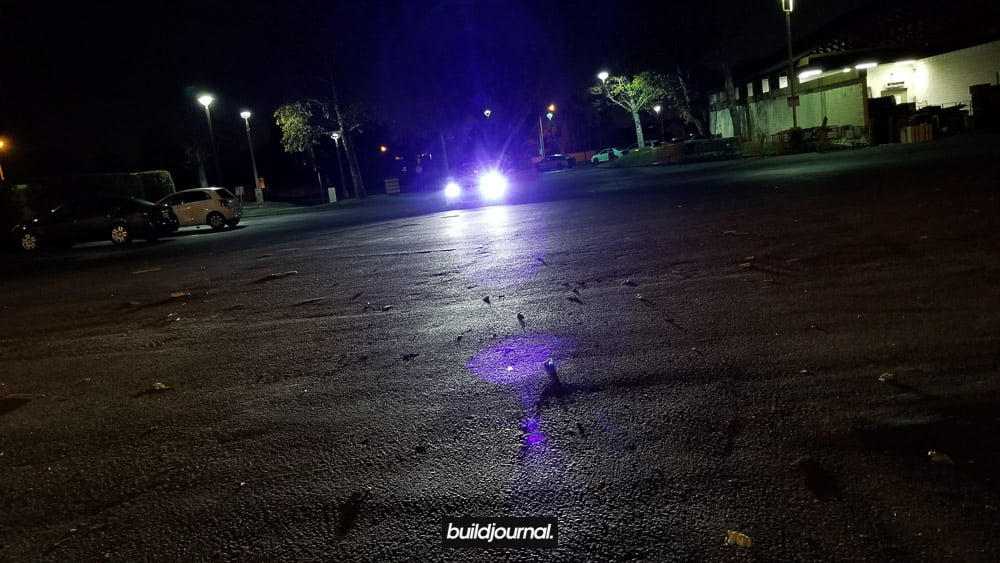
The stock E46 (including M3) headlight output can be improved drastically by doing a HID projector retrofit. Why is it important? Because you’ll have better visibility at night making it much easier to spot potential danger ahead of time. It really enhances your night driving experience. And as an added bonus, it also gives your car that exotic look that modern day luxury cars have. Project retrofits aren’t really common because of the extensive customization required to “hack” a headlight assembly, but things have changed recently.
A few years back I did a custom Lexus RX300 projector retrofit which required a lot of dremeling, JB Weld’ing and such but nowadays things are a lot easier with the help of retrofit brackets from Lightwerkz. Brackets. That is the game changer. The install is almost 100% plug and play thanks to the wonderful brackets from Lightwerkz. The following instructions below will guide you through a projector retrofit on a Bosch/AL “E46” headlight assembly using a G5-R projectors.


Do I have Bosch/AL or ZKW headlights?
First thing you need to determine is if you have Bosch/AL headlights because this kit will not work with ZKW. Check out Retrofitlab.com as they do a good job explaining the differences between the two. Below is a list of car models with the different projector manufacturers.
| Model | Manufacturer | Type |
|---|---|---|
| E46 compact (all years) | AL | Halogen H7 |
| E46 compact (all years) | AL | Bi-xenon D2S |
| E46 saloon/wagon/ coupe/convertible Pre-facelift (1998-2001) | AL | Halogen H7 |
| E46 saloon/wagon/ coupe/convertible Pre-facelift (1998-2001) | AL | Single xenon D2S |
| E46 saloon/wagon/ coupe/convertible Pre-facelift (1998-2001) | AL | Bi-xenon D2S |
| E46 saloon/wagon Facelift (2001-2005) | AL | Halogen H7 |
| E46 saloon/wagon Facelift (2001-2005) | ZKW | Halogen H7 |
| E46 saloon/wagon Facelift (2001-2005) | AL | Single xenon D2S |
| E46 saloon/wagon Facelift (2001-2005) | ZKW | Bi-xenon D2S |
| E46 saloon/wagon Facelift (2001-2005) | AL | Bi-xenon D2S |
| E46 coupe Facelift (2003-2006) | AL | Halogen H7 |
| E46 coupe Facelift (2003-2006) | AL | Bi-xenon |
Source: retrofitlab.com
What do I need for the retrofit?
Once you’ve determined you have the Bosch/AL headlights, you can start piecing the things needed for the HID projector retrofit.
- Bosch “E46” Headlight Brackets & G5-R projector – Buy
- Dremel kit
- Security torx bits
- Hex bits
- 3M double side adhesive
- (6) Quick splice wire taps (18-22 gauge)
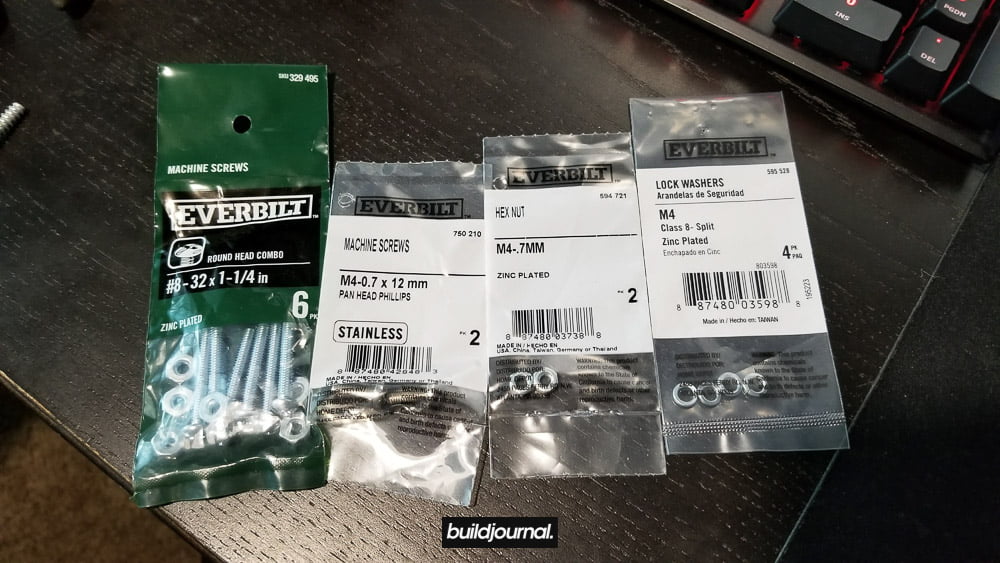
- (6) #8 – 32×1-1/4 in screws + nuts
- (6) #8 washers (I used M4 washers)
- (8) M4-0.7x12mm screws + nuts
- (8) M4 lock washers
- Basic tools
HID retrofit installation
I’m not going to show exactly how to remove the headlight assembly from the car, but you can easily find a guide on removing them. The basic direction is you remove the lower headlight trim, remove the bolts on the headlight/ballast and then unplug 3-4 connectors on each side.
1. Uninstall and remove headlight assembly
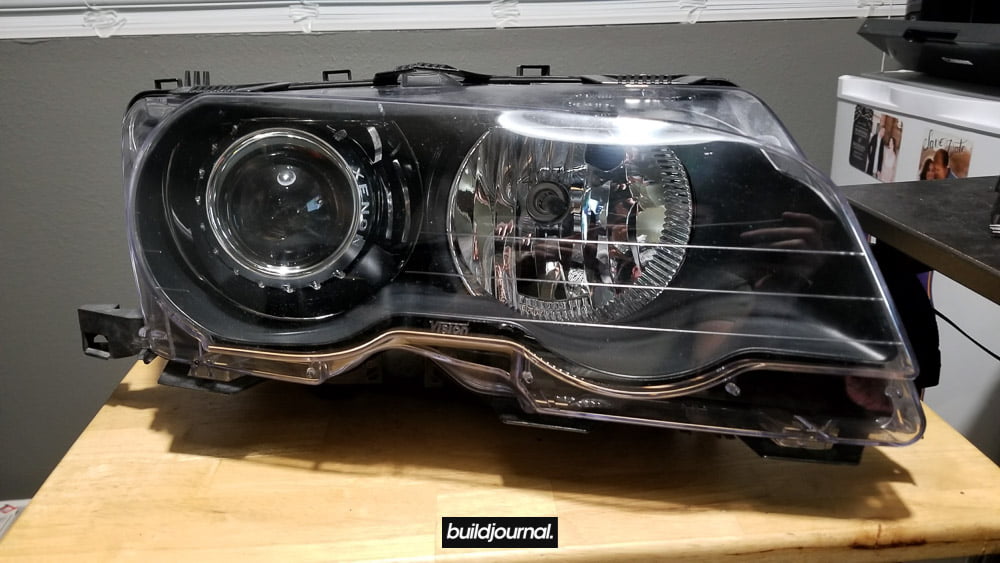
1.1, remove the clear lens by unclipping the tabs around the outer housing. There should be 7 tabs.
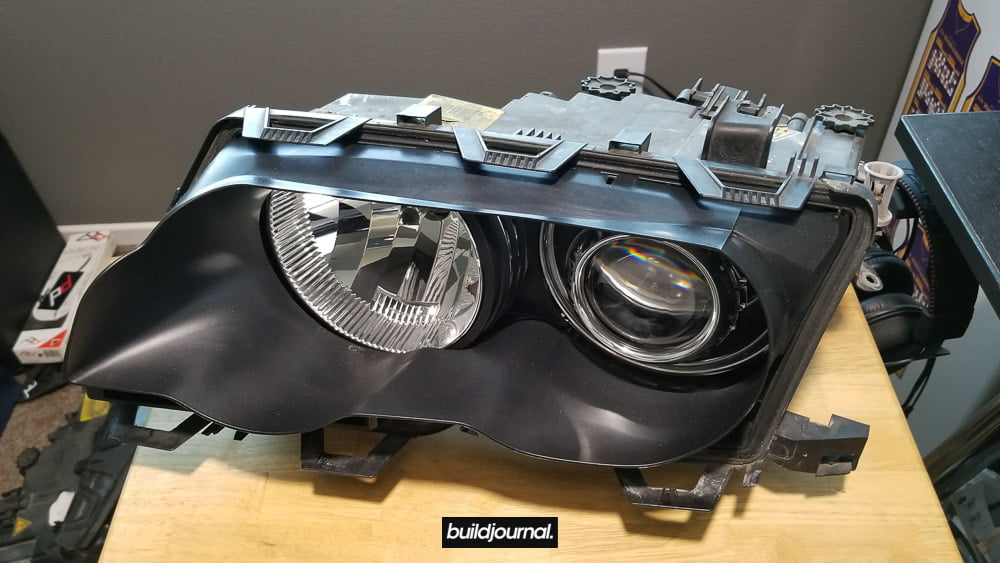
1.2, remove the black housing insert. Start by pulling one corner at a time until all 4 corners are out.

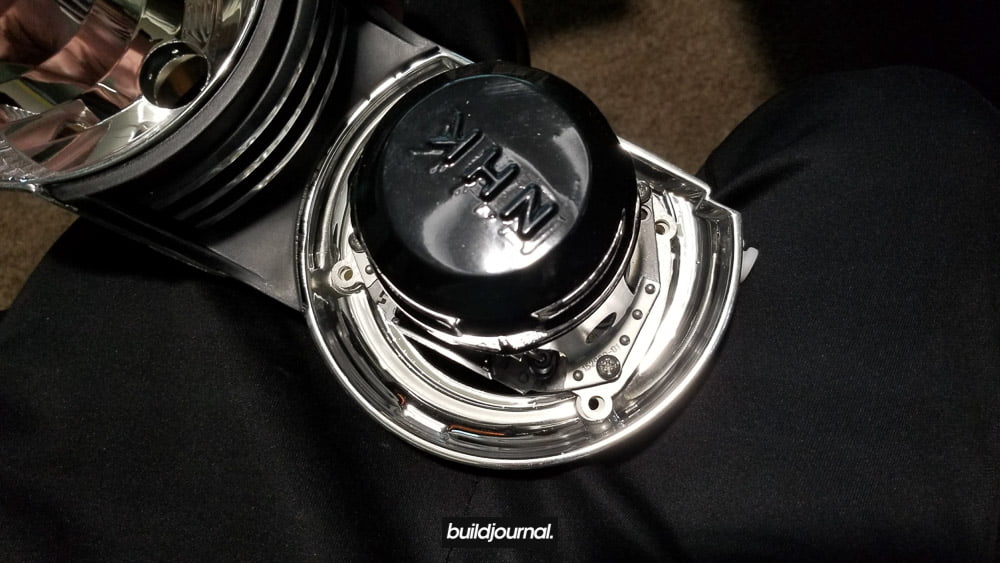
1.3, remove the housing cap and hi-beam bulb, set aside. Disconnect D2S bulb and remove bulb.
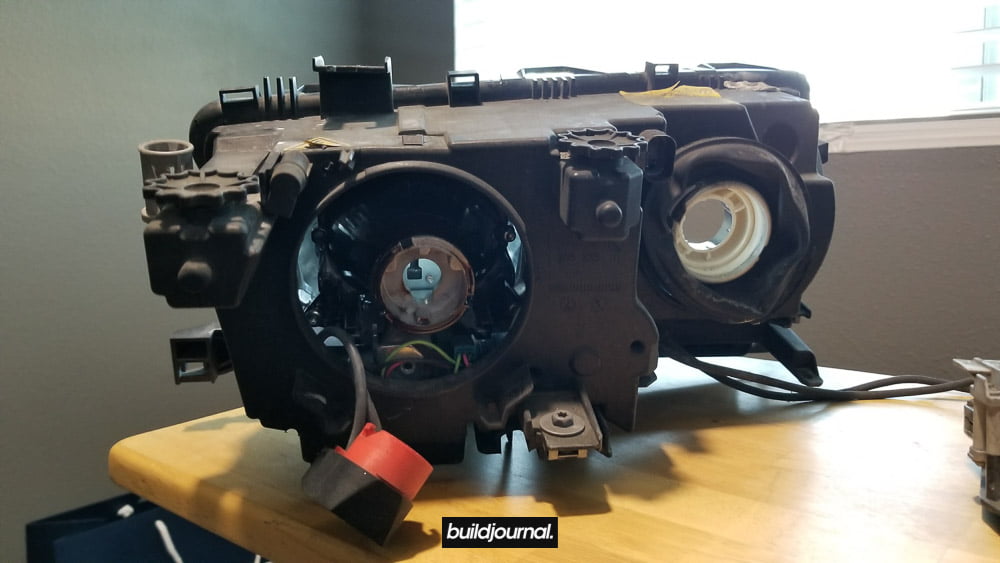
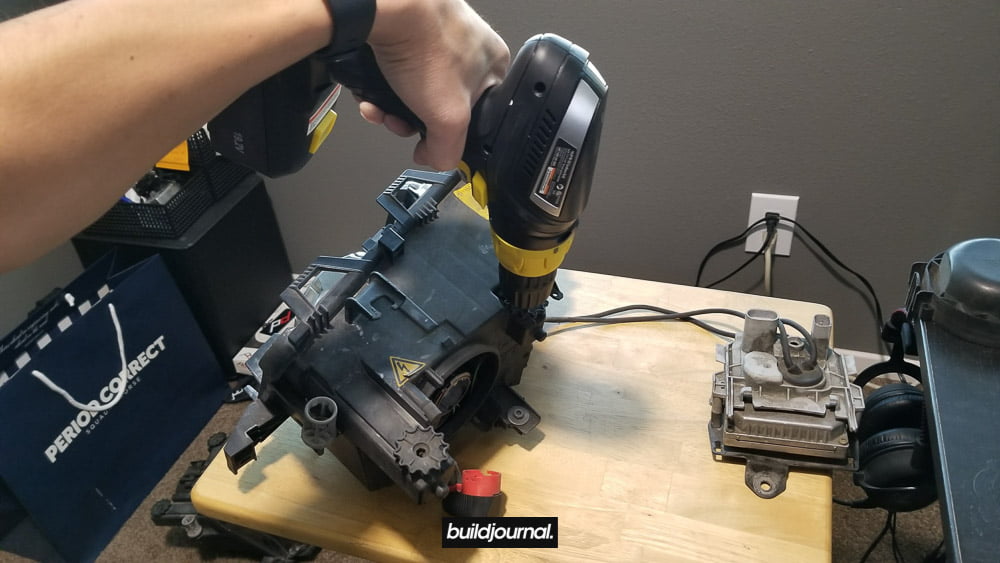
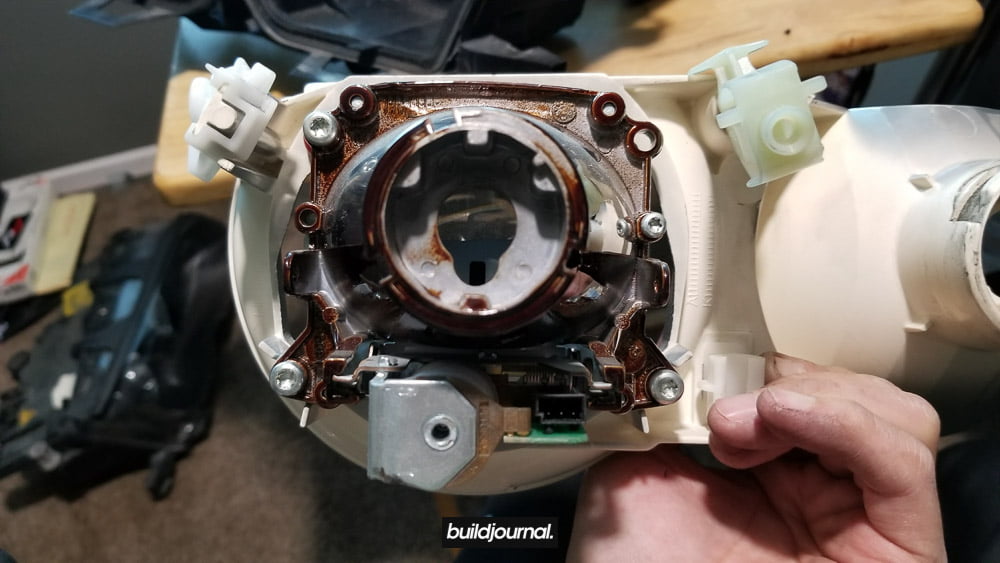
1.4, time to remove the internals. There are 2 dials on the top of the headlight housing used for horizontal and vertical cutoff adjustments. Unscrew both sides evenly until the internal is no longer attached to the adjustment screws. It takes a really long time to do it by hand so I recommend you use a power tool.

1.5, disconnect the bi-xenon plug if you have it.
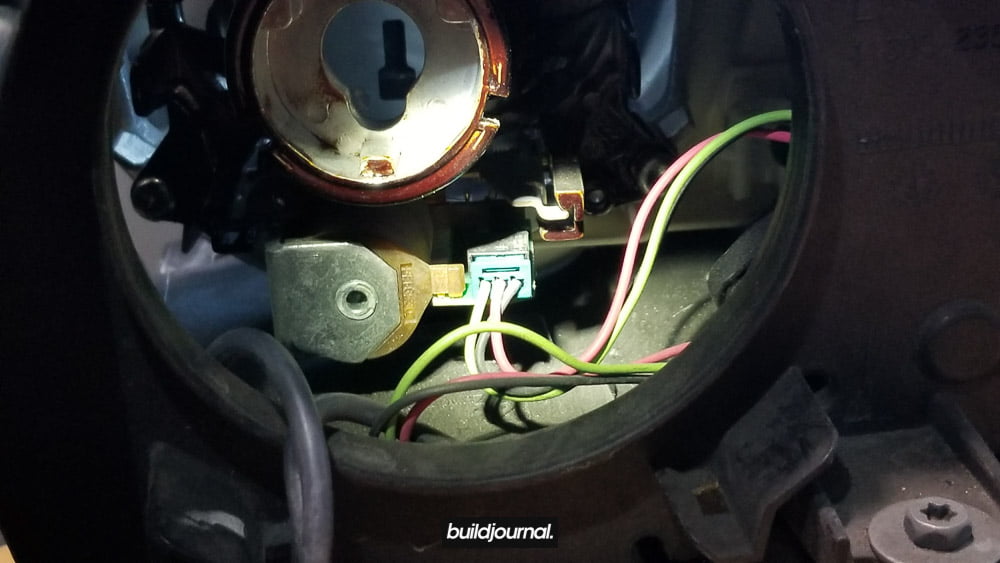
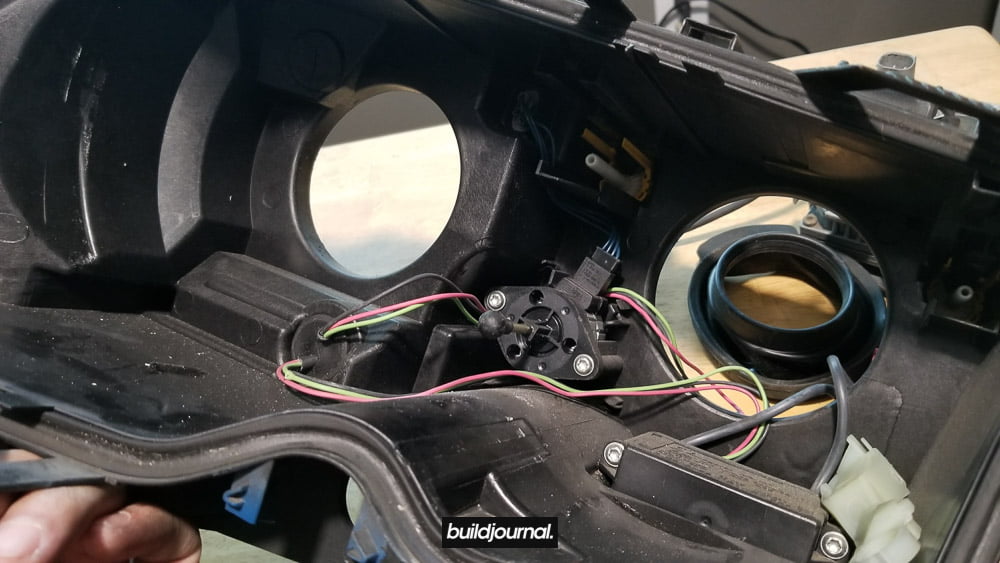
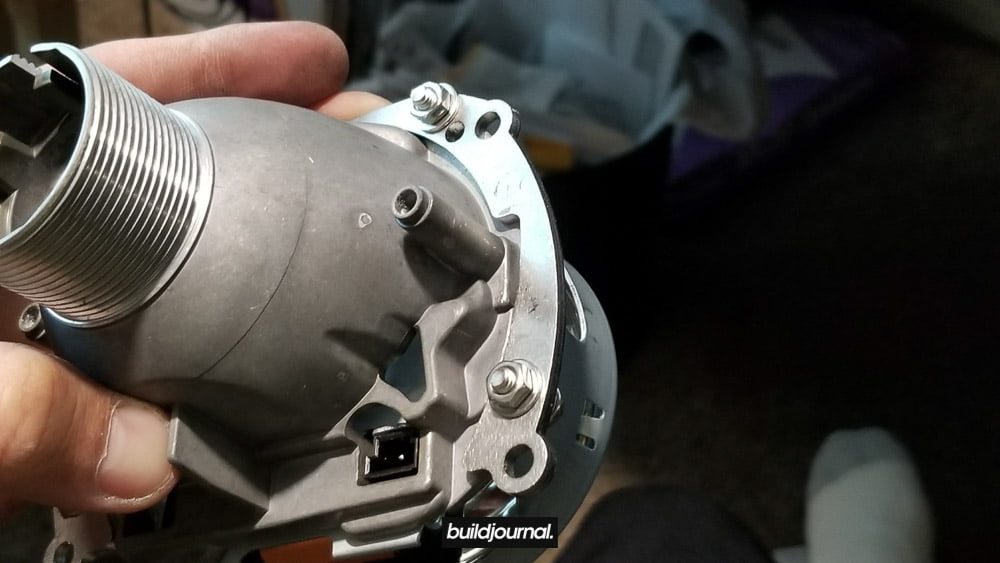
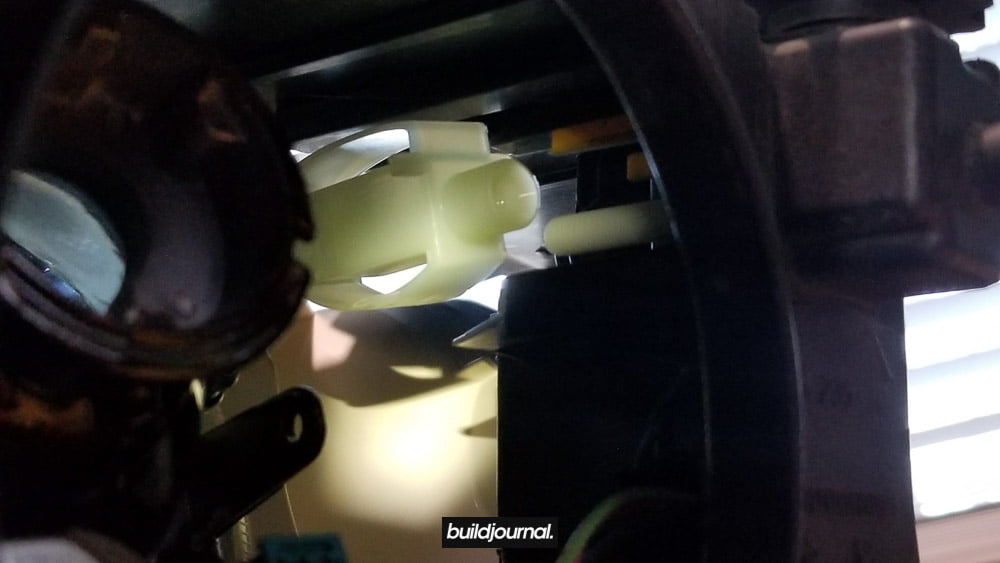
1.6, okay now this is the hardest part. Behind the internal piece, you’ll see a the black ball head leveling motor slotted into the plastic snap tube. In order to remove this, I got the ball head in this position shown below by pulling the top portion of the internal from the other side. Be patient as it will come off, but you’re going to spend a few minutes on this. You can even use a wide flat head to pry apart the plastic snap tube to allow more clearance.
1.7, now the internal piece should come out.
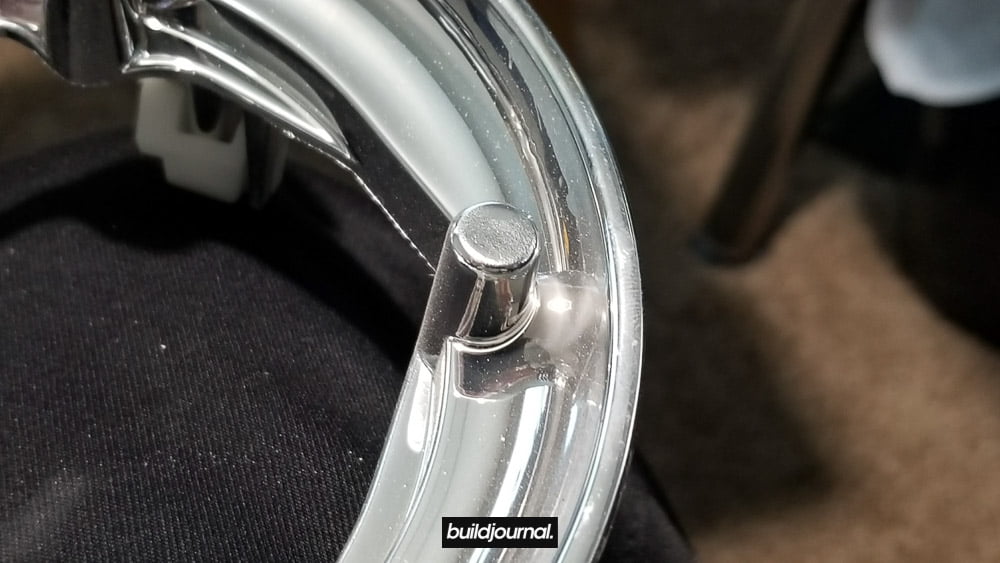
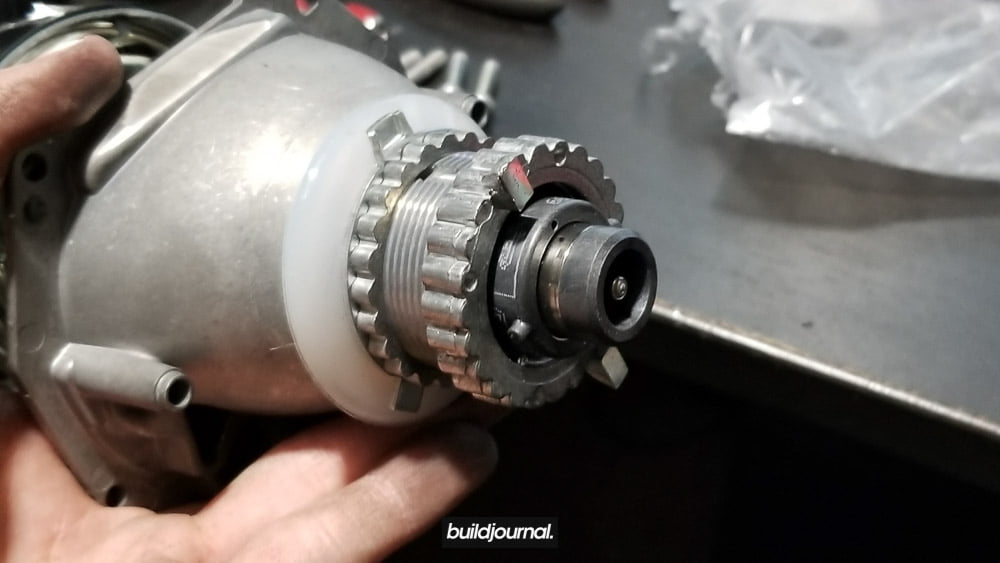
1.8, remove the stock shroud by taking a small flat head and prying the 2 clips on the 3 and 9 o’clock positions accessed from the back of the projector.
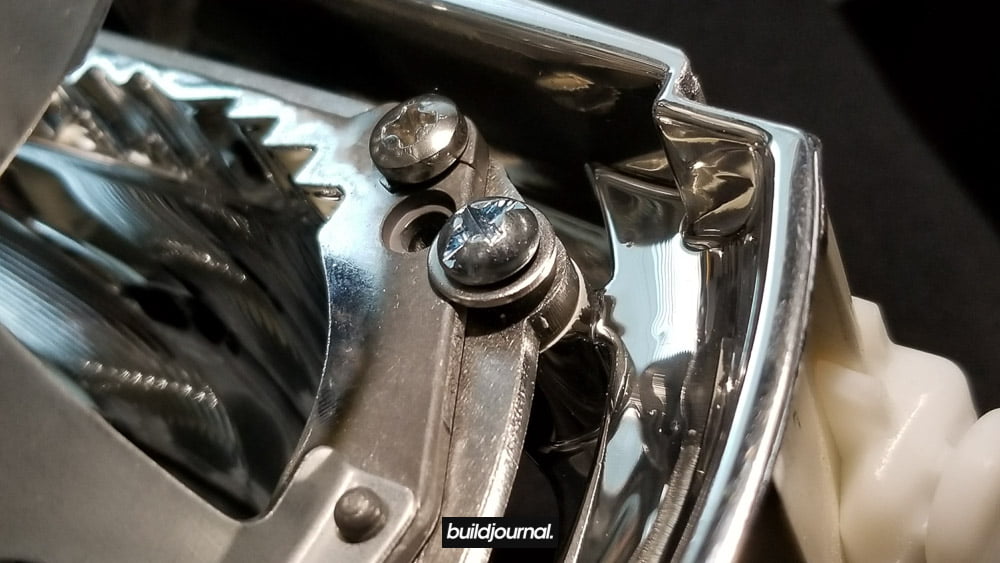
1.9, remove the stock projector from the internal piece by unscrewing the 4 security torx bolts located on the back. There are 2 red plastic inserts that will come loose with the screws.
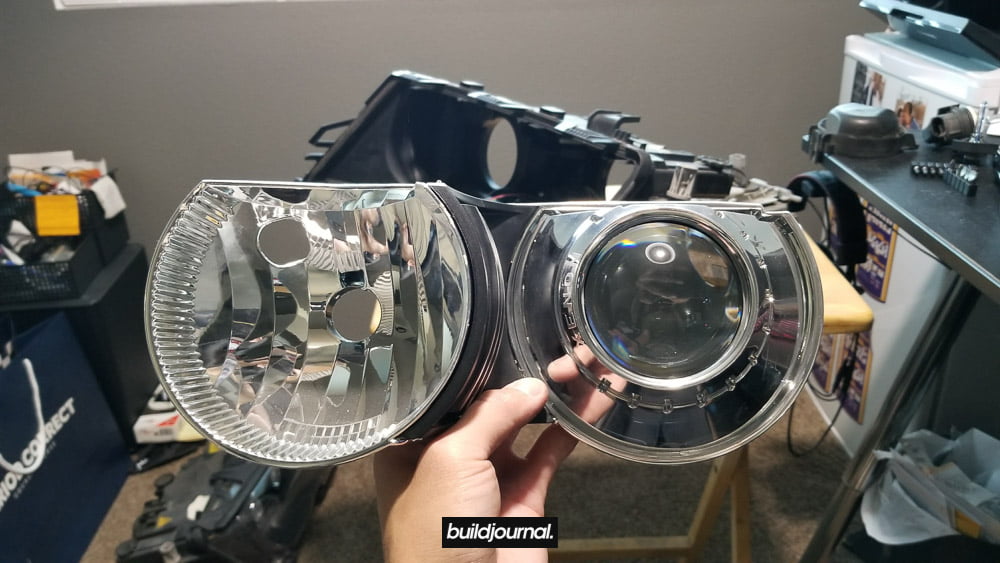
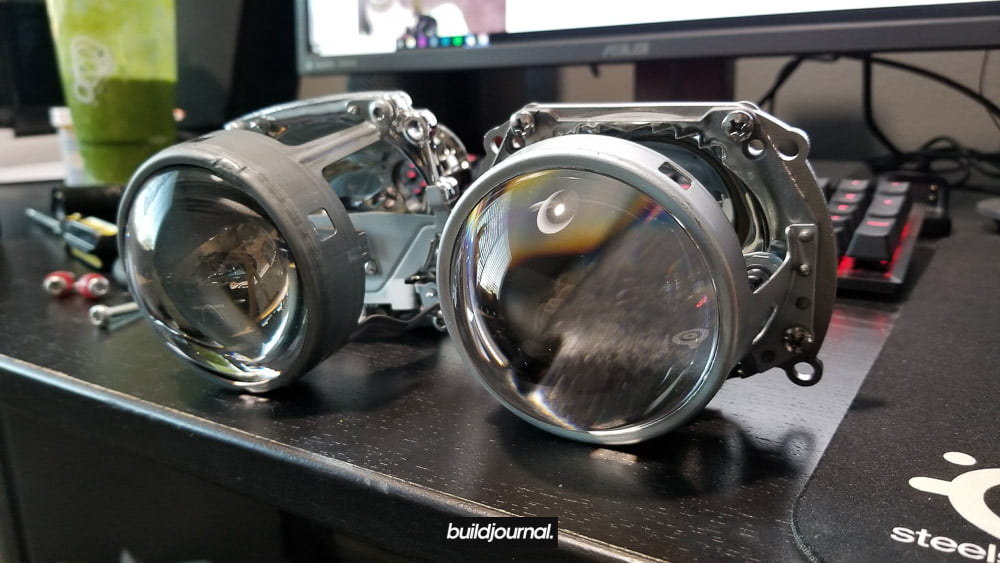
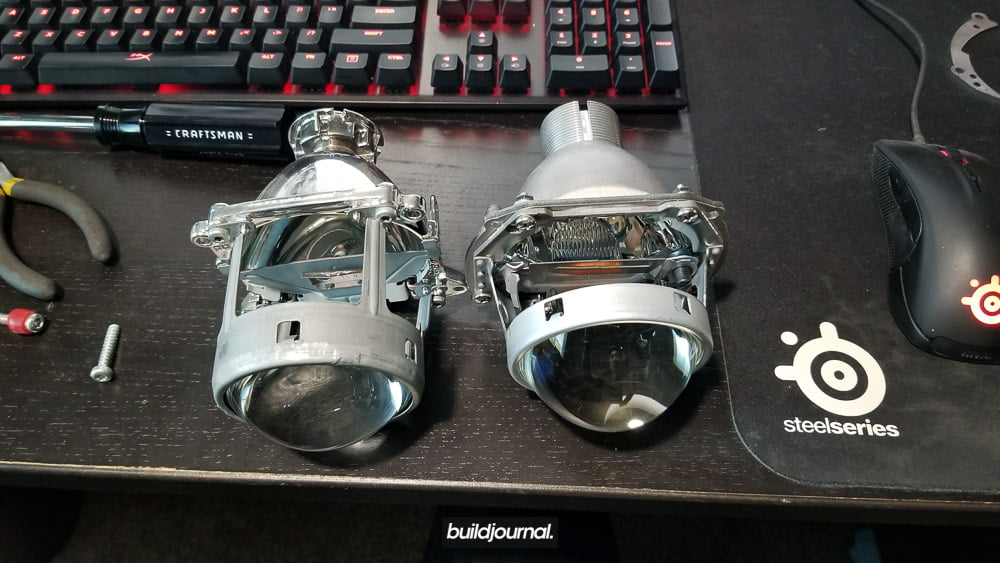
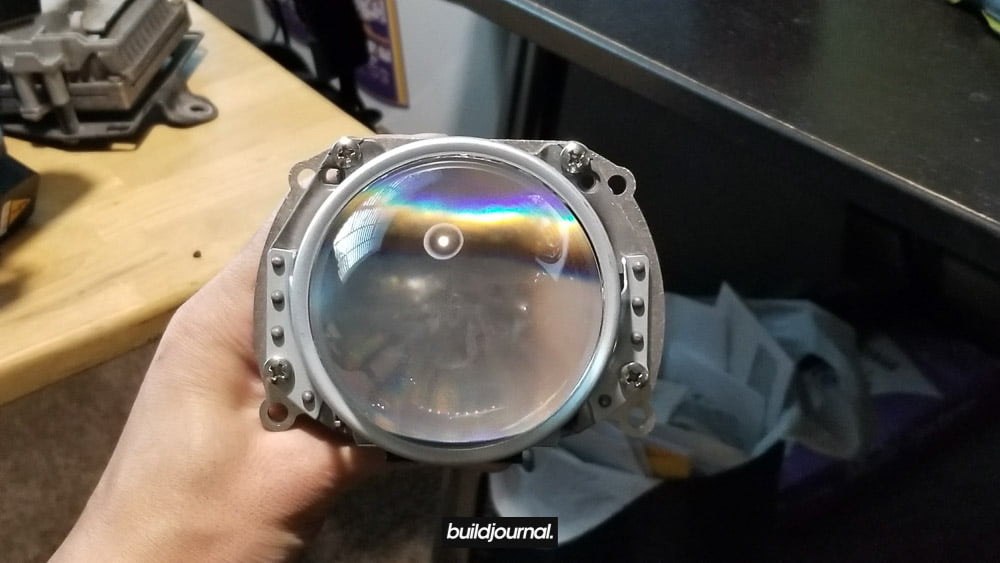
1.10, and now the projector should be out. Here is the side by side comparison with my stock projector with ZKW clear lens. (stock on left)
2. Install new G5-R projector
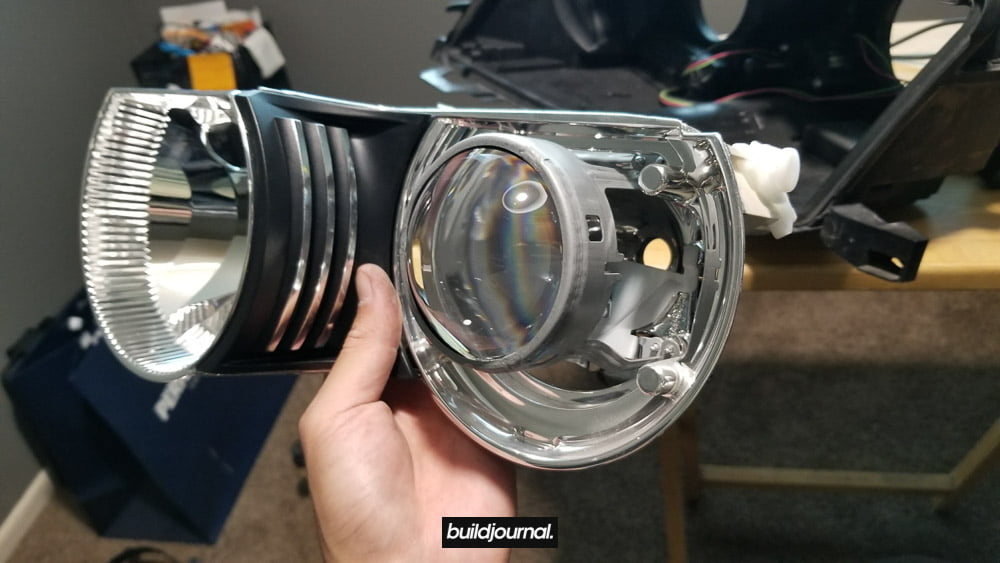
2.1, we’ll need to modify the internal piece to make the new G5-R projector fit and this will require cutting of the 3 tabs on the face of internal piece. Now there is a “cleaner” way to go about cutting and then there is my way, the lazy way. The end result with the “cleaner” method is that the projector/shroud sits a little more flush instead of sticking out a little bit. Lightwerkz calls it the recessed look and I’ve included a video at the bottom. Honestly for me, the subtle difference in gap was not worth the cutting work and risk involved so I just did the easy way.
For my method, I just dremeled the tips just about to the surface of the surround trim piece.
If you want the recessed look, you’ll want to dremel further down than pictured here.
[tg_youtube width=”1920″ height=”1080″ video_id=”jOiENJlHN7A”]
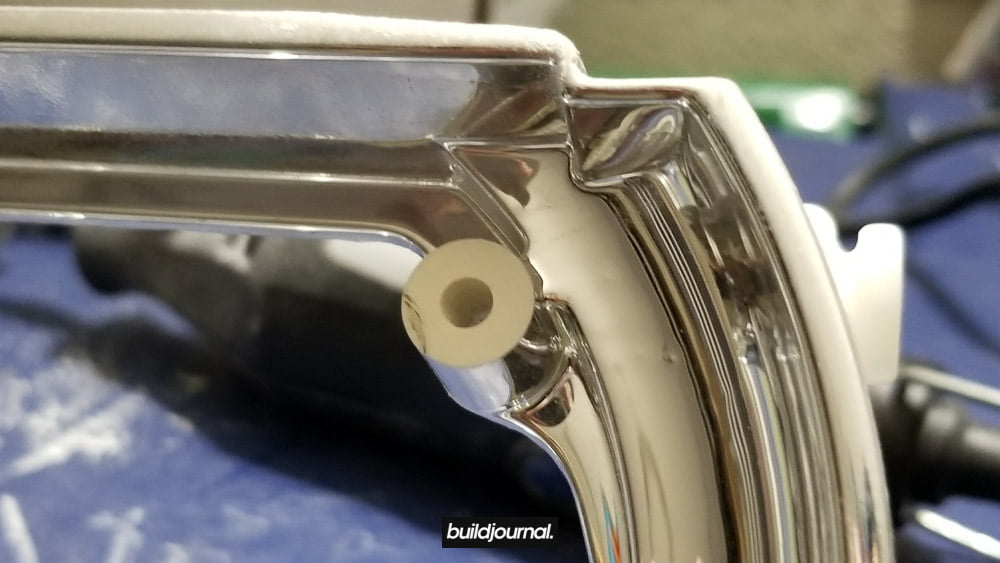
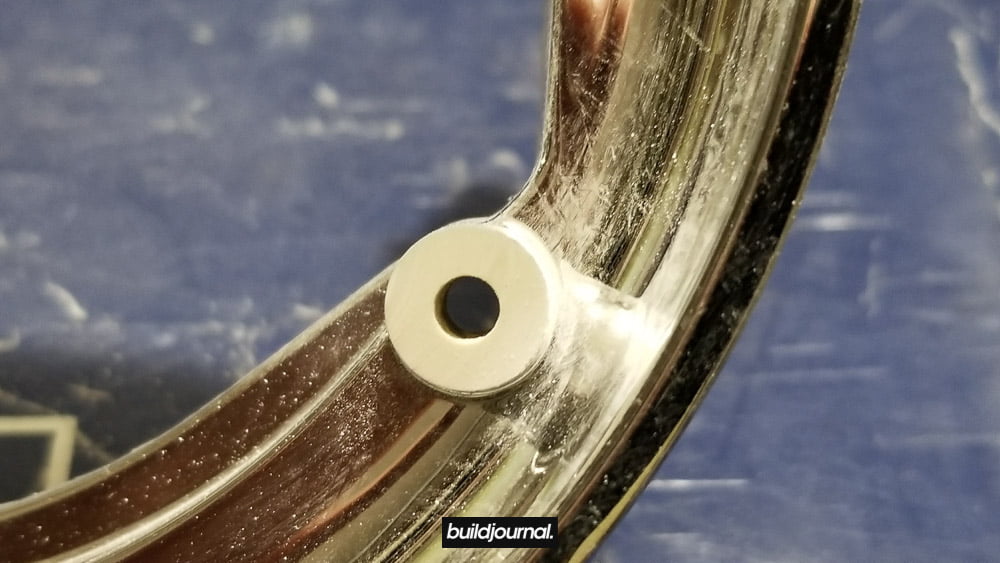
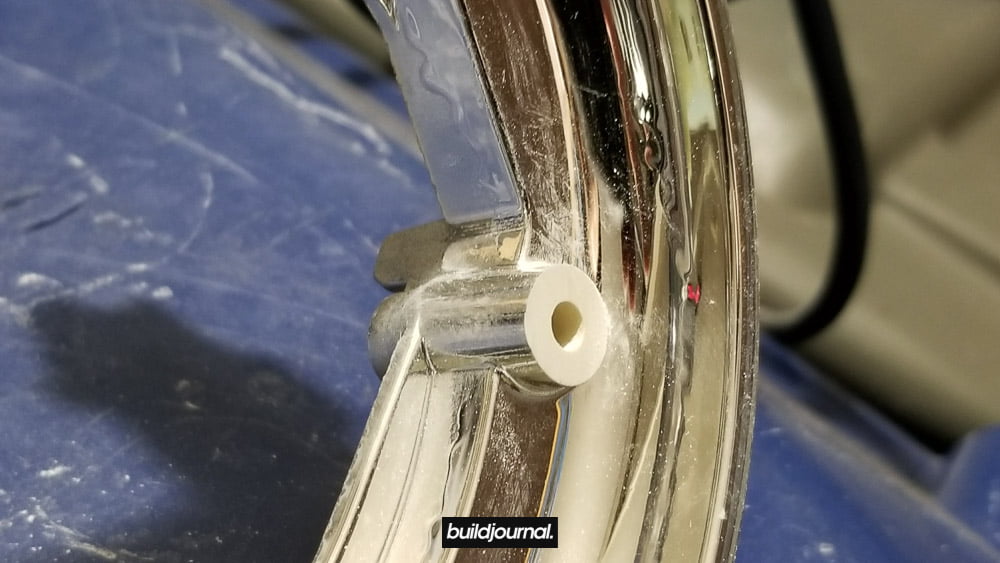
2.2, now it’s time to install the brackets onto the G5-R projector. The Lightwerkz kit doesn’t come with hardware so you’ll have to get your own.
2.3, install the brackets using the smaller M4 screws.
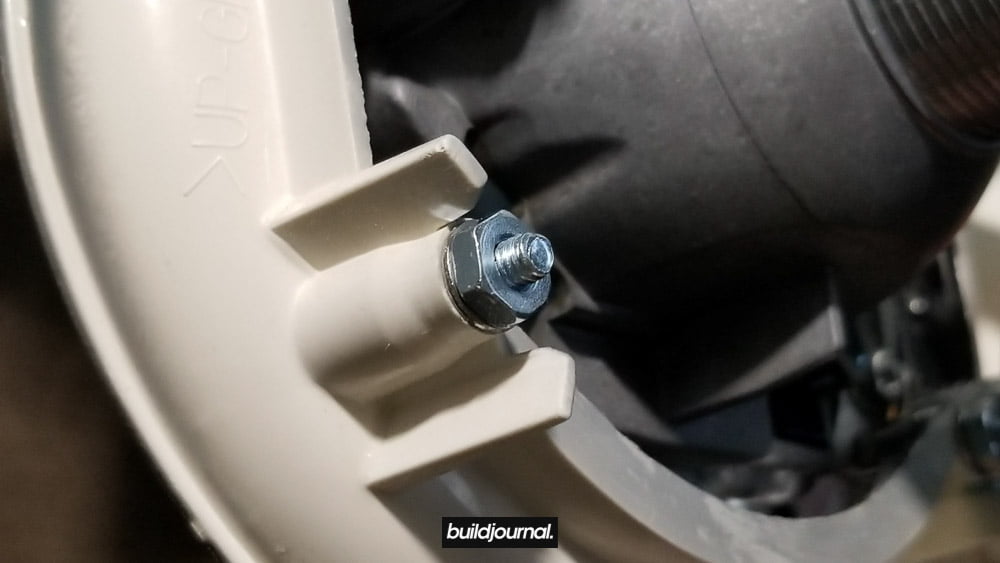
2.4, install project on the internal using the #8 screws and nuts. It is very important that the projector sits nice and straight/level because you can not adjust the horizontal tilt with your adjustment knobs you’ll have a crooked cutoff line if this is not straight. The fit might be tight and you may need to shave/modify the holes to get it to sit level.

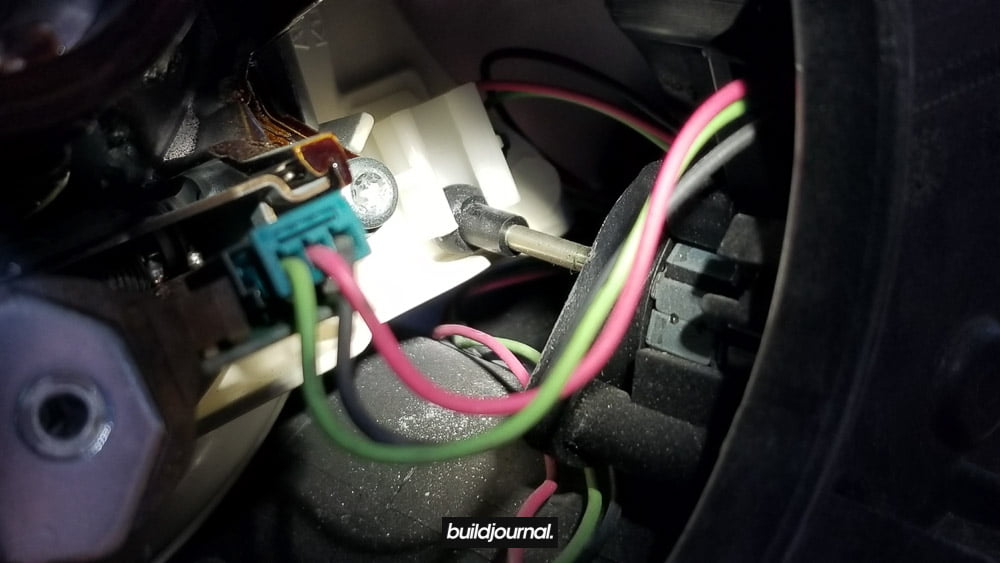
2.5, the G5-R has a 2-prong plug for the bi-xenon, but the OEM plug is a 3-prong. There is a harness supplied and we’ll need to splice the wires together. The directions I got were to splice the OEM green + black then splice it to the new connector. The pink connector splices into the new connector as well. Plug in the bi-xenon plug.

2.6, reverse the steps from uninstalling the internal to get it back in. Make sure the 2 plastic tabs catch in the screw. Important! The plastic tabs, as they go in, have their own slots in the housing. Make sure they go in properly or else your cutoff will be crooked.
2.7, out the shroud back on. For me, I re-used my stock shroud however it’s not going to fit perfectly. Lightwerkz recommends you use JB Weld the shroud onto the projector, but I decided to use 3M double side tape to improvise the mount. I don’t know if this is the most reliable route as the tape may burn, but so far it doesn’t seem to be an issue.
2.8, put bulbs back in. You’ll find some metal pieces for the bulb socket. This is how you assemble it. The spring is not pictured, but it’s between the bulb and end screw.
2.9, put the black housing insert back and the clear lens. Install back on the car!
2.10, now before you completely install the headlights back in, it’s a good idea to test the lamps to make sure they’re working and there aren’t any weird issues.
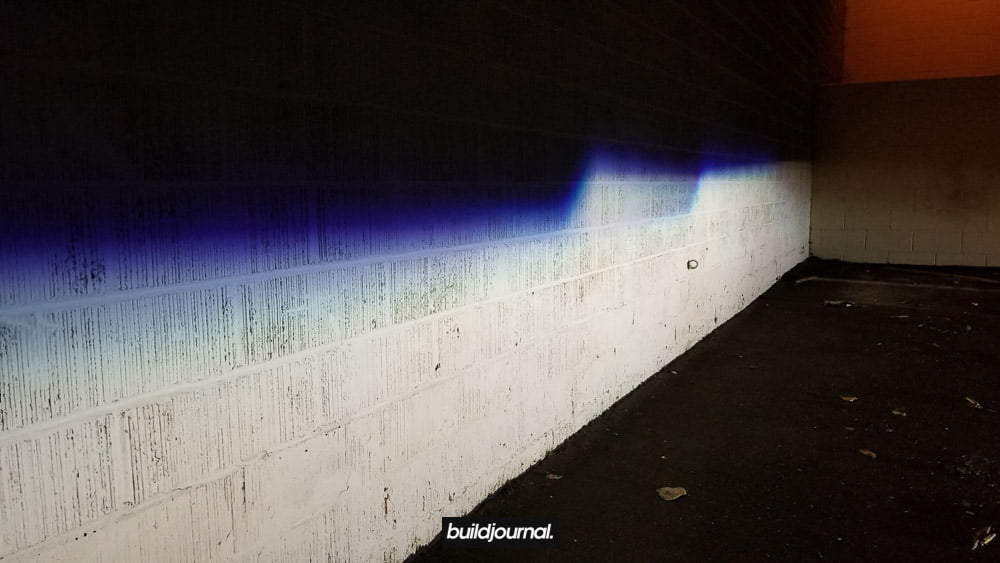
3. Align your cutoff
It’s very important you align your cutoff to DOT standard so you don’t blind oncoming traffic potentially putting you in danger. You can find an article how to to align headlights here.

Hi Andrew, just wondering if everything worked perfectly with the way the wires were spliced (Black + Green joined). I’ve been trying to find some additional sources to be sure, but it doesn’t look like others mention it when they are writing their own retrofit guides or videos. If you have any additional details, that would be great!
David