Upgrade your power steering
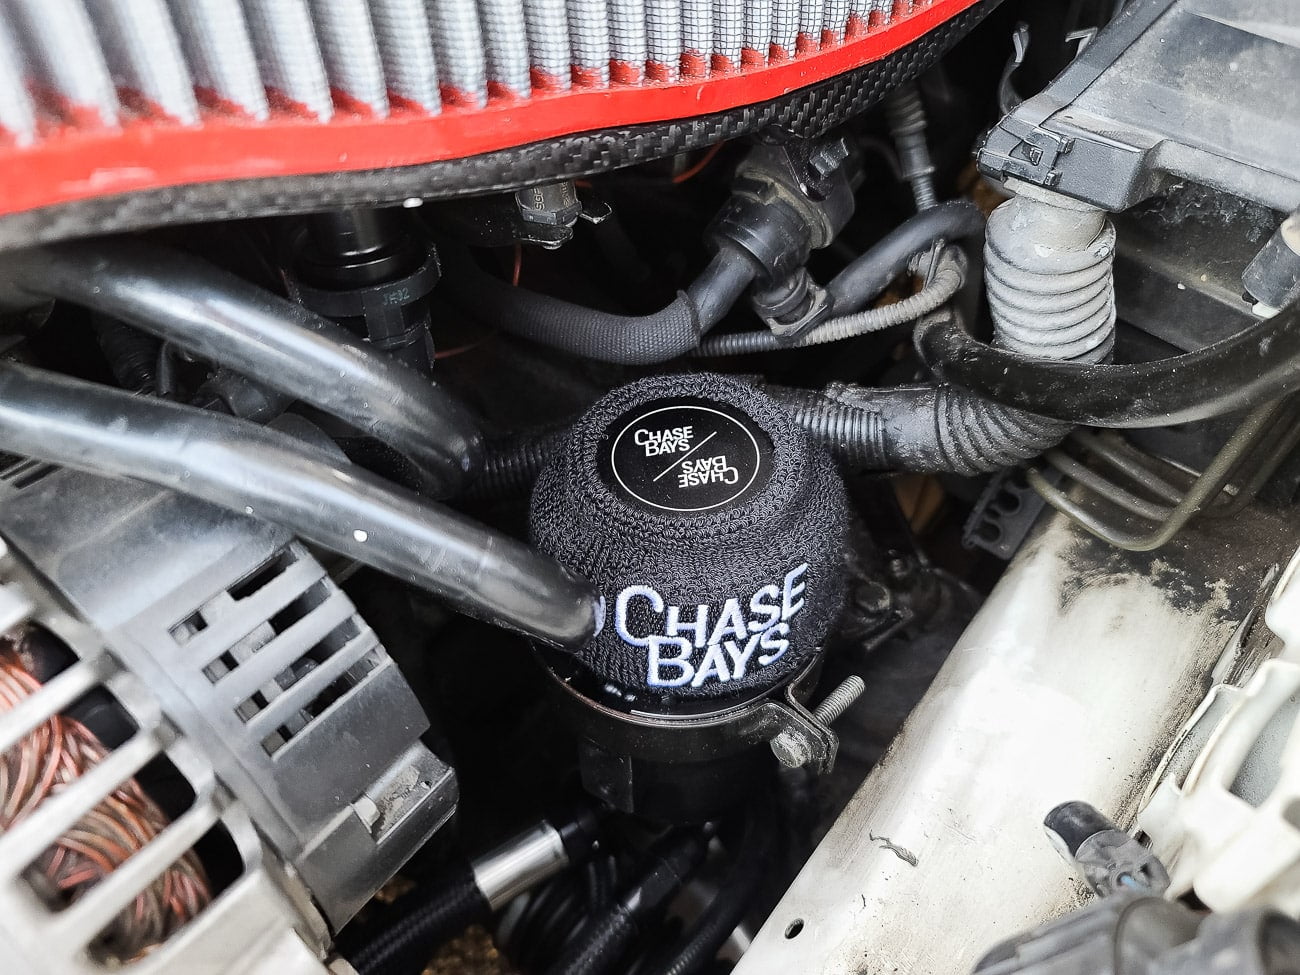
I got the revised version of the Chase Bays Power Steering Kit for the E46 M3 (S54) because I was tired of my OEM hoses seeping with fluid. I had to replace my power steering expansion hose twice already and my OEM reservoir twice as well because of leaks and cracks. Well, it was leaking somewhere again and most of my hoses were soiled so I decided to get stainless steel lines with AN fittings.
I said revised version because I’ve been talking to Ryan from Chase Bays to improve the power steering kit. They’ve made some changes to the fittings to optimize delivery of the fluid. This includes a check valve on the rack and a smaller AN fitting on the reservoir side to replicate OEM fluid movement. I’ve been testing the changes at the track under hard conditions and I just came back from testing the setup a few days ago and there were no issues. I will continue to test and give feedback to the team at CB if any.
Is there something wrong with OEM? Not really. The OEM unit can last for a long time and it’s not a super common thing for these power steering pumps to fail either. However it is highly likely that your stock reservoir is going to crack sometime. When that happens, you might want to think about replacing the system to not have cracking issues ever again.
Chase Bays E46 M3 Power Steering Kit
Parts List
- Triple Baffled Power Steering Reservoir w/ Bracket
- Heatsink Cooler
- Cooler Brackets
- -6AN stainless steel high-pressure hose
- -6AN stainless steel reservoir to cooler hose
- -6AN stainless steel cooler to rack hose
- -10AN stainless steel reservoir to pump
- Various AN fittings

Tools Required
- 10mm socket
- 12mm socket
- Shorty wrenches or AN wrenches
- Wobbles
- Extensions
- Jack + stands
- 1L ATF fluid
- Funnel
6
Hours
2/5
Difficulty
Chase Bays Power Steering Install
Remove Intake Plenum
1.1 Remove 4 nuts holding front strut bar.
1.2 Remove 4 torx screws holding cabin filter housing, remove filter.

1.3 Remove intake including the nut for the oil dipstick.

1.4 Remove crankcase vent hose.

1.5 Remove vent hose grommet to give some more slack in the line when you take out the airbox.

1.6 Remove the throttle body hose clamps. There’s not much grip and clearance so I had to use angled needle-nose pliers and locking pliers to squeeze the rivets together and with a flat head pry out the clamp simultaneously. Basically in the bottom picture below, I pry the two rivets together to alleviate clamping force and then used a small flat head to pry out the end of the clamp pictured on top.


1.7 Remove the (2) two nuts holding the bottom of the intake box. Detach plug grommet between the two nuts.

1.10 This part is a little tricky (any is the part everyone talks about breaking) so pay attention! Before the airbox comes out, you have to unclick the (small) vent hose below the intake box, but because the clearance is so small you have to wiggle the box out a little to slide your hand in. Be gentle because this part is fragile and if you break this hose, it’s going to be an annoying trip to the dealership.
The best thing to do is slightly pull the airbox halfway out and then unclip the (small) vent hose.
Here is a picture showing the underside of the airbox.


1.8 Unclip the (large) vent hose on the bottom of the intake box. Here is a better view of the (large) lower vent hose and the 2 nuts holding the airbox.


1.9 Unclip the holder for the smaller vent hose on the side of the intake box – the small highlighted tab has to be pressed down and the plastic holder will slide up. (not away from box)


2. Drain Power Steering Fluid
2.1 Locate the power steering hose that runs from the reservoir to the power steering pump.
2.2 Remove the hose OEM hose clamp using a flat head and drain the fluid into a disposable container.

3. Remove OEM Power Steering
3.1 Remove the high pressure power steering hose underneath the car by the front sway bar. The hose is secured to a 10mm hex head bolt holding the bracket in. Remove the entire bracket from the steering rack.

3.2 There are two ends coming from the high pressure hose. One is connected to the steering rack (upper) with a M14 banjo bolt.

3.3 The other is a M16 banjo bolt on the pump.

3.4 Disconnect the two hose from the stock cooling coil. One is coming from steering rack (lower) and the other is coming from the reservoir. Push in the white plastic tab first and then pull down. I decided to entirely remove my cooling coil as it won’t be needed since I have the CB cooler.

3.5 Loosen the 10mm hex bolt on the clamp holding down the reservoir. You can now pull the entire reservoir out from the top.

4. Install Chase Bays Power Steering Kit
4.1 Get familiar with the hose diagram. The install is actually really easy. The only challenge is tightening down the AN fittings because the clearance is not much for large wrenches. Shorty wrenches FTW. Or get proper AN wrenches.

4.2 Install CB cooler using the supplied rubber clamps. The shorter clamp goes on the passenger side of the cooler. I have a ZCP (Yellow Tag) steering rack and it has 2 M6 mounting locations pre-threaded. OEM should as well.


I actually had some new bolts laying around. If you want new bolts, they are M6 10mm bolts.

4.4 Install the cooler hose from the passenger end to the CB reservoir. You can leave the CB reservoir sitting in the clamp, but loose since it’s a bit of a struggle to tighten it down in there.

4.4 Install the other end of the CB cooler hose into the steering rack (lower). Make sure your banjo bolts have crush washers on both sides of the banjo bolt!


4.5 Now install the high pressure line going from the pump to the steering rack (upper). Use the supplied male-male AN fitting on the pump, then fit the female AN. You do not need to use Teflon or sealant for any of the AN fittings.

4.6 Install the other end of the high pressure hose into the steering rack (upper). Again, make sure you have 2 washers sandwiching the banjo bolt. Make sure the hard lines are not touching any of the suspension components.

4.7 Your last hose is the reservoir to pump. The pump end attaches with the supplied hose clamp.

4.8 Tidy up your lines and secure the fittings on the CB reservoir. Now you can tighten the reservoir clamp down using the supplied bracket.

5. Fill Fluid and Test for Leaks
5.1 Follow the directions as stated by Chase Bays to properly bleed the power steering system. You can use any ATF fluid. I used 1L of Pentosin ATF 1.
- With the the car jacked up, fill the Chase Bays Reservoir to halfway full.
- Turn the wheel back and forth to lock five times with the car off. This will allow some fluid to get into the Rack and Pump while the car is off so the system doesn't start completely dry. Add fluid if needed to keep it at half way full.
- With the car still in the air, start it up. Let it idle for 3-5 minutes while checking for leaks at all the connections. If there are no leaks turn the wheel back and forth to lock five times.
- Put it on the ground and start it up. Turn the wheel back and forth to lock five times. Now take it for a test drive. Drive around for 15-20 minutes and take note of how it sounds/feels in the beginning compared to the end. We have seen great results from this install process, combined with letting the car sit for an hour after the initial drive.
- Check for leaks one last time, if everything is good you're ready to rock!
Hi. Excellent DIY. I got mine in the E36 a few years back, so far no problems. (Mainly track driven) What is hard to find anywhere, and I don’t remember is: what should the fluid level be after the bleeding is done? CB does not indicate this (?) only to keep it half filled during the procedure.
Do you getting whine issue after installed the kit? Any solution to fix (I already got new pressure line and unrestricted) ?
Thank you.
I hear that CHASE BAYS Power Steering Kit w/Cooler for BMW E46 M3 S54 is currently under modification. What were the issue(s) with the most recent revision or version?
I’m having trouble installing the male an fitting into the pump the fitting feels very tight but the crunch washer is still moving.
Crush washer on the pump? Do you mean the rack? There shouldn’t be a crush washer on the pump side.
I’m not sure but that’s what they sent was a male an fitting with a crush washer to go into the pump.
My steering rack only came with one pre drilled hole to mount the cooler (on passenger side) . How do I secure the bracket on the other side of the cooler on the drver side?
I’ve heard from some people that this is the case. Generally the steering rack area should be okay to mount the cooler as long as its not metal to metal contact and obviously avoiding the arm area. I’ve even seen someone just zip tie it up, but I wouldn’t recommend that.
Just got mine in the mail can’t wait to fit them!!! thanks for the awesome detail writeup!!
Nice! Let me know if you have any questions.