There are a few options for fender ducts but to be frank, I don’t really like most of them. I love the functionality aspect, but if it doesn’t look good I don’t want it. I came across the N15 Design E46 M3 Lower Fender Duct and I liked the fact that it didn’t look like fish gills. It’s not obnoxious looking and it doesn’t go on top of the fenders so it’s pretty subtle. I decided to try them so here is my review and DIY on the ducts.
Tools Needed
[one_half]
[/one_half]
[one_half_last]
- Drill and 1/8″ bit
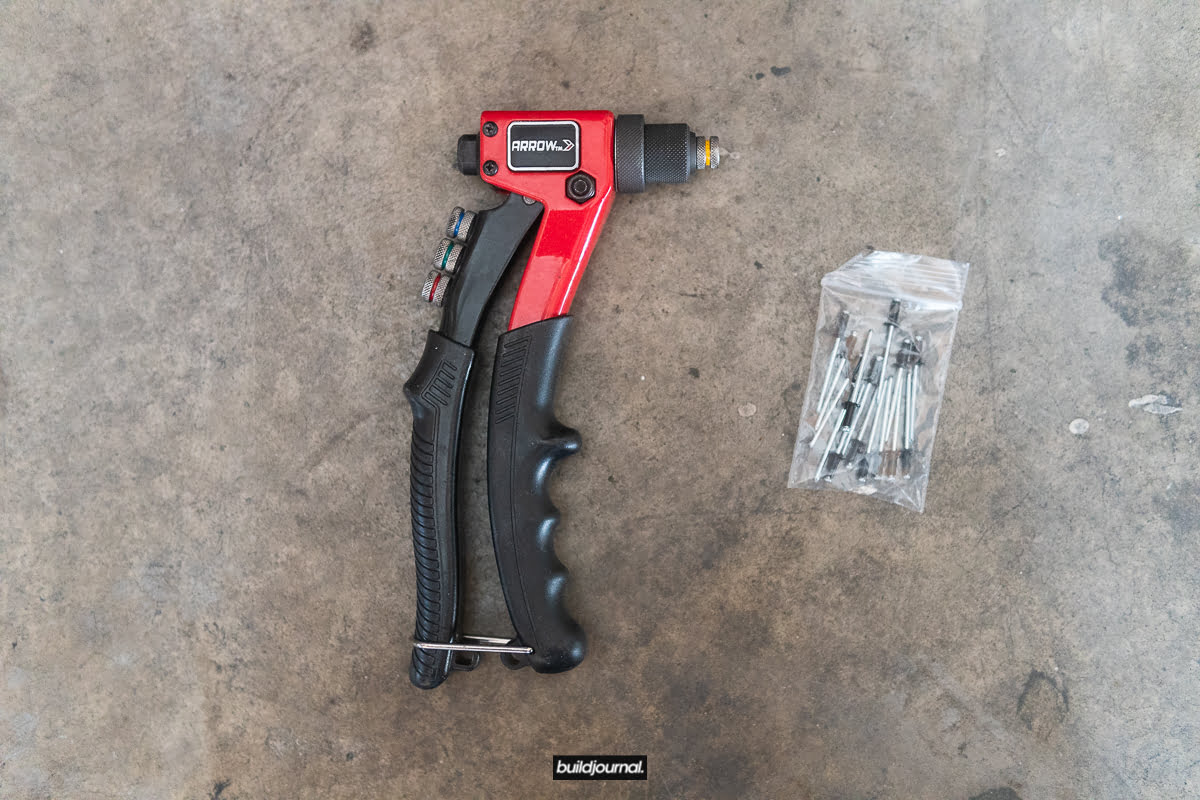
- Rivet gun
- Measuring tape
- Sandpaper
- Painter’s tape
- Dremel with reinforced cut-off wheels
- Anti-rust spray/primer
Support this site by buying from the links below. 🙂
[/one_half_last]
What’s in the kit?
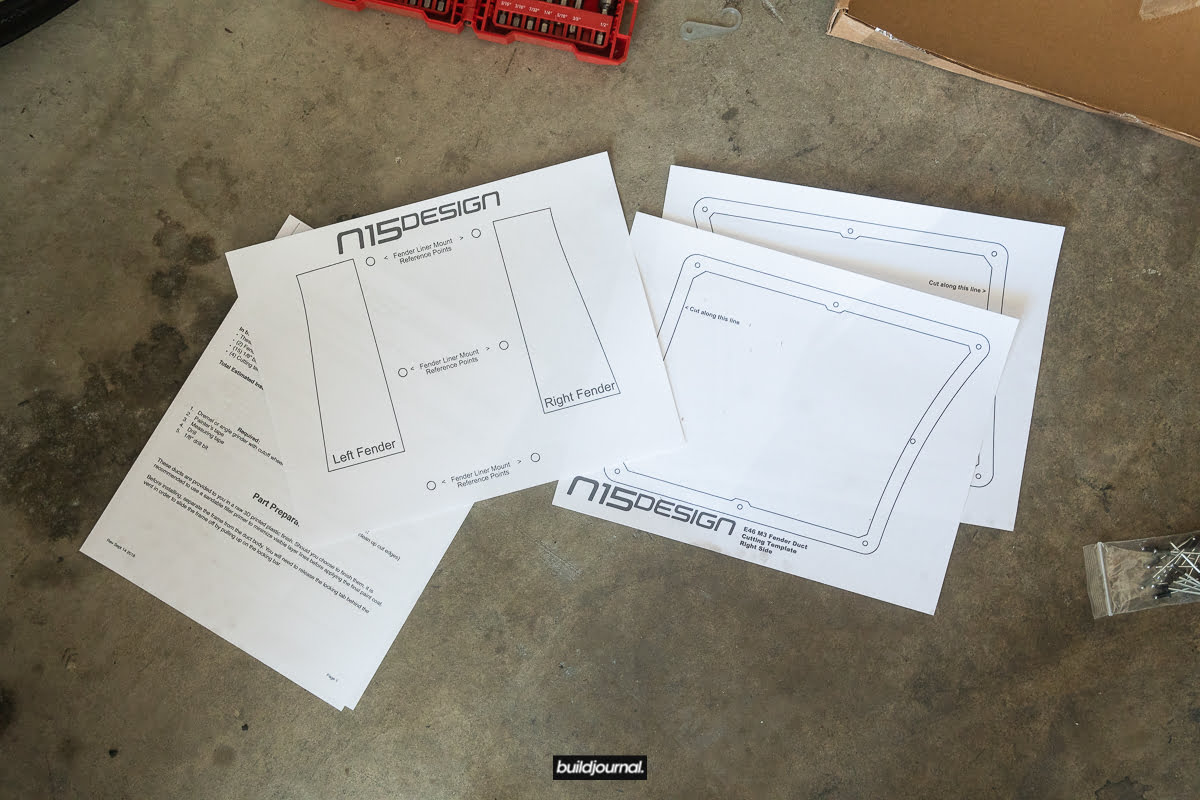
The kit comes with 2 fender vents, a set of cutting templates, rivets and some decals. In order to insert the rivets, you need a rivet gun so make sure you get one.

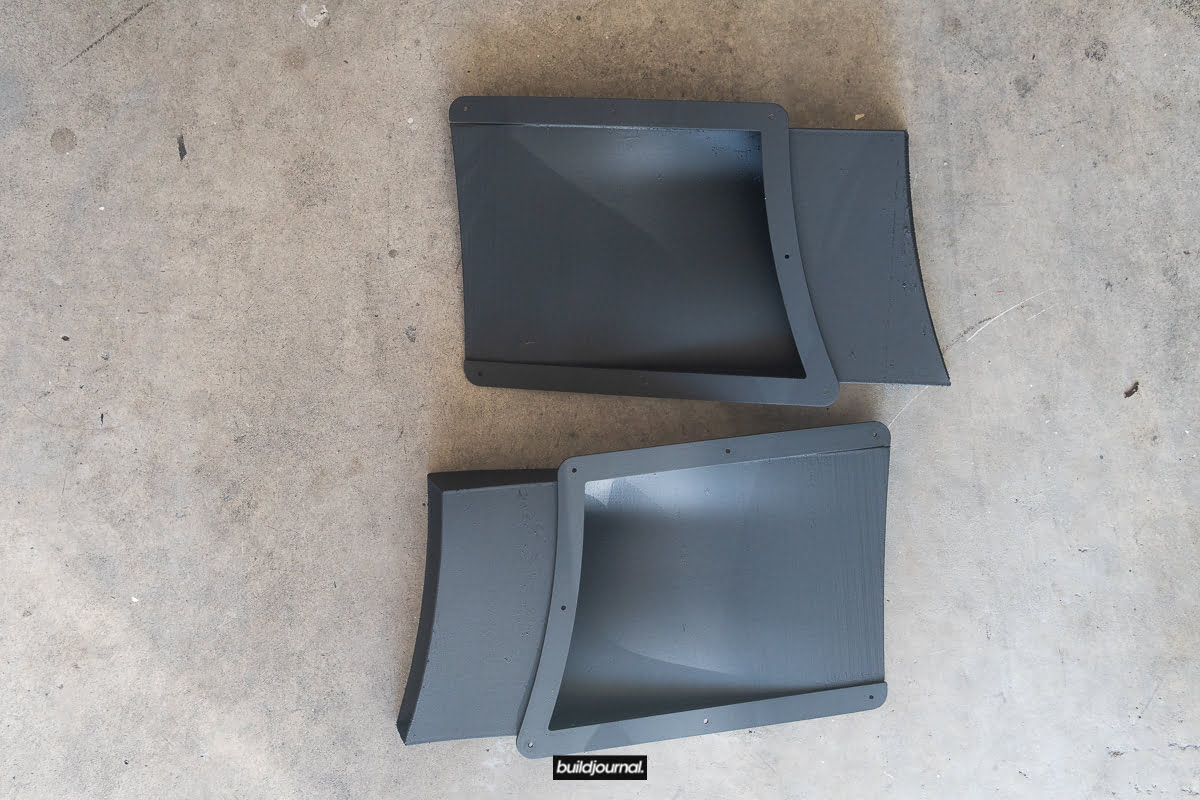
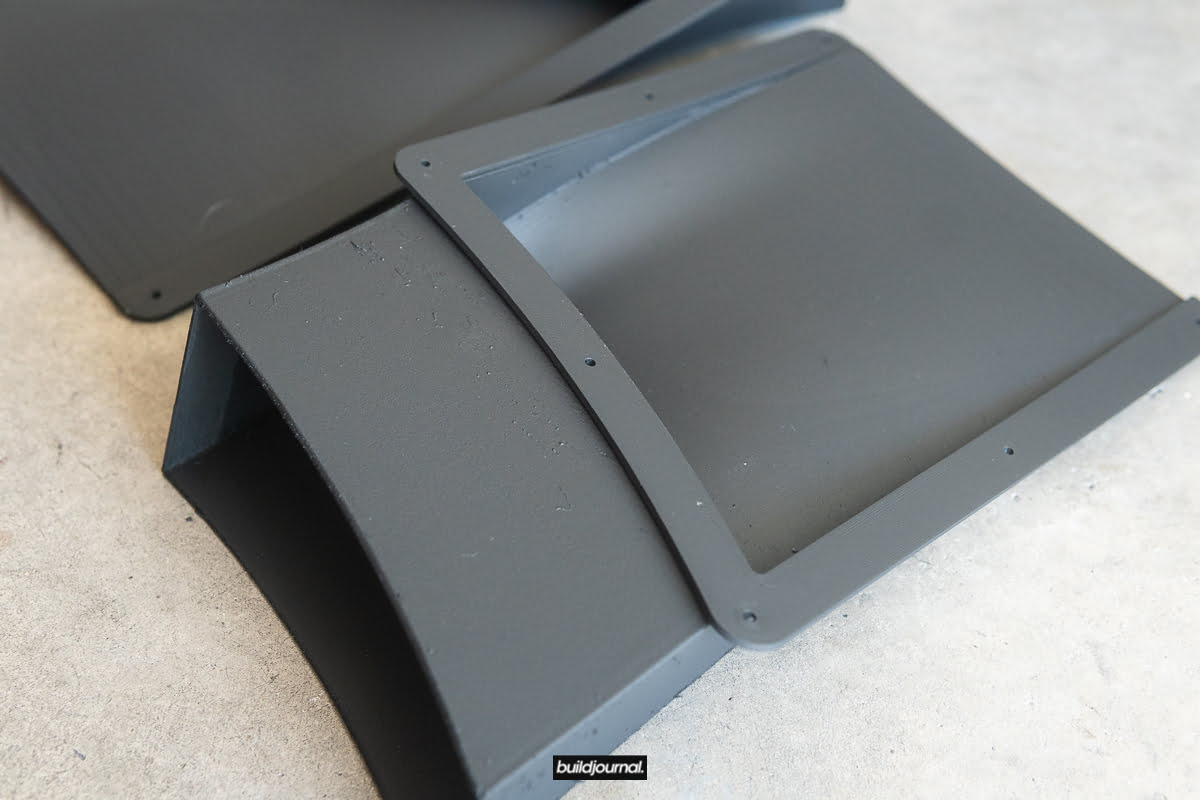
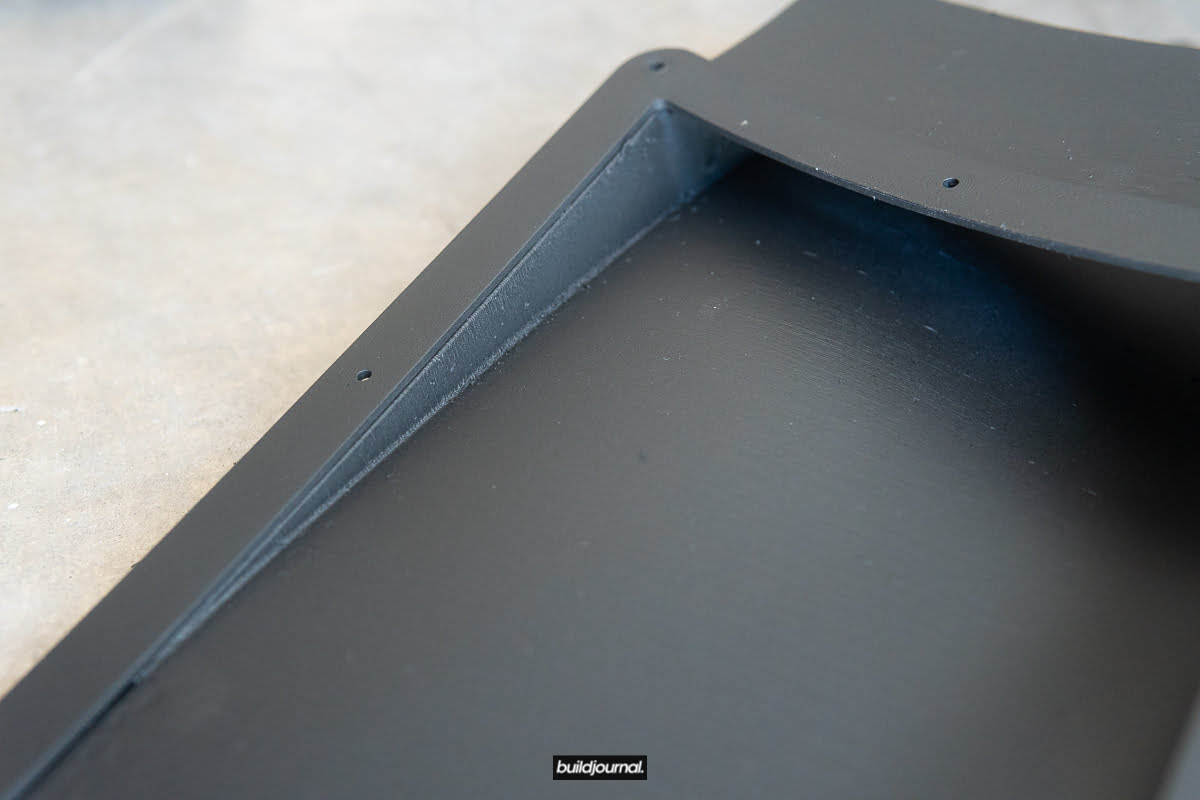
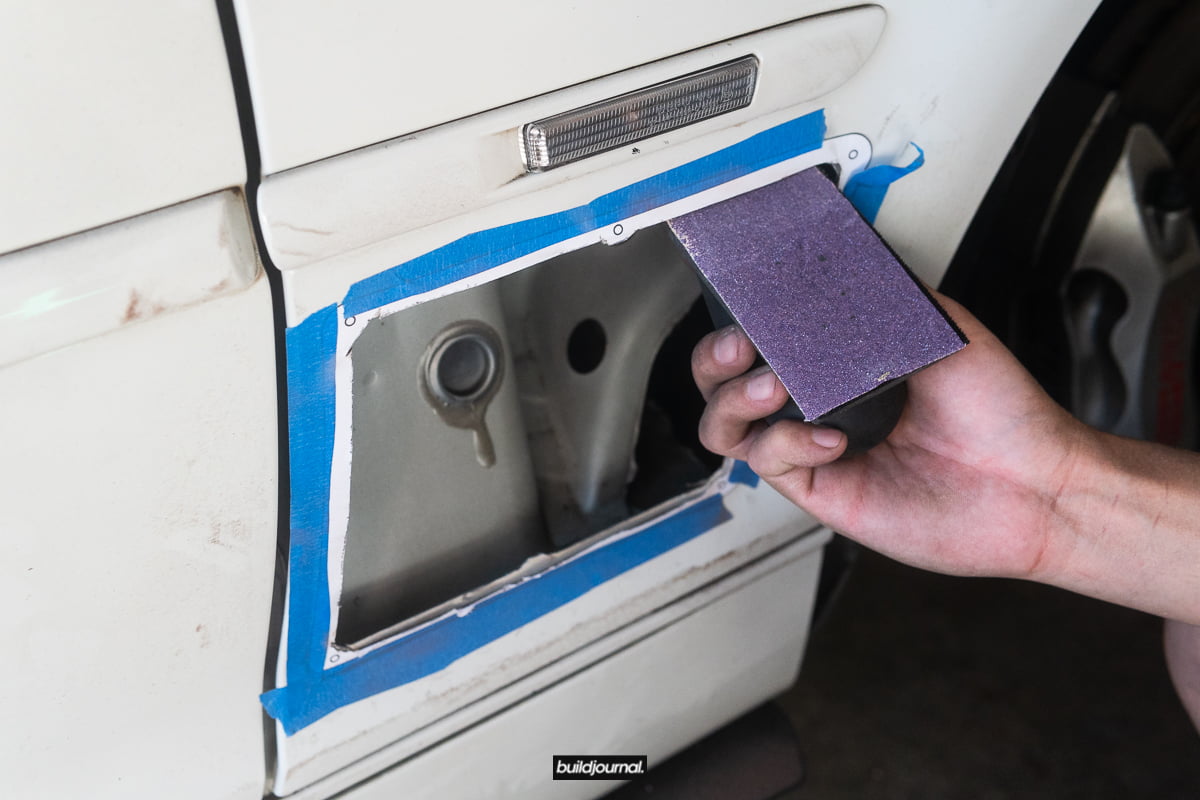
The ducts are 3D printed with ABS plastic and you can see some of the printed texture on the vent. N15 recommends to sand down the surface and refinish with primer and a layer of base coat. Now this is a “race” product so some people may not care about the look. In my case, I chose to refinish the surface. Below are the pictures after sanding with 400, 800, 1,500 sandpaper and then primer + paint.

Install Directions
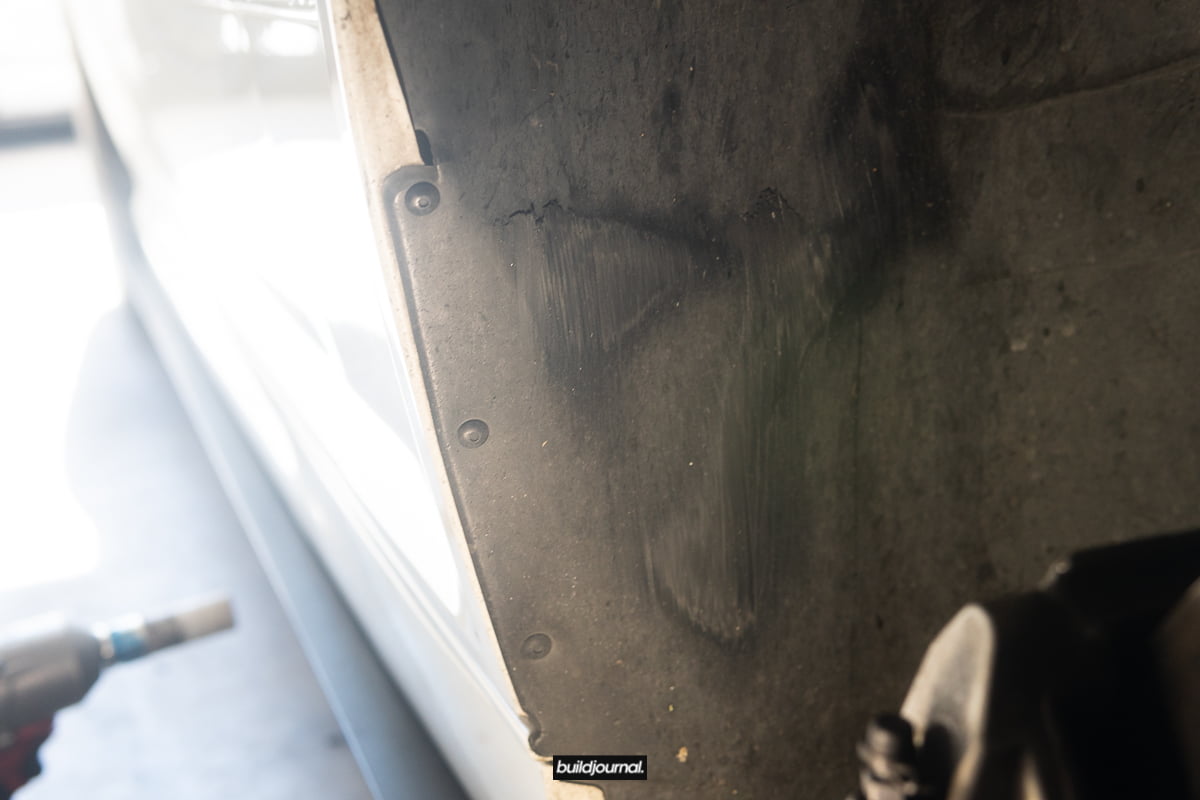
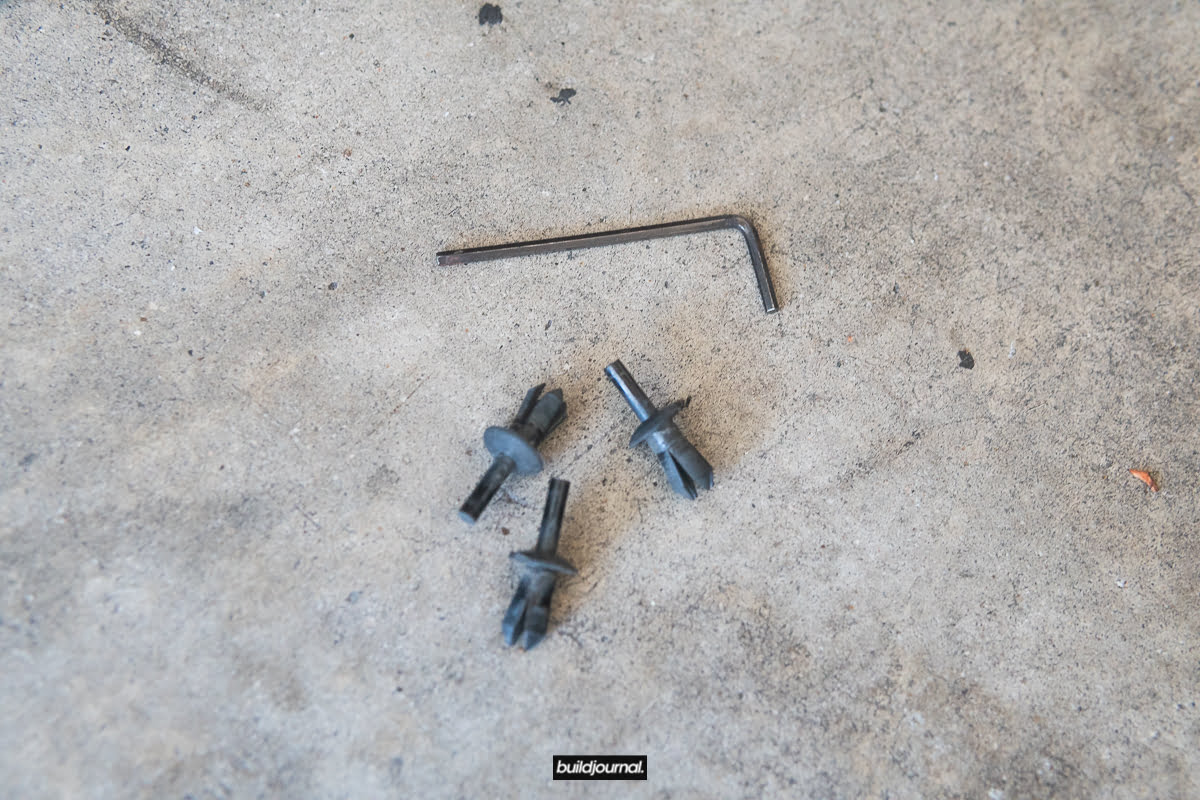
1. Remove front fender liner
1.1 There are 3 little pop it clip looking things. I got a small allen wrench and poked the middle hole pushing it through.
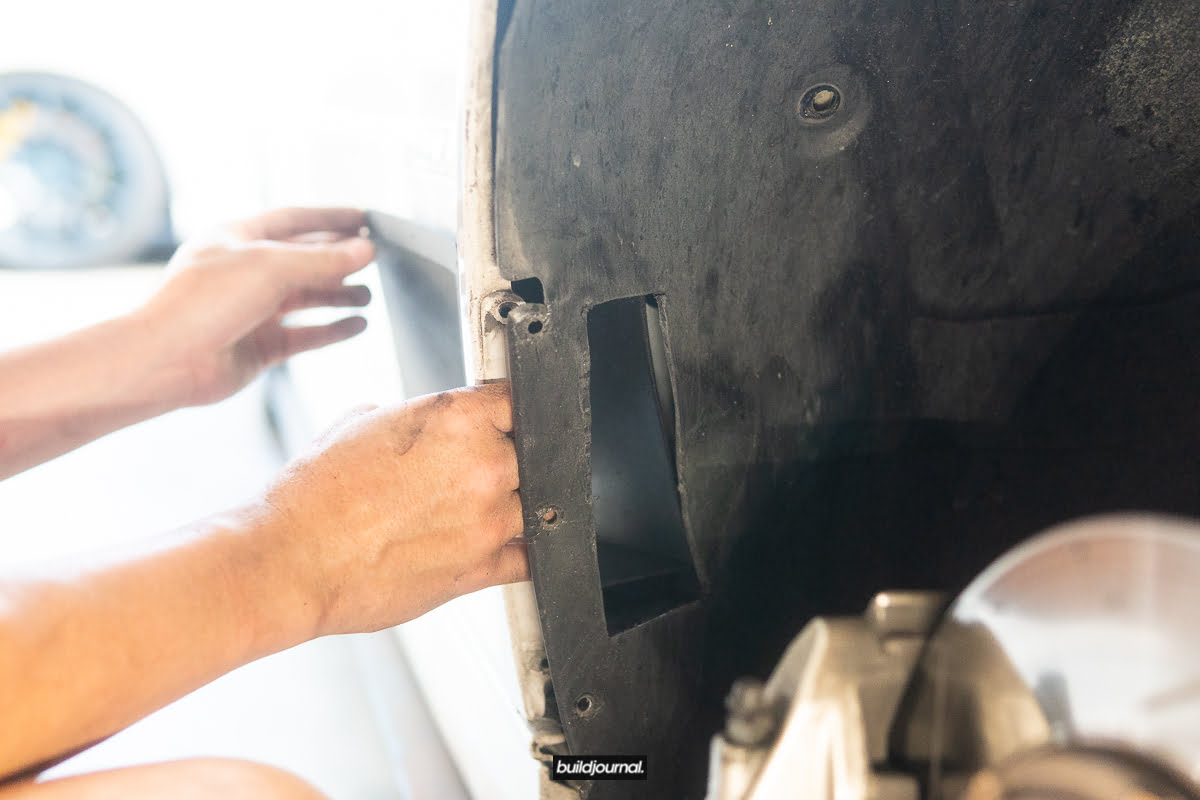
2. Cut plastic fender liner using provided templates
2.1 The template is pretty self explanatory. Line up the 3 liner mounting points and cut around the template. Templates are left and right specific so make sure you don’t goof it up.

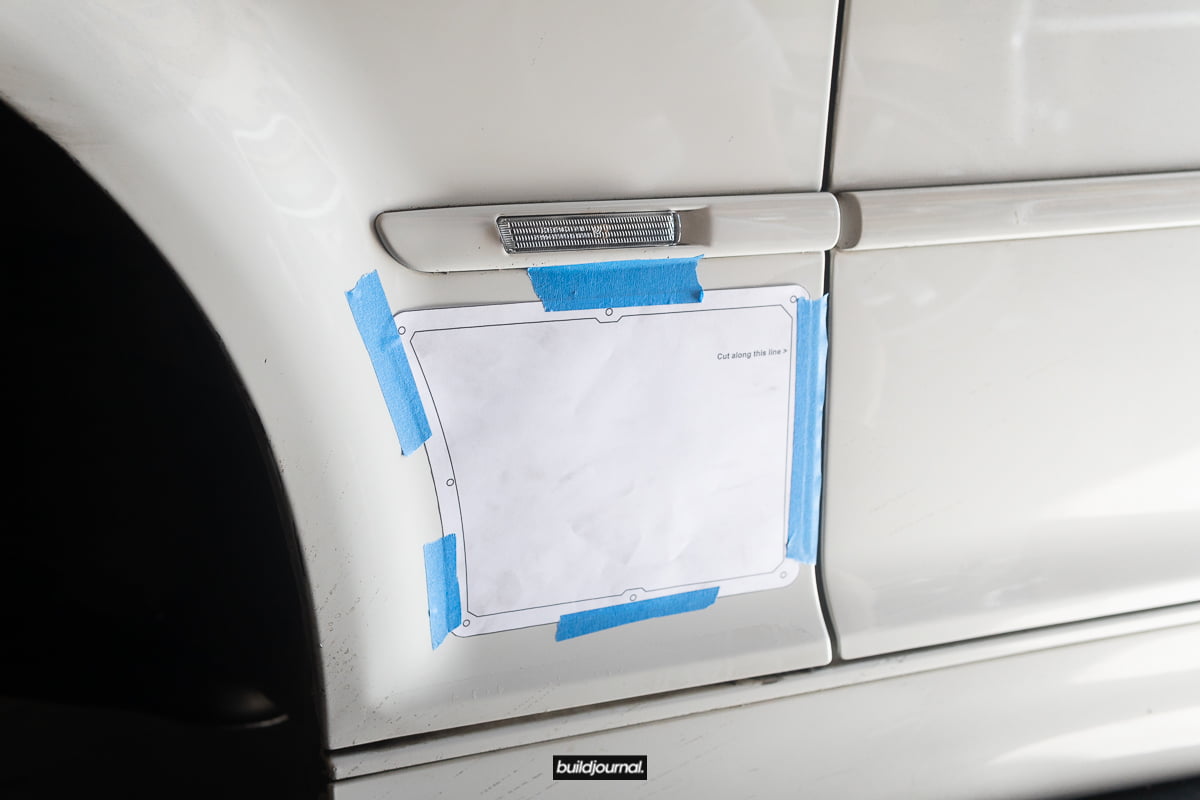
3. Cut the fender using provided templates
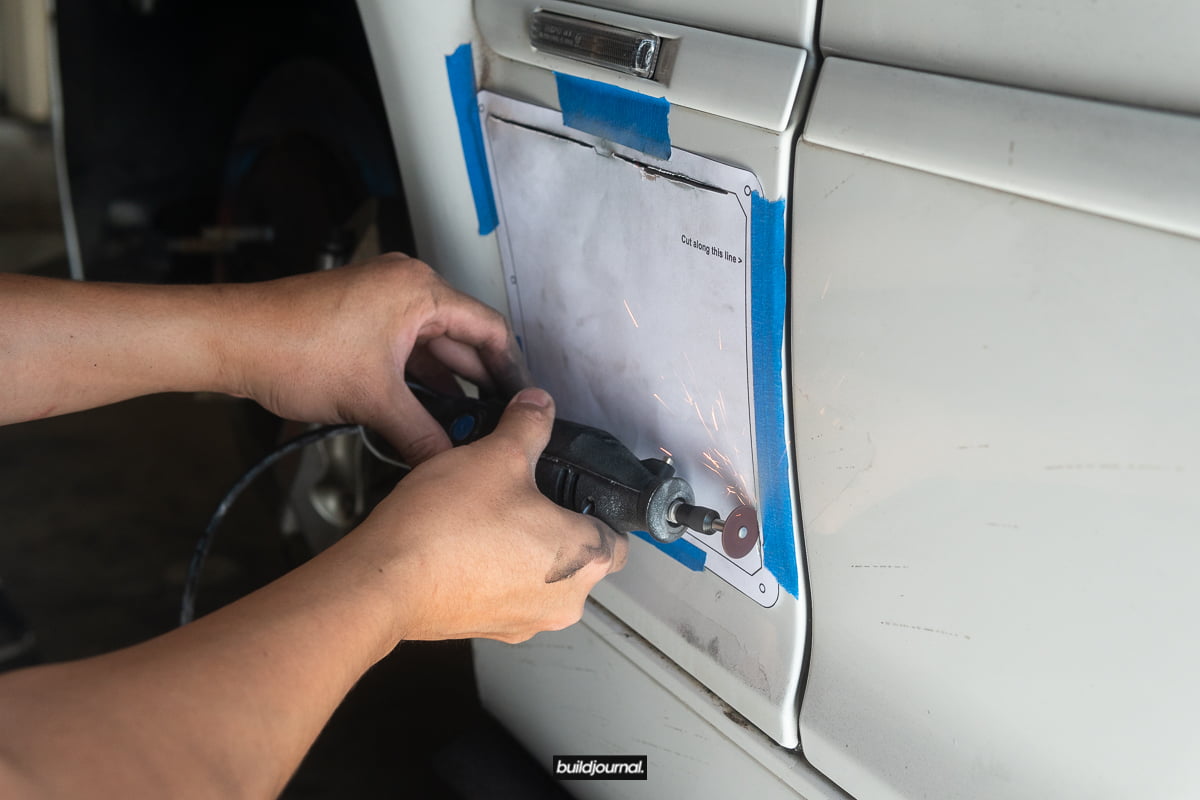
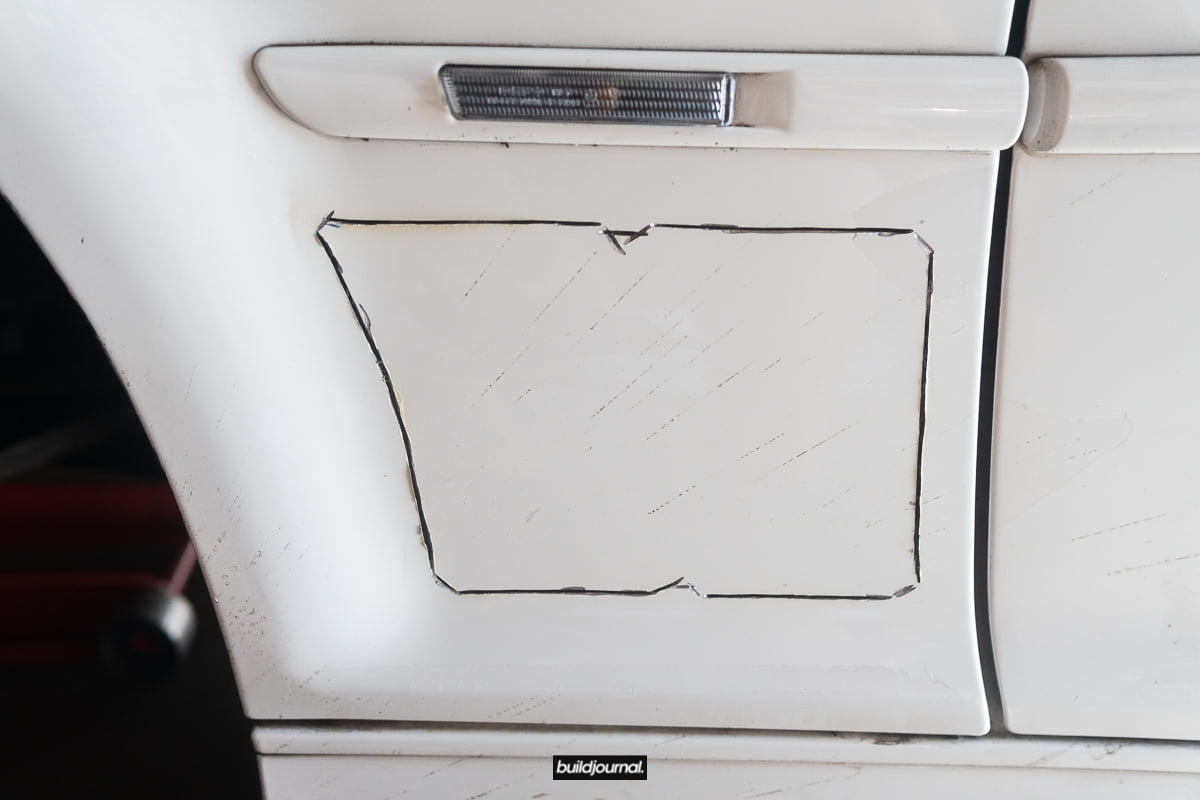
3.1 Okay so here’s the most important part of the install – cutting fenders. I cut the paper template out first and then taped it to the side of the fender so I can focus on cutting. The directions will provide exact measurements to put the template in place, however in my case I adjusted the position a little differently. The vents have a curvature to it and it was designed to clear the inner structure as there may be obstruction if you don’t place it right. Double and triple check the alignment before you cut. Look at how it lines up with the fender bulge. Take notice of the general distance from the side marker and door line.
Make sure you use a reinforced wheel to cut the metal.
Ouch. What have I done?
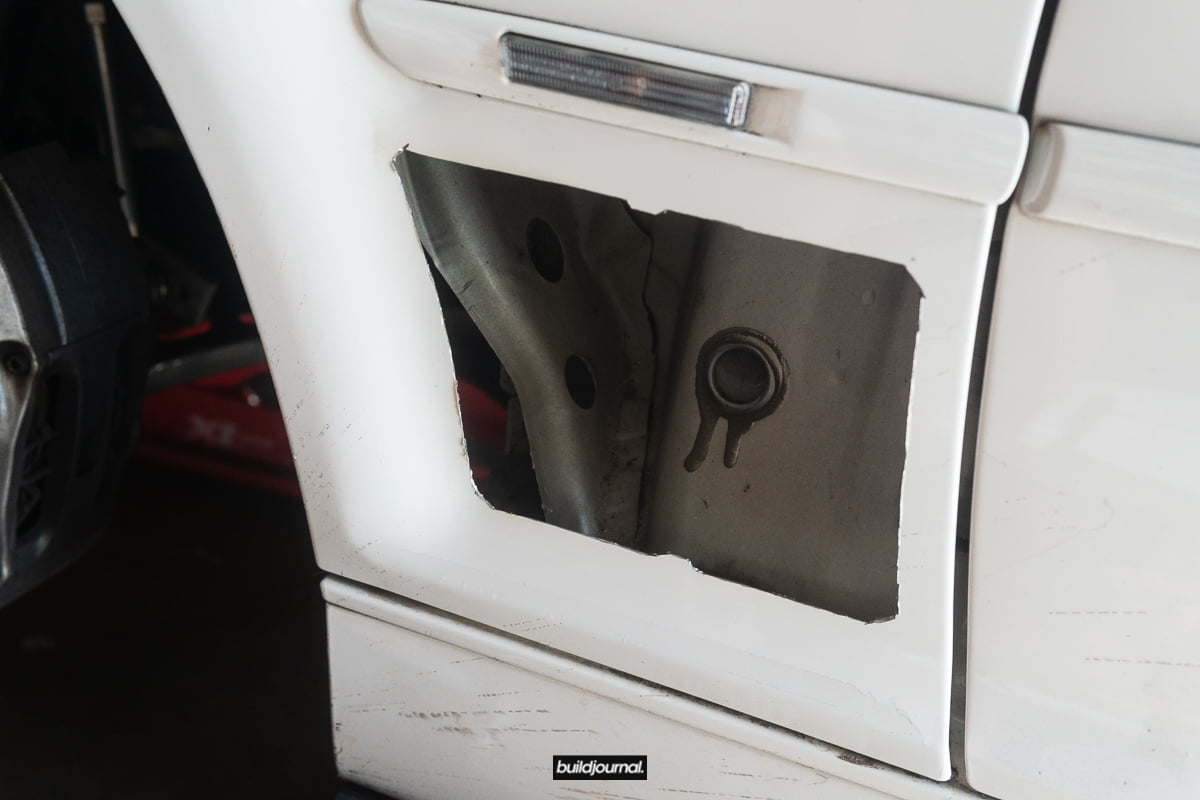
Deburr the edges with sandpaper. Get it nice and smooth on the inside to be able to slide the vent in smoothly.
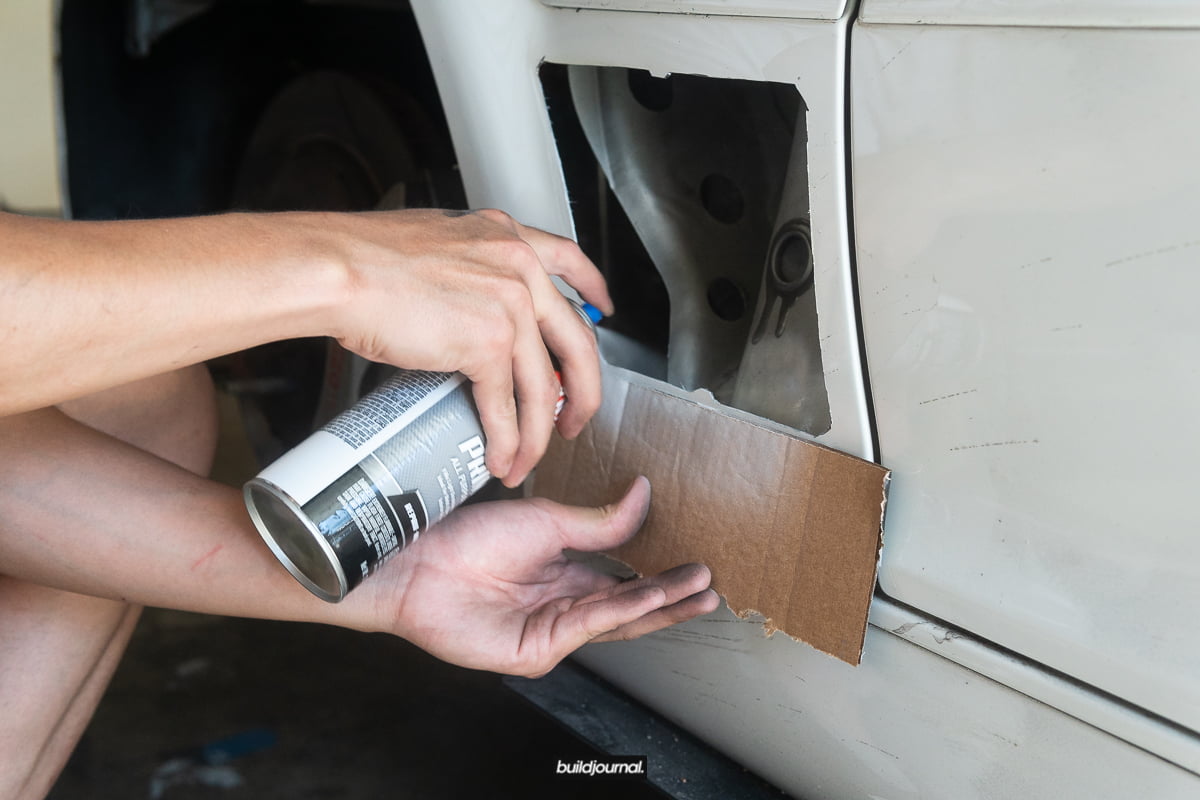
4. Cover exposed metal with anti-rust sealant
5. Slide the 2-piece vents into the fender
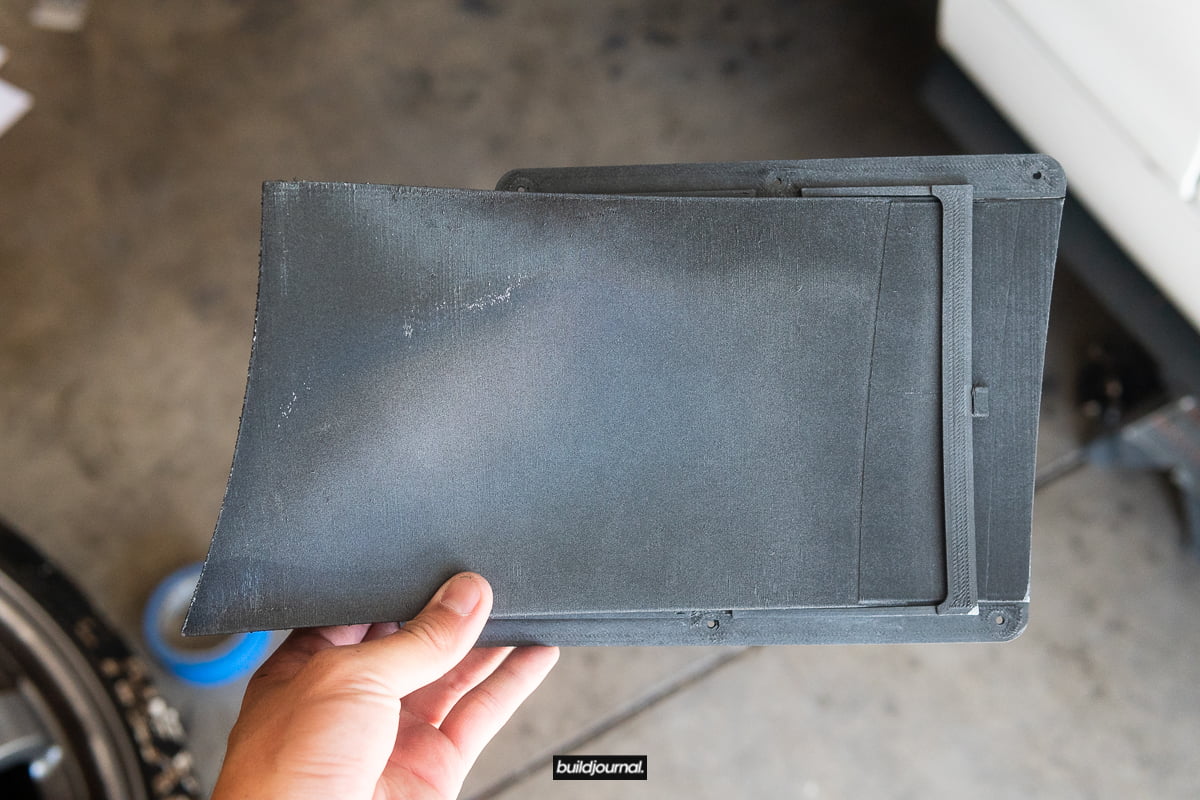
5.1 Here is the backside. It’s a simple 2-piece design but very clever how it’s constructed. Before you install, you will need to unlock the back locking tab to release the 2 pieces. I’m going to call the outside part the frame and the actual vent, the vent.
5.2 Take the frame and insert it into the cut. Make sure it sits flush first. Make necessary adjustments if it doesn’t sit nice.
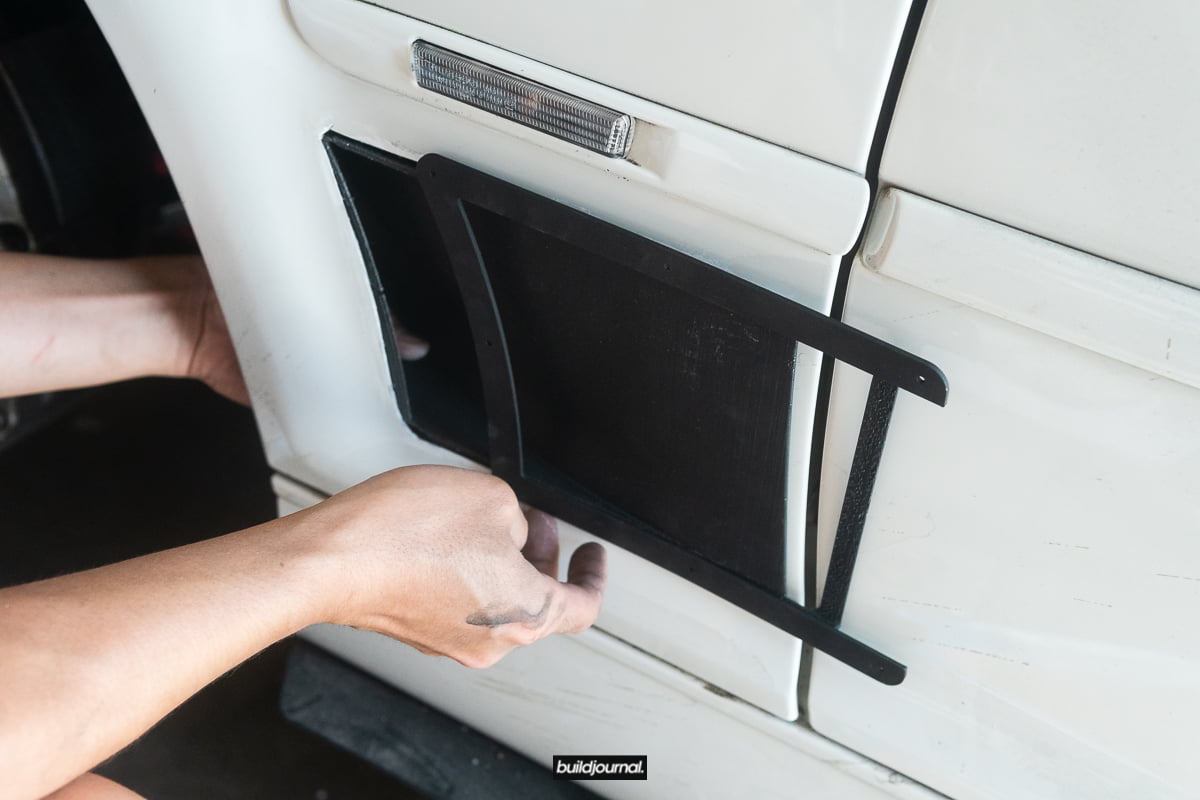
5.3 While holding the frame in place, simultaneously take the vent piece and slide it through the frame. Make sure you inspect the tabs beforehand so you know how it slides in place.


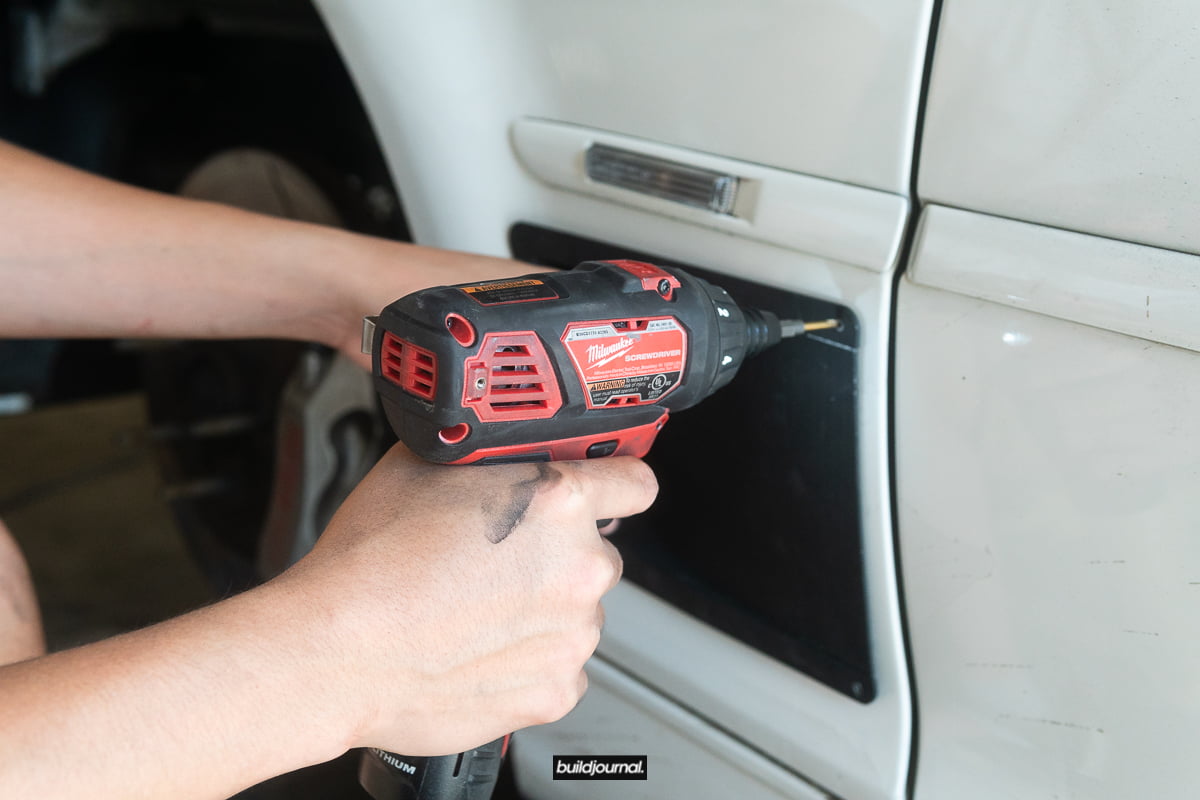
6. Drill holes for the rivets
6.1 Make sure the vent sits nice and even before you drill holes.
6.2 With the entire vent in place, use a 1/8″ drill bit to make holes. I drilled a single hole first and riveted to make sure everything is in place when I drill the others.
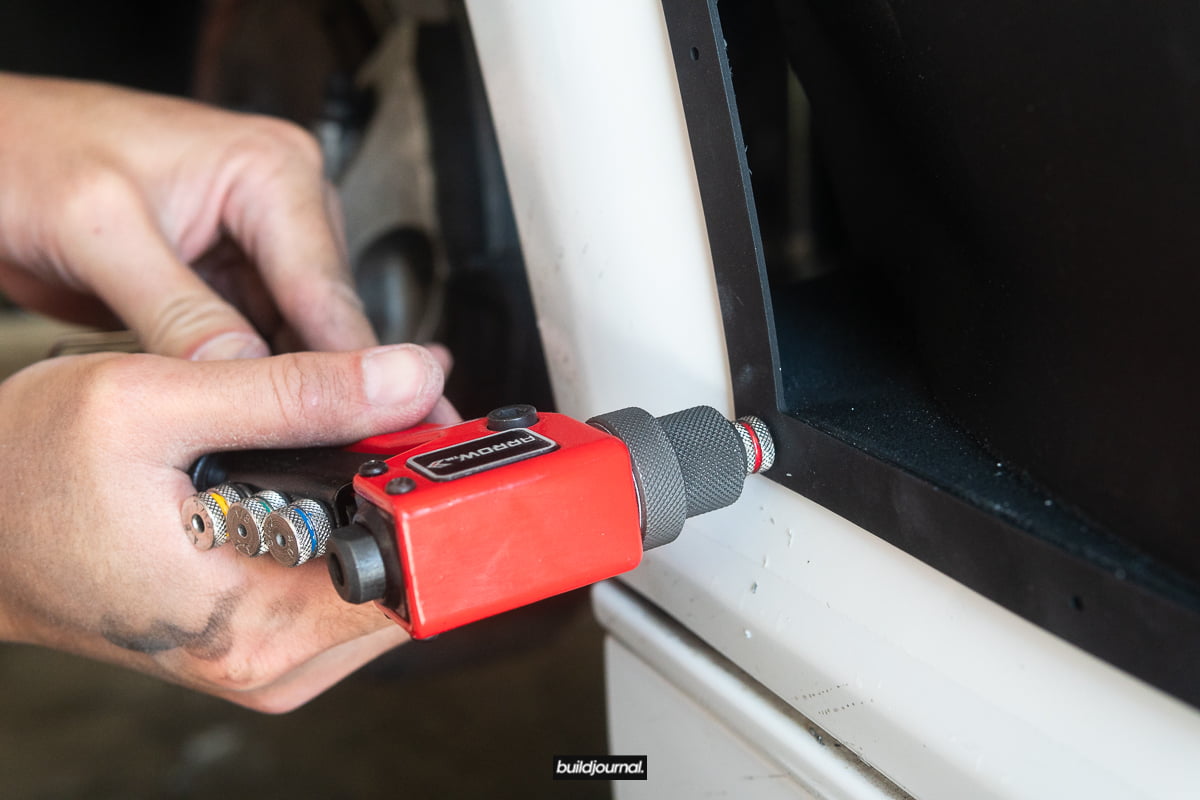
6.3 Use the rivet gun to install the remaining rivets. Then you’re done!
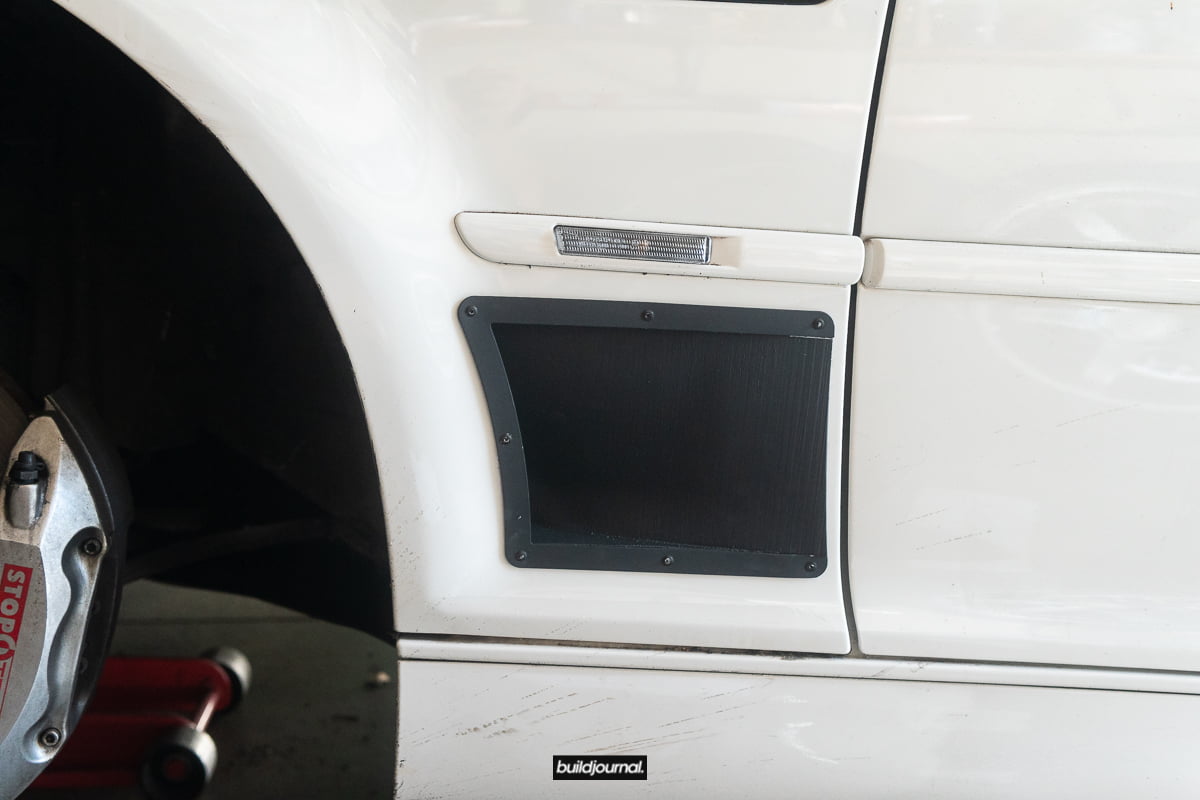
Here is just a sneak peak of the pictures installed. I will have more photos to come!