Here are the install DIY for our Quick-Release Adjustable Front Splitter Brackets and Front Race Splitter. You’re going to need to jack up the car and remove your bumper to do this install. The removal of the bumper support beam is also required. Models dating up to 2003 have the aluminum carrier and 2003.5 and up have the kevlar so make sure you check to see which one you have. This install will take about 1-2 hours. Everything is bolt-on and you just need basic tools. To get an idea of the bracket and splitter installation, first watch the quick-release demonstration video below.
Tools required
- 13mm socket
- 10mm socket and wrench
- 8mm wrench
- 1/4″ drill bit and drill
- 5/32 allen key
- Marker
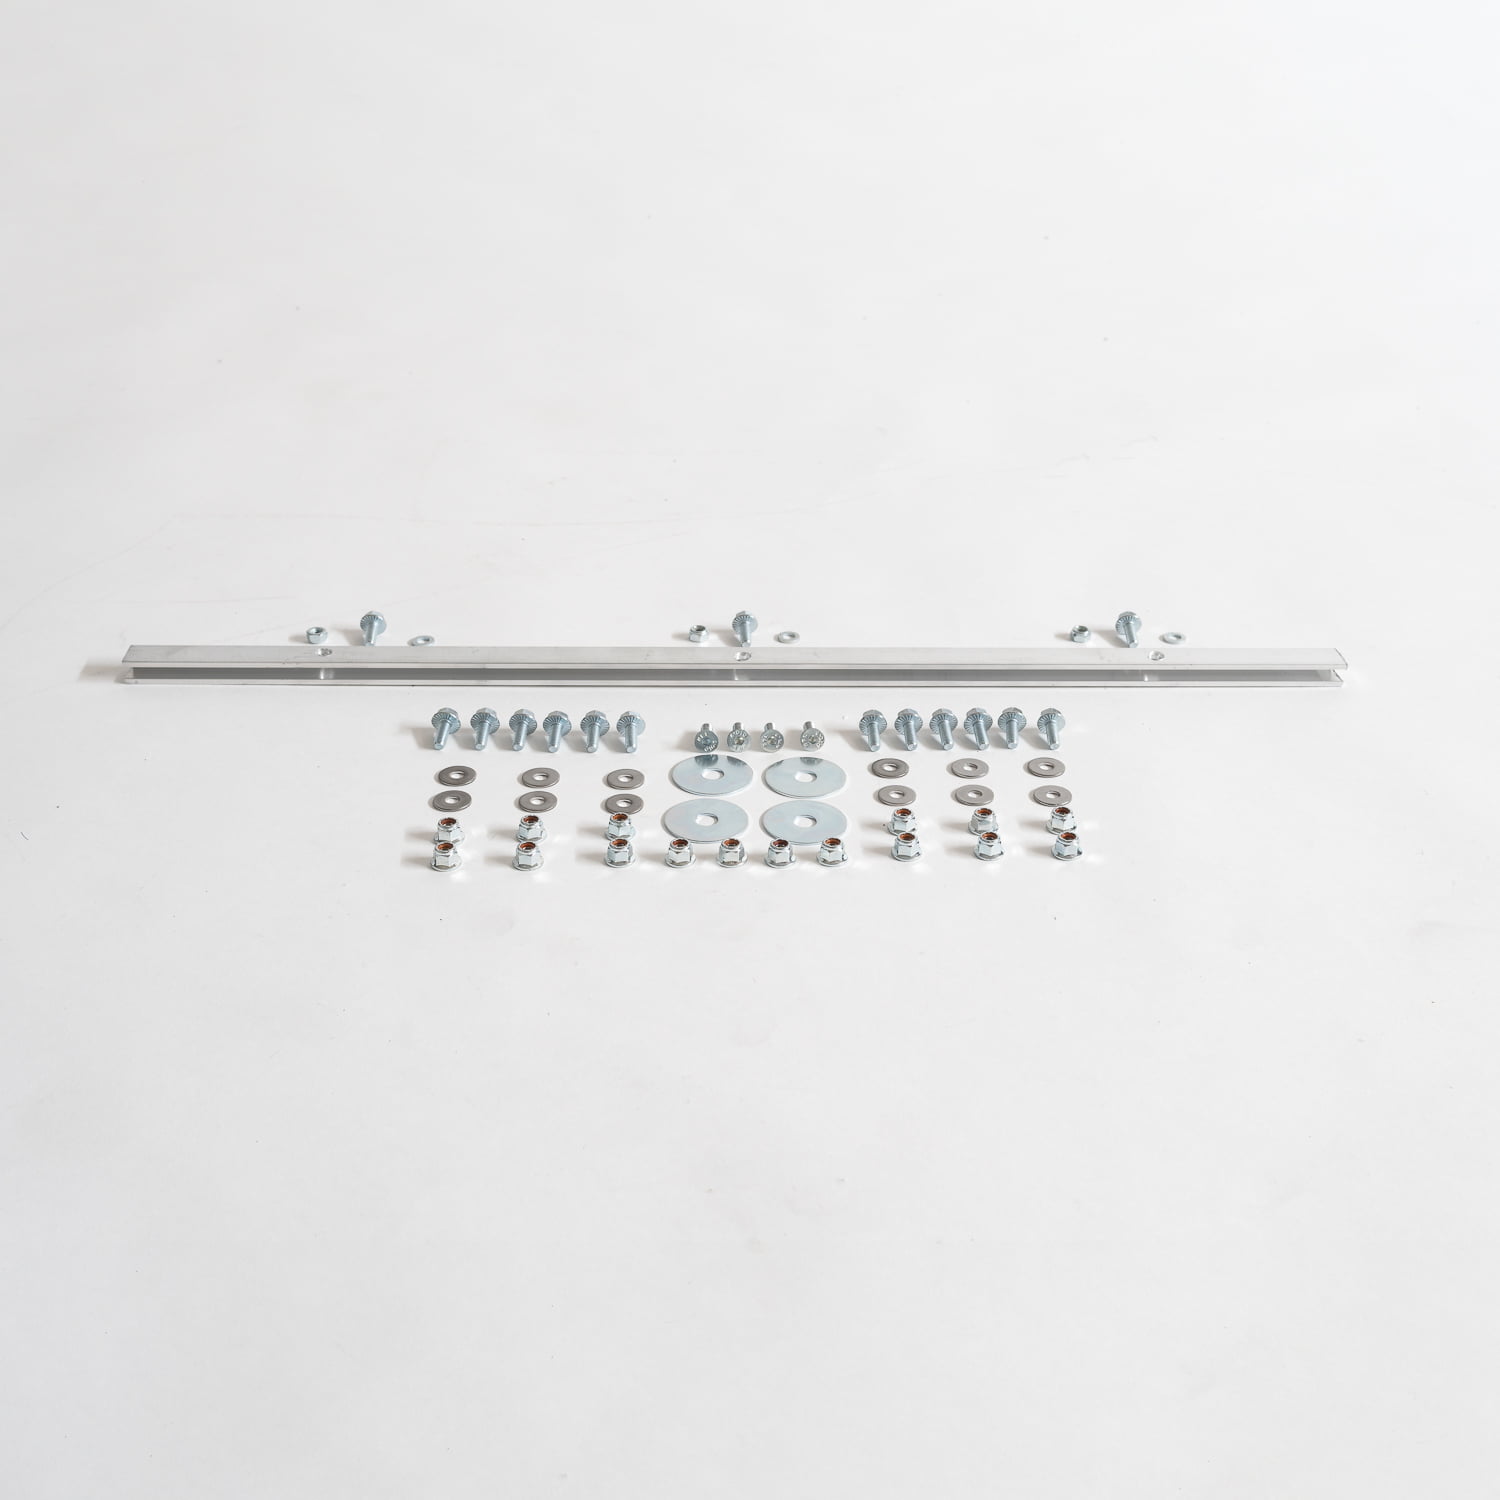
Quick-Release Adjustable Front Splitter Brackets Parts list
| Part No. | Part Name | Quantity |
|---|---|---|
| 1 | Steel Bumper Bracket | 2 |
| 2 | Steel Adjustment Bracket | 2 |
| 3 | Steel Feet w/ Pin | 2 |
| 4 | M6 20mm Serrated-Flange Hex Head Screws | 8 |
| 5 | M6 Nylon-Insert Flange Locknut | 12 |
| 6 | M6 18mm Hex Drive Flat Head Screw | 4 |
| 7 | M7 Hex Nut | 8 |
| 8 | 3/8″ 1.5″ OD Washer | 4 |
Race Splitter Parts List
| Part No. | Part Name | Quantity |
|---|---|---|
| 1 | Race Splitter | 1 |
| 2 | U-Channel (optional) | 1 |
| 3 | M6 12mm Hex Head Screw (included with U-Channel) | 3 |
| 4 | M6 12mm OD Washer (included with U-Channel) | 3 |
| 5 | M6 Nylon-Insert Locknut (included with U-Channel) | 3 |
| 6 | Splitter Guard (optional) | 1 |
Splitter bracket install directions
1. Remove front bumper.
2. Remove aluminum or kevlar carrier from bumper with 13mm socket.
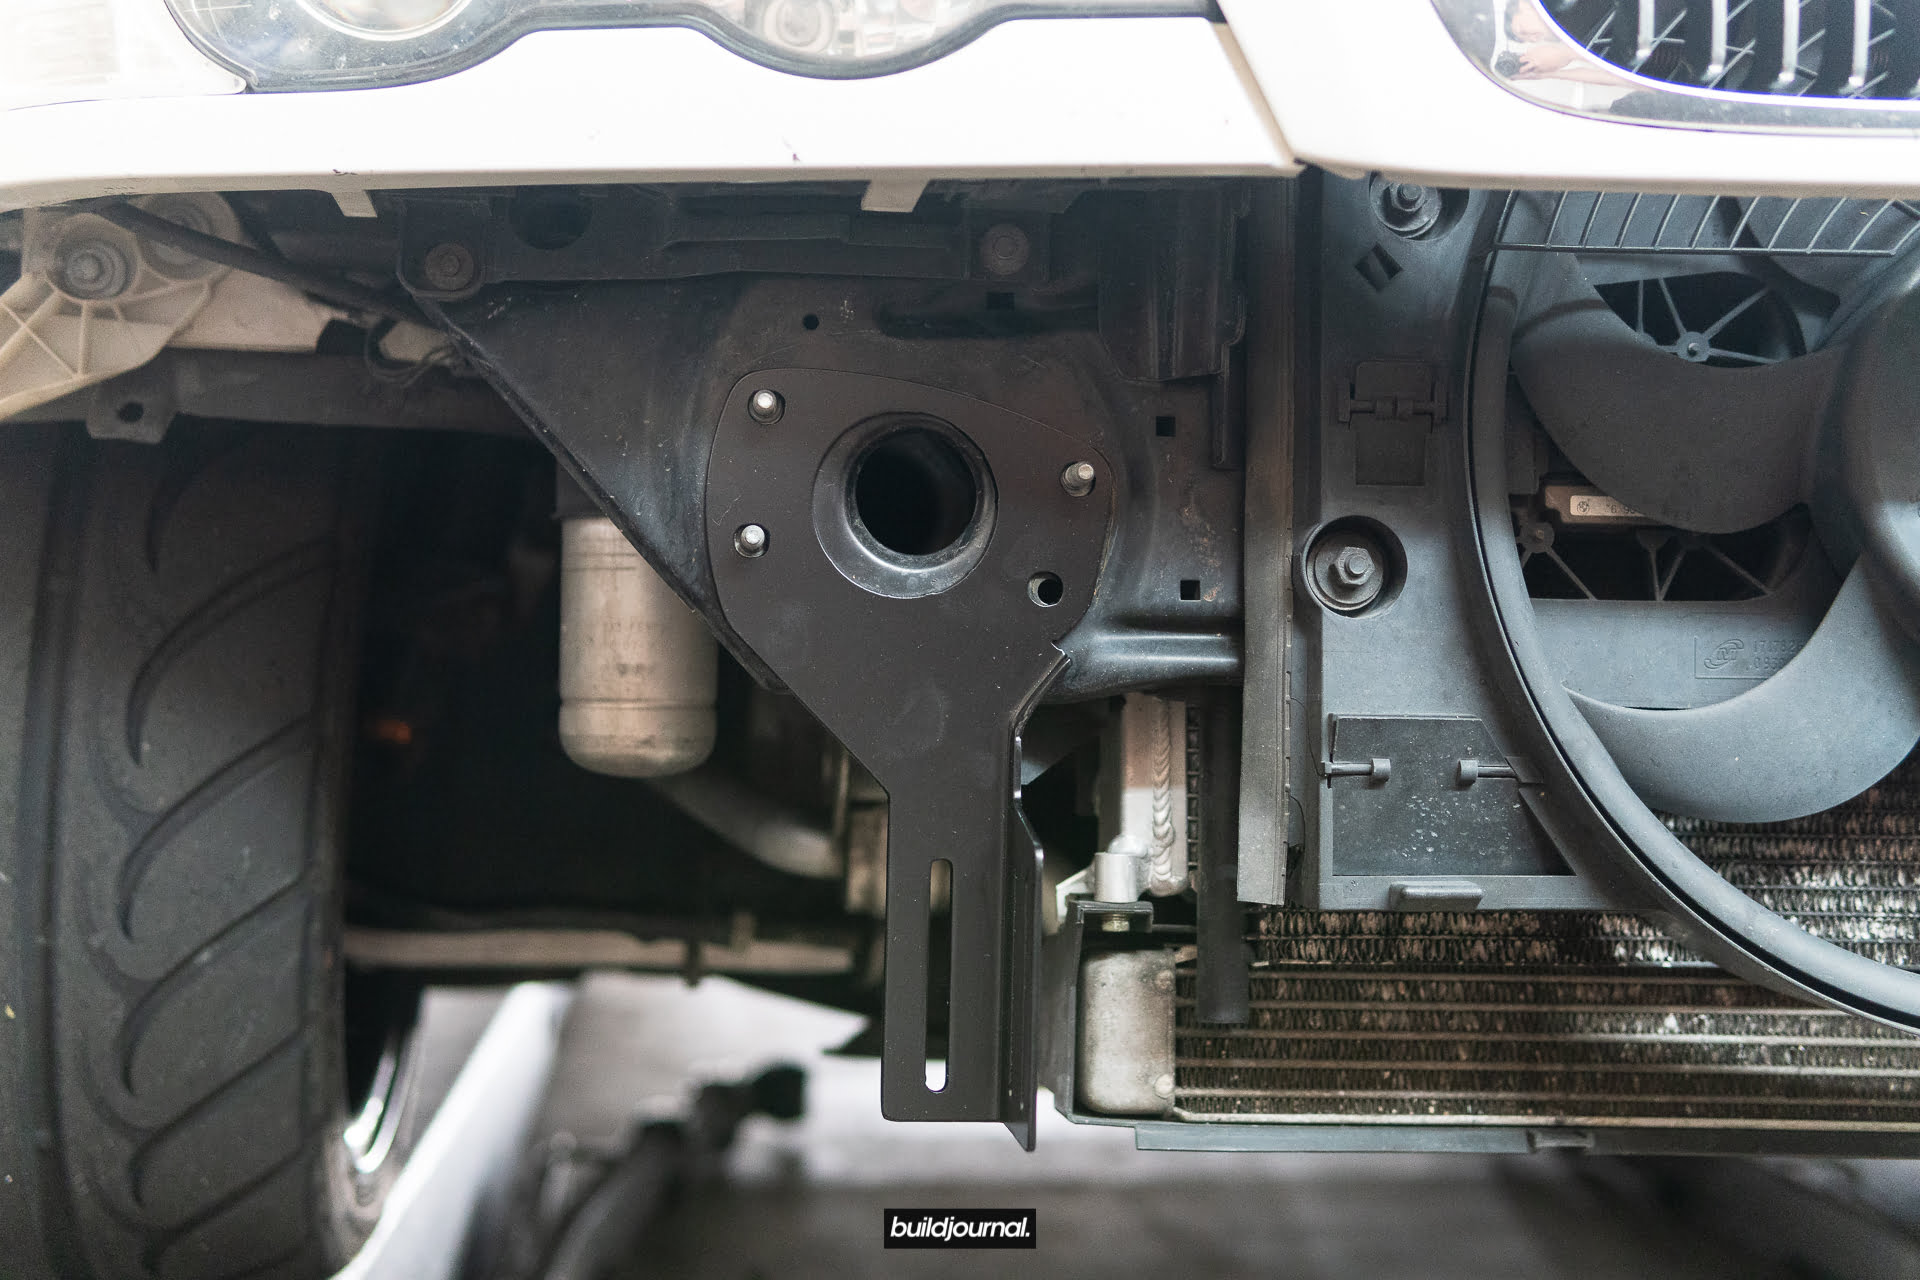
3. Remove front undertray.
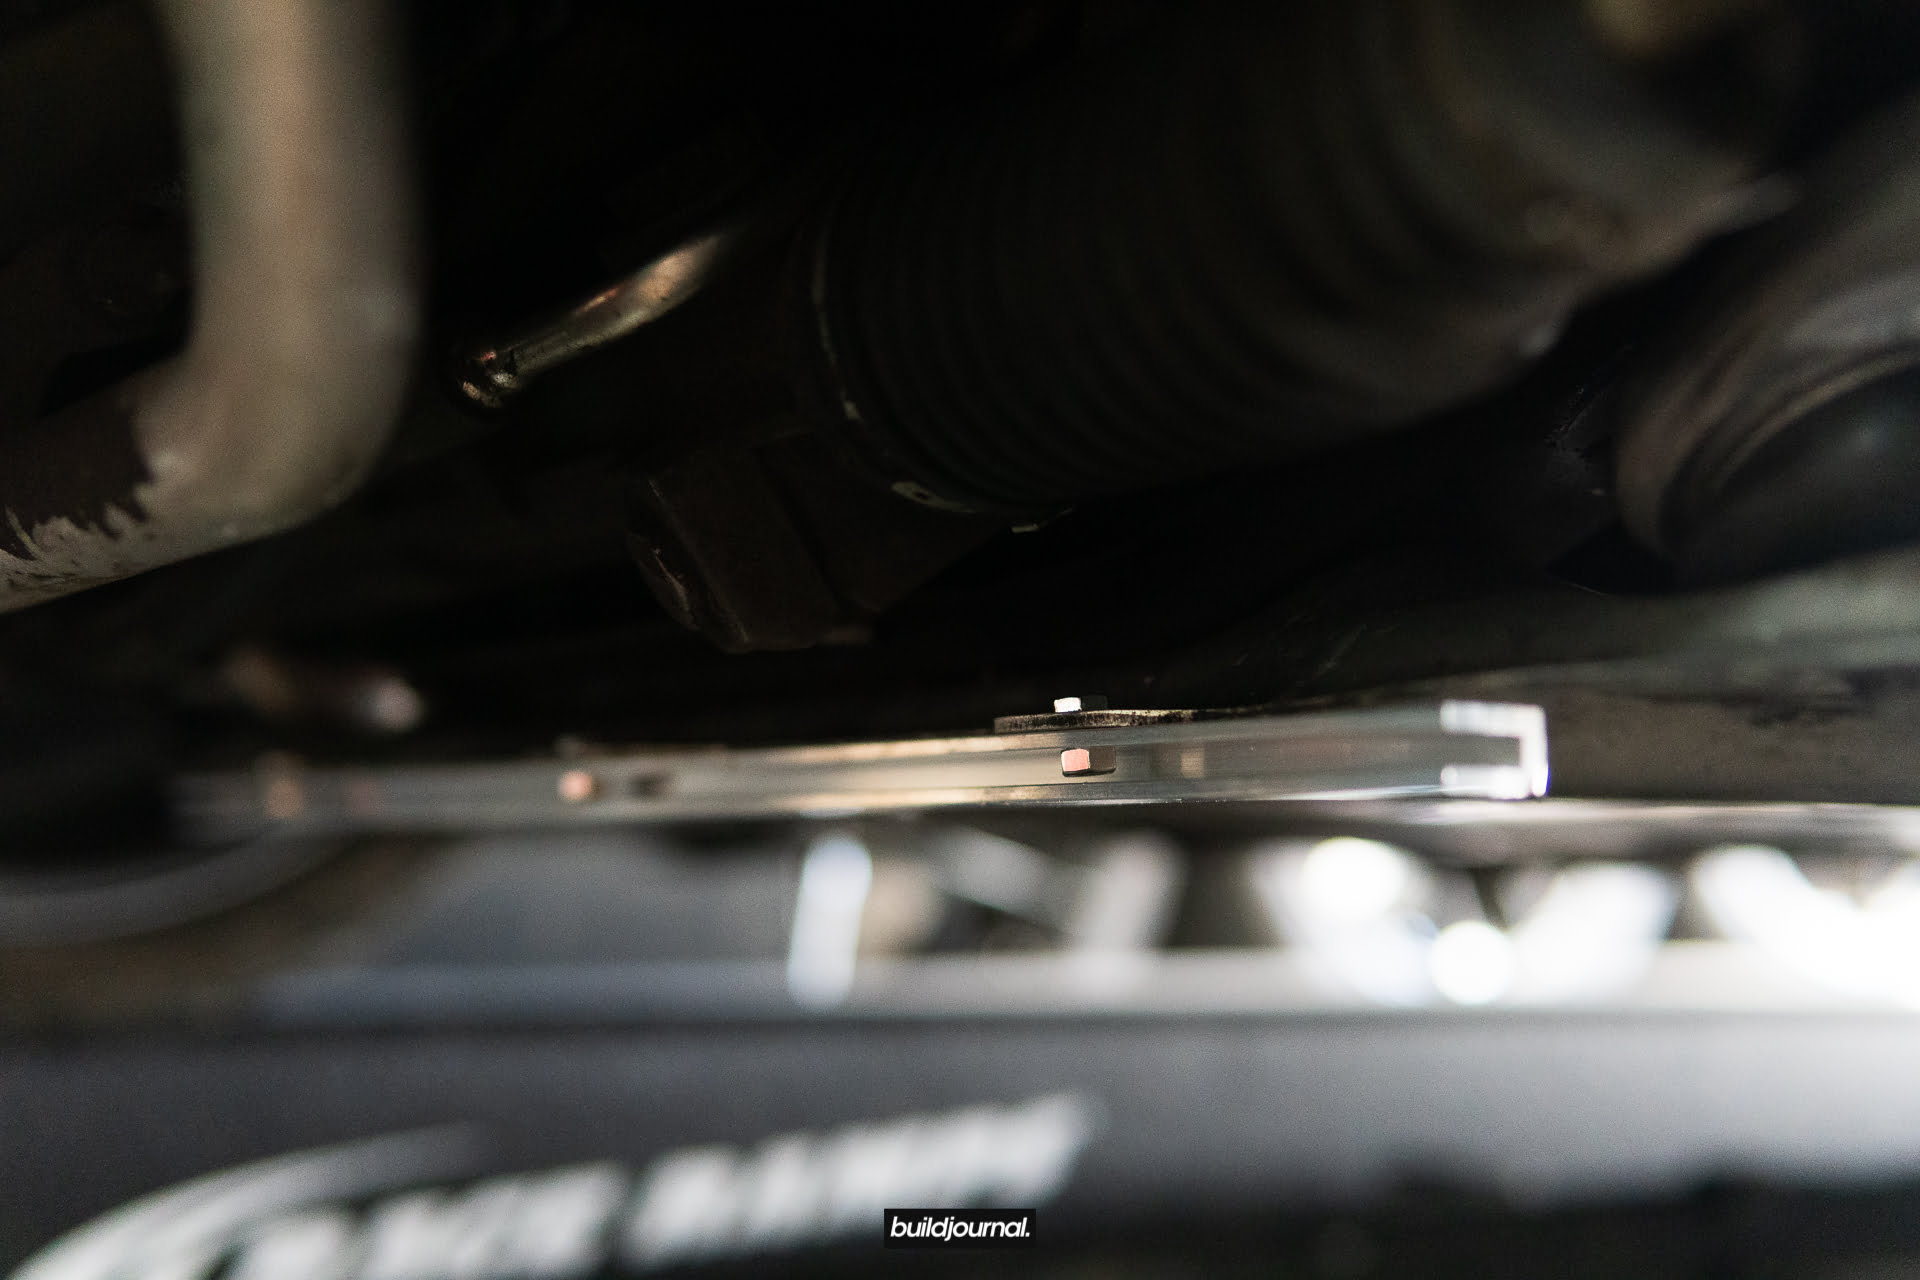
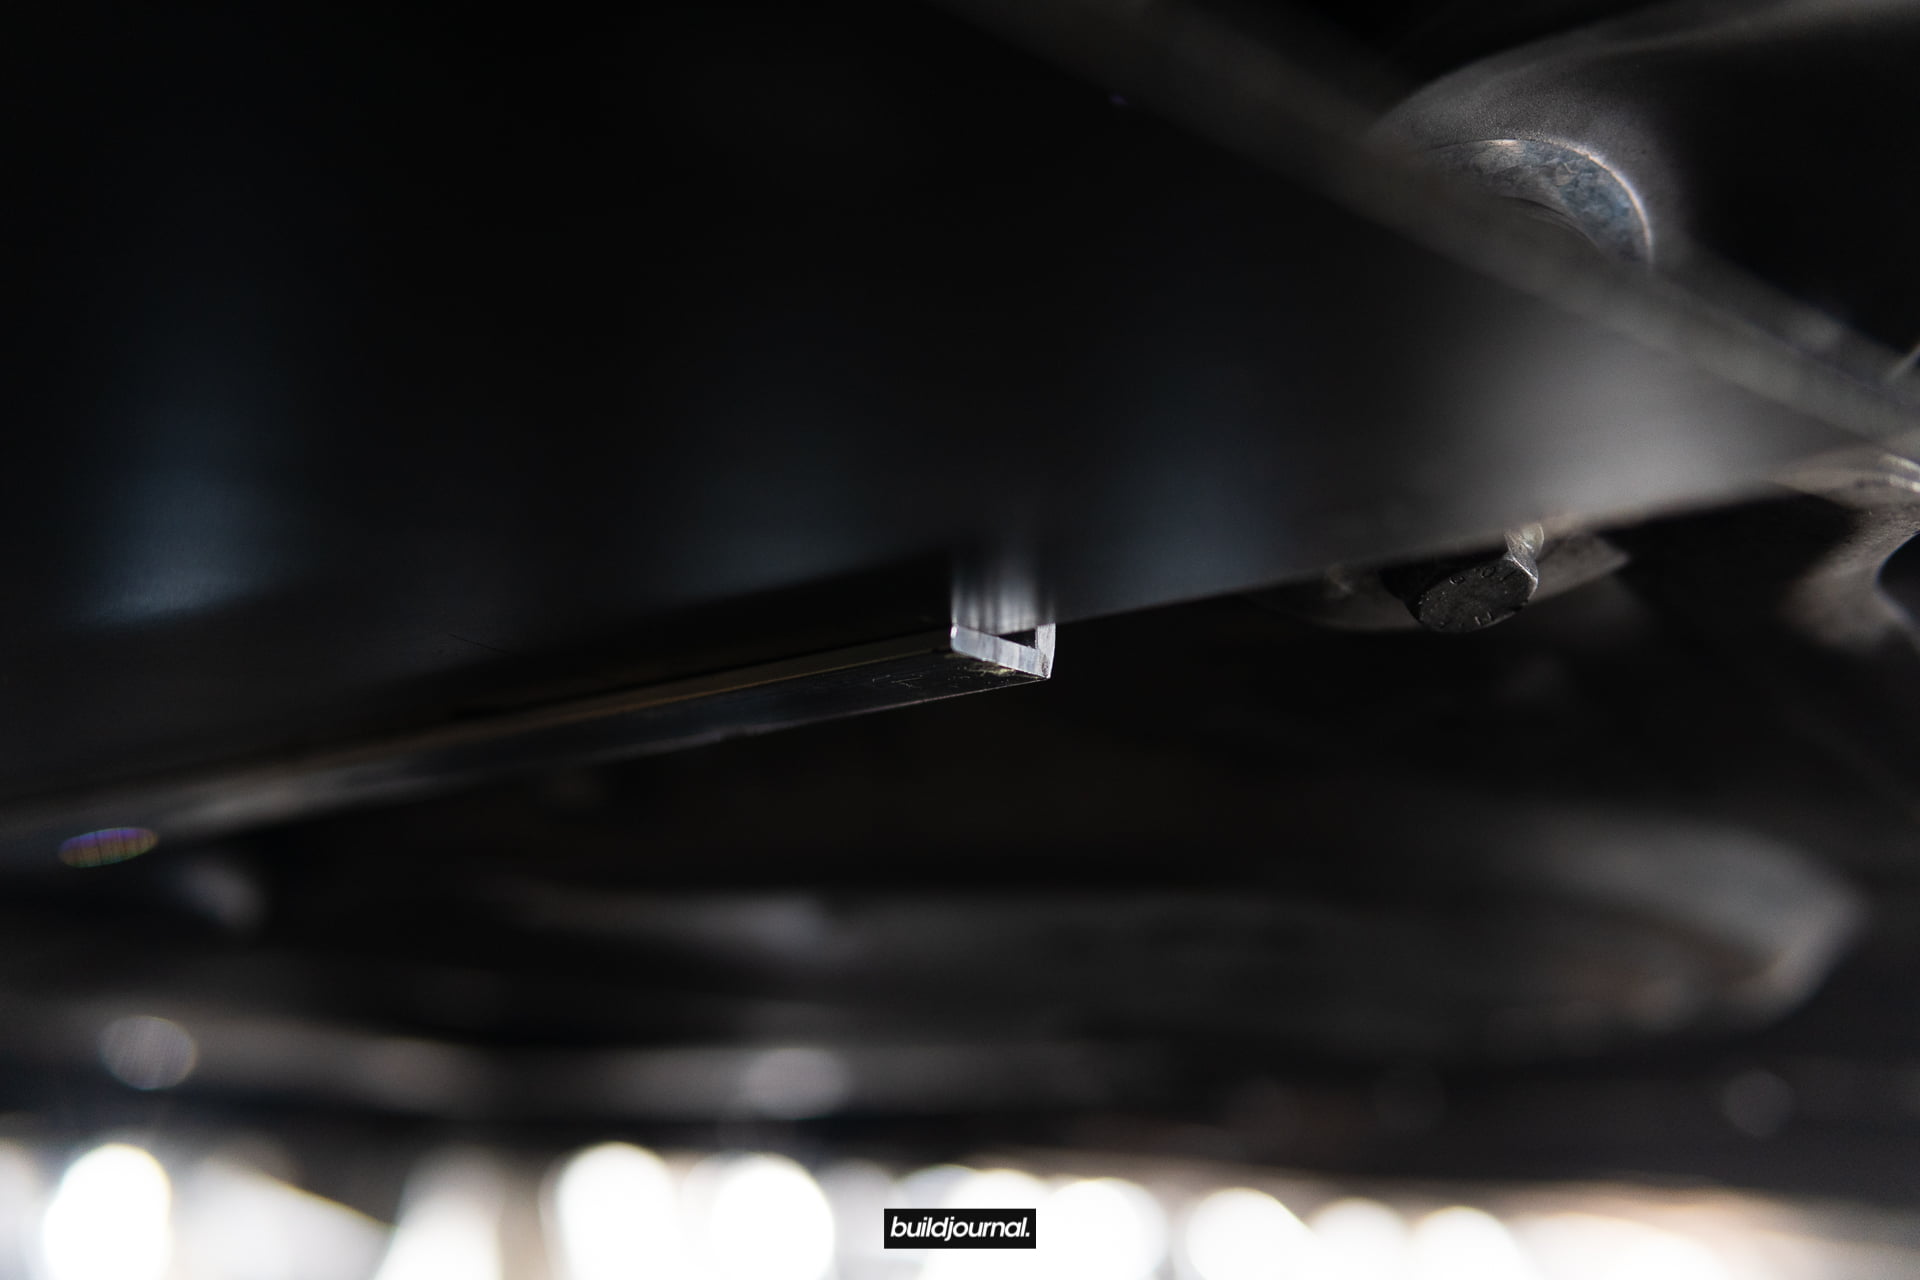
4. Install U-Channel with the supplied (3) M6 12mm Hex Head Screws, (3) M6 12mm OD Washers, and (3) M6 Nylon-Insert Locknuts. You will install using the existing 3 OEM front brace holes that connected to the under tray. Line up the 10mm nuts in the channel first and slowly position it into place. Insert the 10mm bolts through the top of the 3 OEM front brace holes.

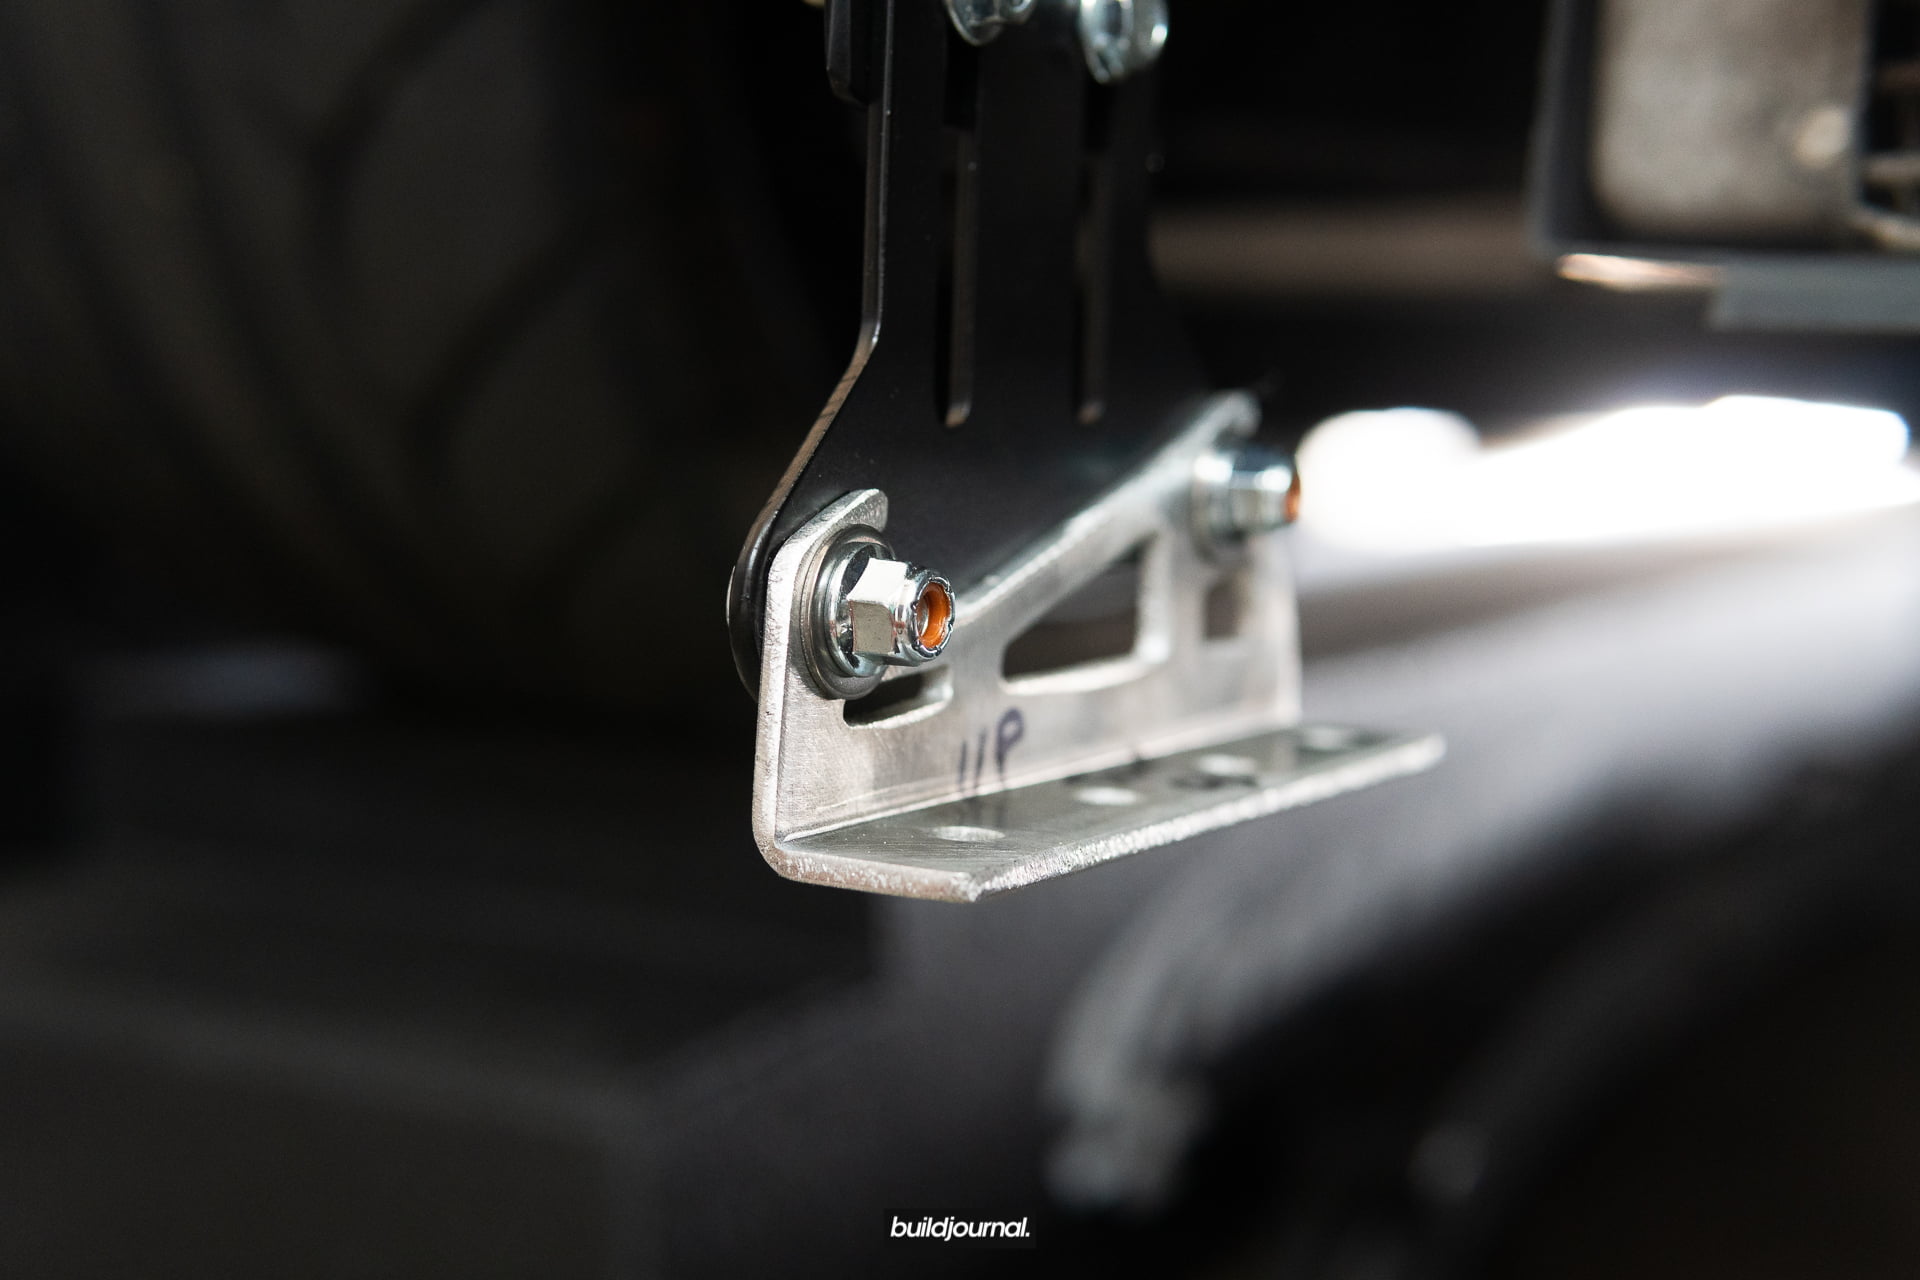
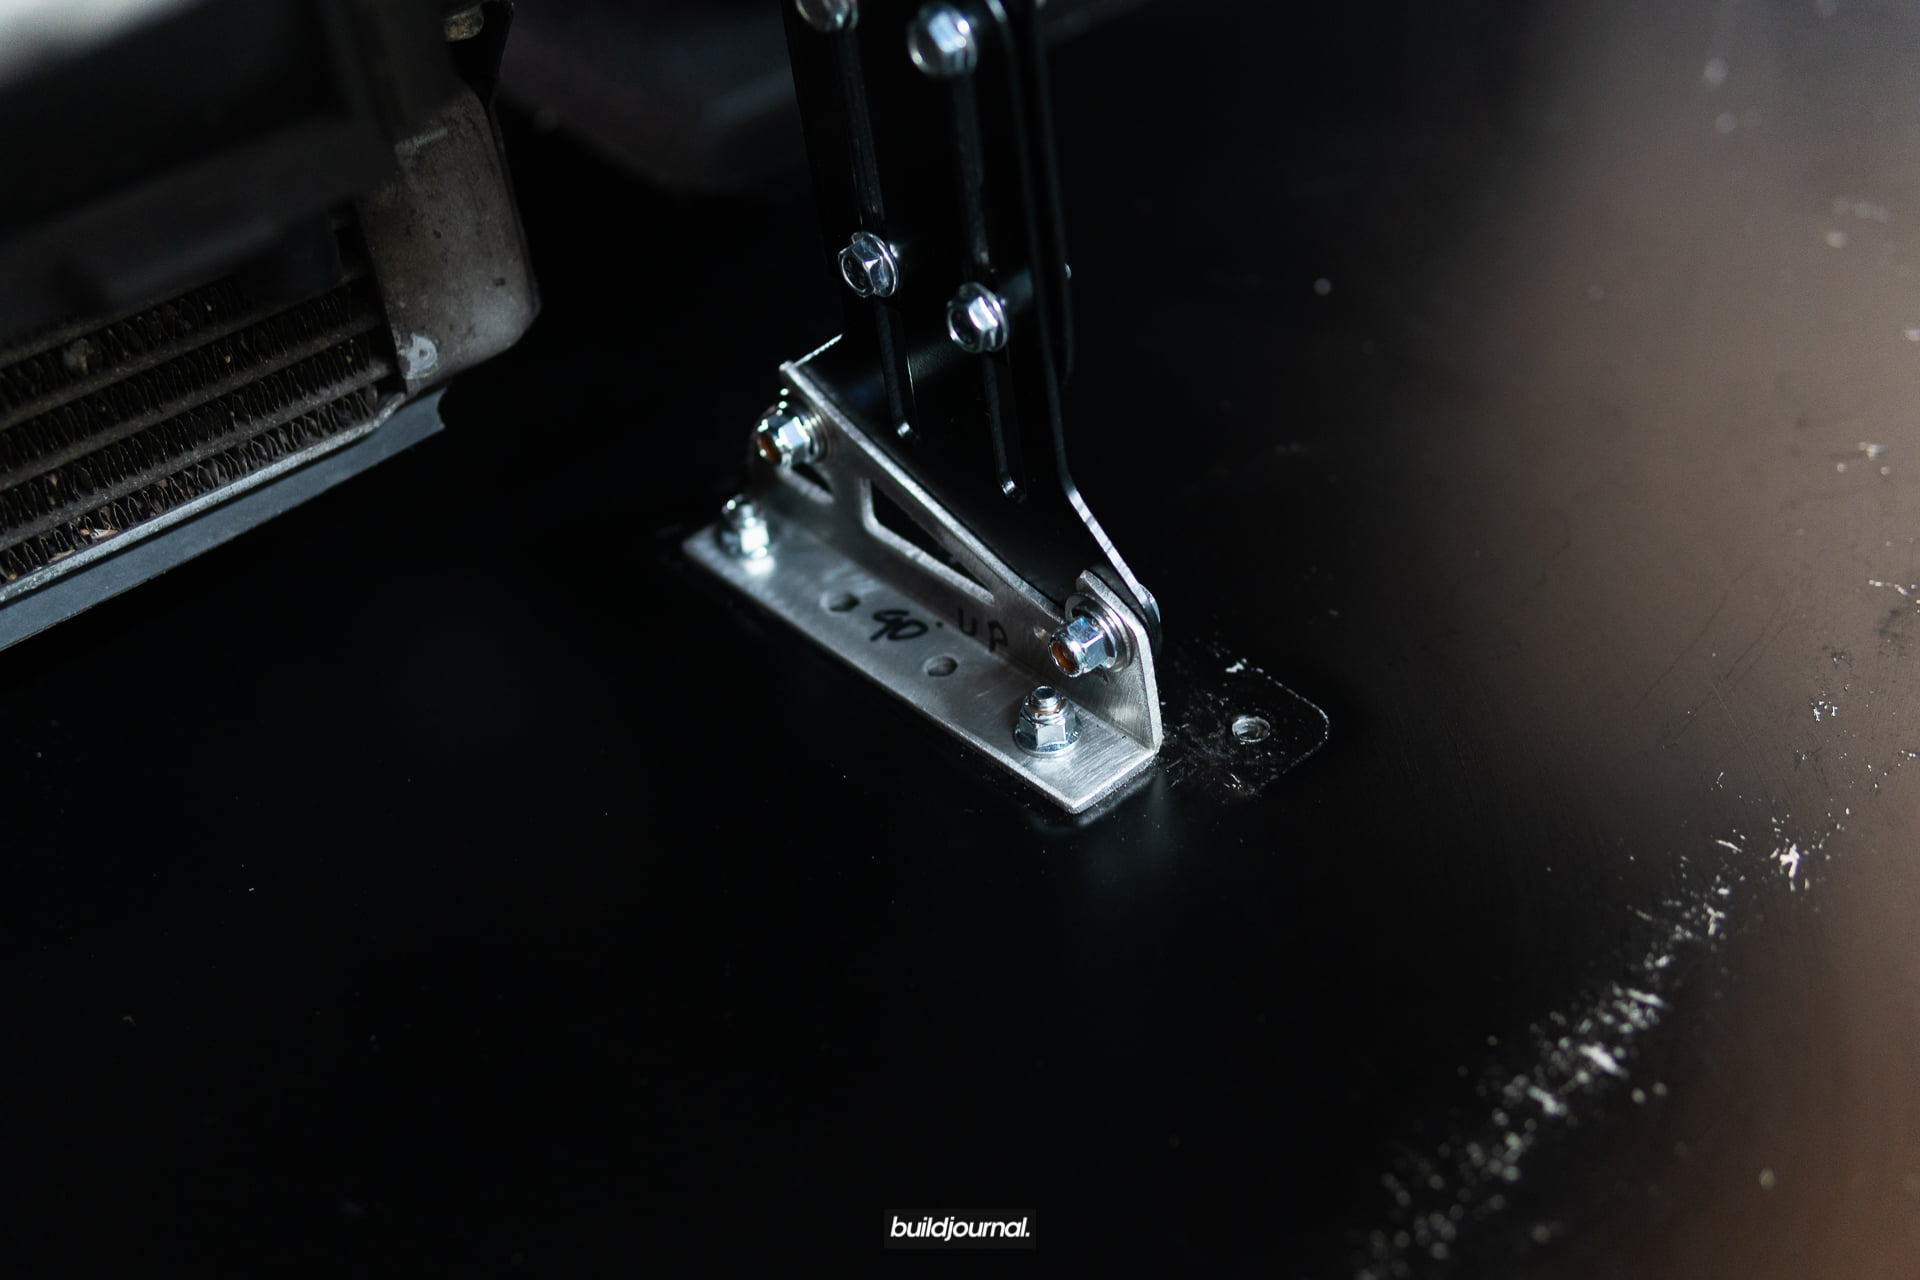
5. Install Steel Bumper Brackets on each side.


6. Install Steel Adjustment Brackets on each side using (8) M6 16mm Serrated-Flange Hex Head Screws, (8) M6 Nylon-Insert Flange Locknuts, and (8) M6 18mm OD Washers. You can preset the height for now in reference to how it’s shown in the picture. You’re going to need to micro-adjust the height in the last step, but this should be a good preset for running the ACS lip and stock OEM bumper.

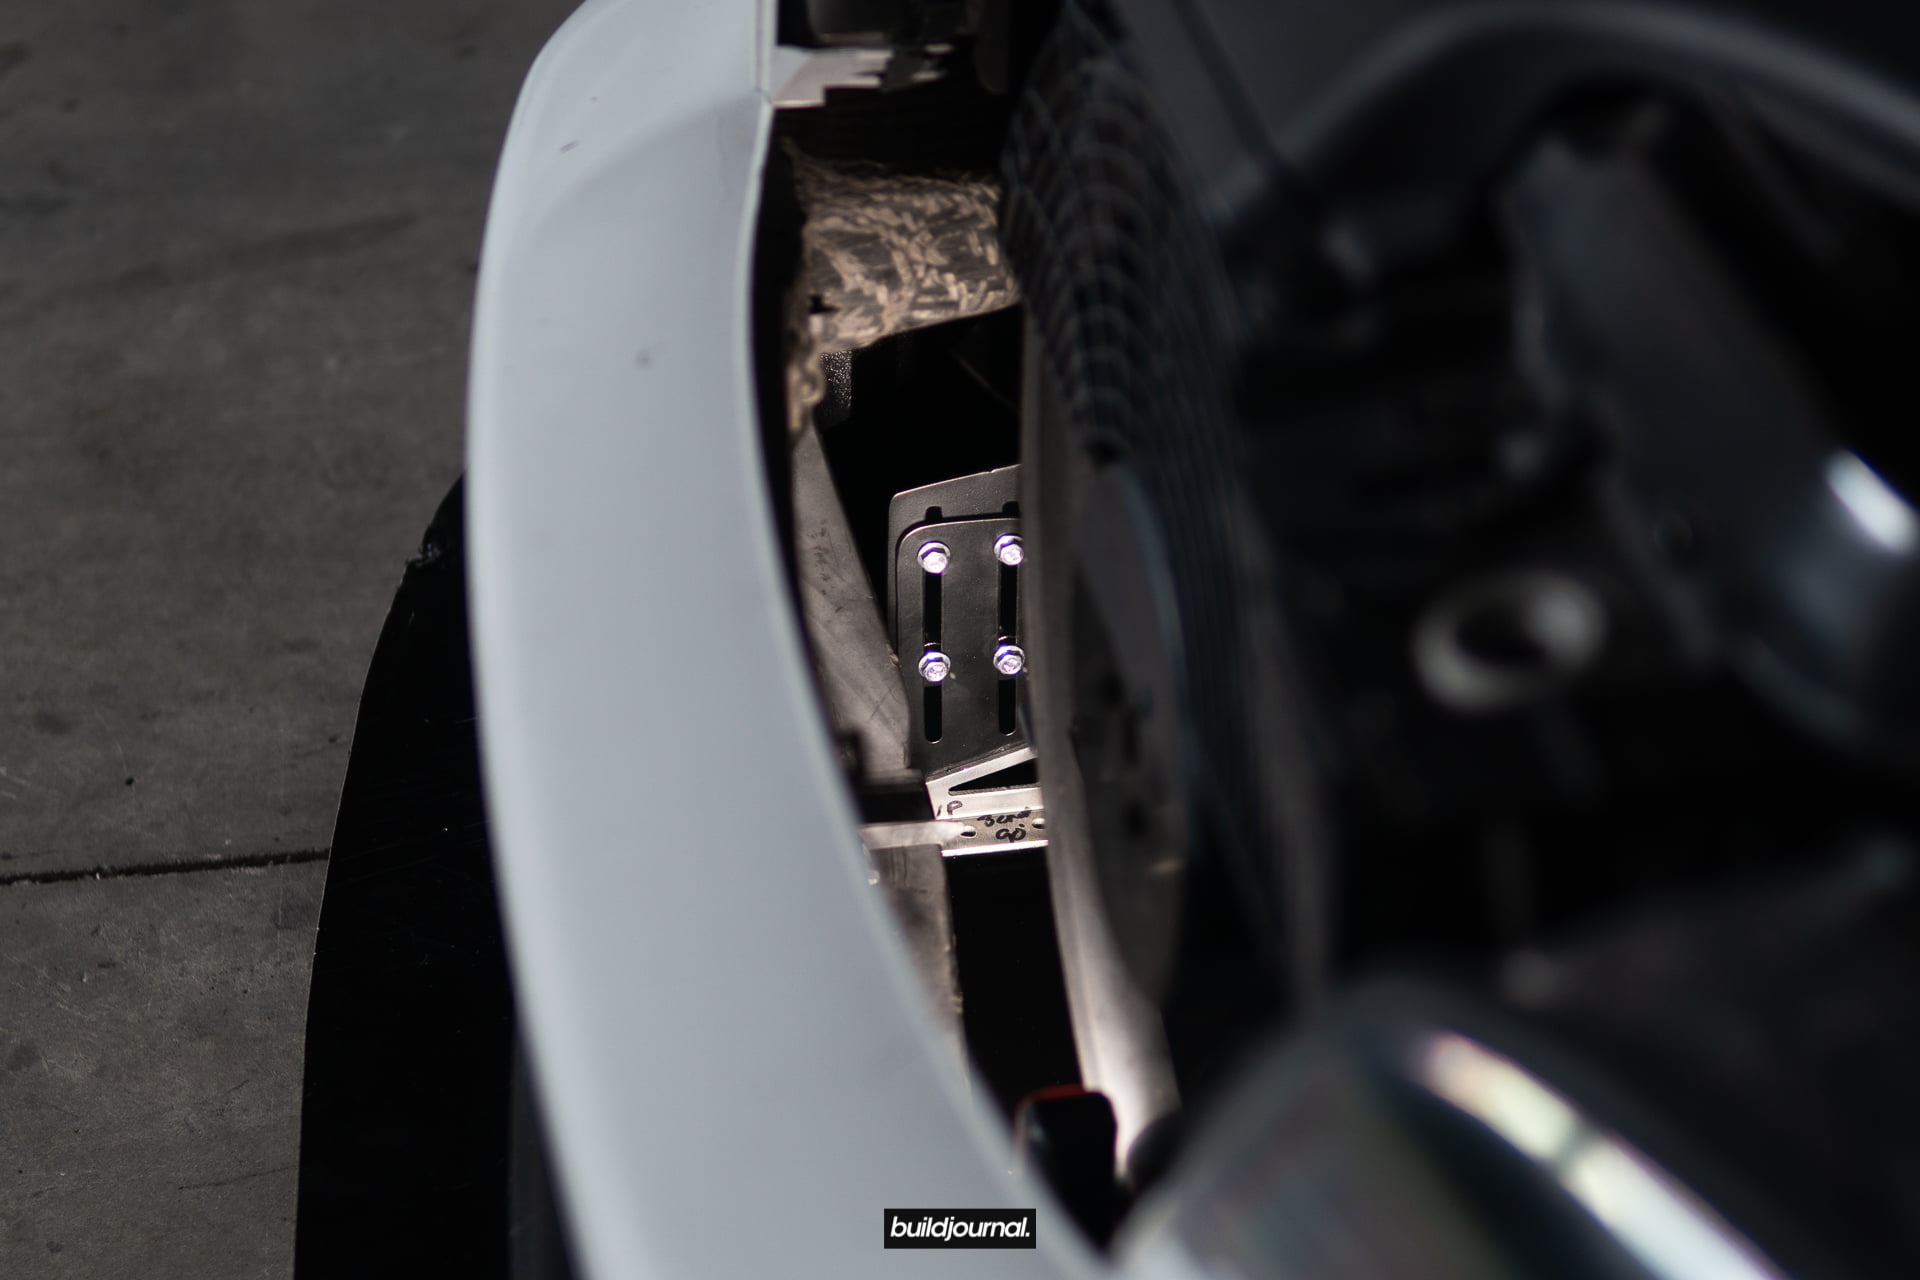
7. Install Aluminum Feet with (4) M6 20mm Serrated-Flange Hex Head Screws and (4) M6 Nylon-Insert Flange Locknuts. Apply hand tight.
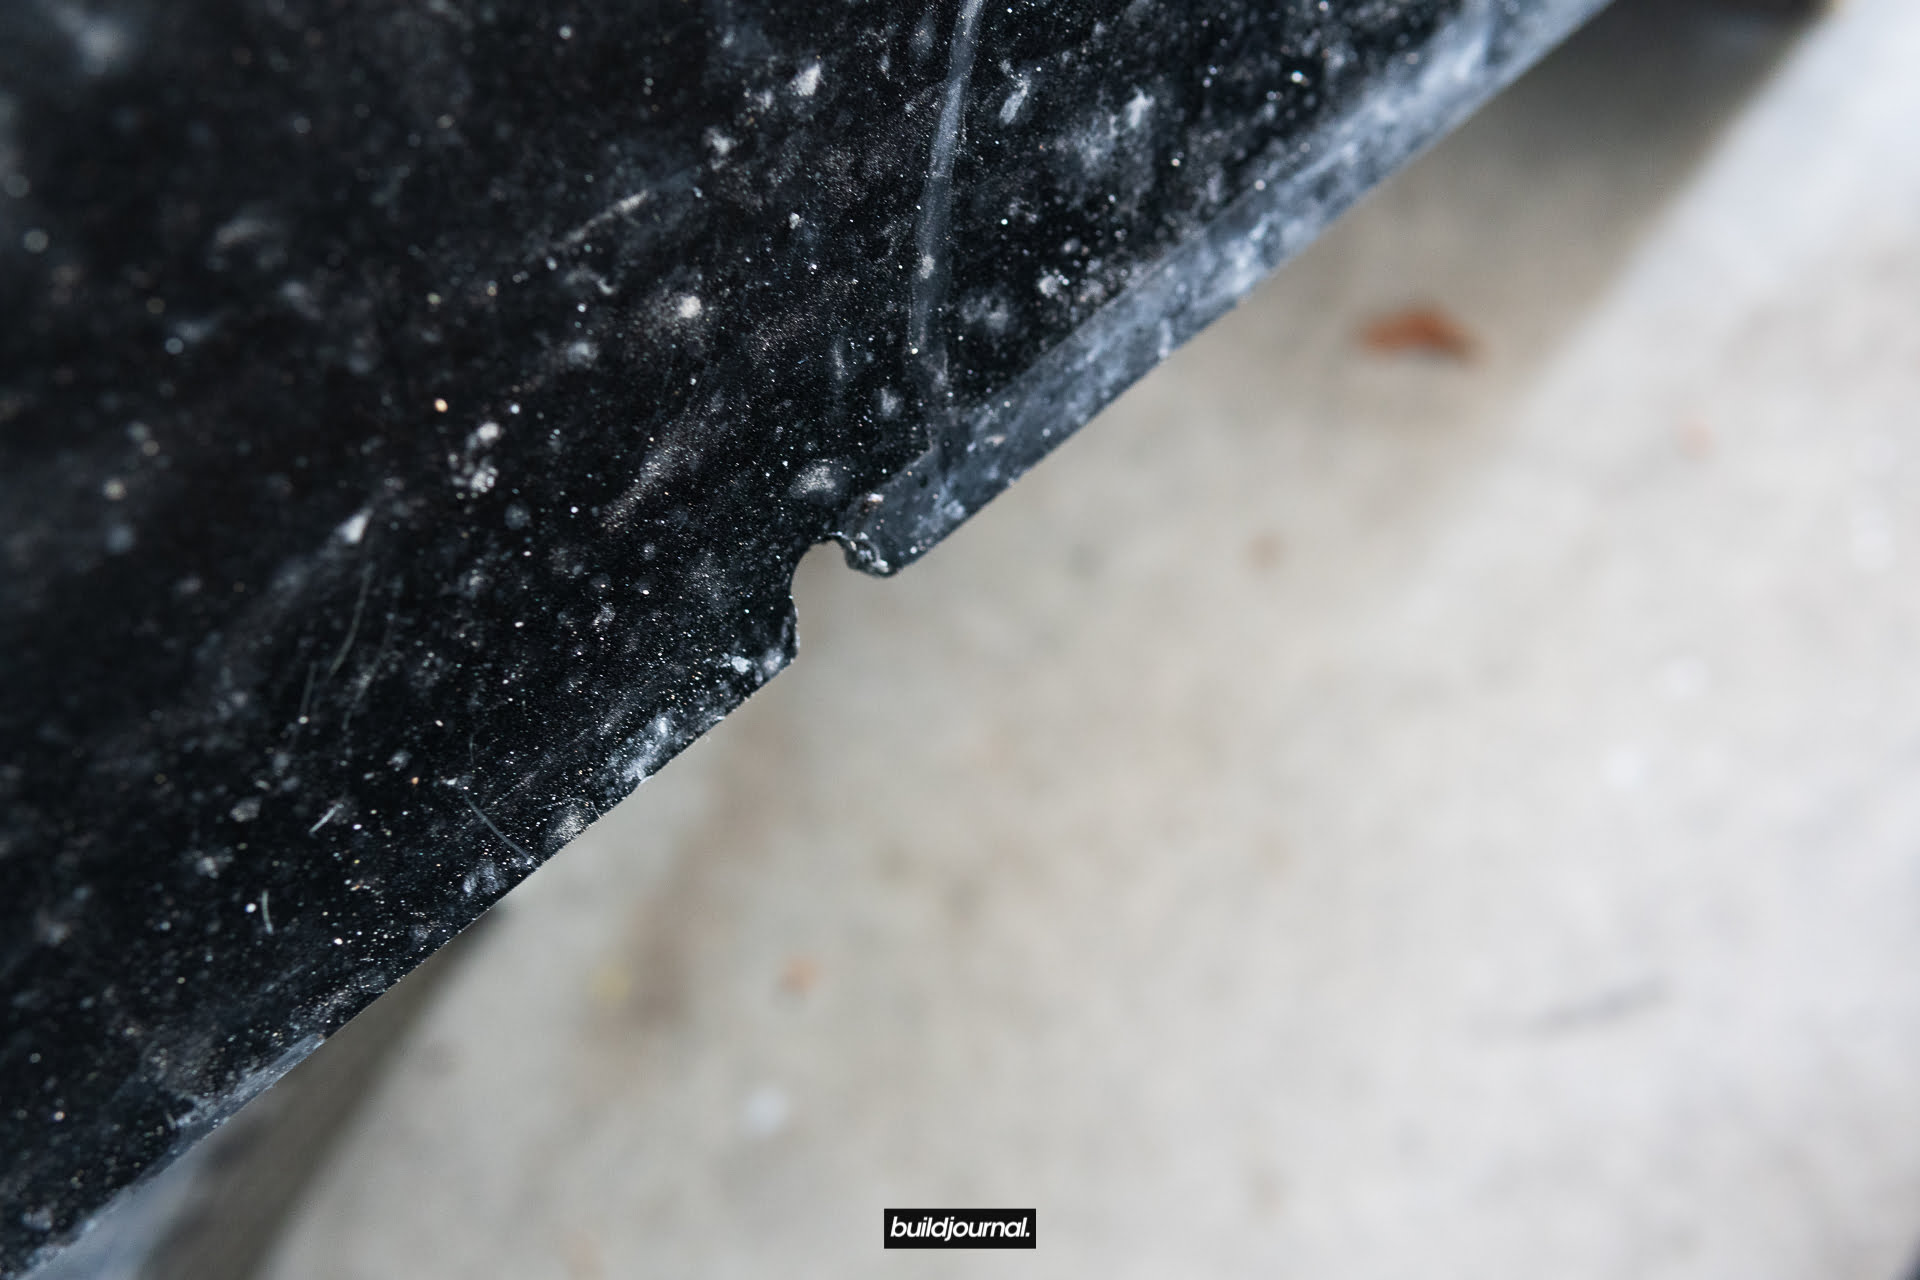
8. Observe the 3 cutouts on the Buildjournal Race Splitter. These are cut inwards to sit flush against the U-Channel.
9. Reinstall the bumper carrier and install 13mm OEM nuts.
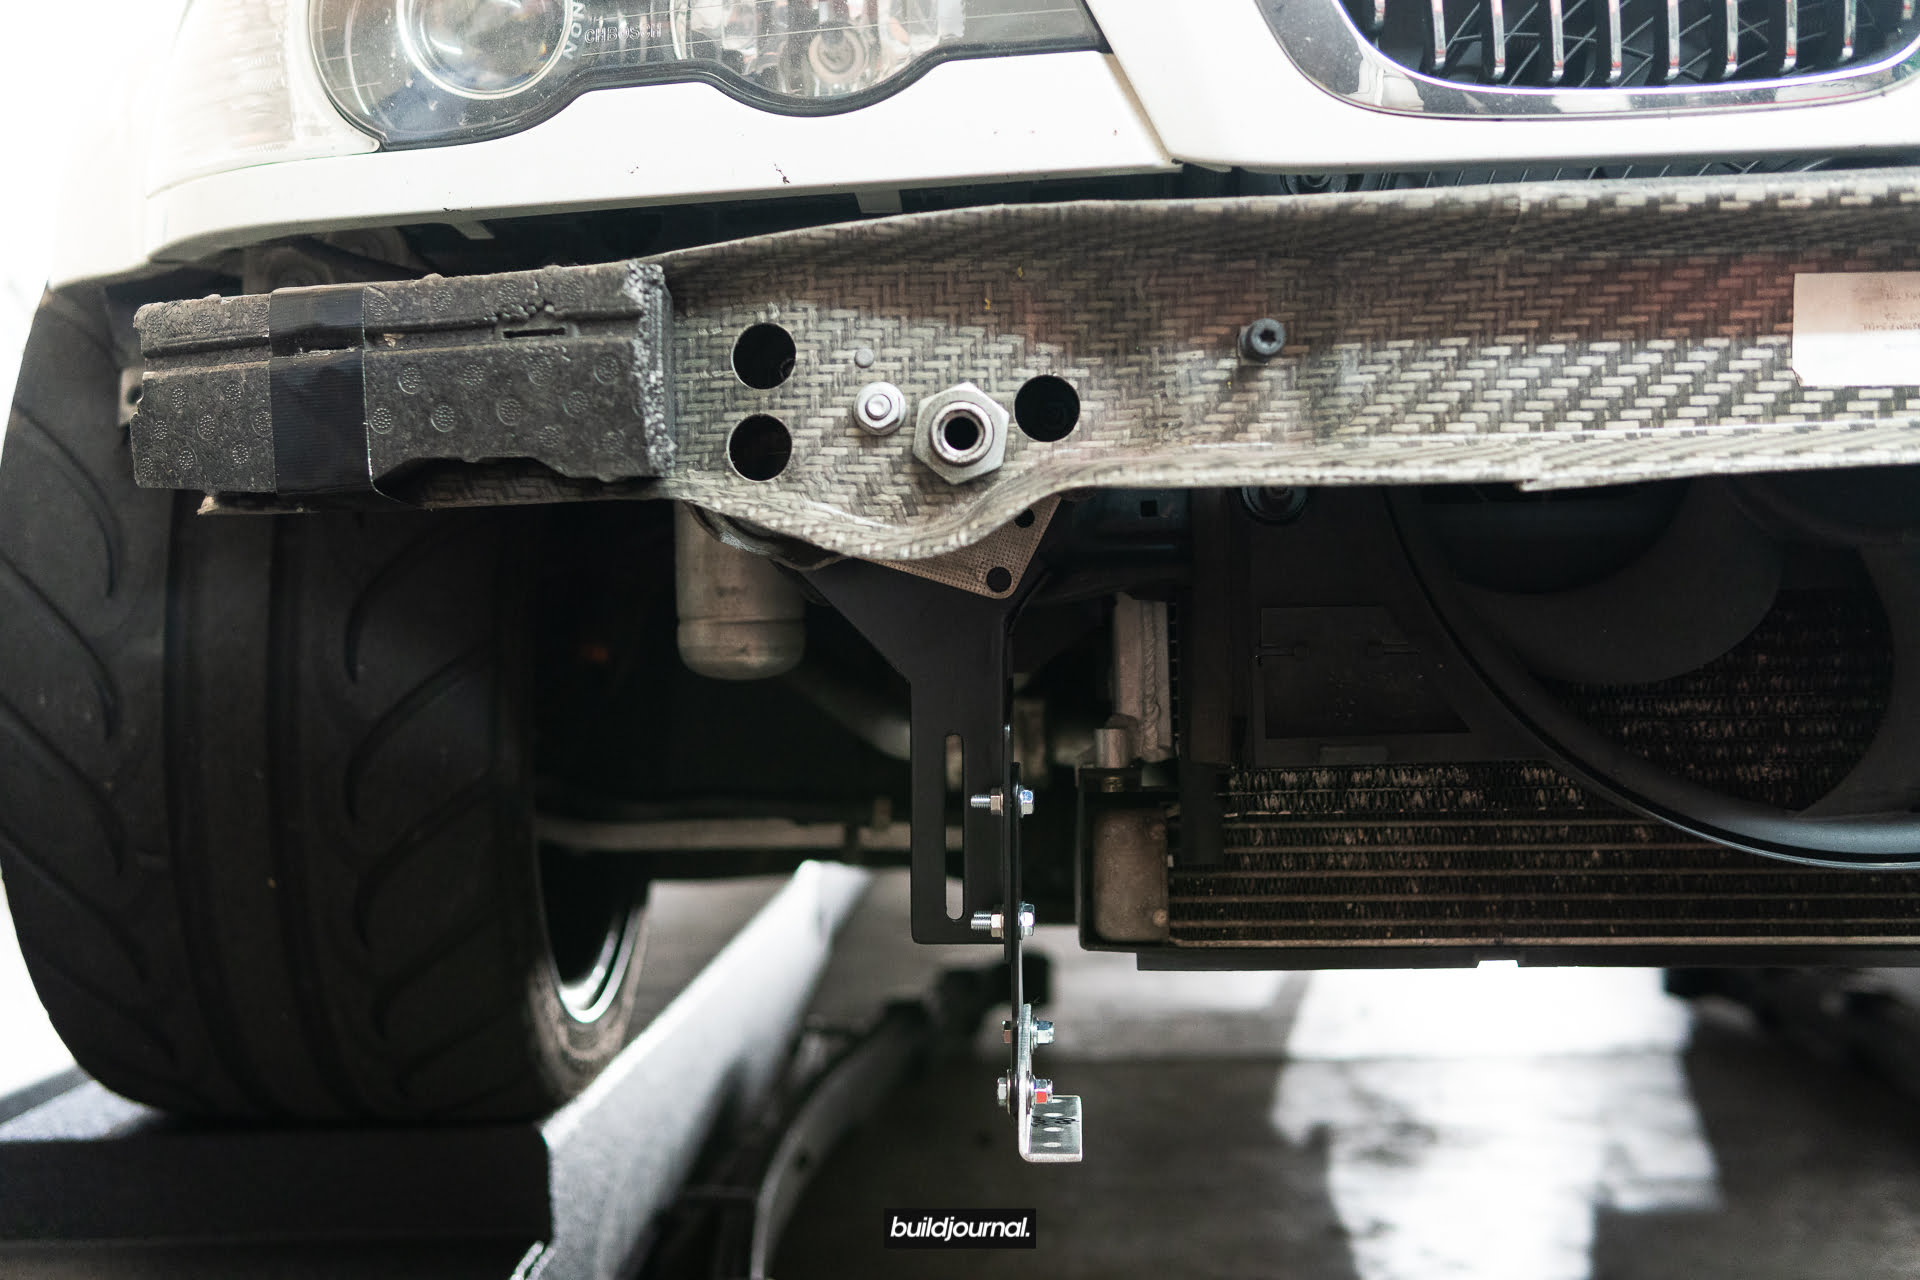
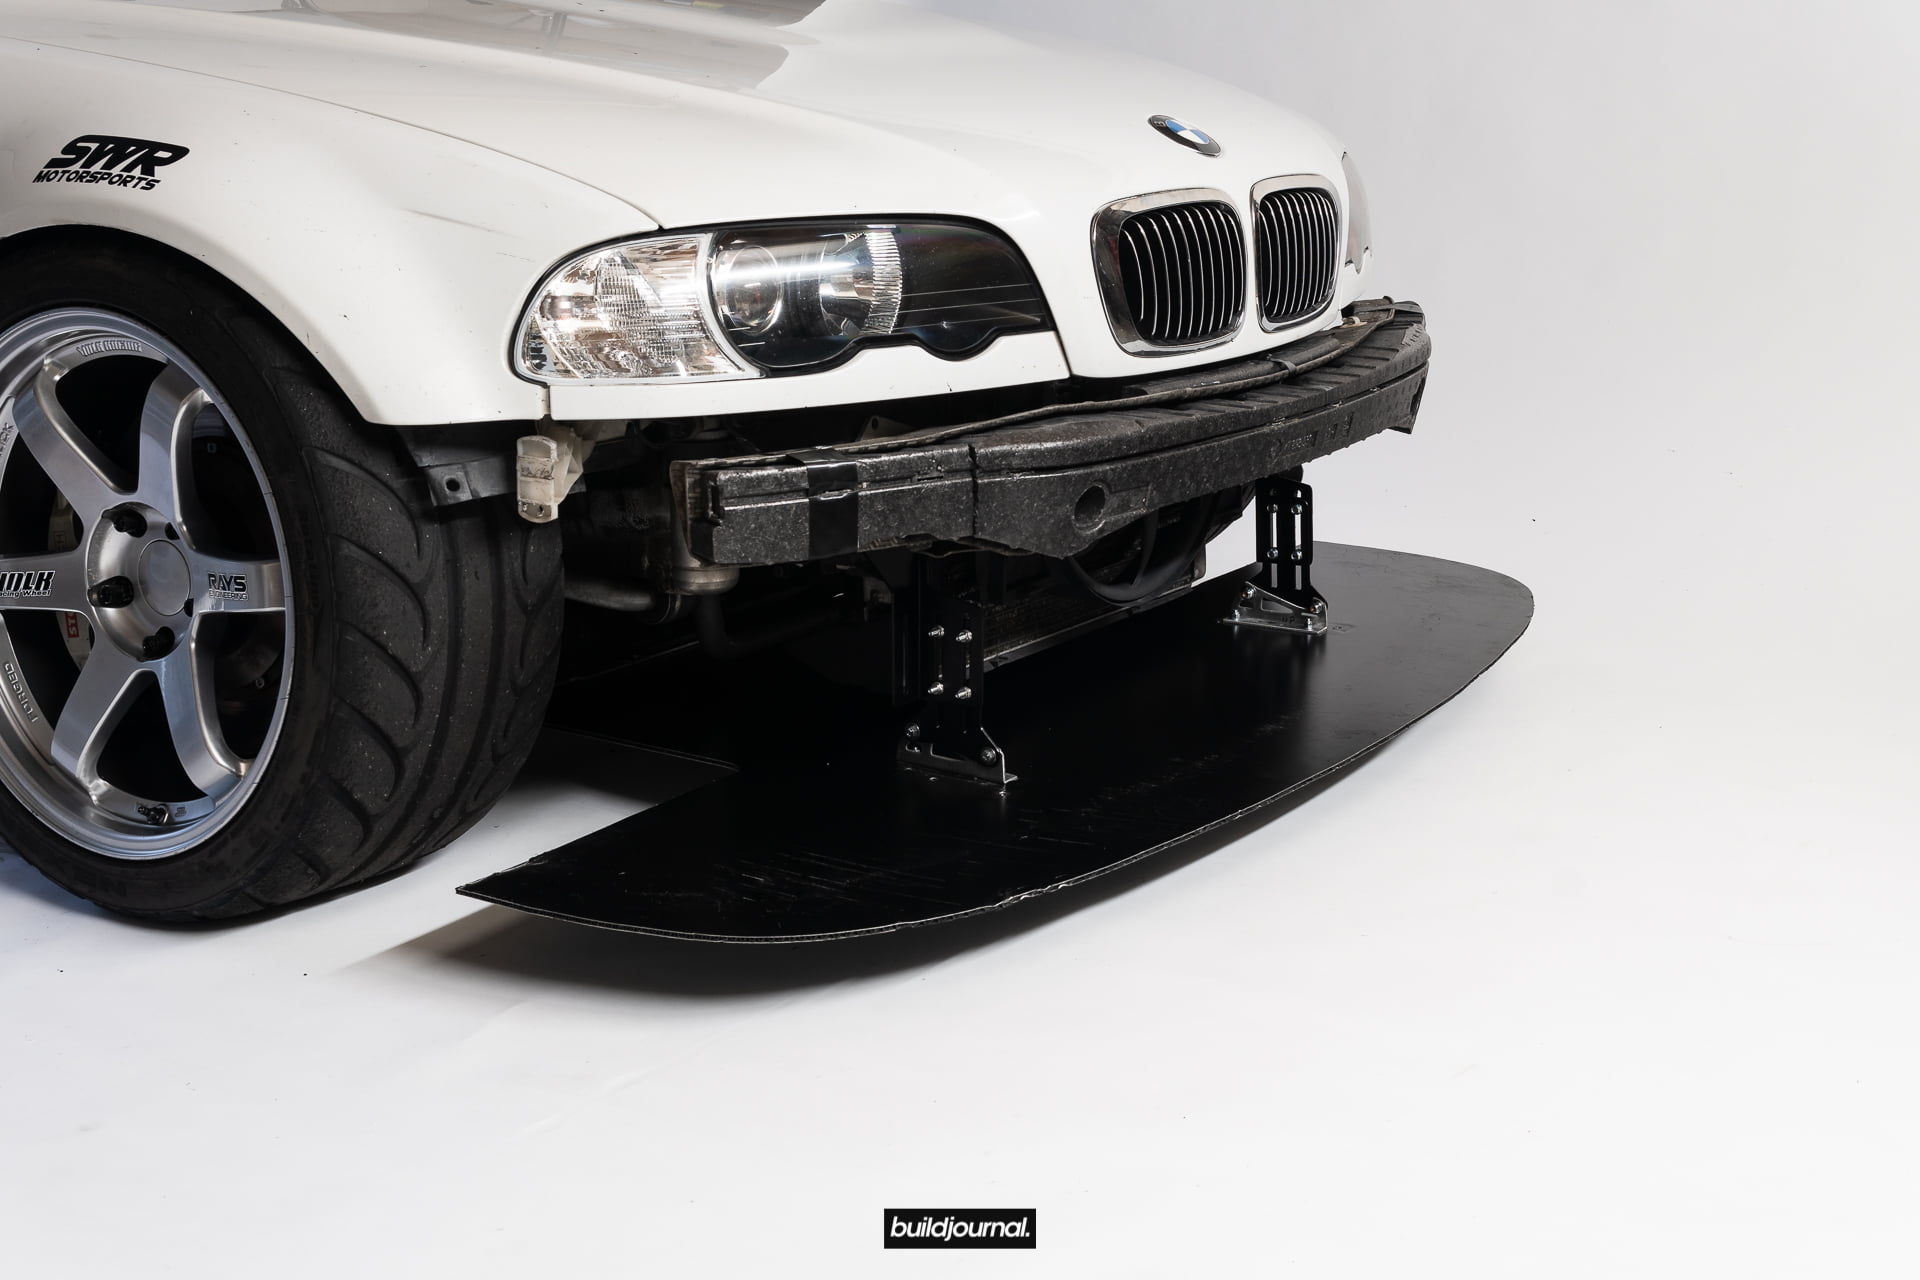
10. Slide the splitter into the U-Channel. Double check to make sure the splitter sits flush and back against the U-Channel.
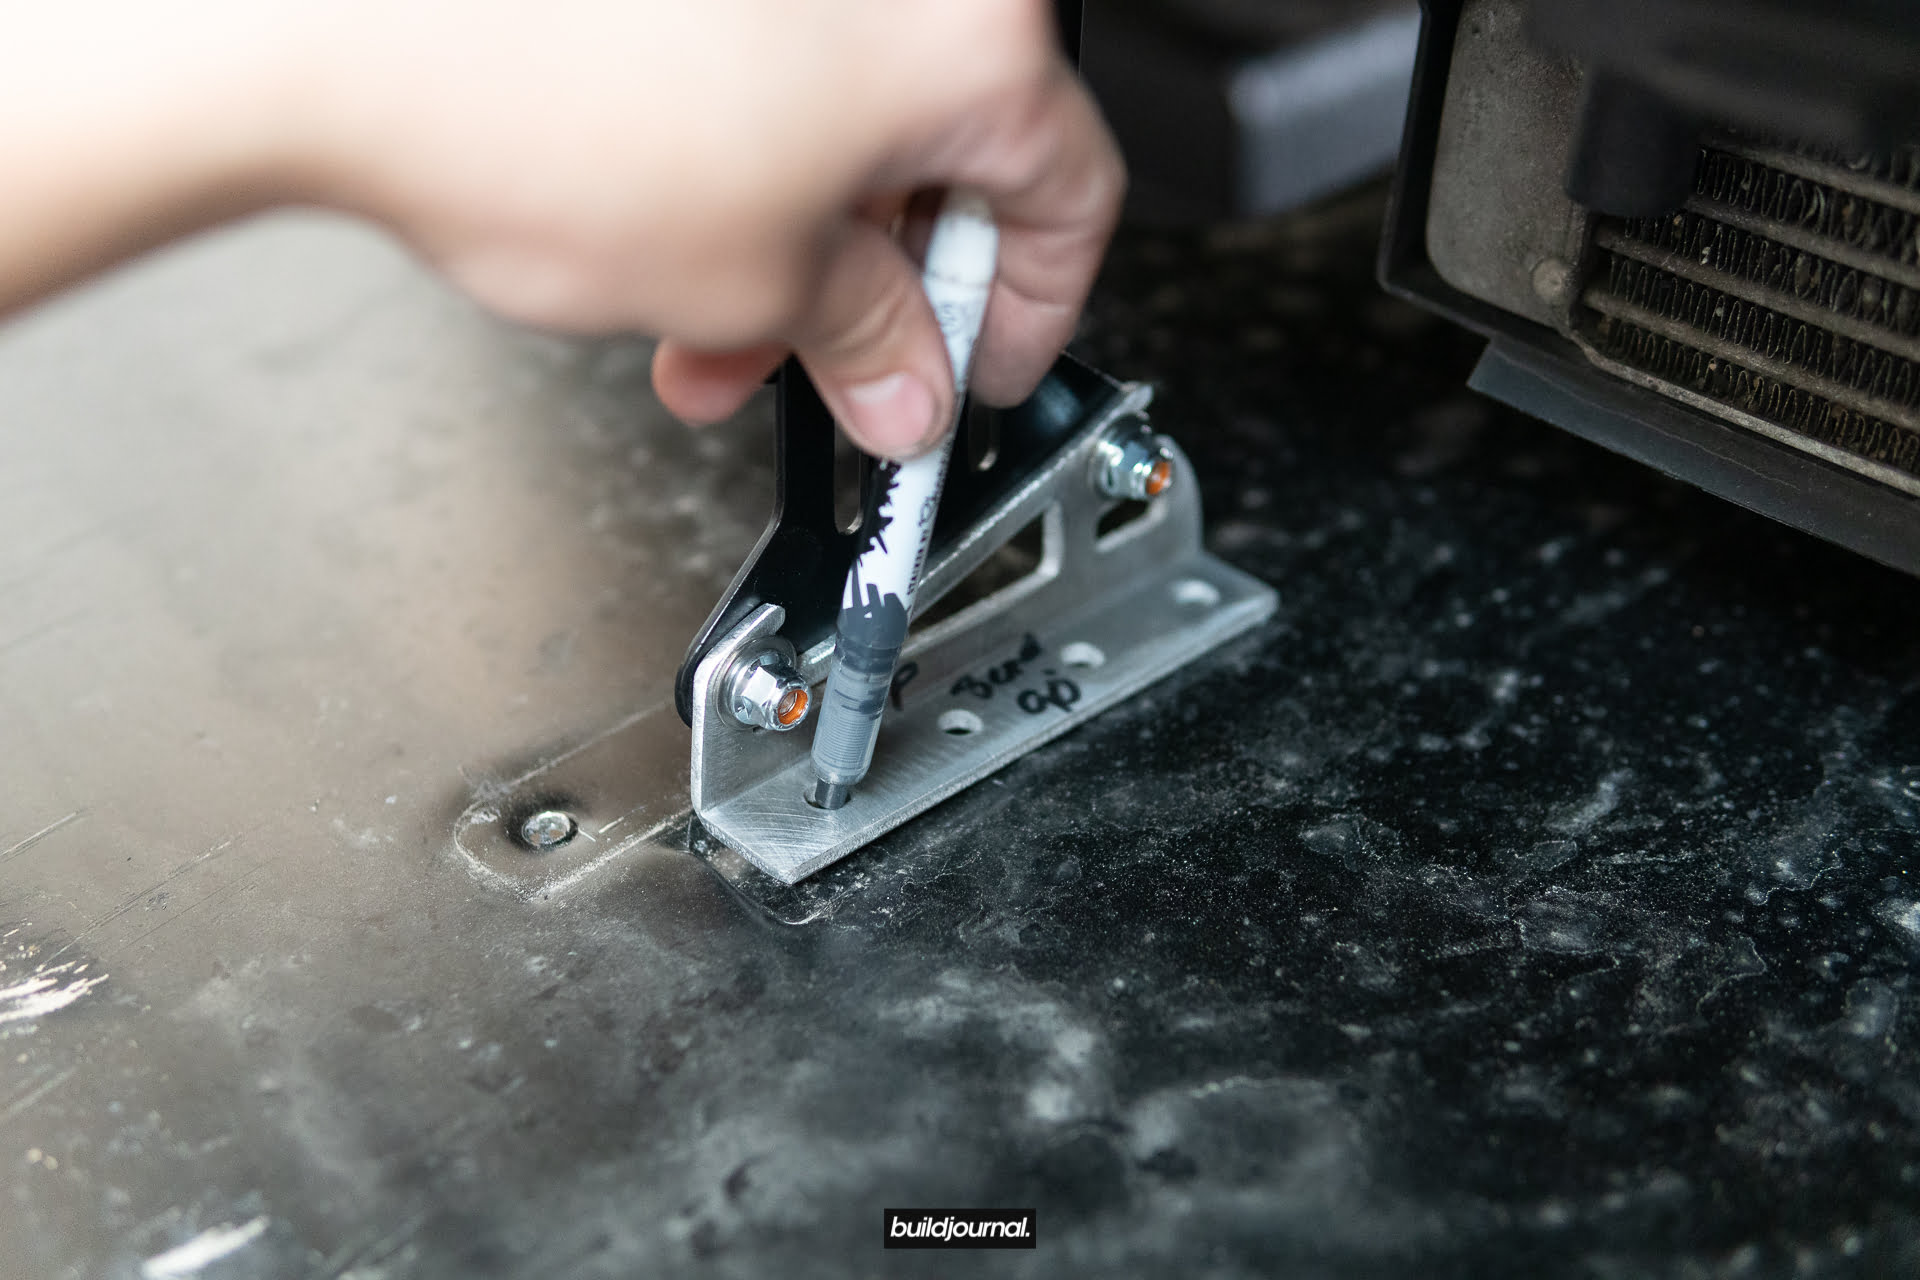
11. Align the splitter in the middle and hold pressure against the back of the U-Channel. Carefully raise the splitter up against the aluminum feet and mark the drill locations using a marker.
12. Use the (4) M6 18mm Hex Drive Flat Head Screws, (4) M6 18mm OD Washers, and (4) M6 Nylon-Insert Flange Locknuts to install splitter onto Aluminum Feet.
13. Check the top and bottom of the splitter to see if seating is still in proper position all the way against the back of the U-Channel. Tighten down the feet to the splitter.

14. Adjust the Steel Adjustment Brackets to set your desired height and tighten everything down. Install your bumper back on.
PRO TIP: Since I have my radiator shrouds removed, I can disconnect the splitters from the engine bay, top down. This makes it a super easy and fast removal whenever I need to get on the trailer or doing an oil change.