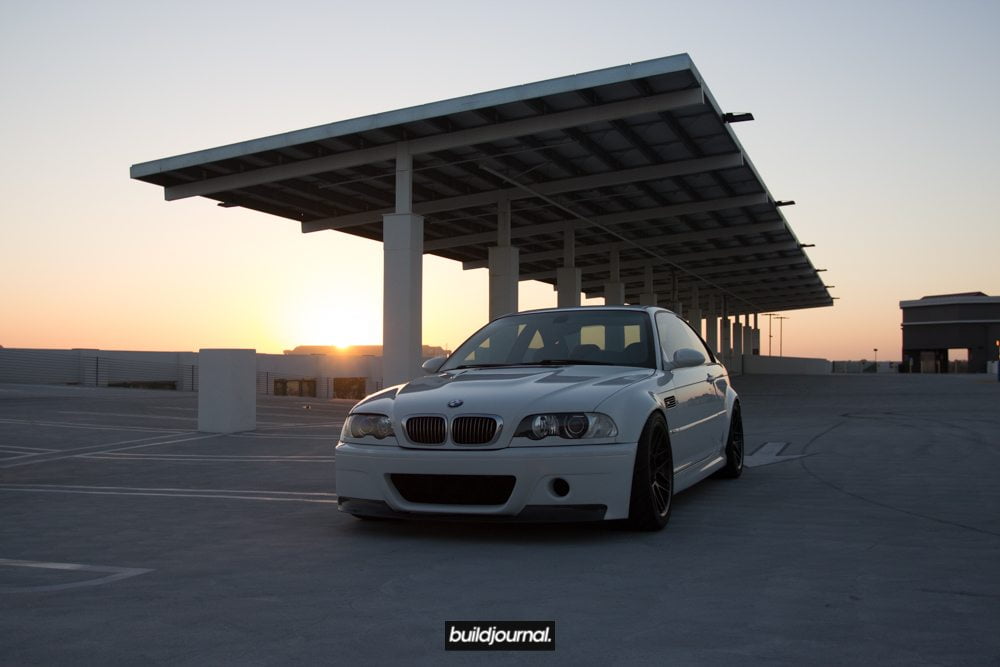
When I first started doing automotive photography, I did a ton of research on equipment. Things like camera body, lens, polarizer filter, flash diffuser, lens hood, blah blah. I figured if I use the same equipment as the pros, I’d get the same shot.
Wrong.
Although you have the equipment to process the raw information necessary to create a great image, you need some sort of image editing program to really get to control all the information in post. When I say information, I mean settings like exposure, contrast, highlights, shadows, whites, blacks, tone curve, histogram, etc. I won’t go over in detail about what each of those settings do, but I will go over some before and after pictures to show you how important post editing can be. Here are some images I took from a recent shoot and I’ll touch briefly on what adjustments I made.

Before Image Set 1 After
[one_third]
Exposure: 1/320 sec at f/4.0
[/one_third]
[one_third]
Focal Length: 22 mm
[/one_third]
[one_third_last]
ISO Speed Rating: ISO 200
[/one_third_last]
First thing about the raw image is the exposure level. Remember when you’re shooting your camera shutter speed and setting ISO, you’re controlling the amount of light that you allow through the sensor. The thing about this image is that there is low light and high light areas meaning parts of your image are going to be under/over exposed.
In this case, I’m shooting towards the sun so I’ll be able to easily capture the background, but the foreground subject isn’t exposed to sufficient lighting thus it becomes underexposed. You want to increase the Exposure.
The next thing I noticed was since I raised the overall exposure, the background sunlight is washed out. So I created a Gradient from the top-down lowering the exposure. The image becomes a bit more balanced now.
I noticed the temperature of the image is off. The sun really gives off a warm tone feeling so I want to get rid of the blues. Ideally, I like creating an overall feeling of cool tone (blue) or warm tone (yellow), choosing one or the other, to reflect the environment setting. Although this does not mean I can’t have both cool and warm tones in the same image. I shifted the Temperature to yellow.
Even after changing the overall image to a warm tone, I noticed there were still shade of blue on the ground and car. So I manually lowered the blue Saturation.
I like adding a bit of contrast in the image to make it “pop” but instead of using the contrast tool, I like manually adjusting the Whites and Blacks. In this case I upped the Whites and lowered the Blacks. Another adjustment similar to Whites is the Tone Curve. I bumped up the Lights in the Tone Curve to make the foreground image of the car pop even more.
After all these adjustments the picture is finally looking better and the result is what you see in the After image. I always like sharpening my image a bit (with mask) so my last step was to do that. Then export!
Now, this article wasn’t meant to be such a detailed step-by-step and there were a lot of little micro adjustments I did. To really explain how I got this edit, you must first learn the basics of information control using your preferred editing program. I preach and praise Adobe’s Lightroom software because it’s a great tool to make batch adjustments. It’s my preferred tool and a lot of the professionals use it too.
I’ll be doing a couple more of these how-to posts and hopefully you’ll get the idea on making the right edits to become an automotive photography (editing) master!


