If you’re serious about track performance, you should be serious about weight savings. The Lightweight Door Panel Set offered by Hard Motorsport is a great way to shave some significant weight on your E46 M3. I convinced myself to get rid of the cup holders so I can get the CSL console. Now I convinced myself to get rid of the radio so I can reduce weight! That’s what track life does to you. Here’s a little DIY and review on the door panels.
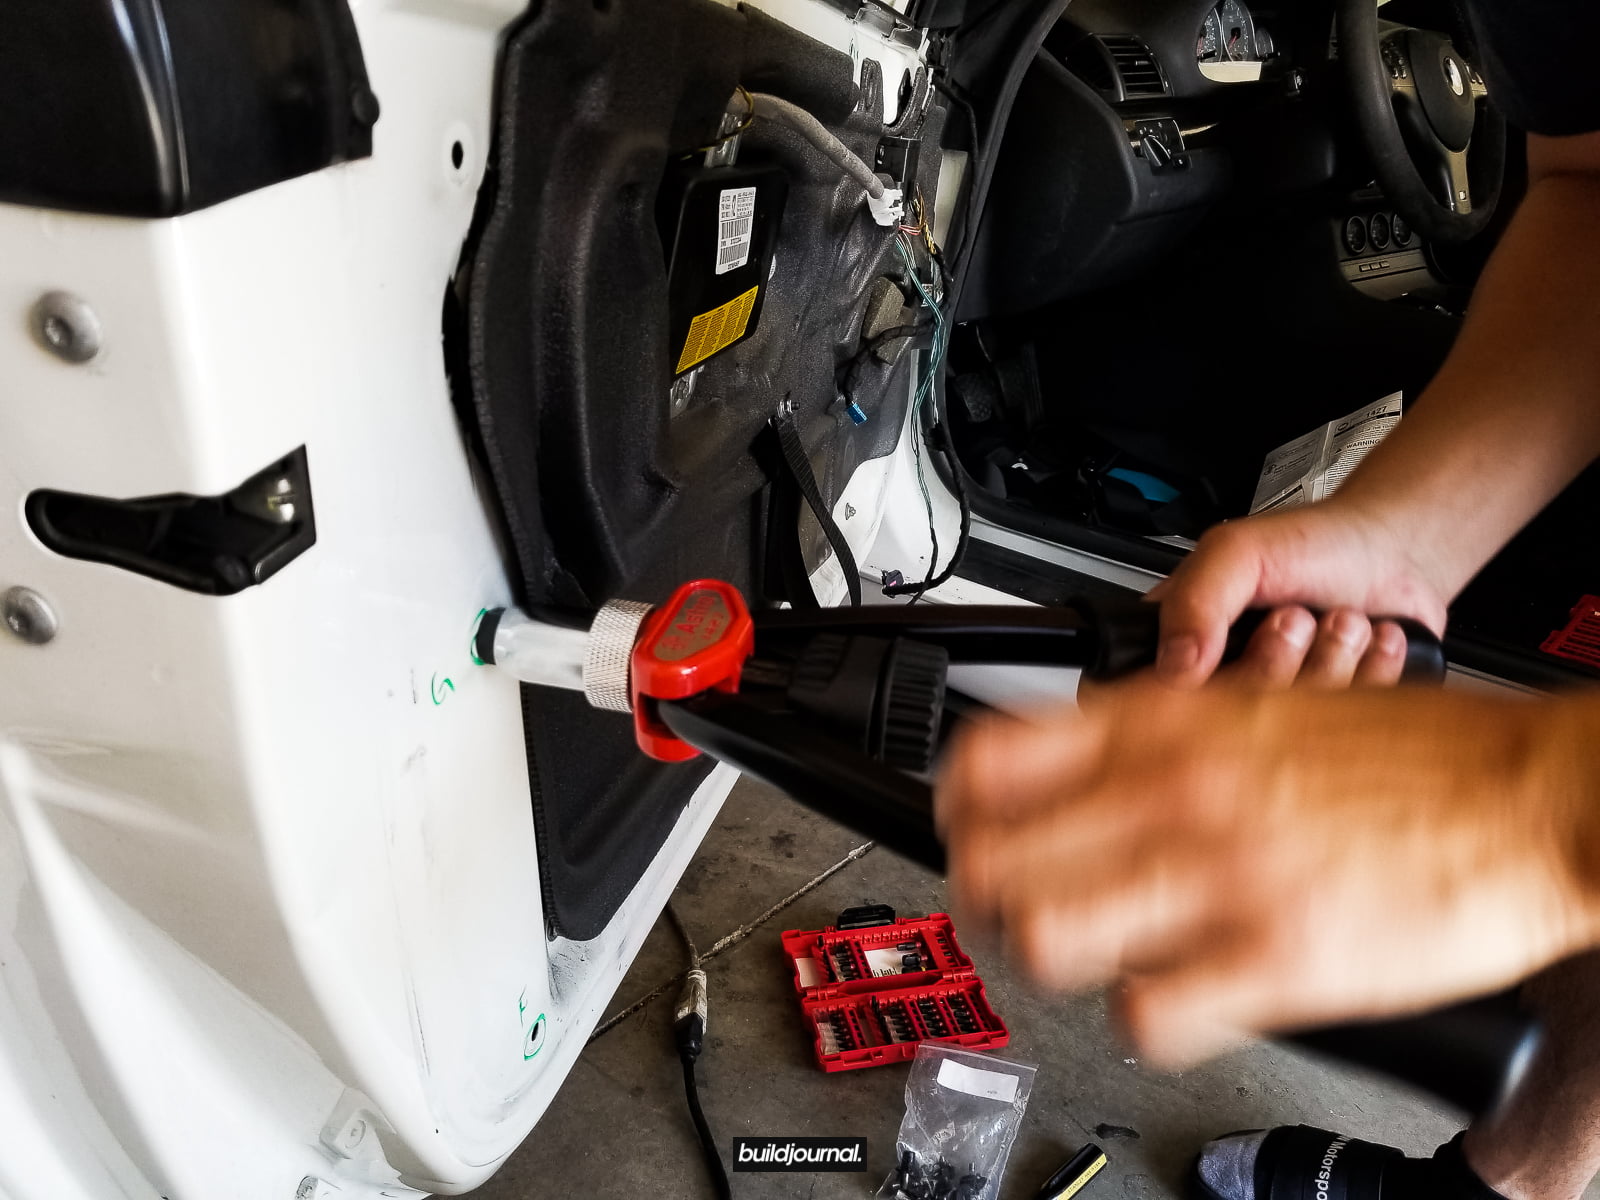
Tools Needed
[one_half]
[/one_half]
[one_half_last]
- Rivet nut gun
- Screwdriver
- Drill gun
- 5/16″ drill bit
- T20 torx
- Allen keys
- Dremel
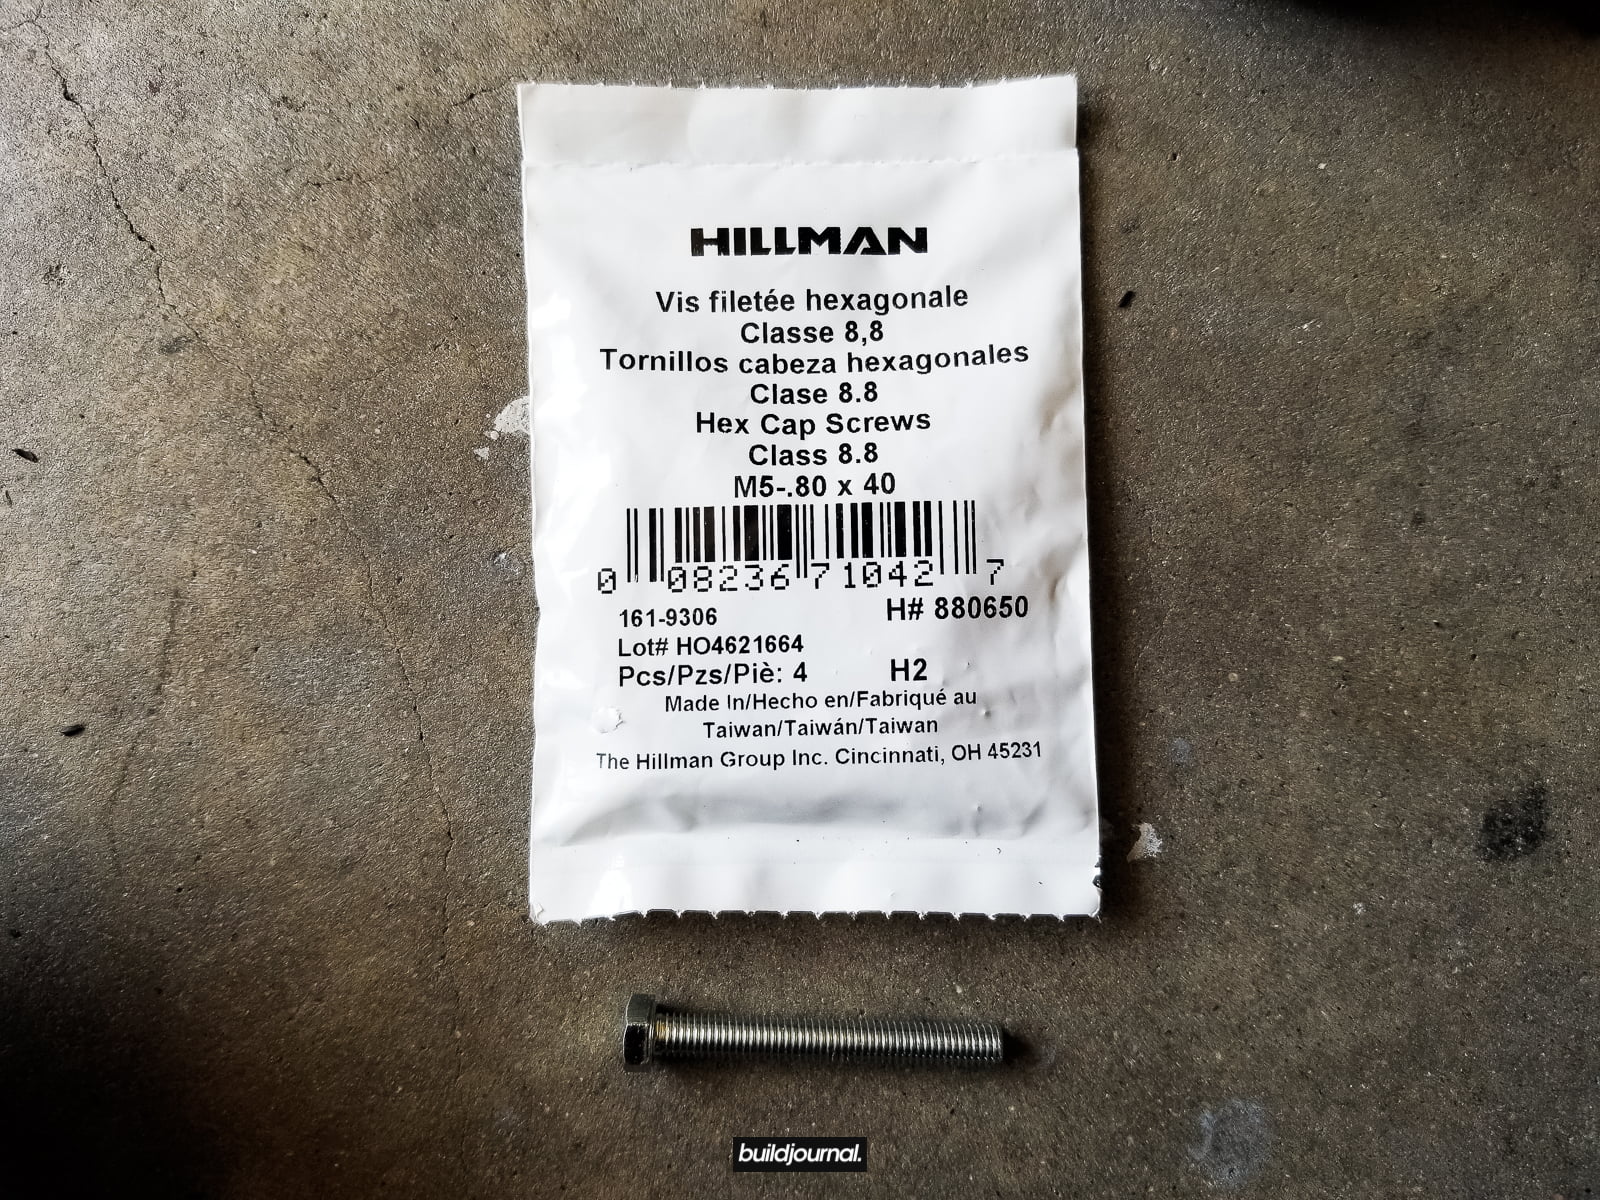
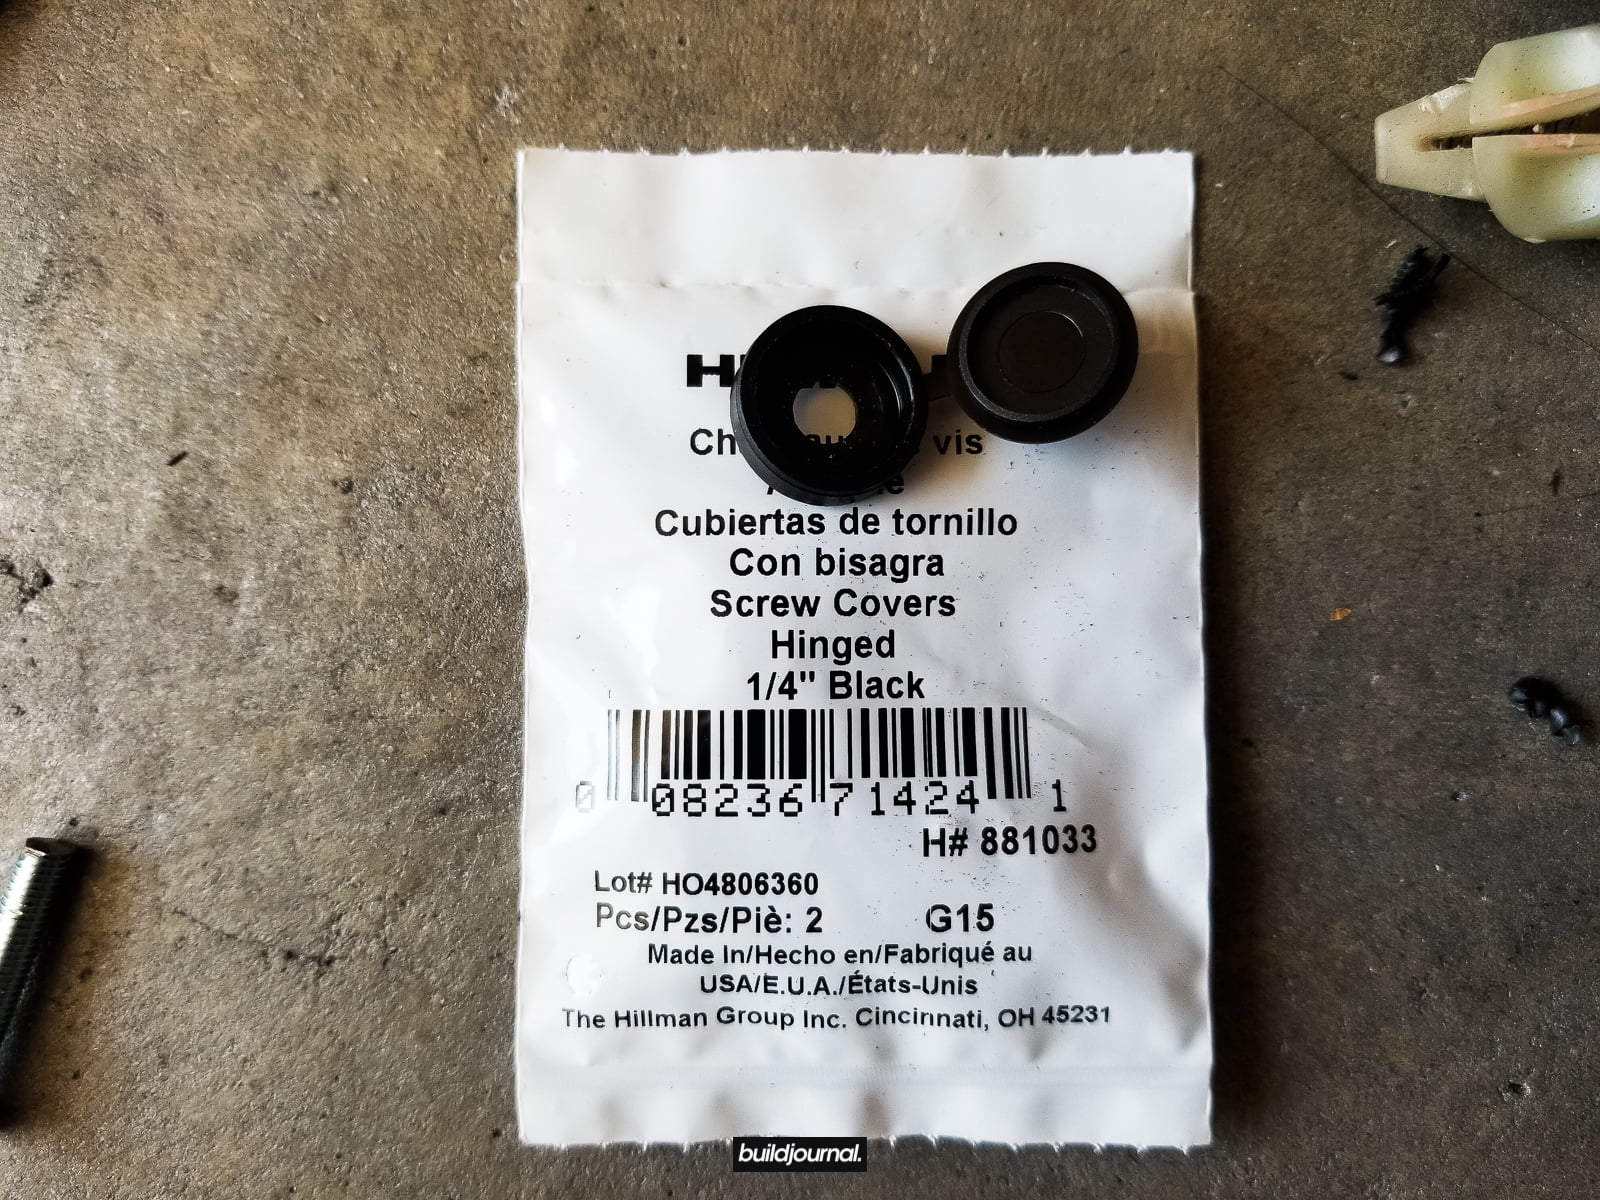
- Optional: M5-0.8 x 40mm bolts and screw covers
Support this site by buying from the links below. 🙂
[/one_half_last]
Install Directions
1. Remove stock door panel.
1.1 – There are a total of 5 bolts you need to remove using a T20 torx bit. Two are hidden. One is behind the airbag cap and the other is behind the door handle.
1.2 – Once all 5 bolts are removed, you can slowly pry the door card using a plastic pry tool. I started from the bottom and worked my way to the top. The door card is held in by multiple plastic clips. There may be adhesive around the edges so be careful.
⚠️ There are wires connected to the back of the door card so do not pull directly!
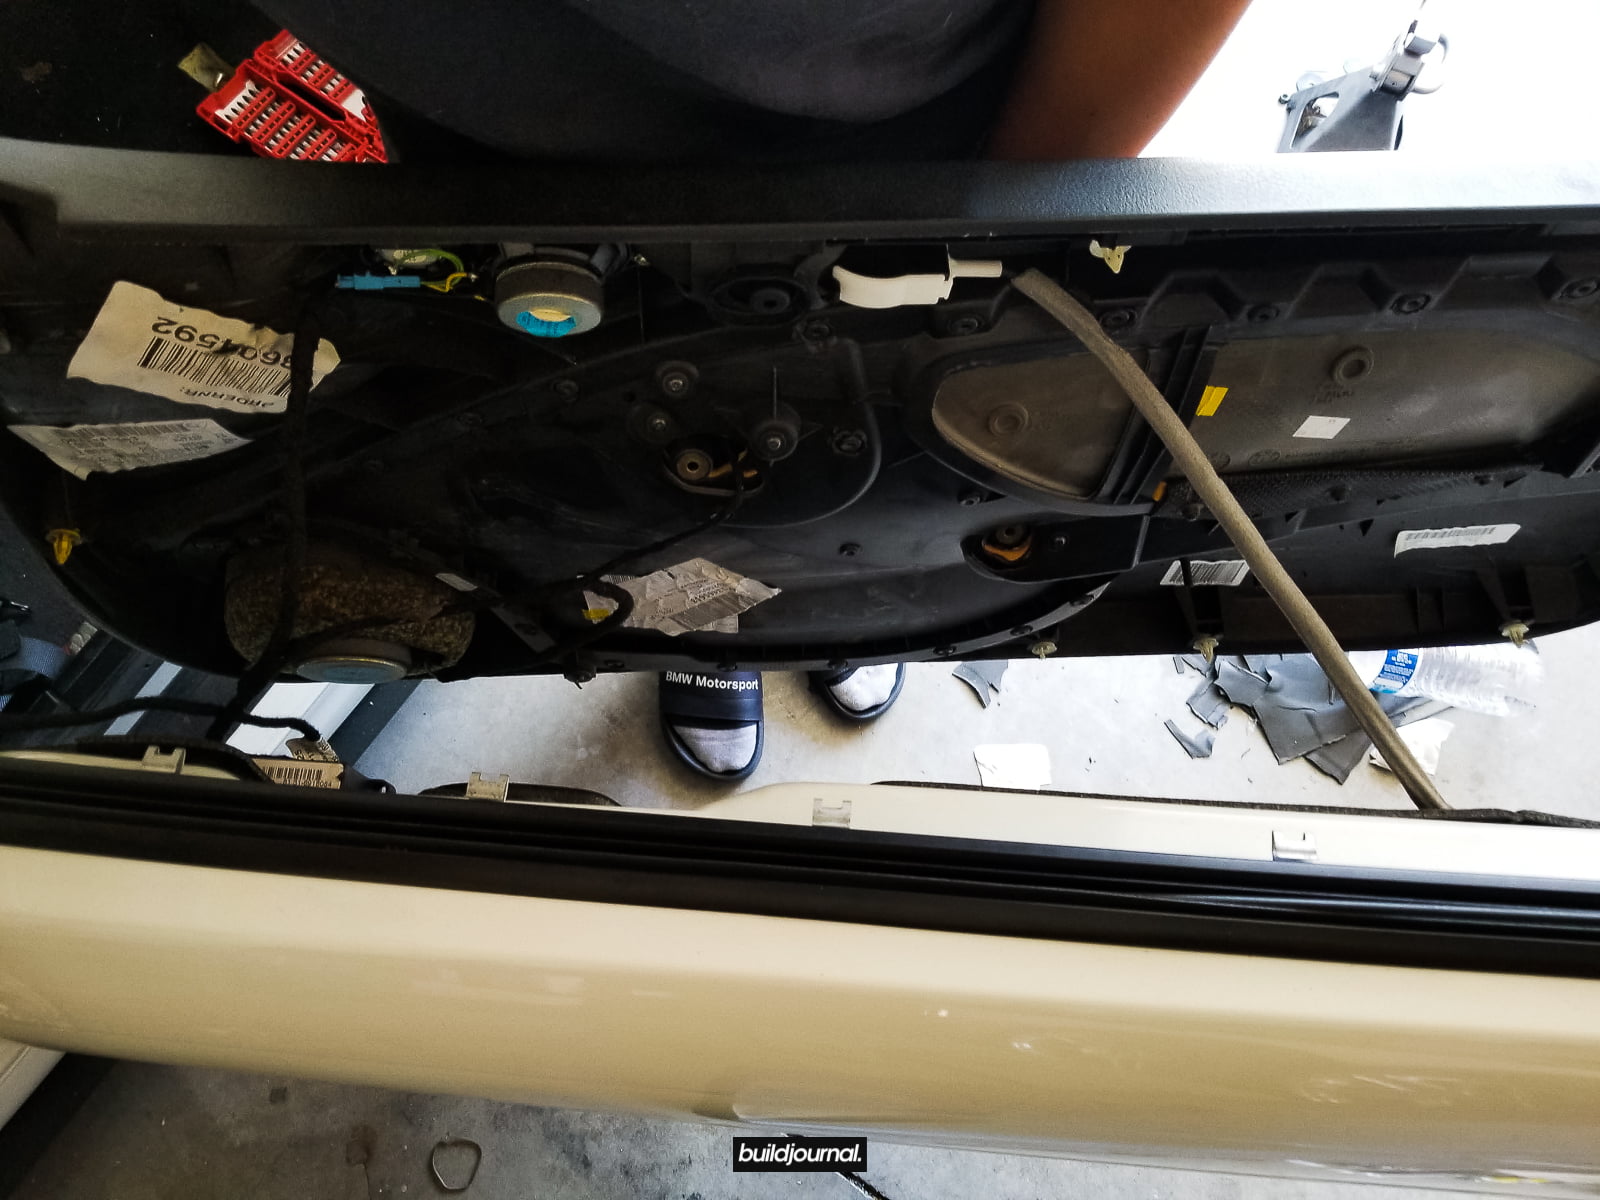
1.3 – Disconnect the speaker cable and remove the door latch wire that is connected to the handle. There are a total of 3 plugs and 1 door latch wire.
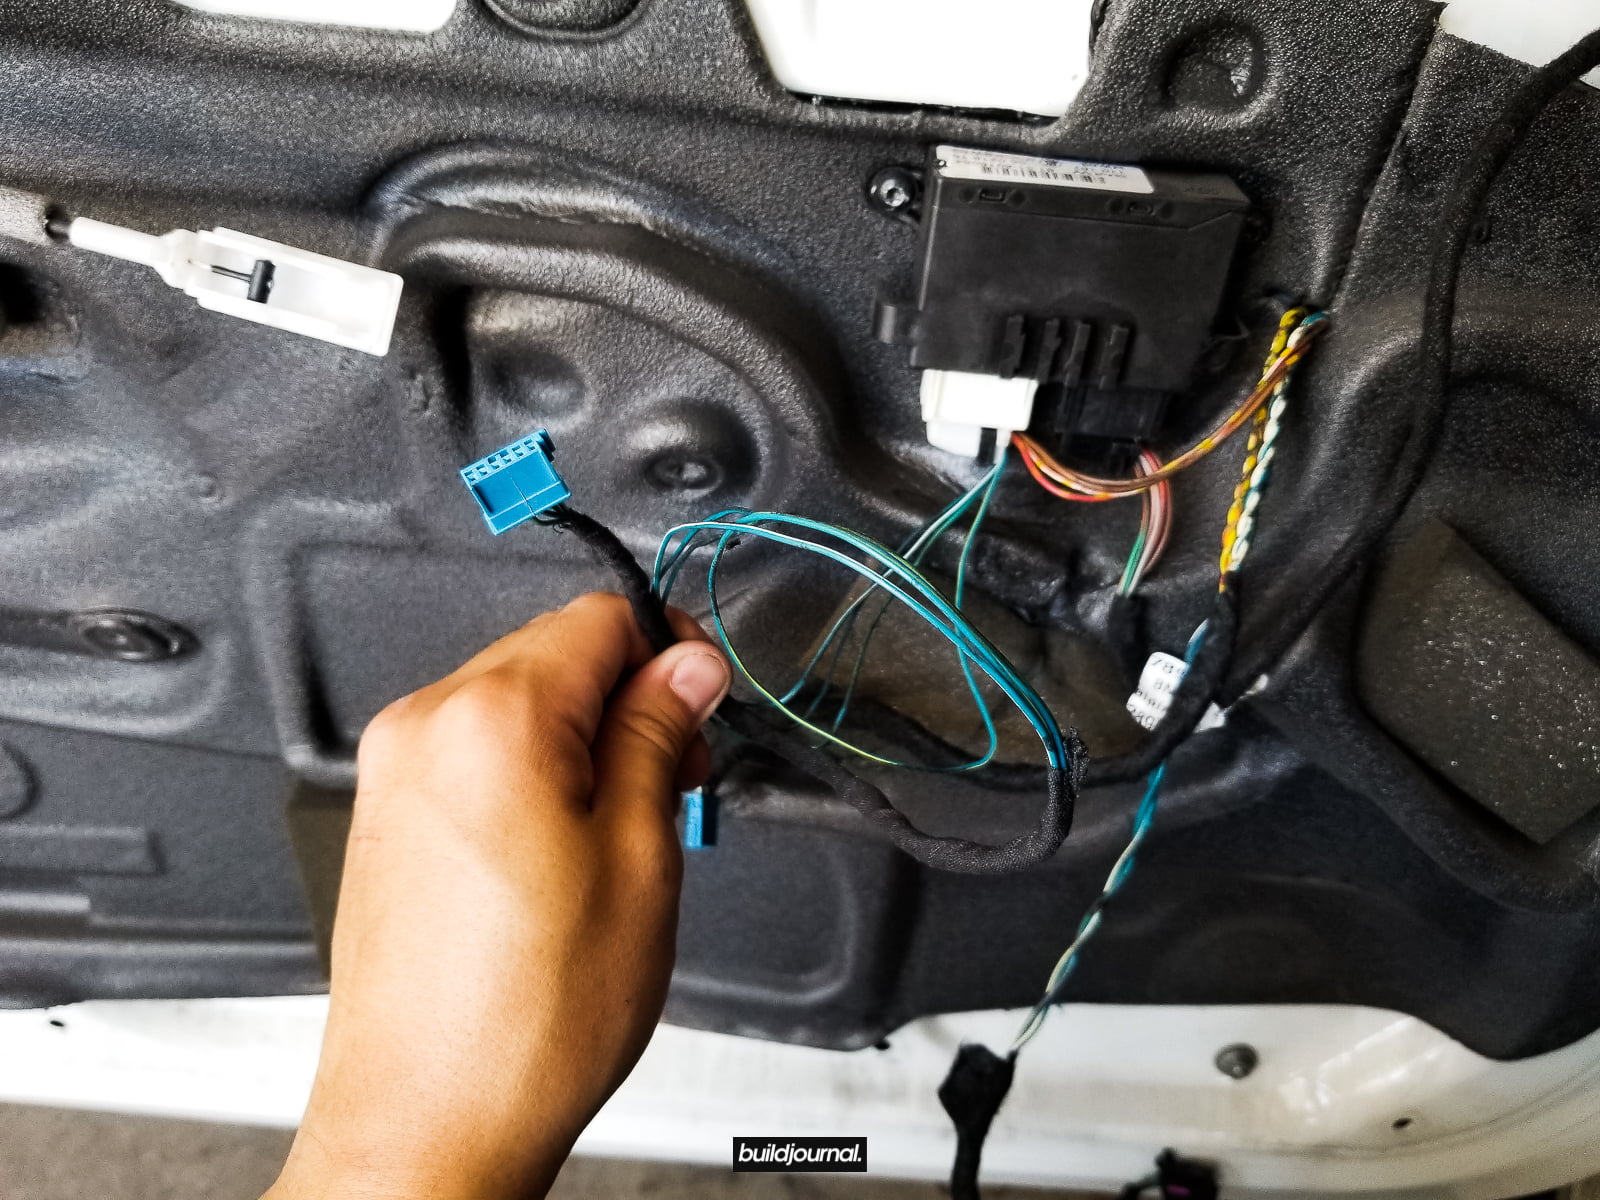
2. Insert thread-sert and stand off.
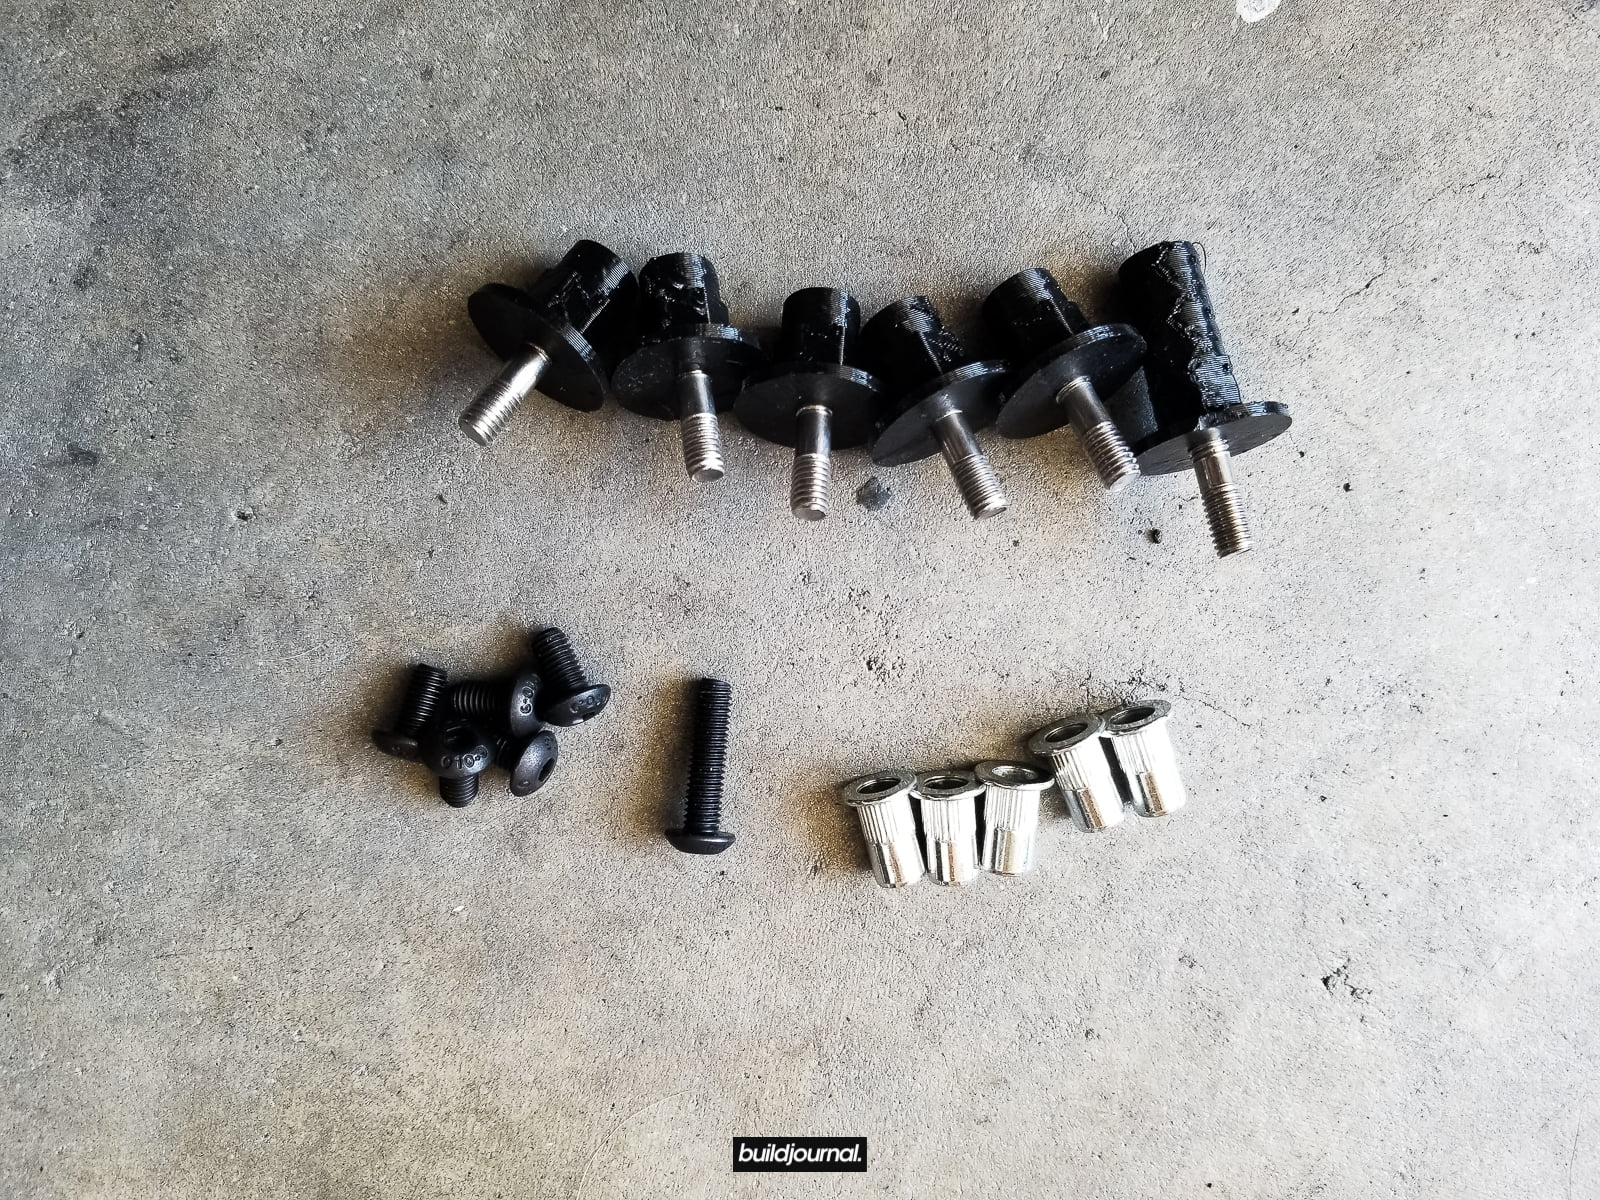
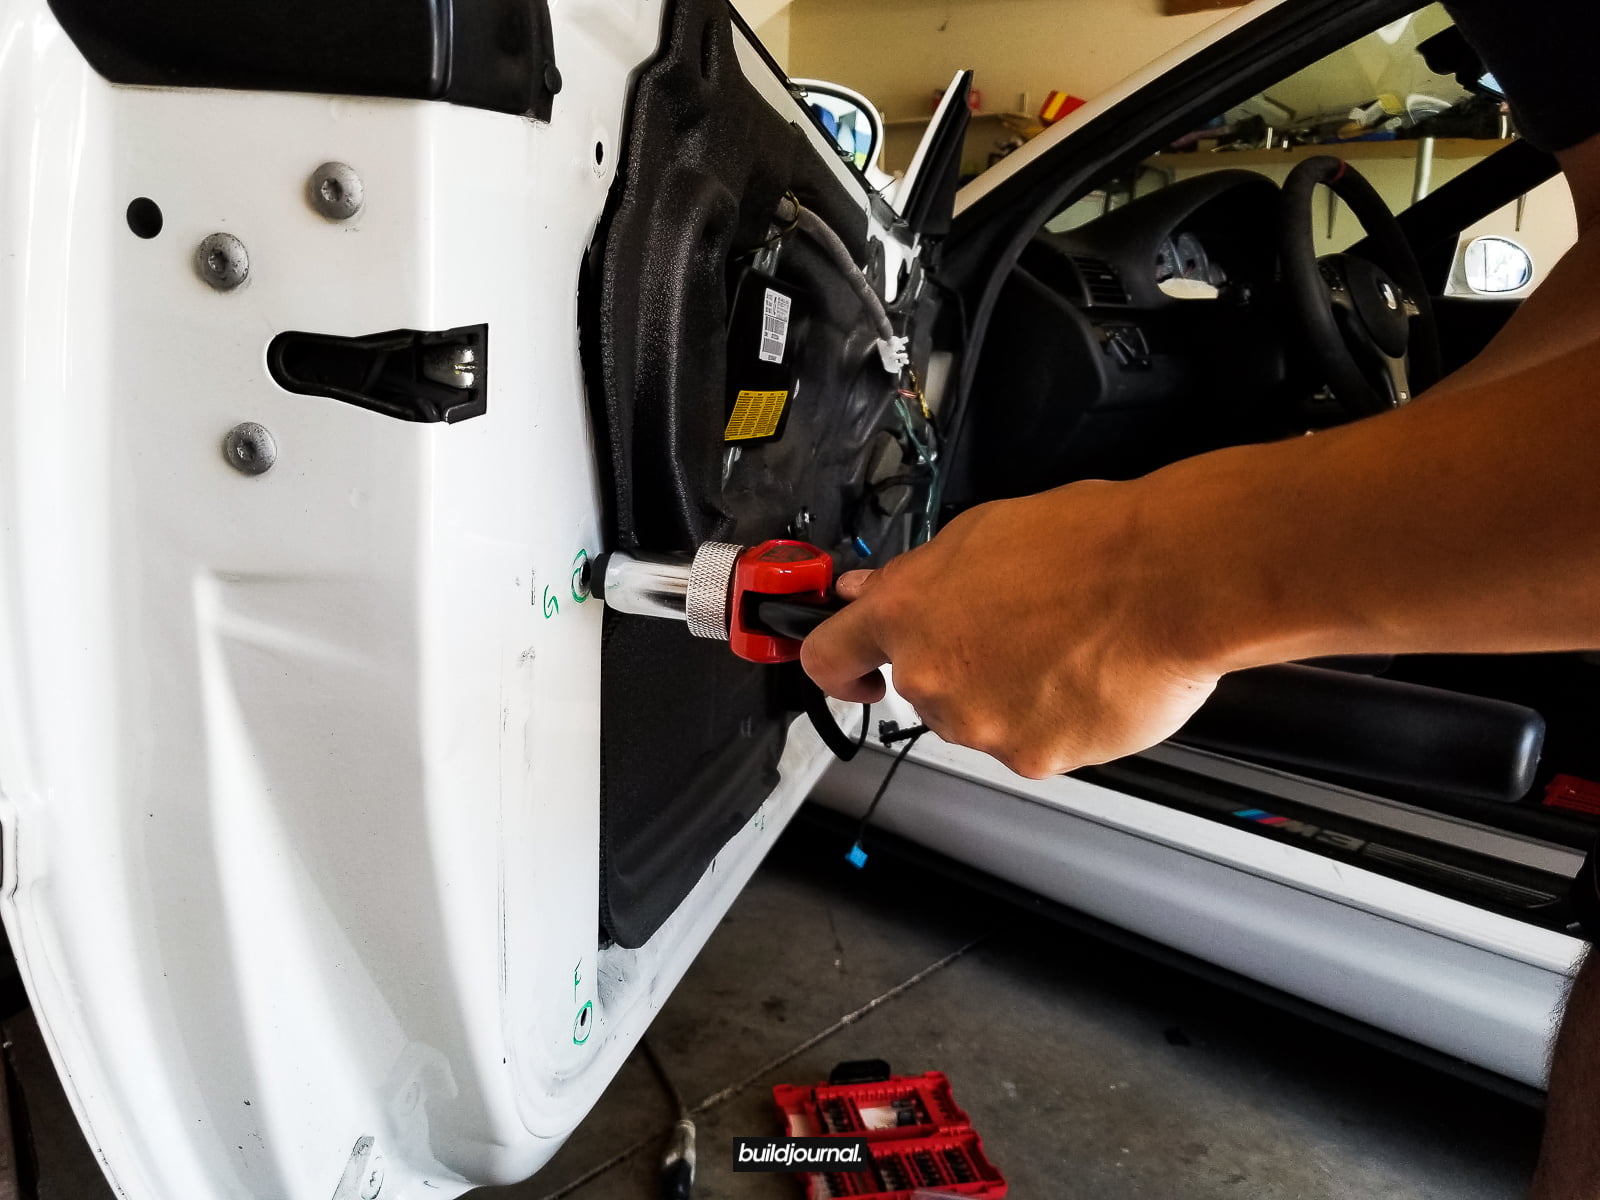
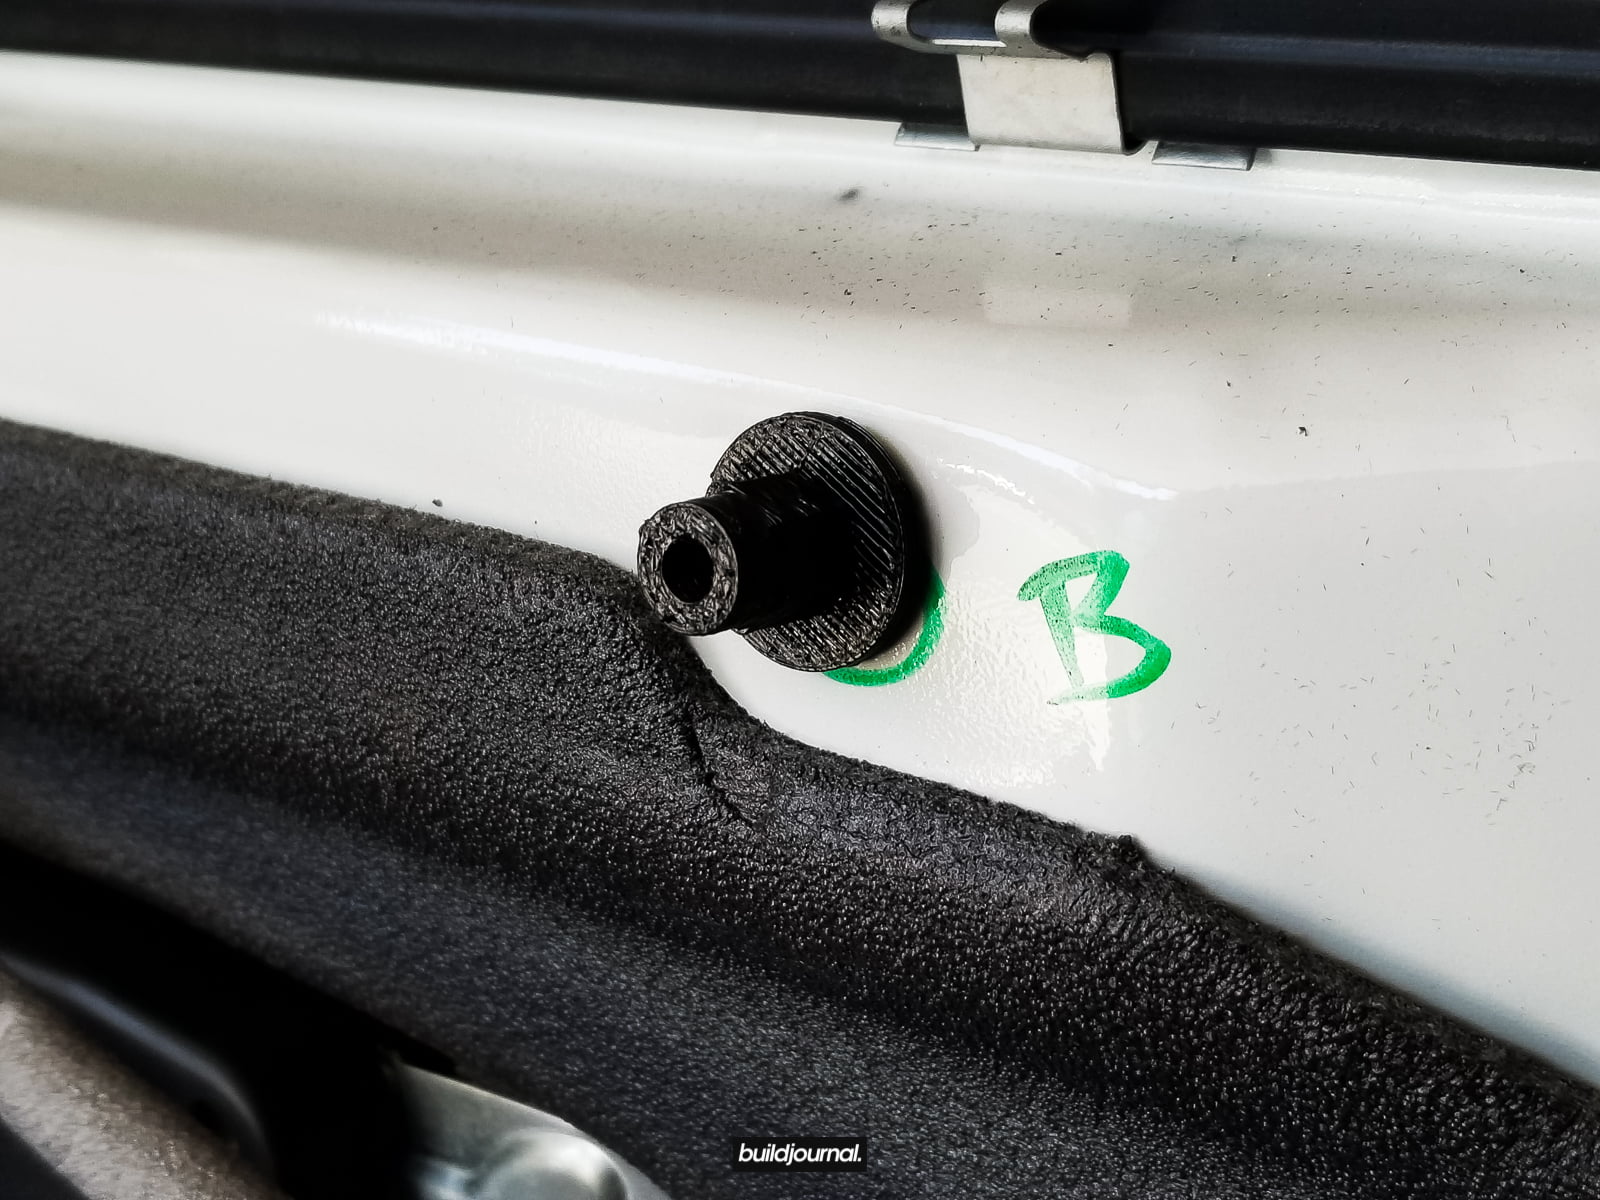
2.1 – Using the provided parts, use a hand rivet nut gun to insert the thread-sert into the existing door panel clip holes. There are a total of 7 each door. Below you can see each one labeled A-F. Now is a good time to install the pull strap for the door. You can see it below, it’s the strap in the middle of the door.
⚠️ Take note section A is a different from the others.

3. Install door latch pull strap.
3.1 – I ordered the HARD Motorsport Door Latch Pull Strap as well to compliment the lightweight door panels. You will re-use your stock speaker/handle housing from your OEM door card.
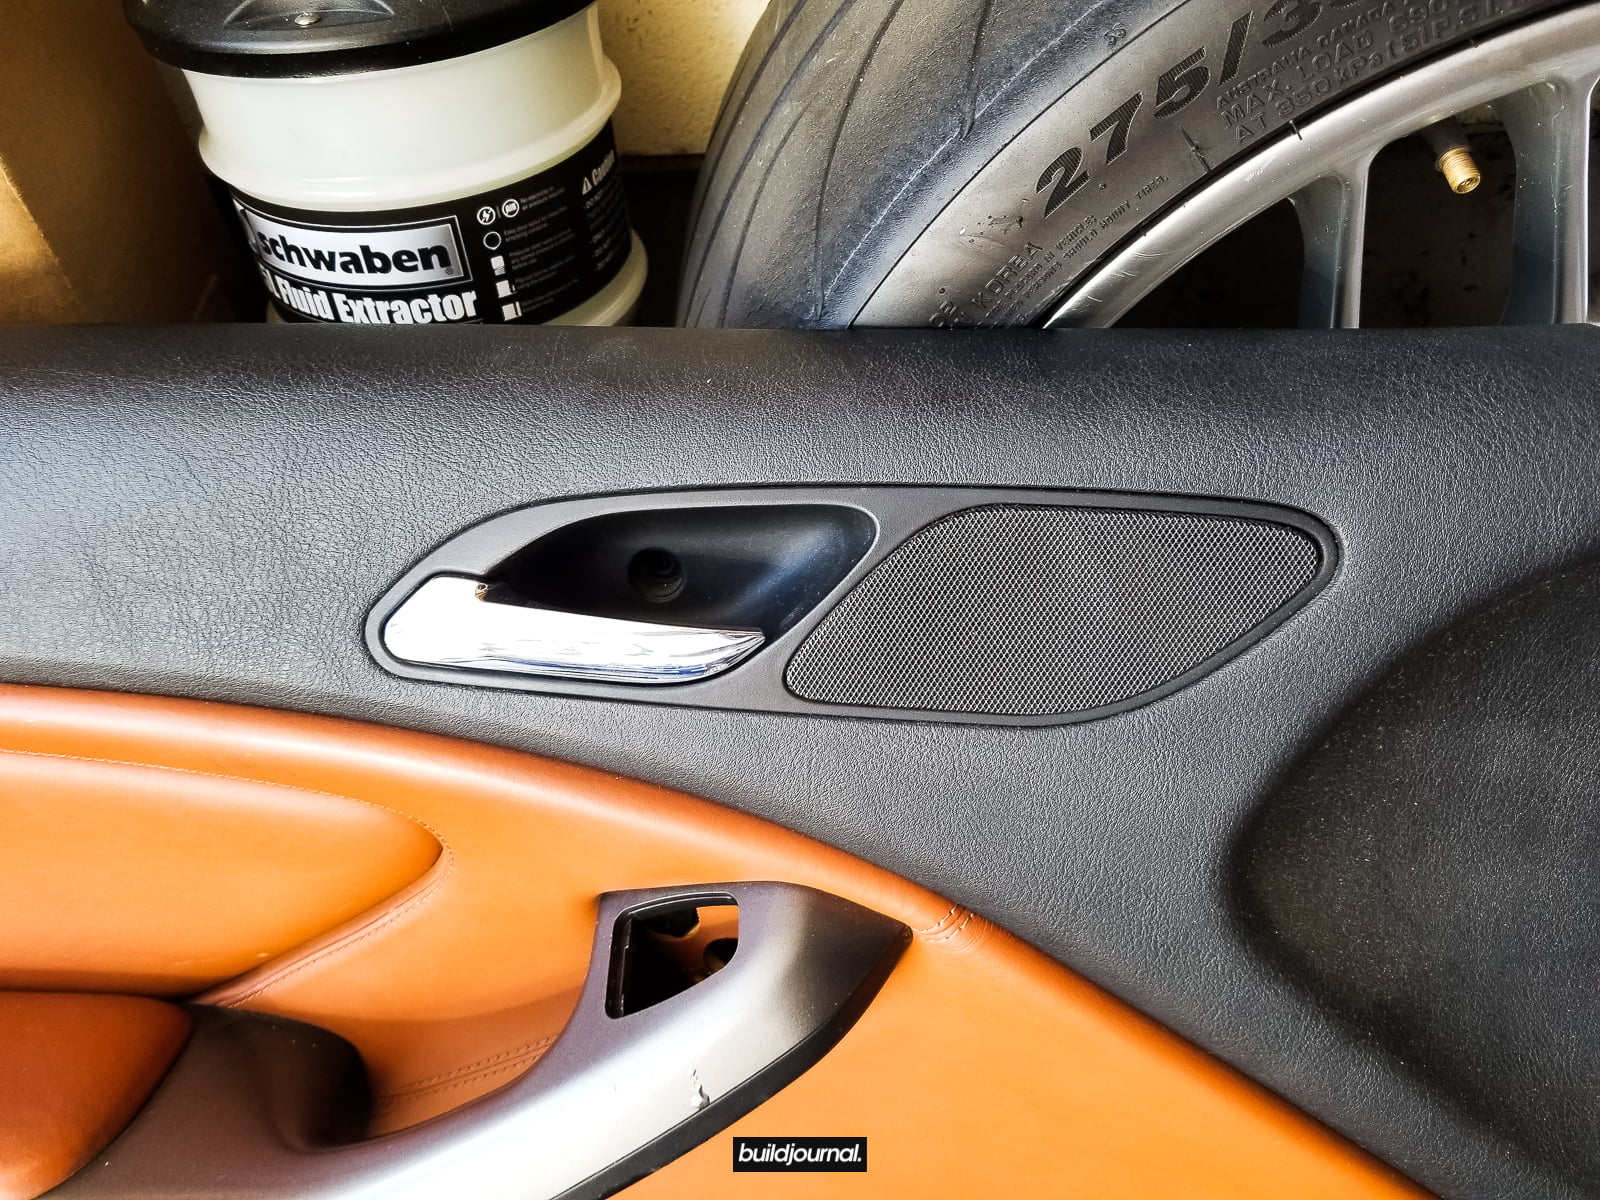
3.2 – Remove the 3 torx screws holding the tweeter. (I forget which size this is)
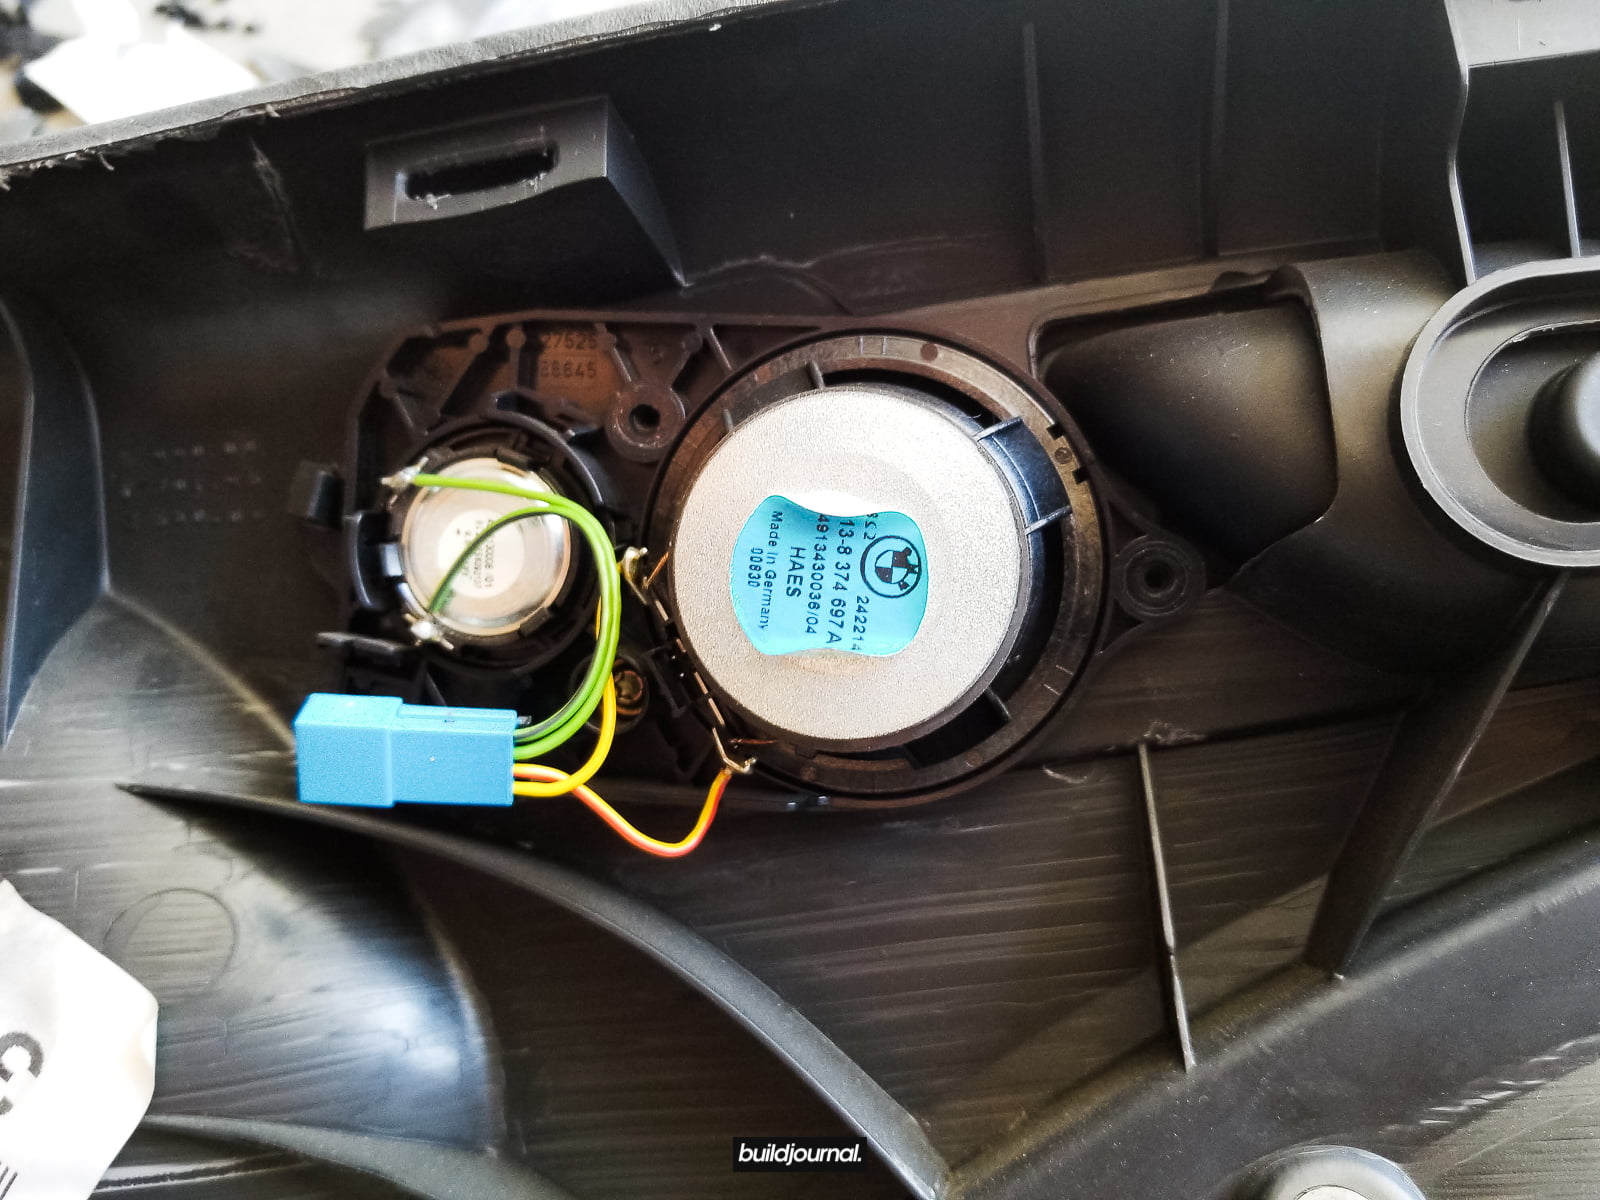
3.3 – Here’s a little tricky part. You need to remove the metal swivel rod that holds the handle and the plastic housing. In order to do so, you must drill (bit size included with directions) through the bottom end of the metal rod to enlarge and bust open the rod. Then tweak the drill bit inside the rod to “catch” the rod with the edges and then pull out.
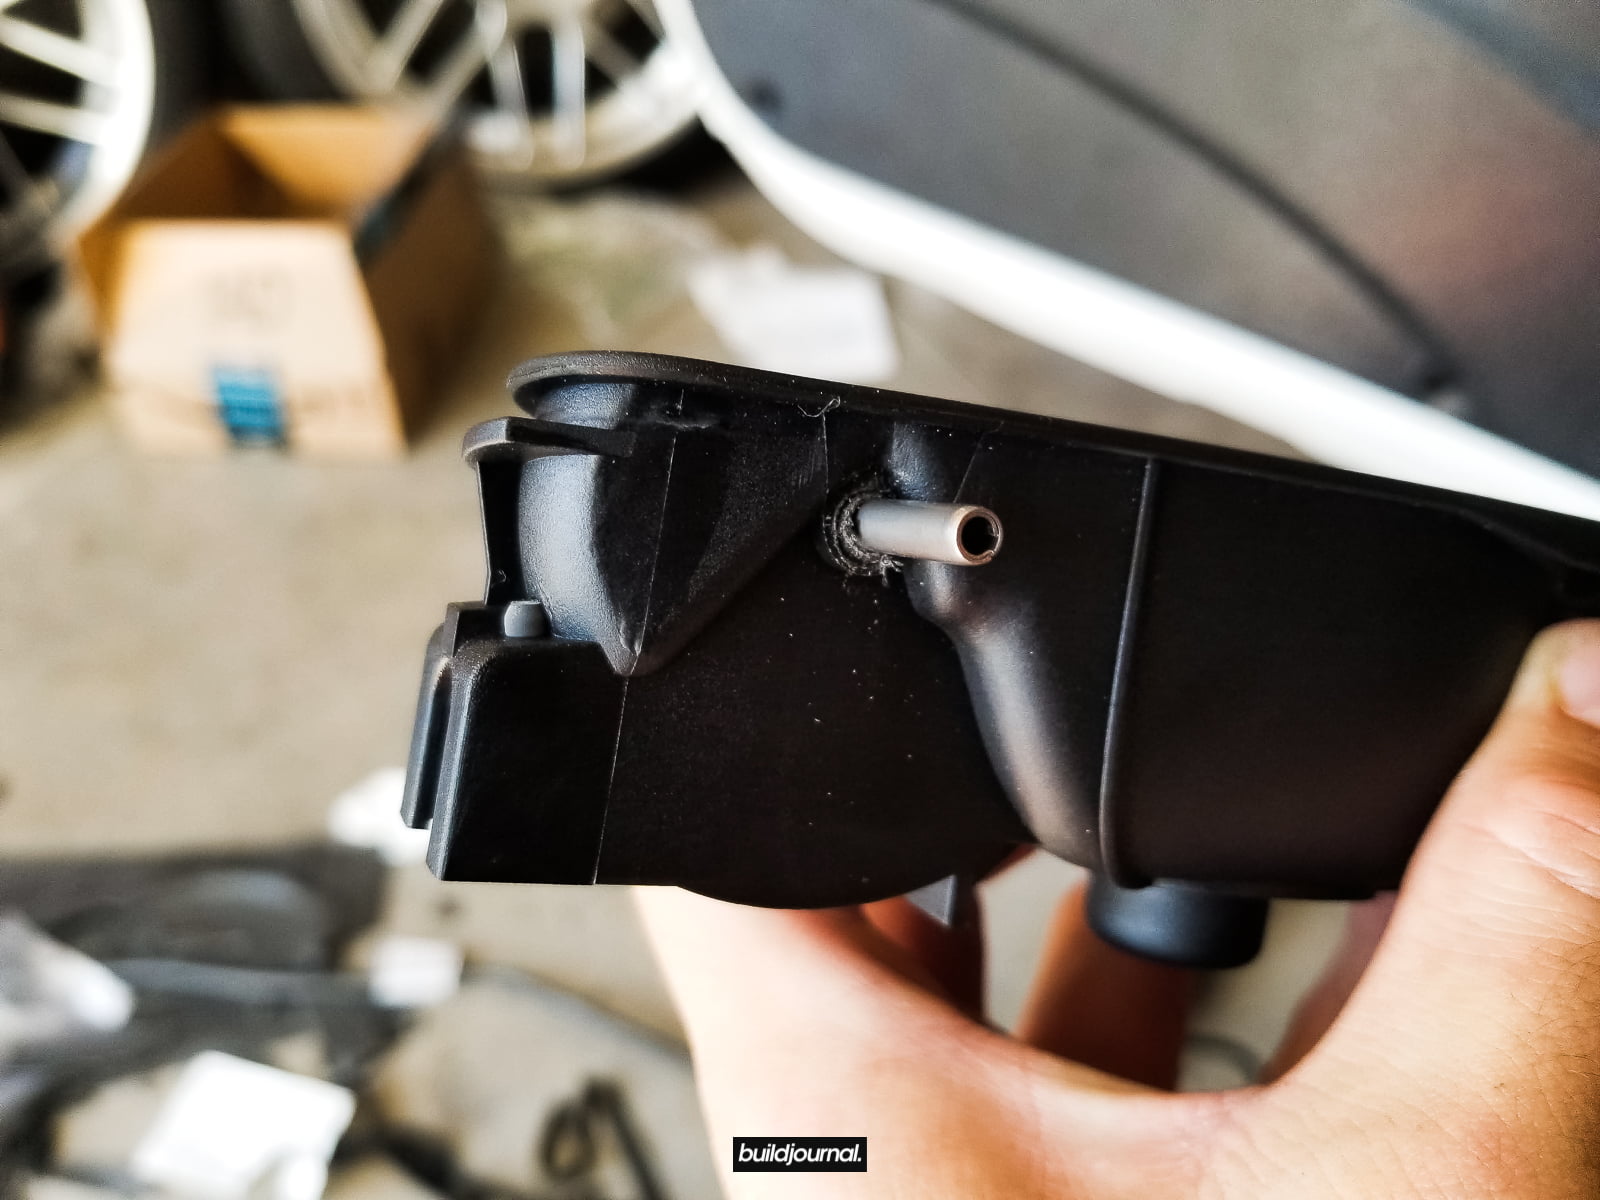
3.4 – Install the new door latch pull strap. After this is done, set this aside and work on the door panels.
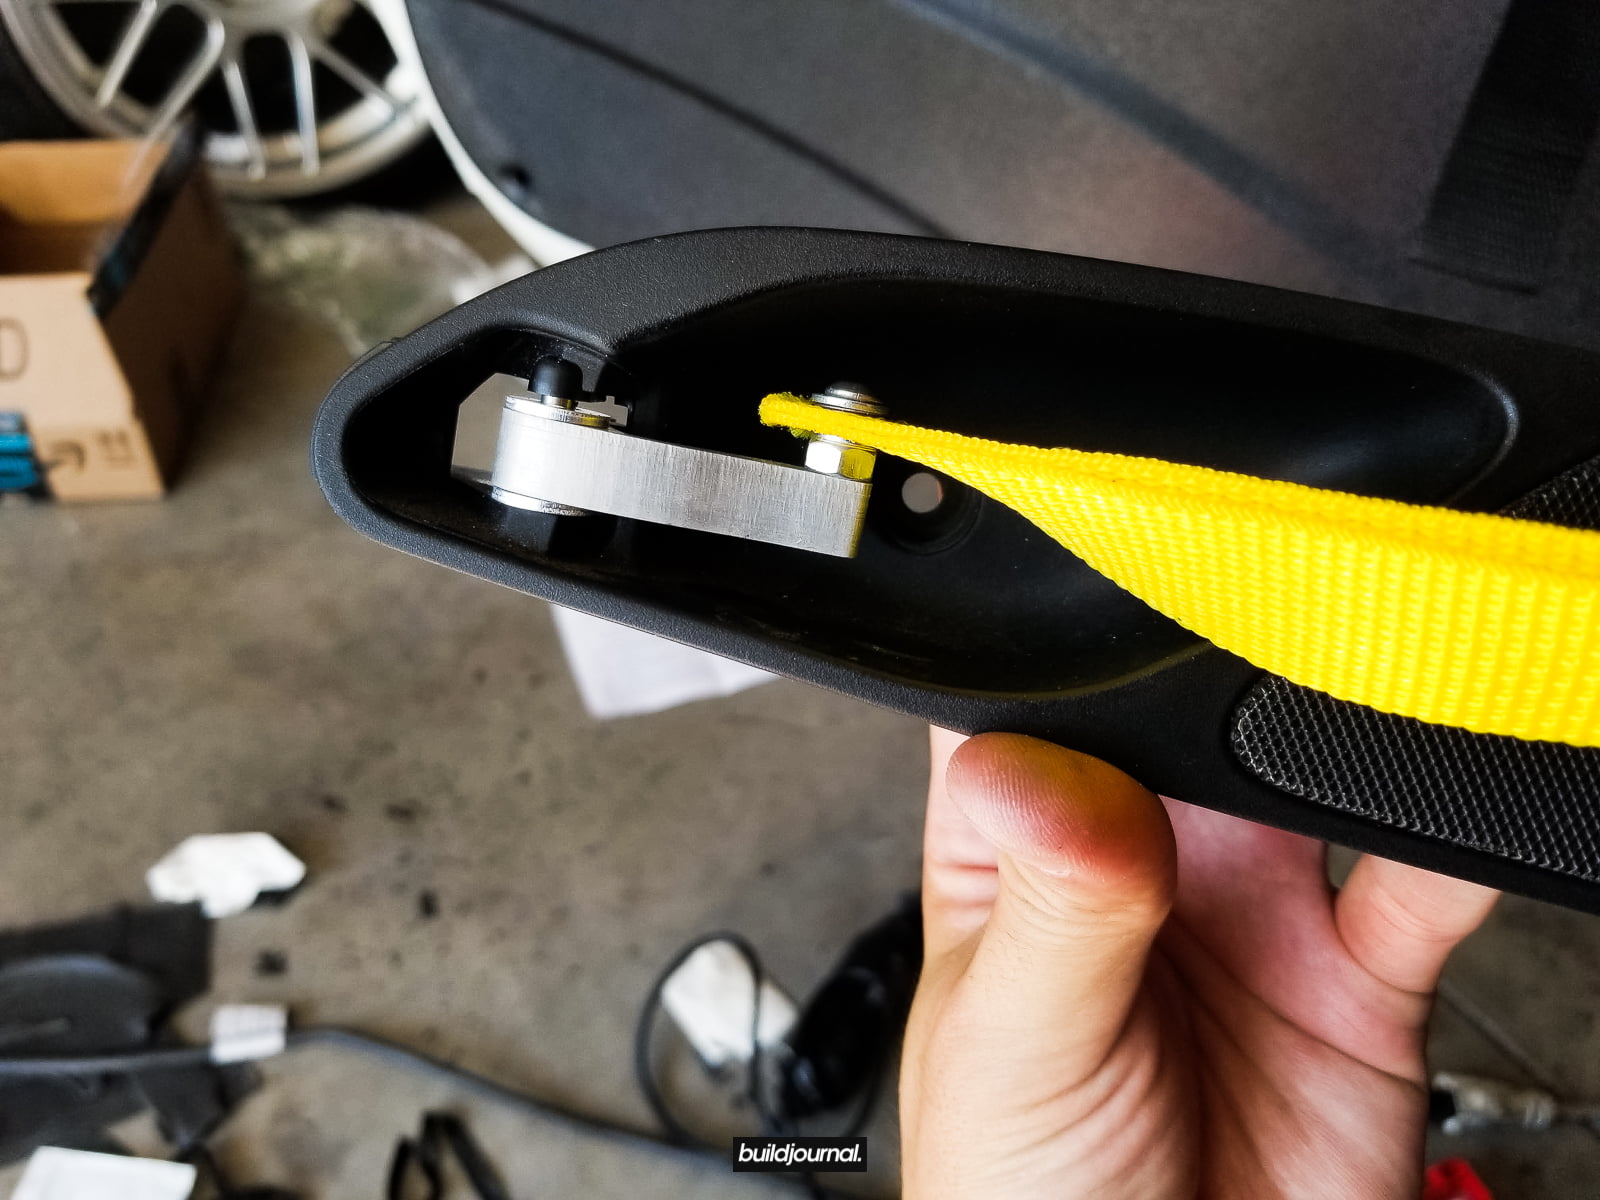
4. Install the HARD Motorsport lightweight door card.
4.1 – Test fit the door card first and see if you can insert the door speaker/handle housing in the cut area. Mine required a bit of trimming to fit one side.
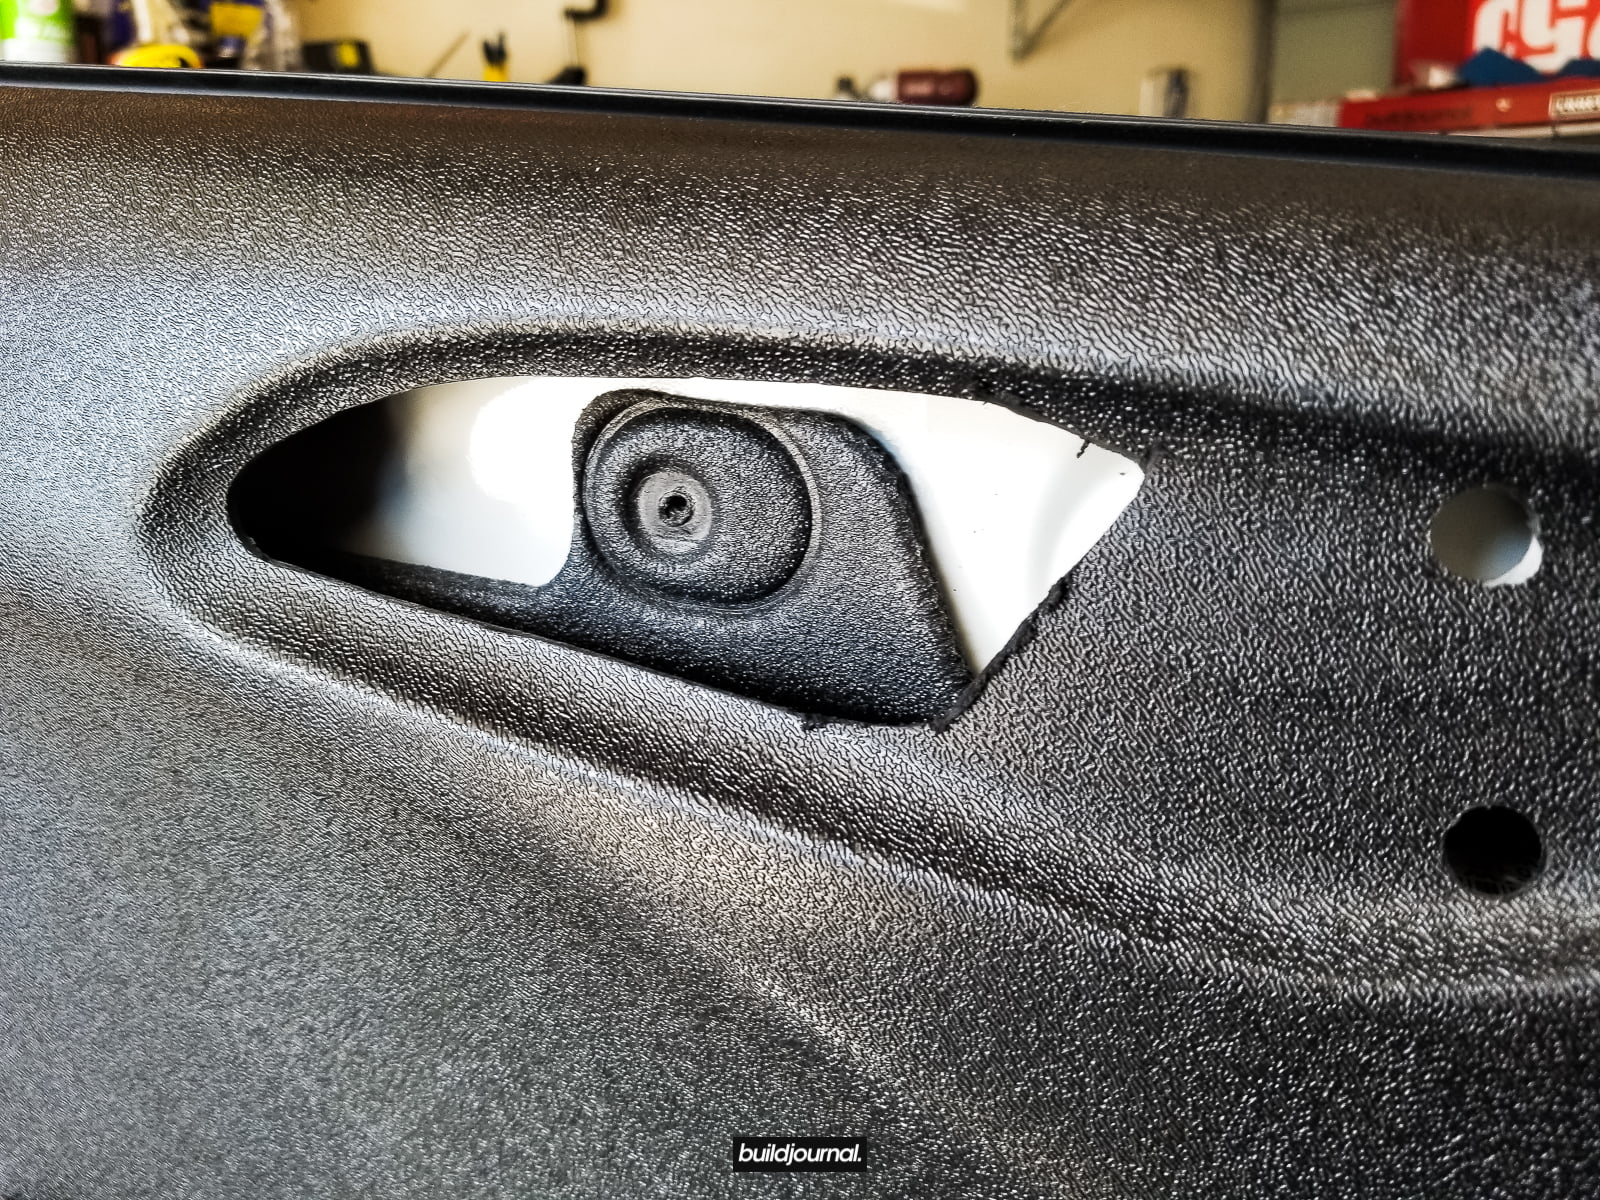
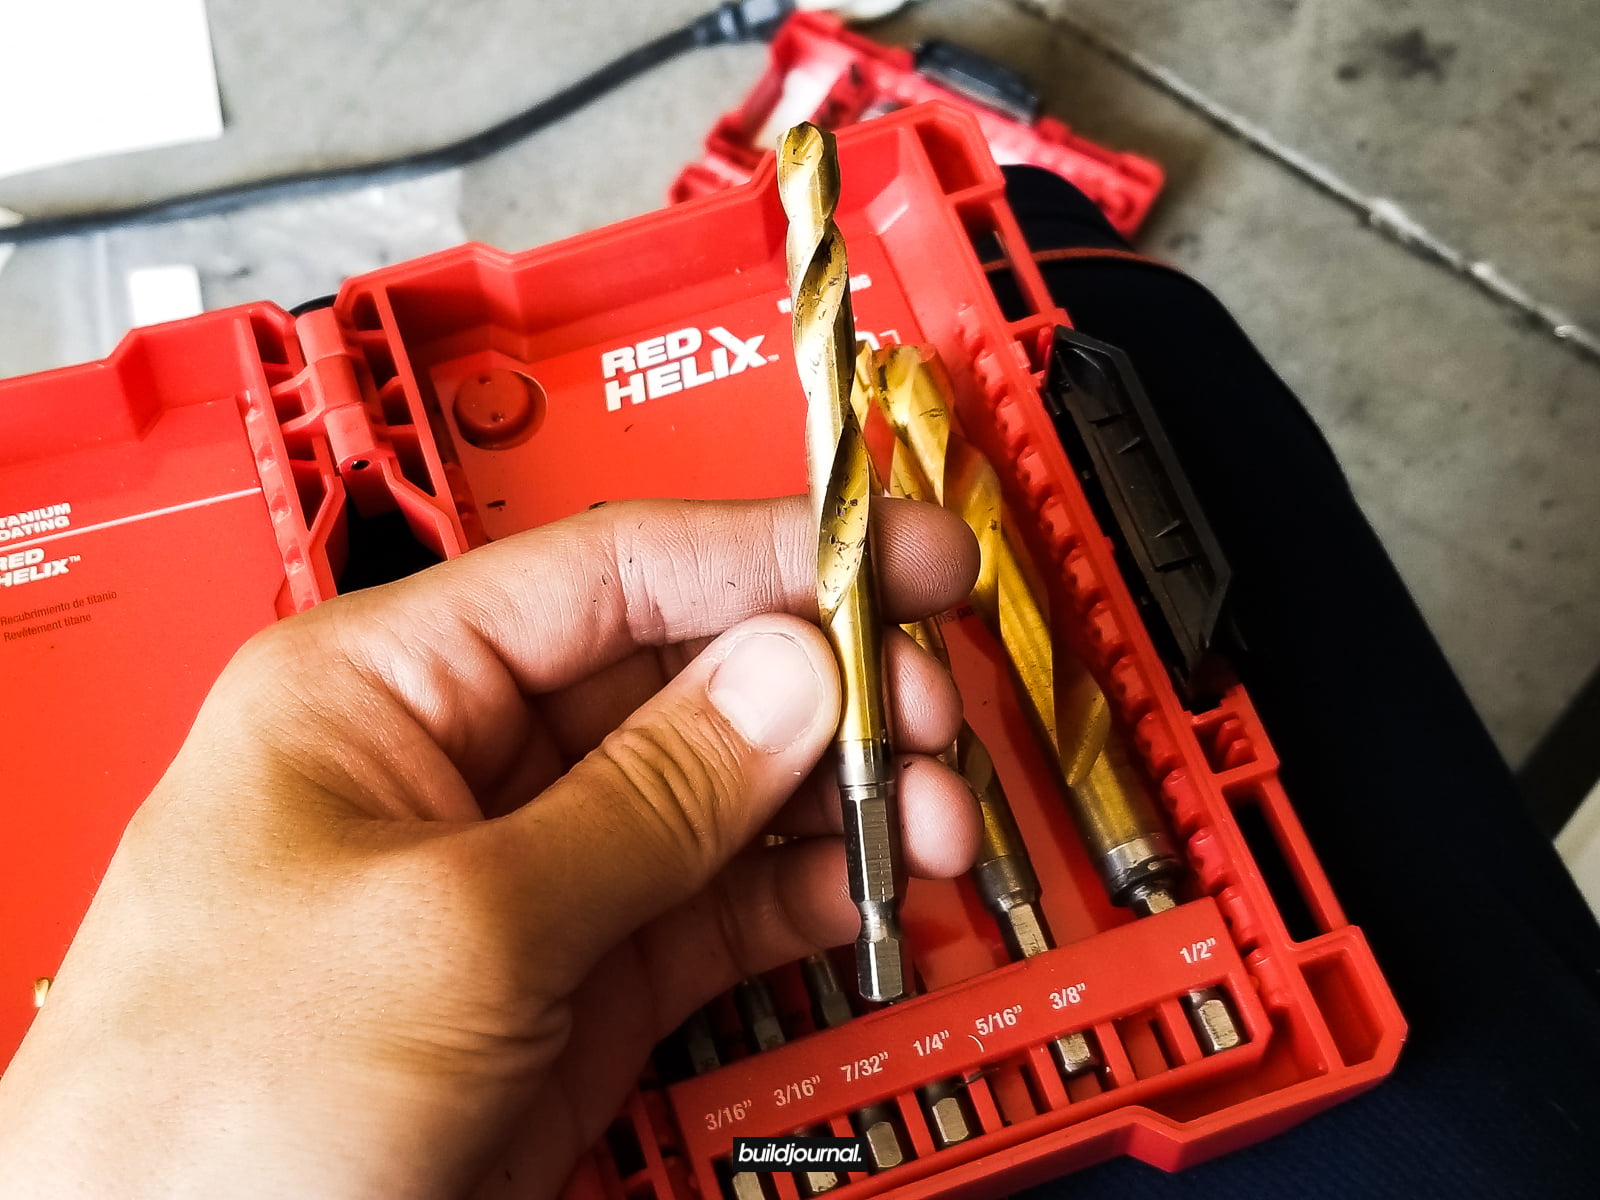
4.2 – Using a 5/16″ drill bit, create holes in the indentation areas of the door cards.
⚠️ Due to the nature of the stand offs, the drill location must be very precise or else your alignment may be throw off. In my case, I could not line up the holes correctly and ended up drilling several times in the same spot creating a larger hole so I decided to use my own hardware. I used the thread-serts, but removed the stand offs. See below for parts.
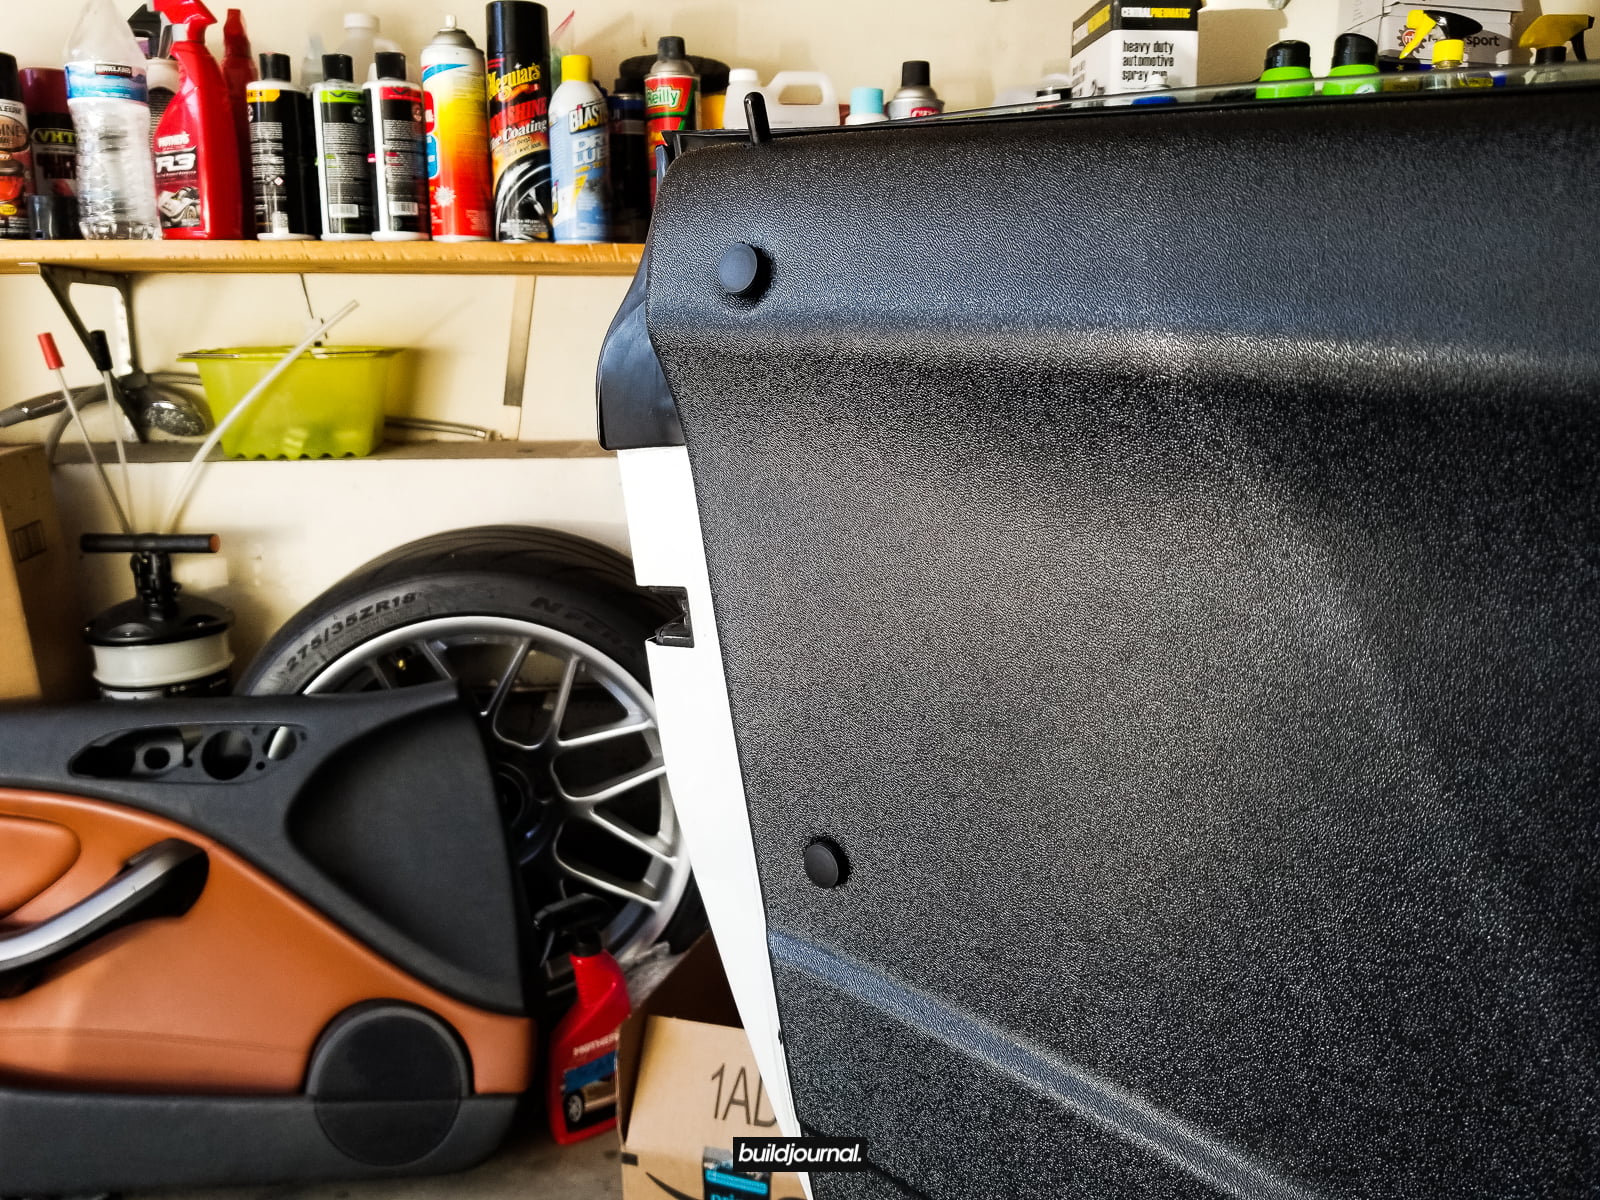
4.3 – Install the speaker/handle housing back into the door card and secure with the 3 torx bolts. Plug the speaker plug (optional) back in. The side mirror adjustment knob can no longer be installed so I left the wire for that near the edge of the door panel so I can easily connect it if I need to make adjustments.
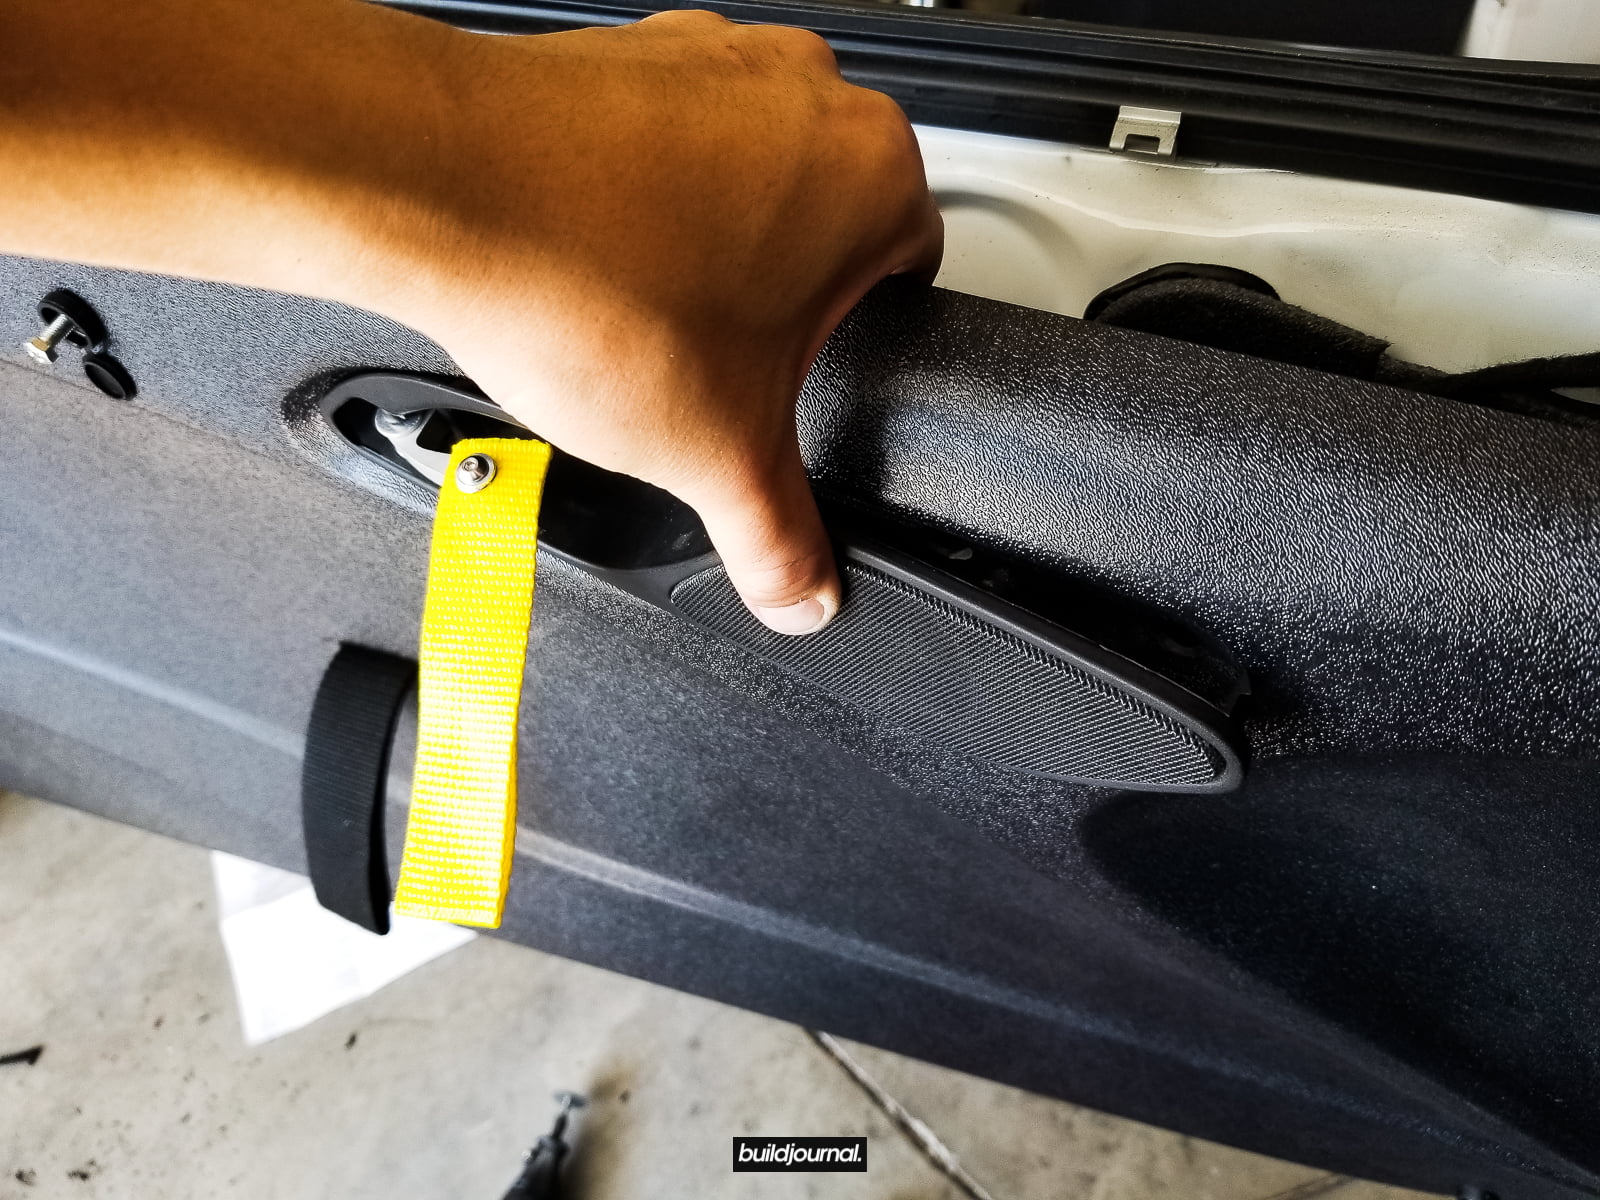

4.4 – Install the hardware and you’re done!
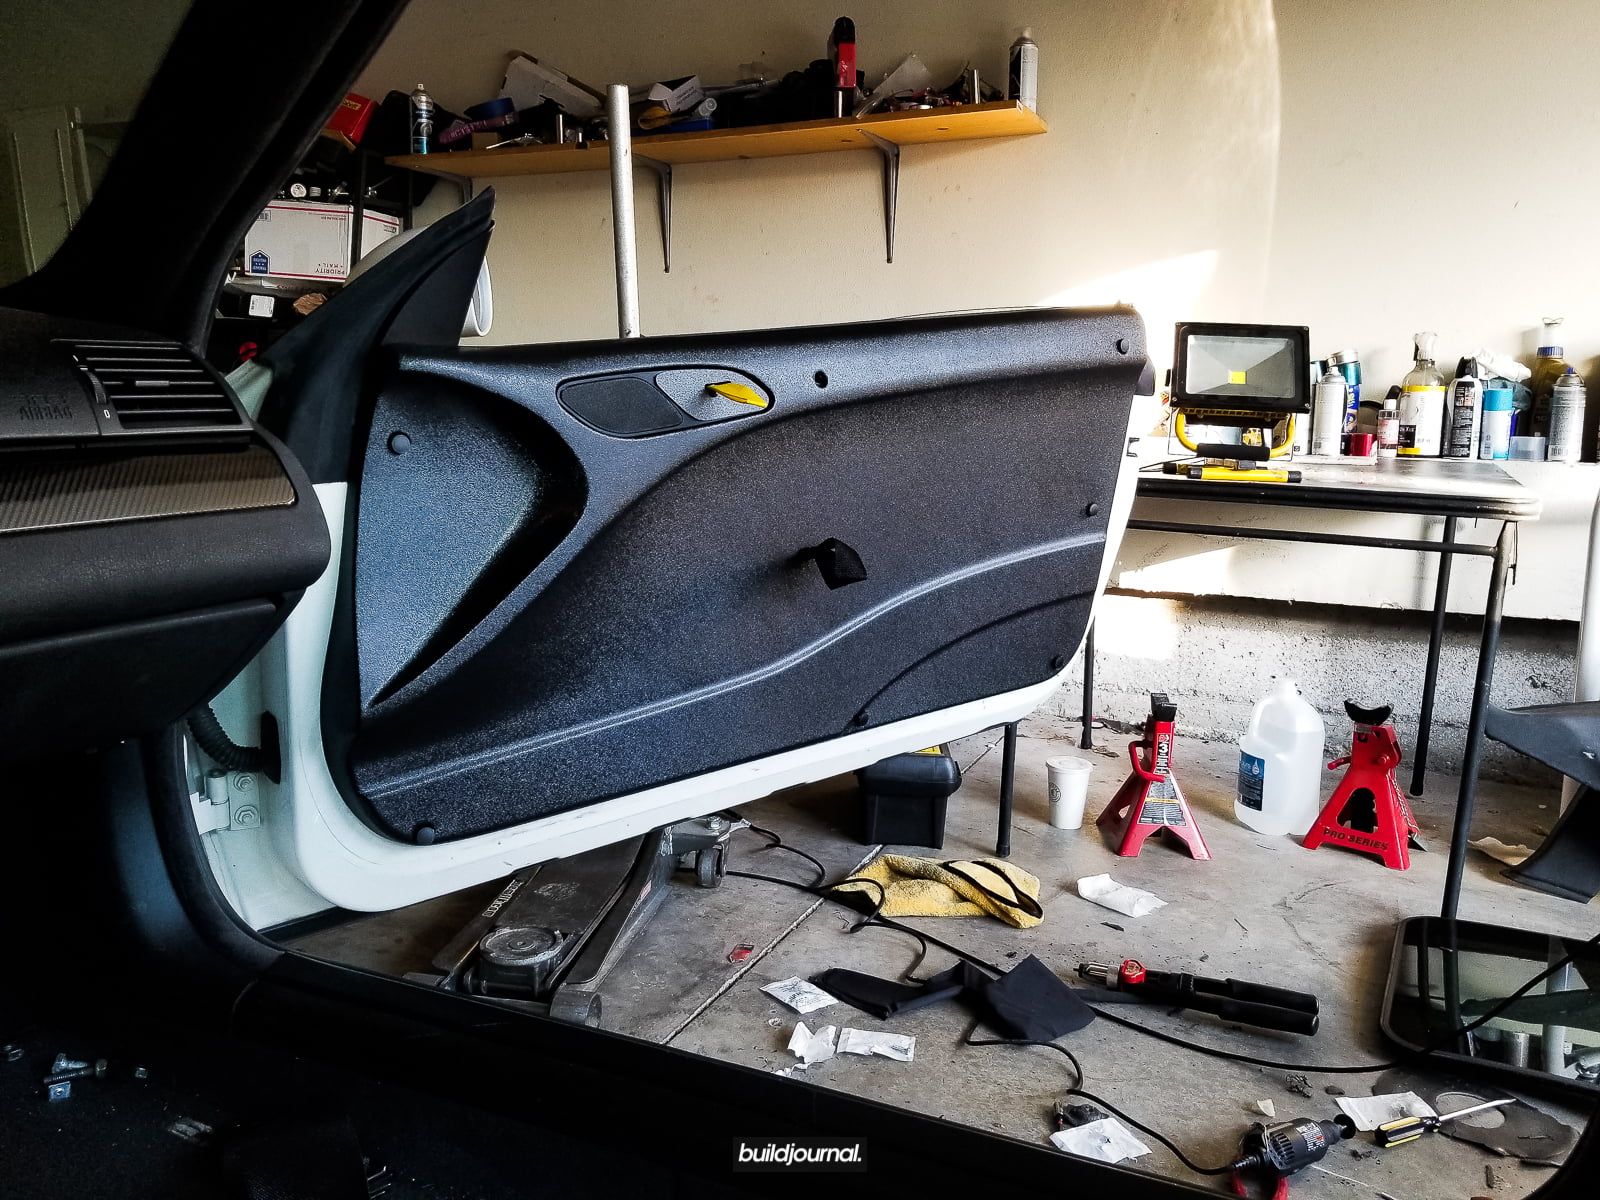
Significant weight savings, awesome look
- HARD Motorsport Lightweight Door Panel Set
- HARD Motorsport RS Style Door Latch Pull Strap
Summary
Overall the HARD Motorsport Lightweight Door Panel Set is a beautiful piece that saves a lot of weight. I didn’t get to weigh the OEM door panel, but each side was probably around 20 lbs compared to maybe 3 lbs. The install wasn’t terribly hard either. It has a nice design that retains some design flow instead of a flat looking piece. I have mixed feelings about the stand off kit provided and I really wish I could have used it, but I did not have the craftsmanship to do a clean install. A tip for all trying to do this, measure multiple times and drill once. I’m sure if I took it to a shop, they would’ve done it no problem. The cut is pretty good and there are no weird uneven gaps around the edges. At first I had a weird gap at the top, but it was easily fixed after minor adjustments to the hardware. Is it worth the install time? Definitely yes.

