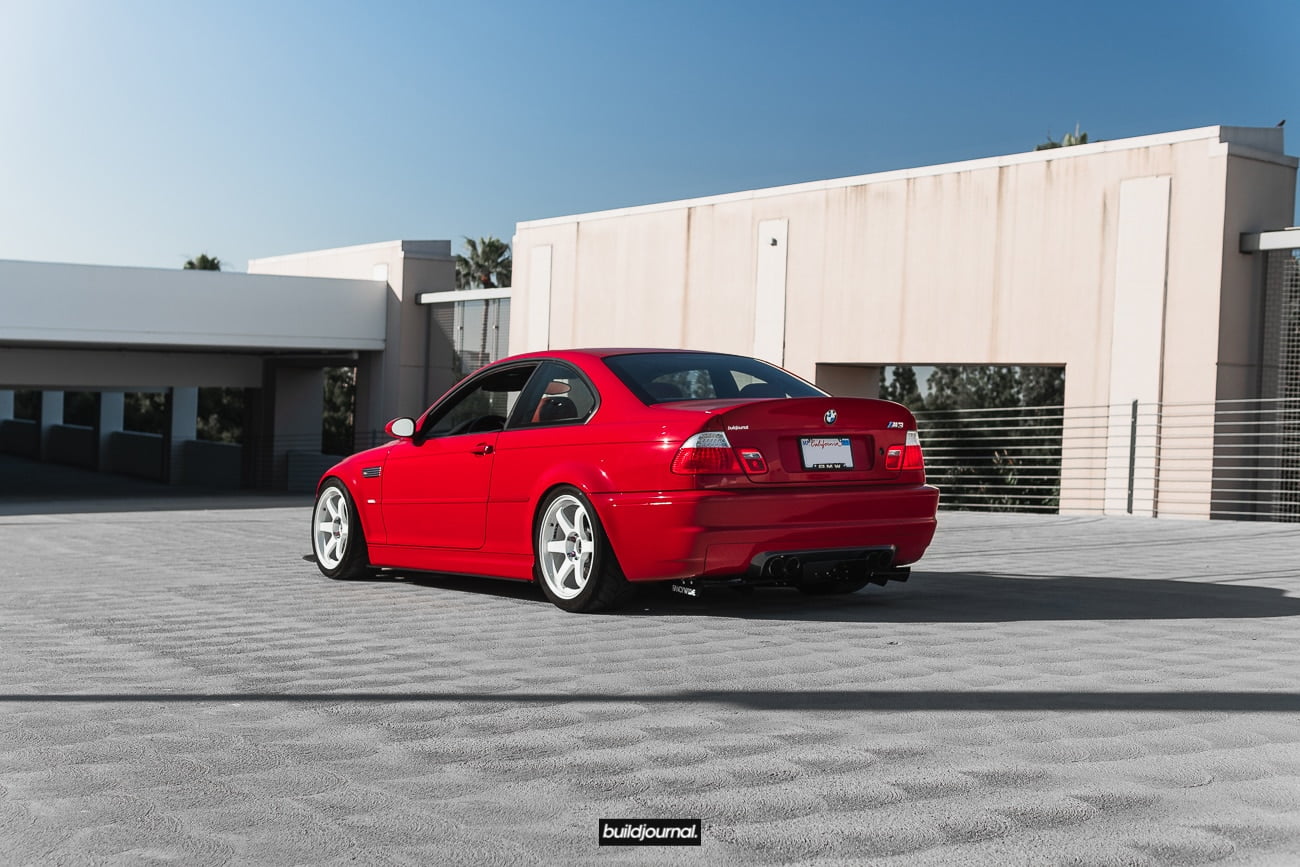
After months of waiting, I finally got to put on my Fancywide diffuser. I’ve had it for a while, but I was waiting for my track “off-season” to be over in the summer so I don’t destroy it on-track. The diffuser itself is made out of aluminum and magnesium, with the sheets/fins 3mm thick. It’s lightweight but has proved to be very sturdy after 10+ track days on Oscar’s car (our tuner), with the occasional spin-outs into rocks and dirt (mostly due to mechanical failure on his car). The Fancywide diffusers are functional for both aerodynamics and aesthetics, making it a very logical modification for any E46 owner.
However, Fancywide doesn’t include install instructions due to the fact that it’s so different for each car. Trying to install this without instructions can get a bit confusing because they provide a significant amount of extra hardware. I spent a lot of time trying to figure out what the extras were for, only to conclude that they weren’t needed. Hopefully this DIY will save you some frustration and time!
If you are looking to get one, you can purchase from our store page here: E46 M3 Fancywide Diffuser
Time required
~ 15 minutes to build the diffuser
~ 1-1.5 hours to install
Tools needed
- 1/8 hex/allen wrench
- 3/8 drill/bit
- Ratchet
- 8mm socket
- 10mm socket
- 10mm wrench
- Pliers
- Jack / Lift
- Jack Stands / Race Ramps
Build the Diffuser
As I mentioned before, Fancywide provides a good amount of extra hardware, so don’t expect to use all of it. They have an install video on an E36, but they assemble each piece directly on the car rather than building the entire diffuser out first, which I found to be a lot easier.
Rather than writing actual instructions for this part, it is probably easier to just look at the pictures below and copy it.


Mount to the Car
- Follow the normal procedures to jack up the rear of your car and safely keep it up. We prefer to use Race Ramps because it’s much safer than jack stands.

2. Remove the plastic Charcoal Canister Filter Cover behind your rear diffuser. It is held on by 8mm screws all around – don’t miss the two at the top closer to the rear passenger-side wheel. You will not need these screws or the cover anymore.


3. Remove the two center rivets from your rear diffuser using pliers. You will not need these rivets anymore.

4. Remove the two 10mm bolts on the cannister. This is where the back of the Fancywide Diffuser will mount to. You will be re-using these bolts.


5. Line up the Fancywide Diffuser to the mounting points and use a jack to maneuver and support it. On the Fancywide Diffuser, the rear holes line up to where the Charcoal Cannister bolts came from, and the front holes line up to the OEM/CSL diffuser of the car. Screw in the cannister bolts slightly to support it, but not all the way so you can still adjust the Fancywide Diffuser later.


6. For the front part of the diffuser, use the provided cut rubber line as a spacer between the Fancywide Diffuser and actual diffuser. Set up your bolts like below.

7. Secure the bolt with the nut on the backside of the diffuser. Do not tighten all the way to allow for adjustment later.

8. Once the center of the diffuser is lightly secured to the car, line up the sides of the Fancywide Diffuser to your bumper where you will be drilling holes to secure it to the car. Make sure your jack is still supporting the center of the diffuser since it isn’t all the way secured. Make sure that there is enough space on both sides of the hole so that the hole is not too close to the edge. Mark where you want to drill using a sharpie. Repeat for the other side.

9. Drill the holes.

10. Secure both sides using the provided bolts and nuts.

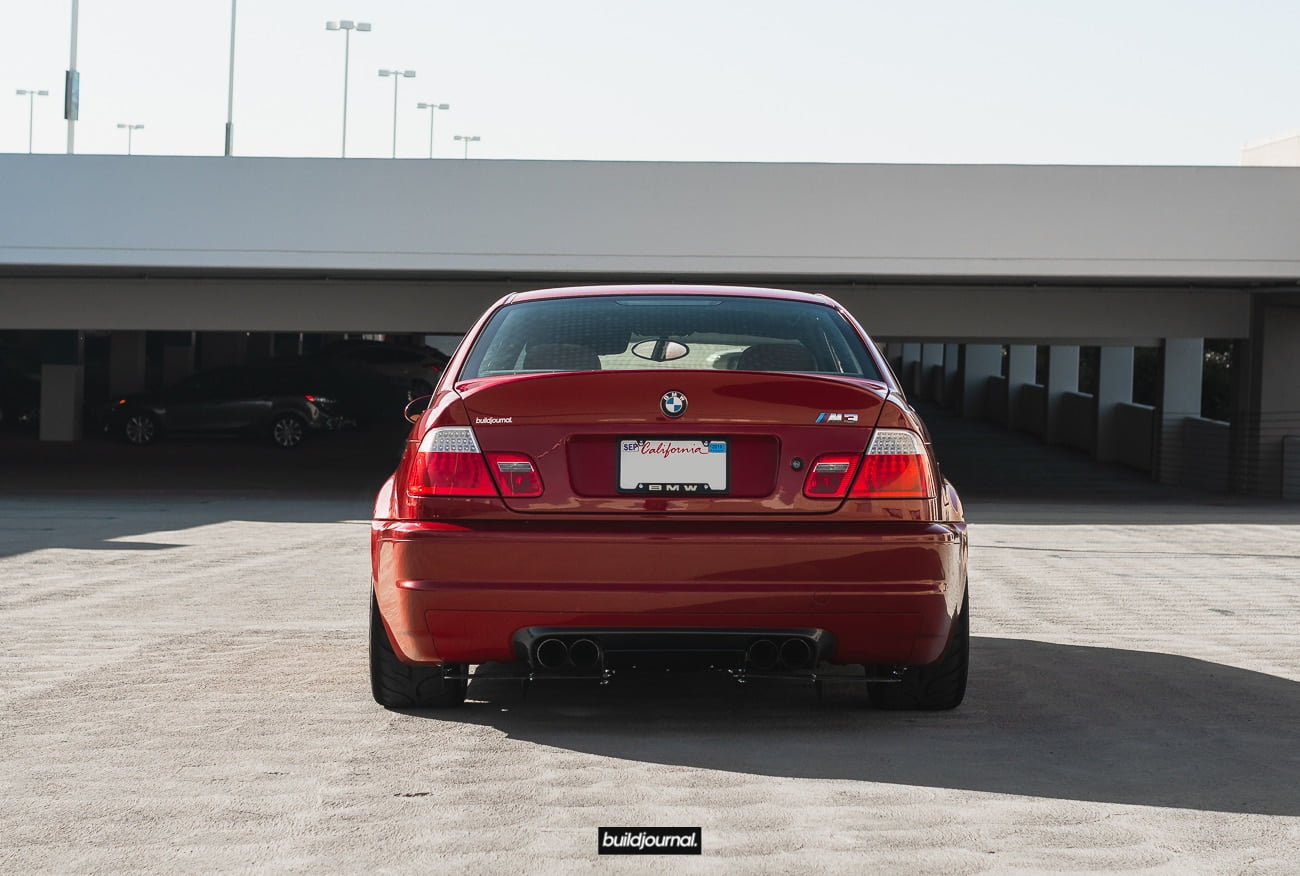
11. Center the Fancywide Diffuser properly between your exhaust tips and tighten the center bolts. Make sure the Fancywide Diffuser has equal space on each side from each tail pipe.
12. Adjust the height/angle of your Fancywide Diffuser on the side where it its mounted to the bumper. Do NOT tighten too much, otherwise you will put too much pressure on your OEM/CSL diffuser and cause it to pop out a little.
And there you have it. The install is actually a lot simpler than it looks, with the hardest part being just centering it properly between the exhaust tips and downwards angle. If I missed any steps or am not clear, leave a comment below so I can fix it. Now that you know how simple the install is, head on over to our shop to get yours: E46 M3 Fancywide Diffuser