The stock E46 M3 S54 Bosch fuel injector static flow rate is rated at 260 cubic centimeters (cc) per minute at 43 PSI. The purpose of taking out my injectors were to clean it since a buddy of mine had a flow rate of 150 cc on his injectors after 150K+ miles of usage. Little did I know my injectors were going to be worse! If your car is in the 100K range, I would consider cleaning the injectors. Scroll down through the article to see what that process was like for me, but first we’ll need to take out the injectors. So here is a little DIY for removing and installing injectors.
Difficulty
4/10
Time
4 hr
Cost
$150
Vehicle symptoms for dirty or clogged injectors
If you’re dealing with any of the following symptoms, as stated from injectorrx.com, you most likely have dirty, clogged or leaky injectors.
- Starting issues
- Poor idle
- Failed emissions
- Poor Performance
- Engine does not reach full RPM
- Increased fuel consumption
- Rough engine performance
- Surging and bucking under various throttle loads
- Smoke from the tail pipe
- Engine Knock or Detonation which can lead to catastrophic engine failure
- Pollution
The solution
Get your injectors cleaned! There are several injector cleaning companies you can find. I chose to go to RC Fuel Injection in Torrance, CA since they’re relatively local to my area. They clean, balance and calibrate your injectors to new-like state including new o-rings. They completed my cleaning in less than 24 hours and I was able to pickup the very next day after I dropped off. They also include a test sheet to show the old and new flow rate. Scroll below to see the print out for my injectors. You’d be surprised.
Instructions to remove your injectors for cleaning
1. Remove cabin filter and strut bar
1.1 Remove 4 nuts holding front strut bar.
1.2 Remove 4 torx screws holding cabin filter housing, remove filter.
1.3 Remove strut bar.

2. Drain fuel from lines
2.1 Unplug Fuse #54 from glove box. It should be a yellow 20A fuse.
2.2 Start car up and let engine stall. This will remove most of the fuel in your lines.
2.3 Reinstall the fuel pump fuse back in. Don’t start the car again or else you need to re-do this process over again.
3. Remove Air & Fuel Rail
3.1 Disconnect plenum-side breather valve via squeeze clip.
3.2 Disconnect breather valve on air rail.


3.3 Remove the 2 silver 10mm hex bolts on the air rail. First one is by the TPS sensor above cylinder 1. The second bolt is in the rear between cylinder 5 and 6. I had to use a swivel head to get to it.


3.4 Disconnect the vacuum tube at the very ar end of the air rail. Be very careful not to drop it down the engine bay as I did!

3.5 This step is going to be different for most of you. I have an E85 kit, so my plastic fuel injector harness cover piece was already detached. For those that are stock, you’ll need to unclip the plastic tabs remove. Don’t completely remove the cover, but just unclip it so the air and fuel rail can come out.
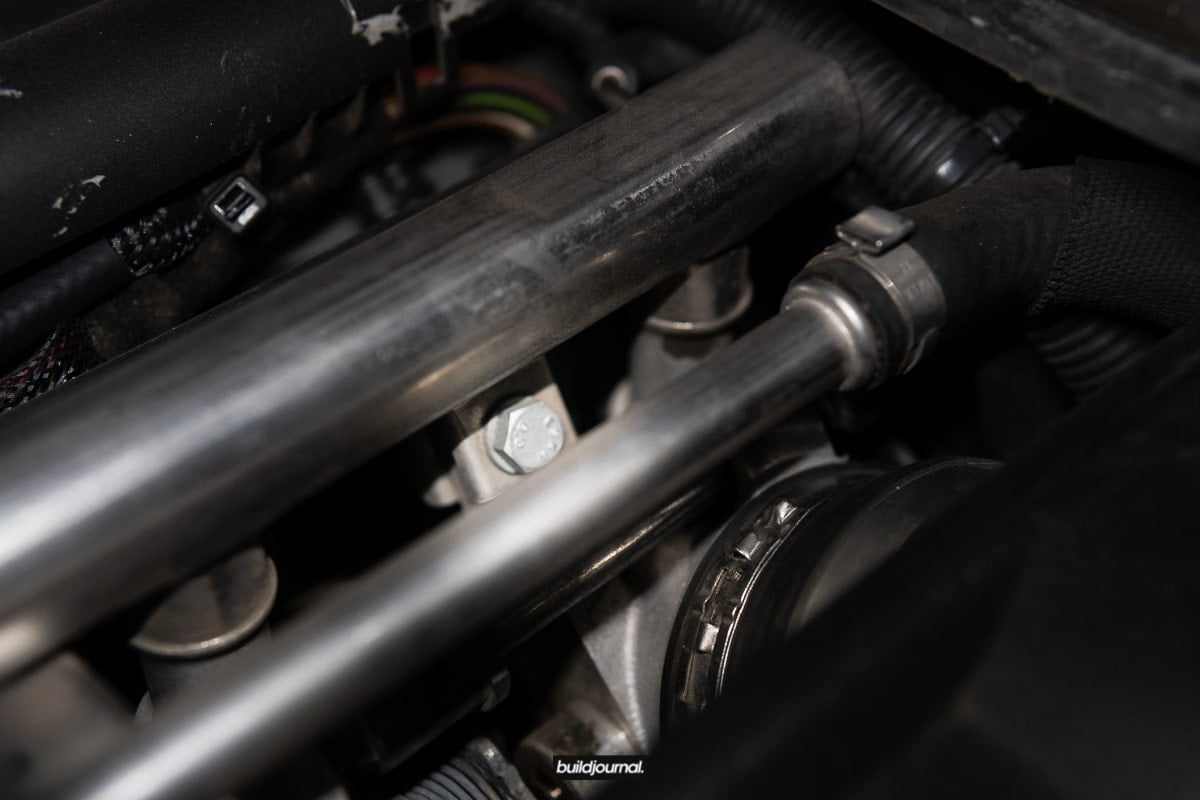
3.6 Use a pry bar against the the engine head to lift the air rail up. Start at the side closest to the front of the car. The air rail is connected via 6 plastic air valves that are pressure fitted via o-rings. Once you pry the first few ones apart, you can lift the remaining.
3.7 Remove all 6 air valves by twisting them out. Some will be stuck on the air rail and some on the throttle body. You should clean these before they go back on.
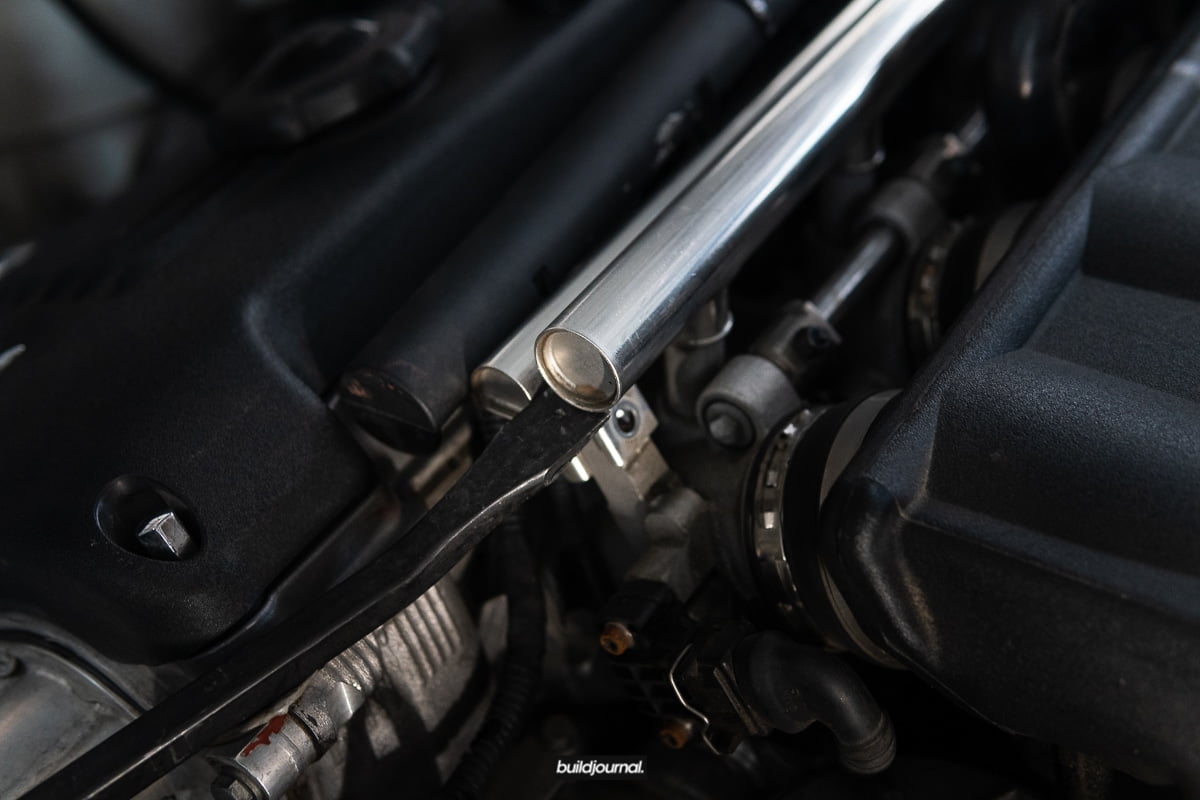
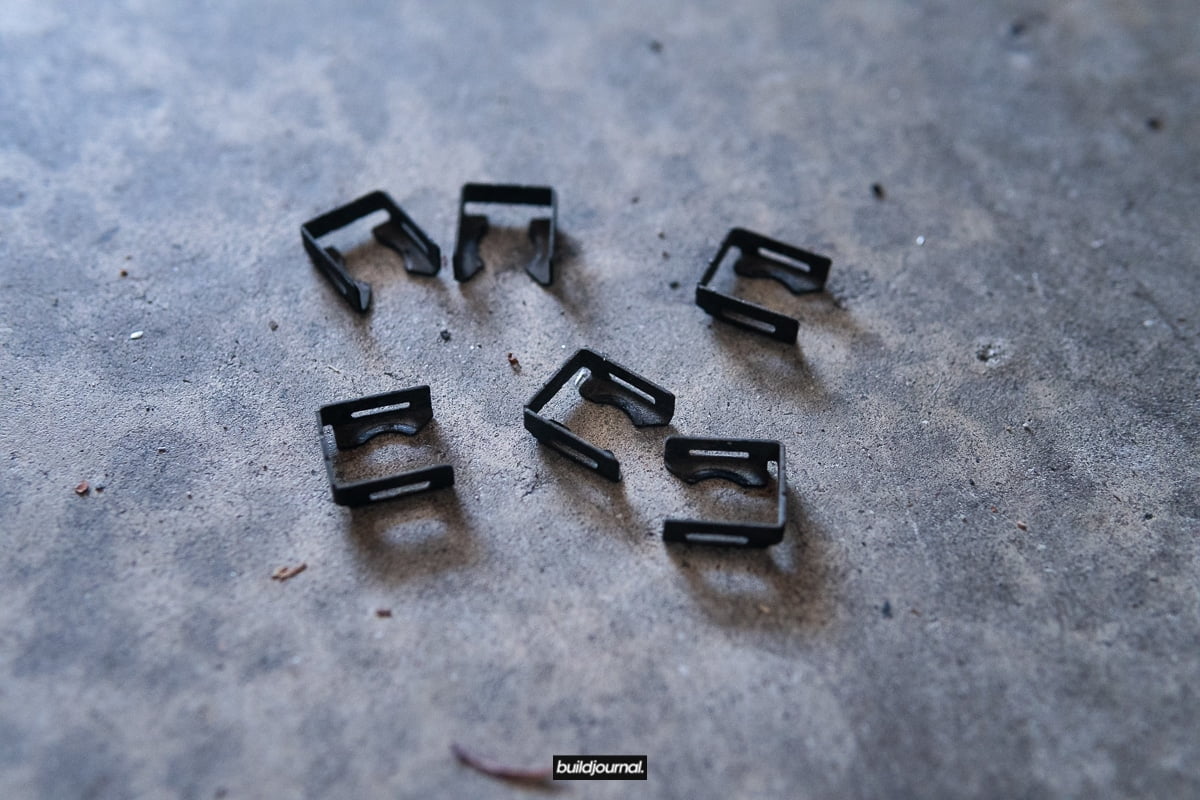
3.8 Now to the fuel rail. There are a total of 6 metal tabs holding in the injectors to the rail and one metal tab holding in the fuel feed line which is located between cylinder 5 and 6 in the rear. Use a flat head to pry the clips apart.

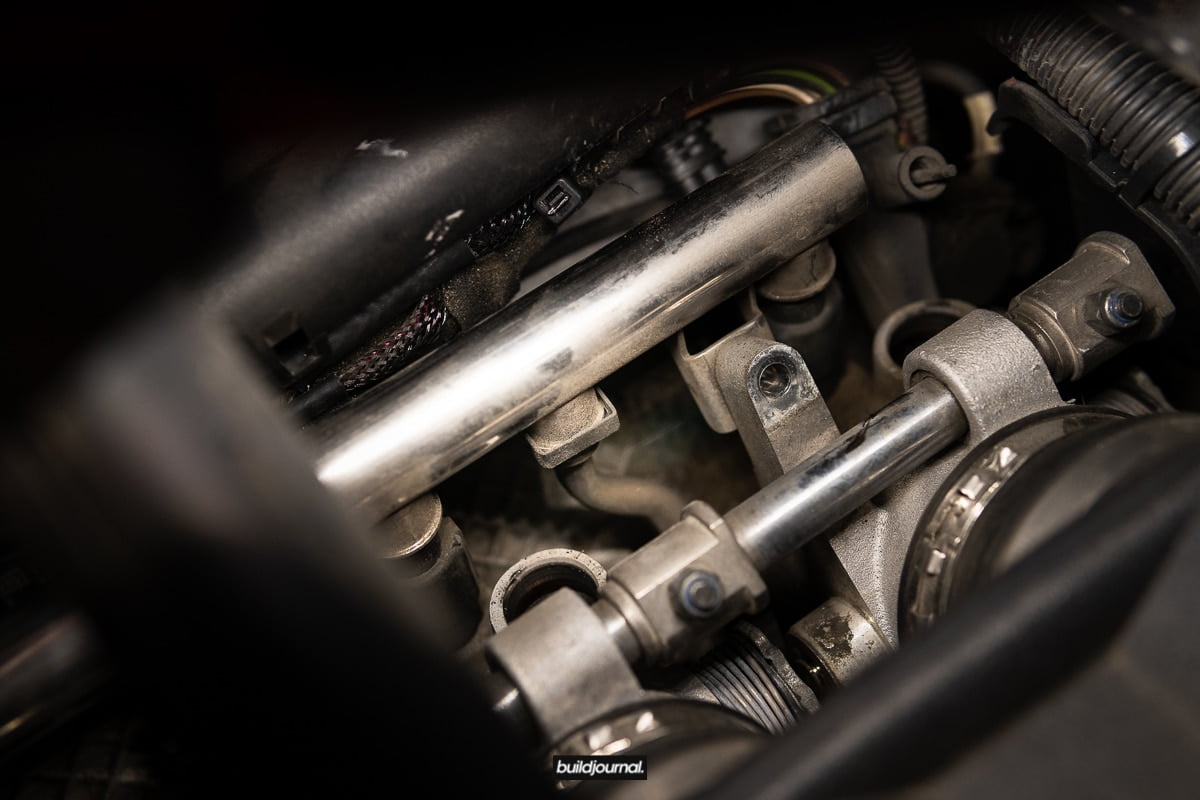
3.9 Pry the fuel rail as you did for the air rail. Injectors will pop out one by one.

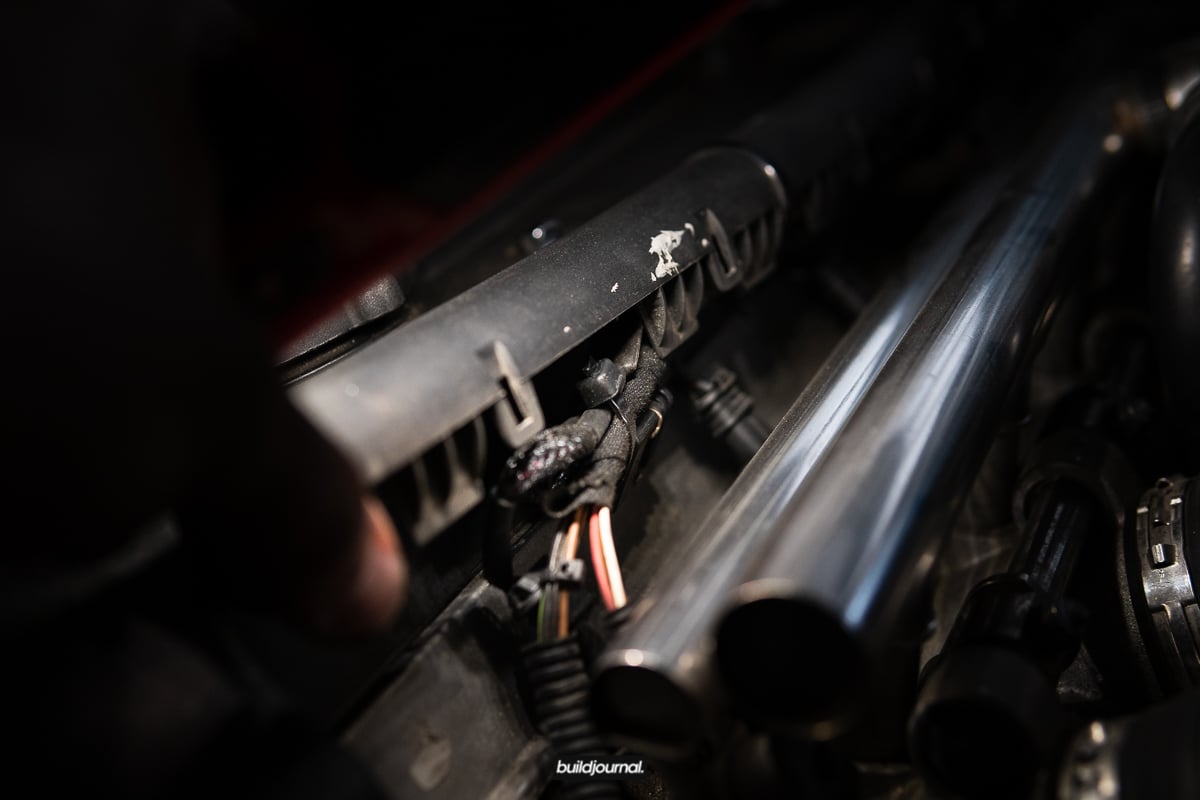
3.10 Careful not to pull out the rail all the way just yet. You must disconnect each injector wiring harness.

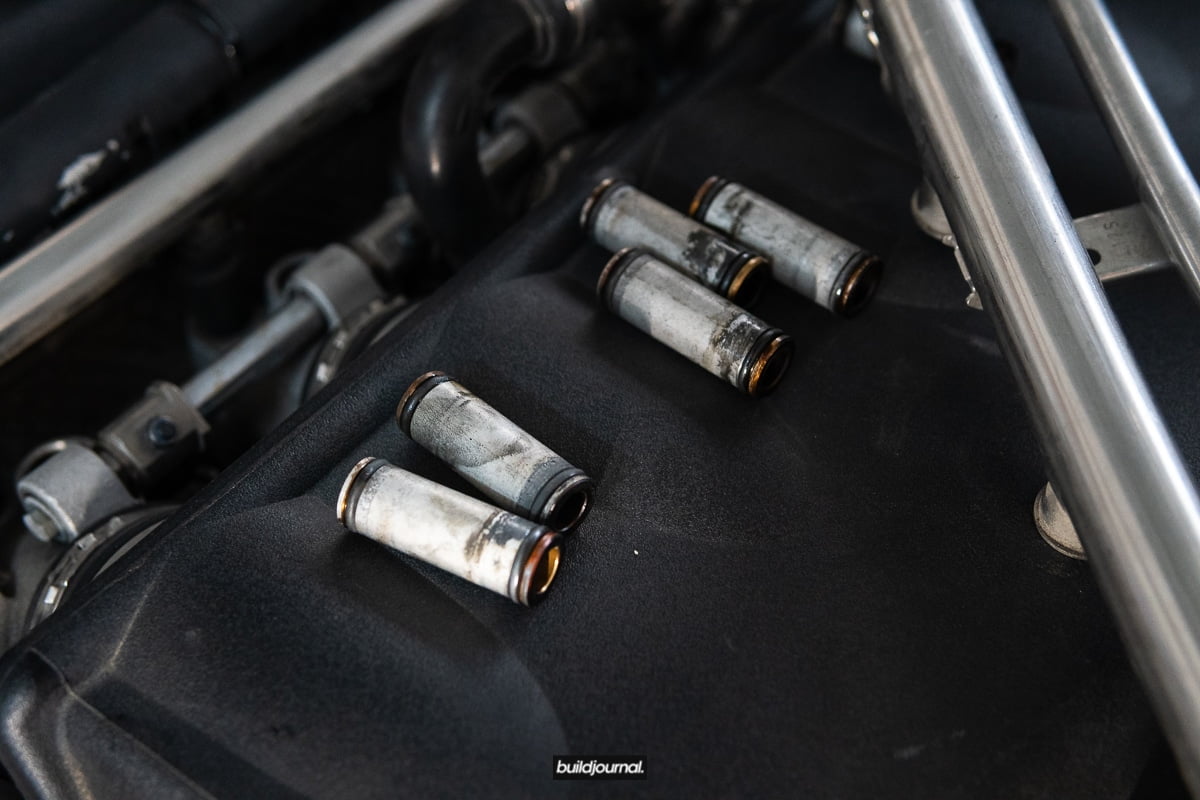
4. Remove injectors
4.1 Eventually they will all pop out like this attached to the rail. To remove the injectors from the rail, just simply twist them off. They are pressure fitted via o-rings. Take note of the orientation of the injector plugs for re-installation.

5. Cleaning the injectors at RC Fuel Injection
As I mentioned earlier in this article, the stock injectors have a flow rate of 260 cc at 43 PSI. My average flow rate was 185.2 cc with the lowest being at 125 cc. What!


6. Installing injectors
Installing is the trickiest part of this DIY because since the injectors and air valves are pressure fitted with o-rings, it’s really hard to get those back in by pushing down.
6.1 Twist injectors into fuel rail and insert the metal clips you removed in step 3.8. Make sure the clips are seated properly as pictured below.

6.2 Apply some engine oil or silicone grease, in very small amounts, to the o-rings on the air valves to lubricate when installing the air rail back on. Twist in air valves onto throttle body.

6.3 Apply some engine oil or silicon grease to the injector o-rings as well. Dry pressure installation may damage your o-rings. Take the entire fuel rail assembly and install the injectors back in. Watch the injector nozzle alignment as you install. You’re going to need to wiggle each injector to make them slot right in. The 2 threaded metal tabs on the fuel rail will go behind the throttle body mount. Also keep an eye on the fuel feed line alignment between cylinders 5 and 6.
6.4 Once the injectors are in the hole, you’re going to need a good amount of top pressure to fit them in. In my case even with some lubricant, it was very difficult to get them in. I do not advise this method, but I had to get a small mallet to tap the fuel rail to push each injector in. One thing you should make sure to do is make the fuel rail go down evenly. Don’t push in one side completely and expect the other end to line up. Once properly seated, the fuel rail metal tab holes will line up with the throttle body.

6.5 Insert the metal clip for the fuel feed line.
6.6 Install the air rail back in. Same method as fuel rail.
6.7 Install the two 10mm bolts.
6.8 Install the rear vacuum hose back in. Turn the key to the 2nd position (which primes fuel into the lines) and check for fuel leaks.
6.9 If there are no fuel leaks, reverse install from the directions earlier to get everything back together. You’re done!
Sorry if I missed it but how different was the behavior of the engine after the injectors were cleaned? Better top end RPM? Bette fuel efficiency?
Wording suggestion:
6.8 Install the rear vacuum hose back in. Turn the key to the 2nd position (which primes fuel into the lines) and check for fuel leaks.
Injection time on INPA showing me about 1.56
It means that injectors are dirty?
https://uploads.disquscdn.com/images/aba0c0c9a3bb639c728a74d2b45e8d894c05ecfae86e06e87d85ab02ea84fd36.jpg
Marked blue is the same as injection time? After cleaning you have 1.12 when before it was 1.57
https://uploads.disquscdn.com/images/74e242f302f99320513f3d014f1ba847e36cdae2fe139e4ebbee48d1290a91cf.png
I use a ~12″ long piece of 2×4 scrap and taps from a hammer to get the rails to seat evenly end-to-end. Just don’t swing for the fences and you shouldn’t damage anything. 🙂
I was about to do something like that too, but felt like I was going to damage the o-rings. Hope you lubed up the o-rings really good!
Did you need to reset the adaptations using INPA or similar after reinstalling due to better flow rate?