The E46 M3 is starting to see more track duty now so I decided to replace my S54 VANOS oil feed line so I can lessen the chance of anything catastrophic happening at the track. It’s not super common, but I’ve heard a good amount of stories where the stock VANOS oil feed line breaks. No one wants be end their day early at the track because of a failed oil line. Not only that, no one wants to have an engine bay splattered with oil! So here we go, I’ll take you guys through the little DIY I did.
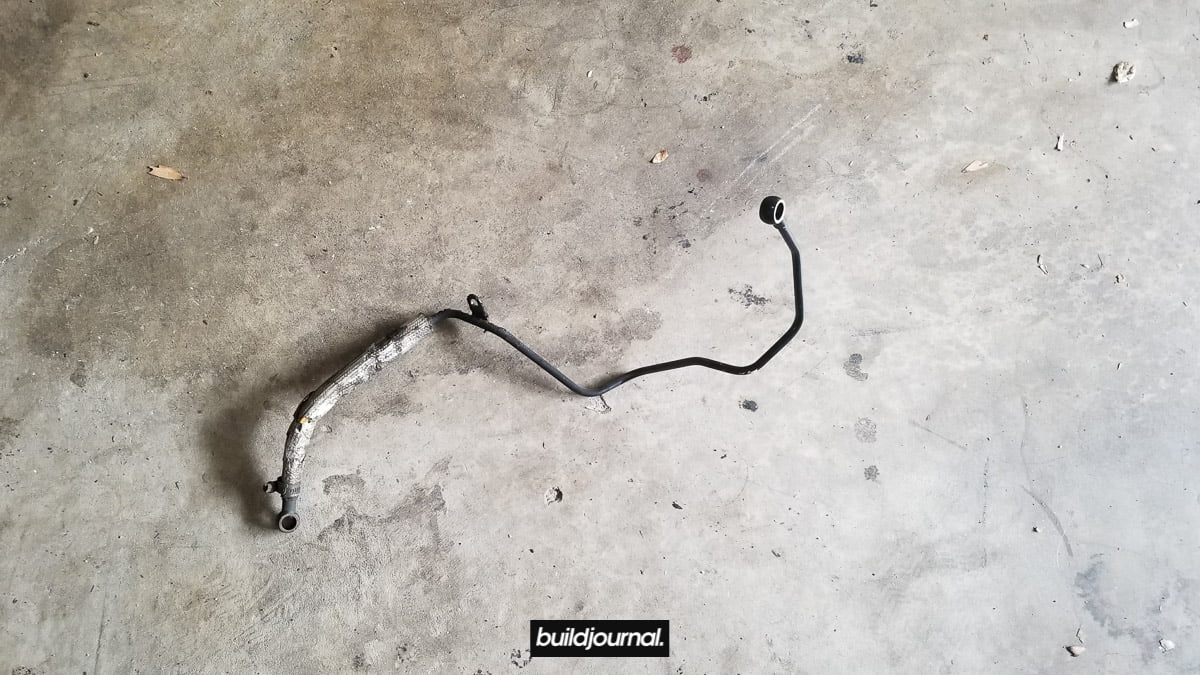
The Problem: The stock (hard) oil feed line is pressured to 1,200+ psi and overtime the bends tend to crack. The stock VANOS oil feed line is #2 pictured below.

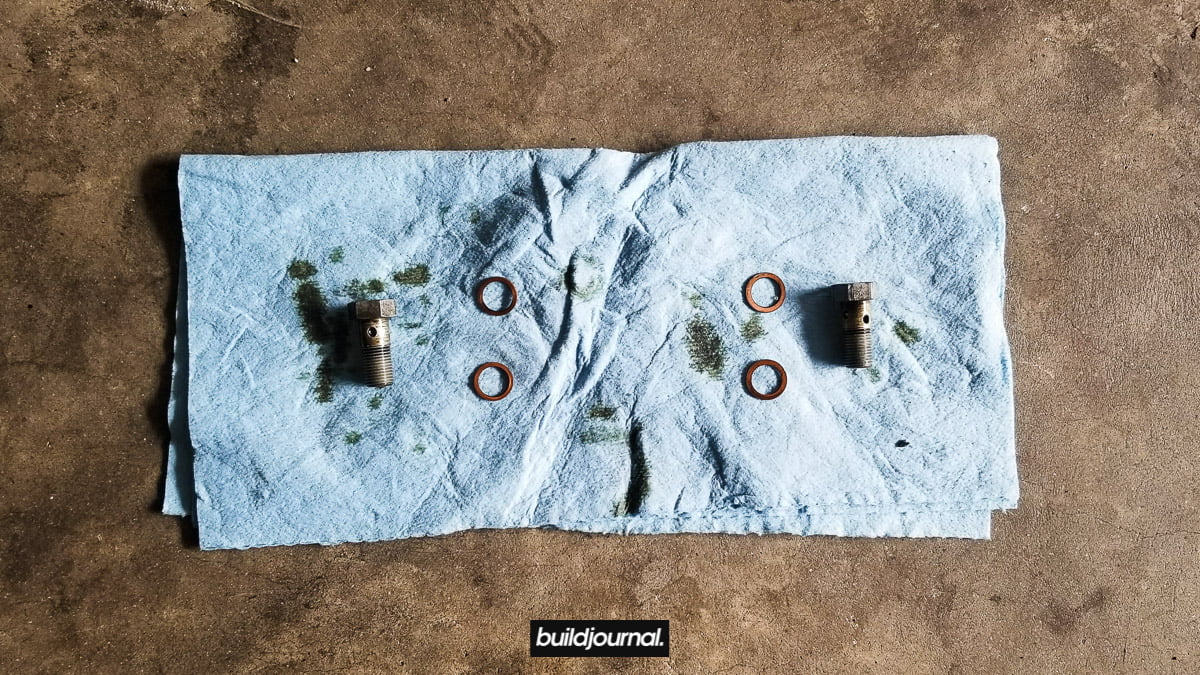
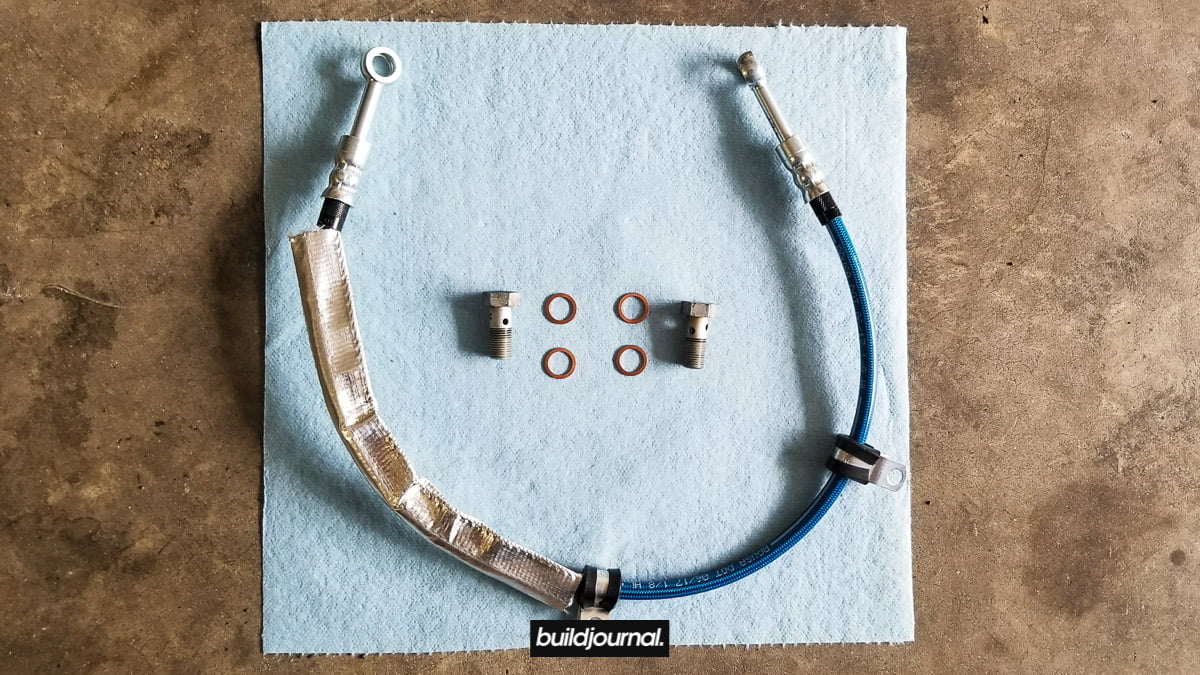
The Solution: Replace your stock line with a stainless steel braided hose! There are a few companies out there including Rogue Engineering, DrVanos and Hack Engineering, but I chose to go with the Bimmerworld S54 VANOS Oil Feed Line. The BW kit comes with a stainless steel oil feed line, (4) crush washers and mounting points. If you just want to replace it back to stock, you can get the ECS Engine Oil Line/Pressure Hose. (P/N: 11367837614)

Disclaimer: This DIY does require you to lift your car so please use proper tools and follow all safety procedures if you choose to attempt. This guide is for your reference only. We are not liable for any damages or injuries that result from this guide.
E46 M3 S54 VANOS Oil Feed Line DIY Installation
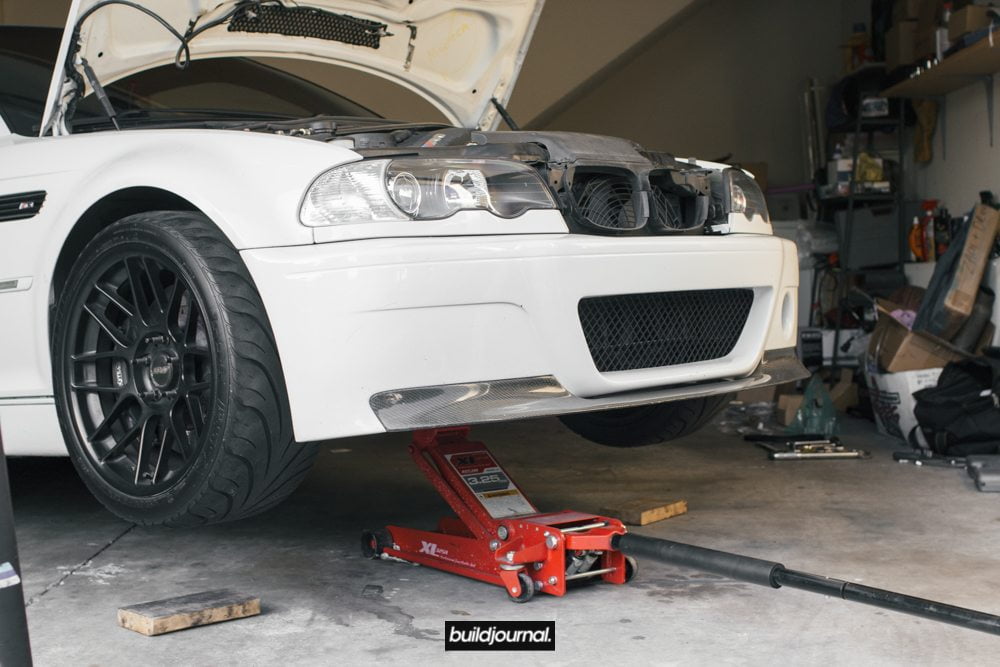
1. Jack up the car
1.1, straighten your wheel and use the center jack point to lift the front.
1.2, place 2 jack stands to keep the front of the car lifted.
1.3, use jack or tire as an emergency backup support.
1.4, remove plastic under tray located underneath the car. There are ten 8mm hex screws total.
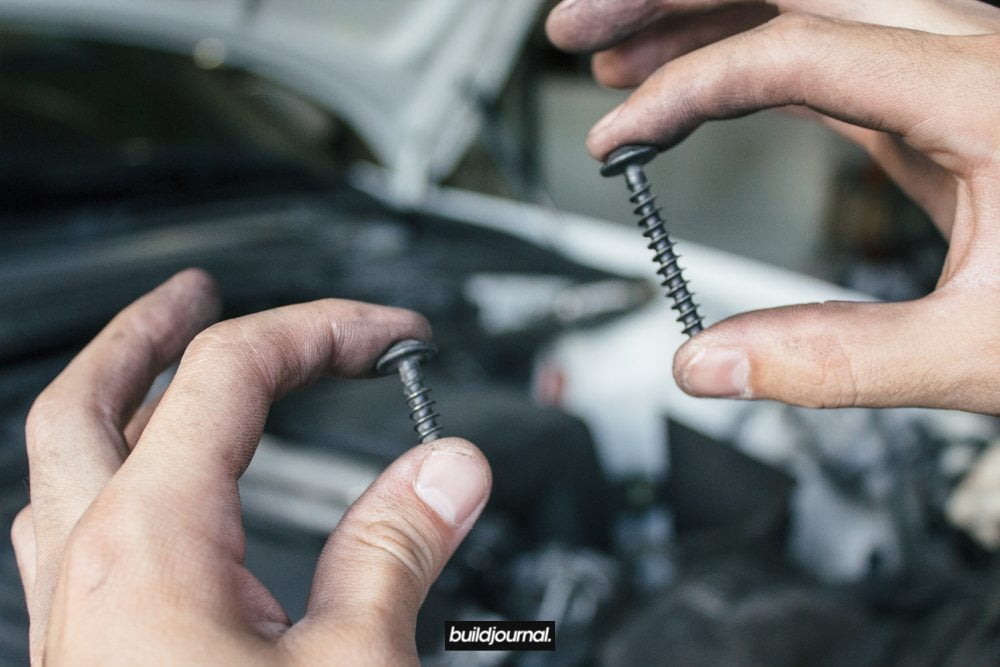
2. Remove intake air scoop
2.1, open your hood and look for the plastic intake air scoop.
2.2, remove intake air scoop. There are 4 push pins holding it in. Use needle nose pliers to remove pins.

3. Remove radiator shroud and fan
3.1, remove the 3 push pins holding the shield. There is one on top directly center, one driver and one passenger. Remove using pliers. I don’t have pictures of the passenger side of the shield because I don’t run that. Below is a picture of the driver side shield.

3.2, there are a total of four T25 torx screws (one on each corner) and 2 plugs on the passenger side of the radiator/shroud. Unplug cables first, then remove the four screws. The passenger side top torx screw (pictured below) is longer than the others. Tape up plugs and set aside.

3.3, remove passenger side lower screw.

3.4, remove driver side lower screw.
3.5, remove driver side top screw. There is also one little latch hooked on the heat shield. It should pop off with a little bit of wiggling.

3.6, remove fan using the E46 M3 water pump locking tool (001170SCH01A) and a 32mm wrench. The fan clutch nut is reverse threaded. Lock in the water pump pulley and unscrew using the 32mm wrench. Spin the fan to unscrew a little faster, but make sure you don’t let the fan drop.
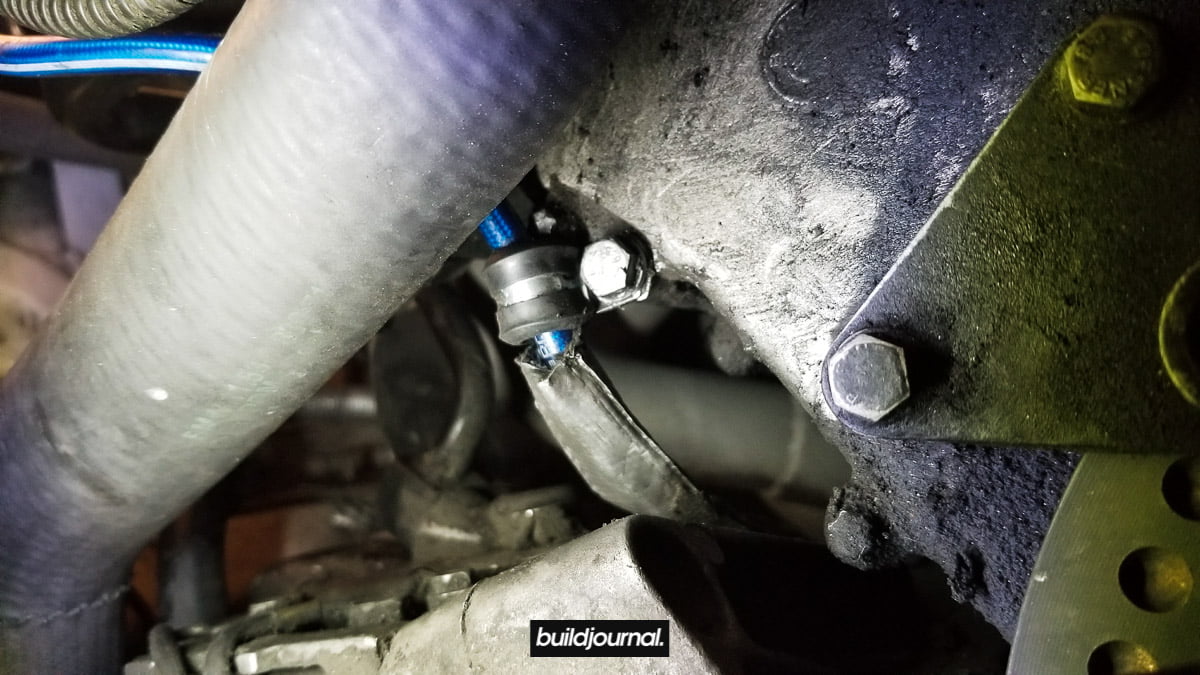
4. Remove the stock VANOS oil feed line
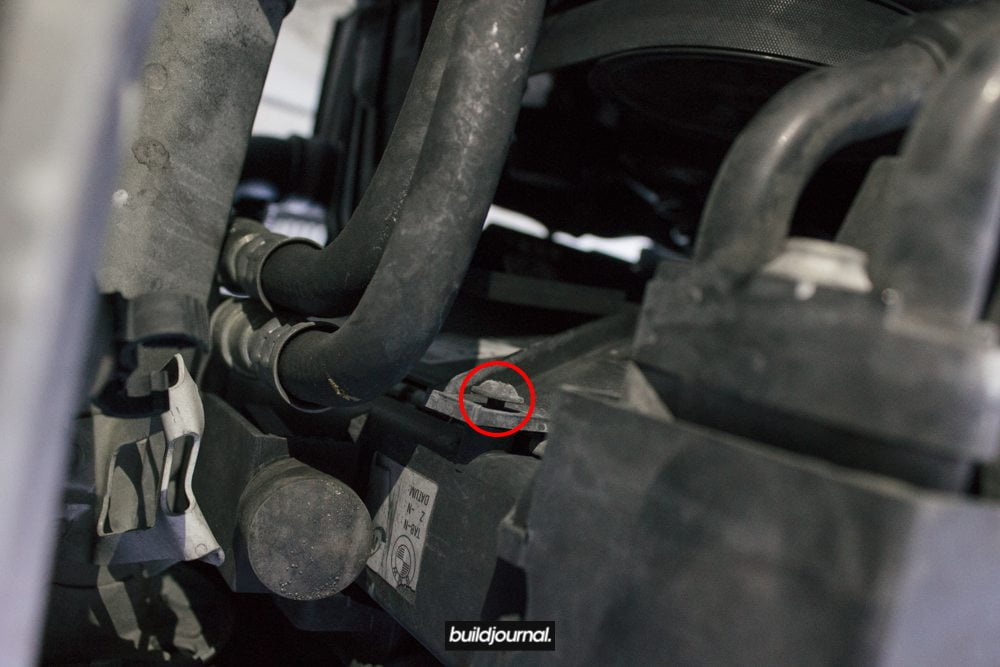
4.1, locate the top oil feed line bolt.

4.2, follow down the line and you’ll find the 10mm bracket holding the line. It’s hard to spot if it’s dirty so make sure you wipe the area down before you search it. The bolt is right behind the radiator hose. Remove this bolt. [!] Note: some cars may have a 2nd bracket on the VANOS unit itself.

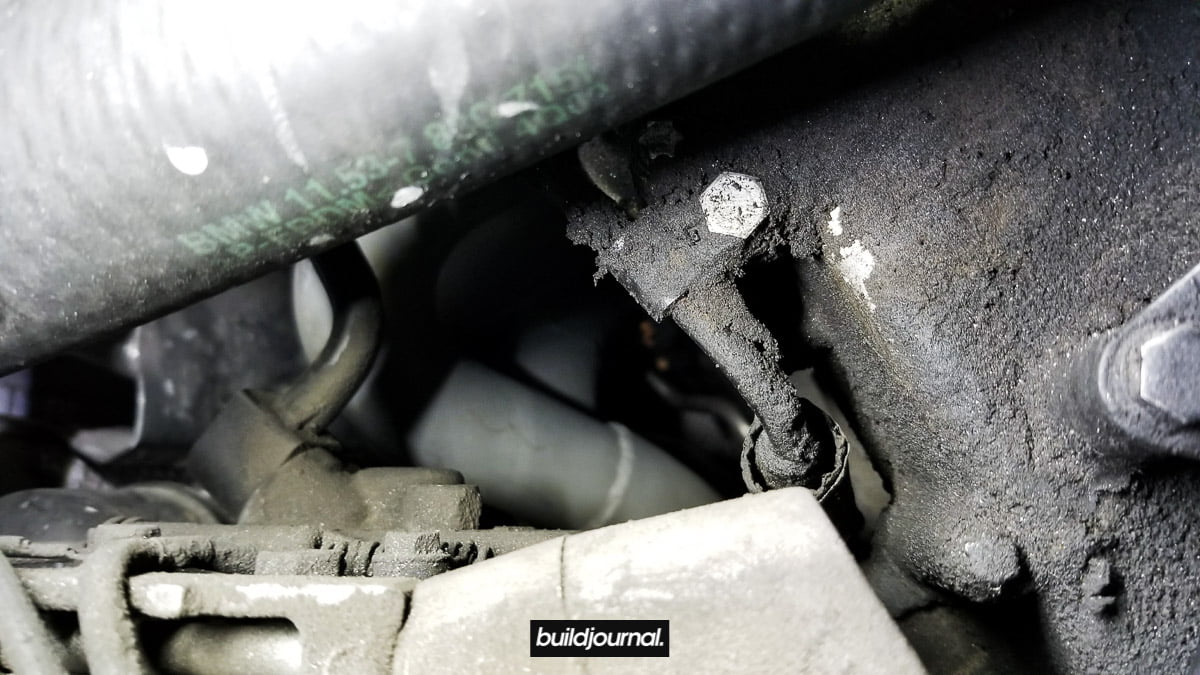
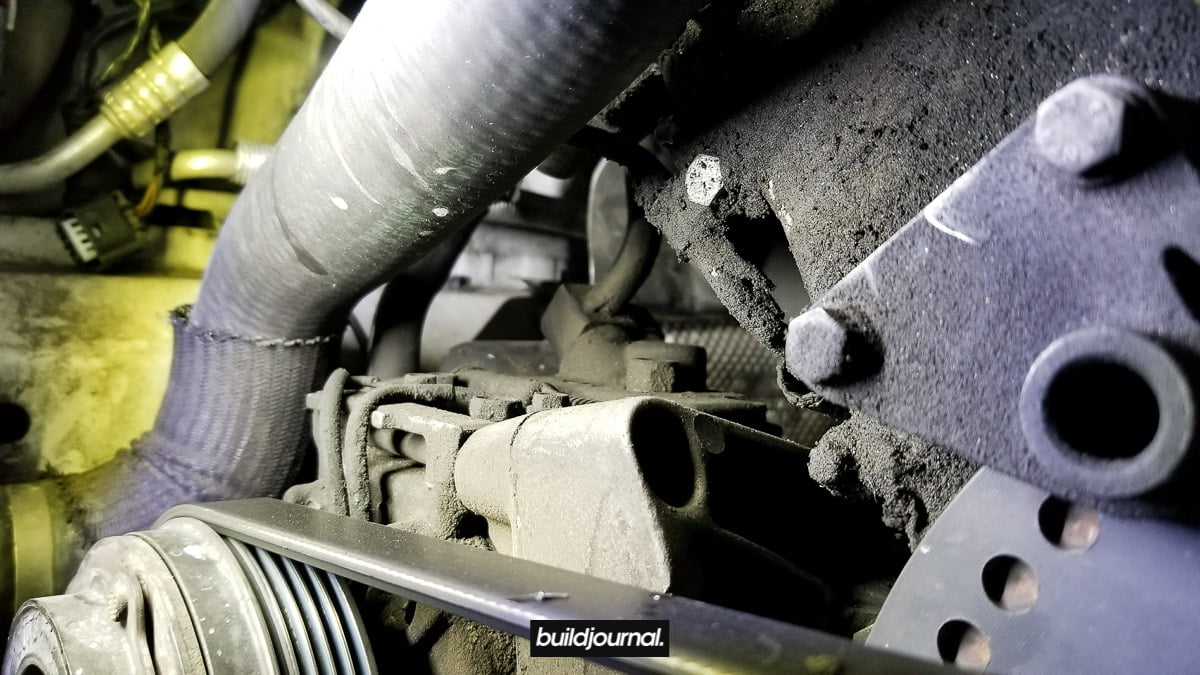
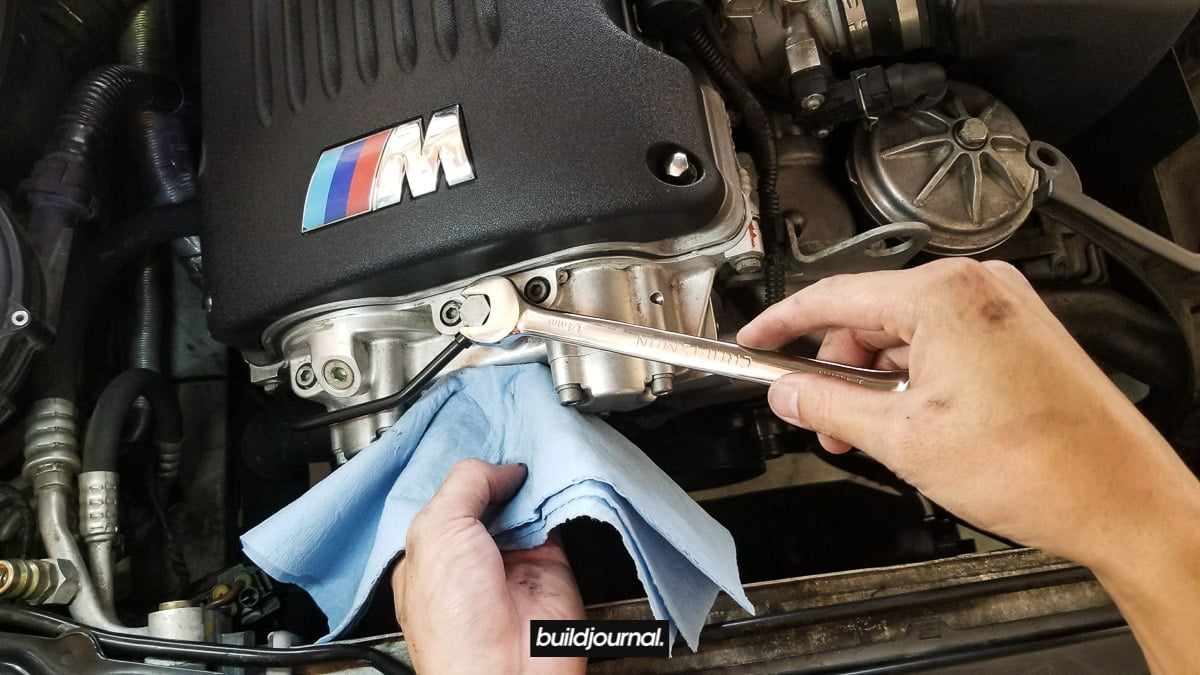
4.3, remove the 14mm banjo bolt located on the top of the VANOS unit. Get a drip towel ready.
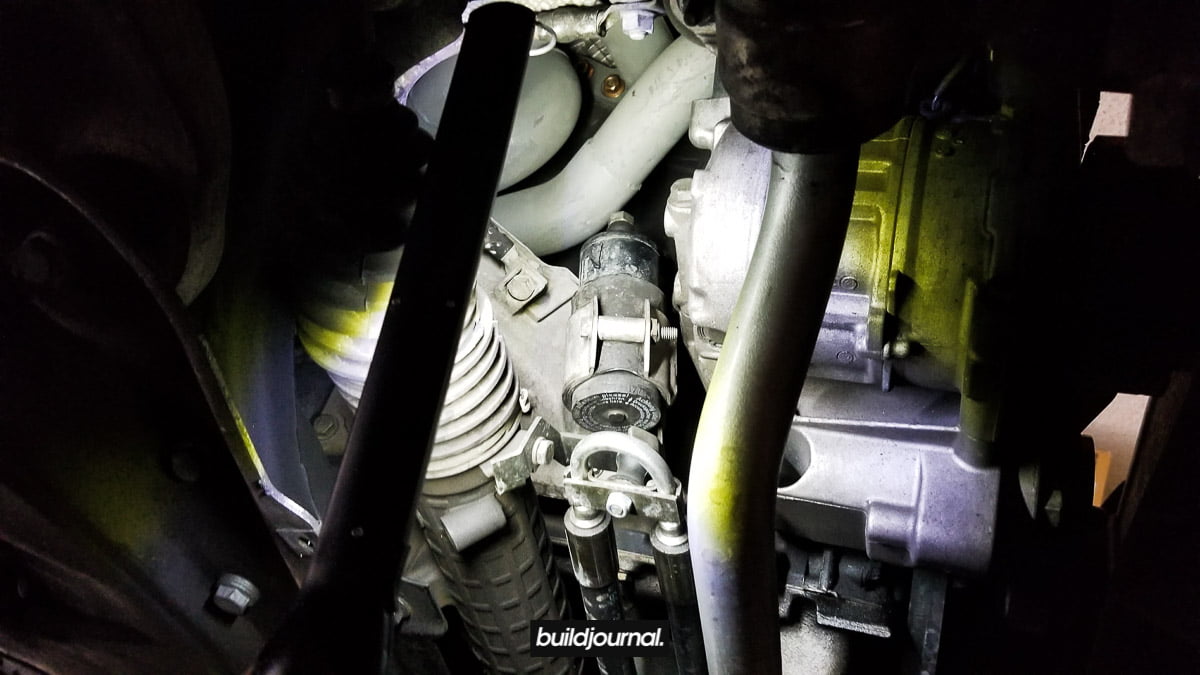
4.4, go underneath the car and locate the oil pressure accumulator. It’s on the passenger side right above the power steering line. The other side of the VANOS oil feed line goes straight to this. You can see the 14mm banjo bolt on top.
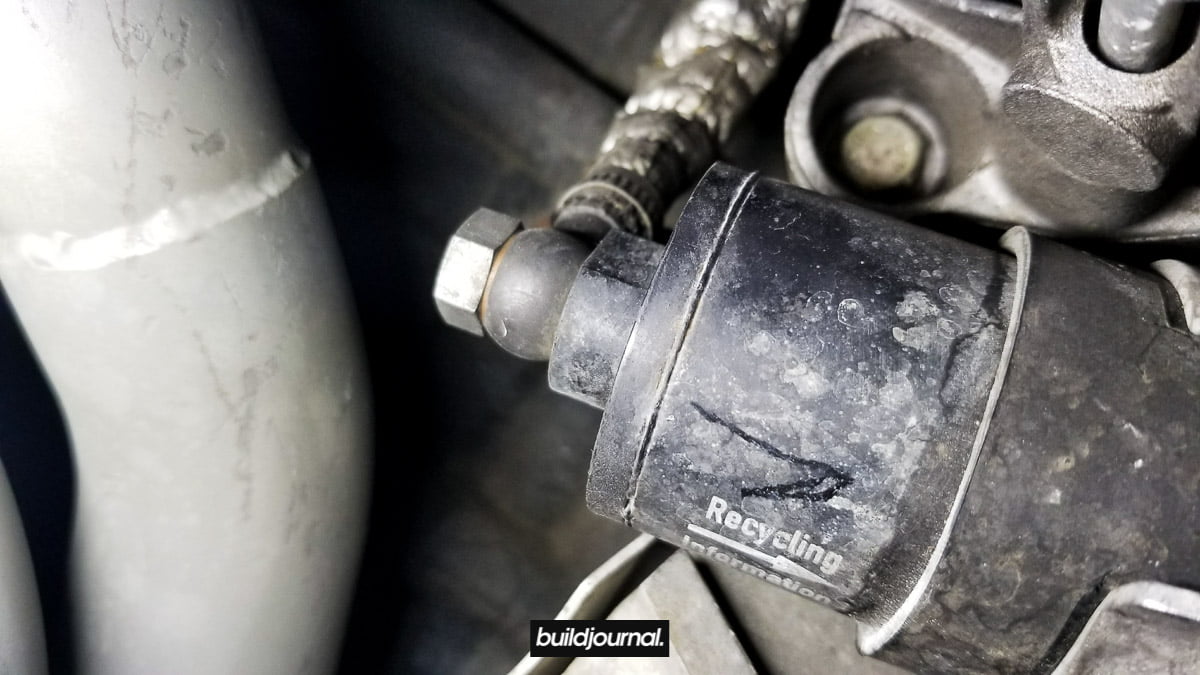
4.5, go ahead and remove the lower banjo bolt and the stock line should come out. Get a drip towel ready.
4.6, get the new BW kit and feed the line from the top down. Start by installing the top banjo bolt first. Secure it, but don’t torque it. Make sure to use the new supplied crush gaskets – one on each side of the oil line connector.
4.7, there should be 2 mounting points on the BW line. Locate and remove the 10mm bolt located directly to the left of the VANOS and mount the BW line. Keep this snug, not tight.
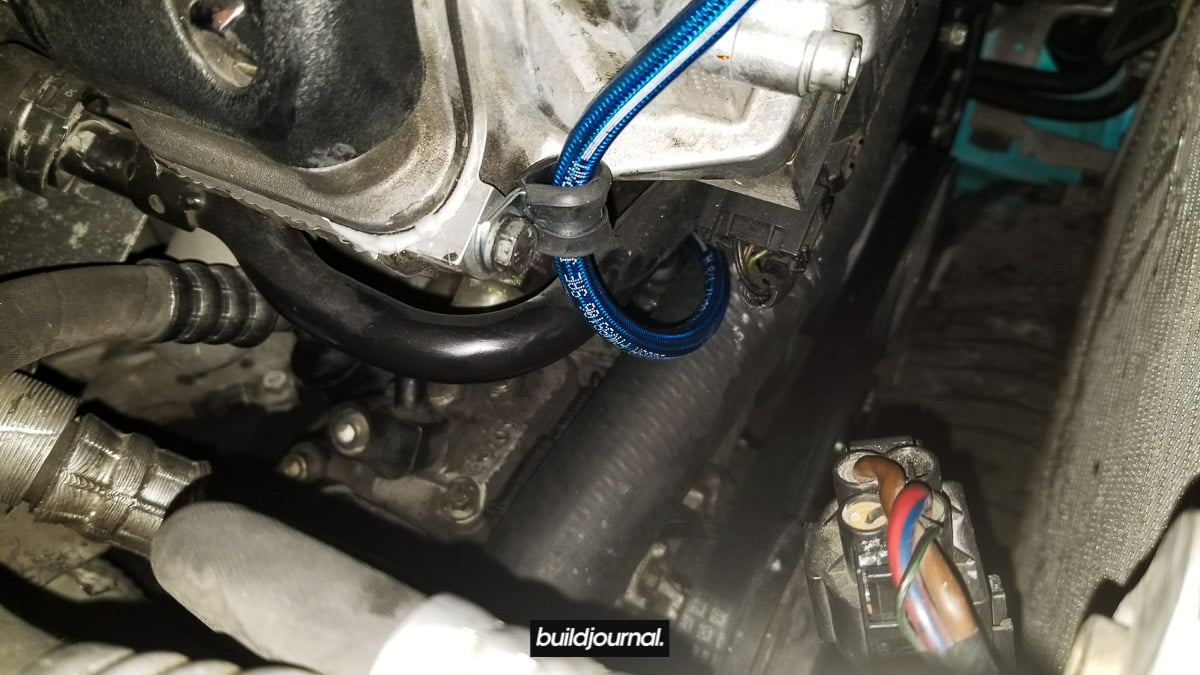
4.8, now this was the most time consuming part of the install. Wire the BW line down towards the oil accumulator and look for the lower mounting point. It’s a lot easier if you remove the radiator hose, but I didn’t want to deal with fluid leaking all over the floor. Smash the supplied mounting tabs together on the BW line so they don’t spread apart while you’re trying to thread the 10mm back in. I used my left hand to direct the BW mounting point to line up flush with the hole. Then I used my right hand to blindly hand-thread the bolt. This took me 20 minutes to do, but maybe you’ll have better luck!
4.9, once the 2 mounting points are secure, hand tighten them down. Then torque the top banjo bolt to 20 ft-lbs. Make sure the line isn’t hitting the VANOS unit.
4.10, go underneath the car and hand tighten the lower banjo bolt to 20 ft-lbs. There was no way I could fit a torque wrench there (even with swivel joints) so I just hand tightened. Make sure you have the 2 crush washers in there!

You’re done! Start the car up and check for leaks before you put everything back together.
Was the oil residue on the front of the engine as shown in the Section 4.2 photos due to a leak in the OE VANOS line? Or was that from another leak source?
How’s the line holding up and would the updated OE line be the best choice if it wasn’t for the price? I see ECS has a replacement option now as well. With so many choices and varrying costs, deciding which route to go is harder but your guide and experience is valuable so I wanted to get your thoughts.
It’s holding up very well. OE line is still a hard line so overtime it is prone to break. The cost difference isn’t even that much for aftermarket braided line which doesn’t have any cracking issues overtime. Or at least significantly less risk. ECS is also having a sale on their line so that may be a better option: https://click.linksynergy.com/deeplink?id=uChUUO9r7dI&mid=43304&murl=https%3A%2F%2Fwww.ecstuning.com%2Fb-ecs-parts%2Fs54-exact-fit-stainless-steel-vanos-line%2F012290ecs01%7Ea%2F
Thanks Andrew! Yup, saw that too and personally I like the red line cover they use haha. BTW, how is the updated OE line different vs. the older OE line? I could not find a clear answer to that. Hopefully you may know?
Honestly I’m not sure what the differences are, but it’s still a hard line so that’s all that really matters.
How is the line holding up now? I have been looking at all the other options online but it worries me that every vendor states that these may need to be replaced every year if you track constantly. I am thinking about making a custom super high pressure, high temperature hose instead to make this a one and done type of deal.
speedacademy ended up using one from hack engineering. They rate their line for 7500psi, the bimmerworld one is a lot cheaper (1/2 the price and will be shipped a lot closer vs the UK which is where hack engineering is from).
Is the hack engineering one actually better? or as long as you replace these with a SS line, it should be fine?
I don’t know what other purpose the oil line serves, but 7,500 psi seems overkill even with our VANOS system. I’ve had no issues with the Bimmerworld line and I know a few people that have it with no issues.
This may be a dumb question, but could you remove the accumulator from the mount and then attach the hose? You could then torque to spec and reinstall by guiding the hose up through the engine bay. Also, do you need to add oil back into the system once the hose is replaced to account for what was lost during removal? Thanks!
I actually thought about removing the accumulator to do exactly that, but I was too lazy. There’s not a whole lot of oil that comes out surprisingly, but as you would after an oil change just run the car and check the level. Add if necessary…