PSDesigns Pre-facelift E46 / E46M3 and CSL Headlight Duct Kit
The headlight duct kit from PSDesigns is a great solution to increase airflow to your engine bay whether it’s to provide cold air to your intake or cool down the engine. You’ll have to cut your headlight lens to install this kit, but fortunately it’s easy to reverse this install since the E46 lens are easily replaceable.
"The PSDesigns Headlight Duct Kit has been designed to work with all intake systems. The kit replaces the main-beam bowl of the OEM headlight on Pre-Facelift E46’s, E46 M3’s and M3 CSL’s, this kit includes all the required components to convert the standard headlight to a ducted version, including a specifically designed canbus error deletion resistor. (no error lights on the dash board)
The Duct provides a fresh supply of cold air to the induction system/engine bay. The duct also gives a very aggressive yet subtle visual enhancement to the front end of the vehicle. The ducts can be produced for either side of the vehicle (left hand or right hand), so could be used to help cool ignition coils for example with the correct ducting from a duct in the right hand headlight."
-
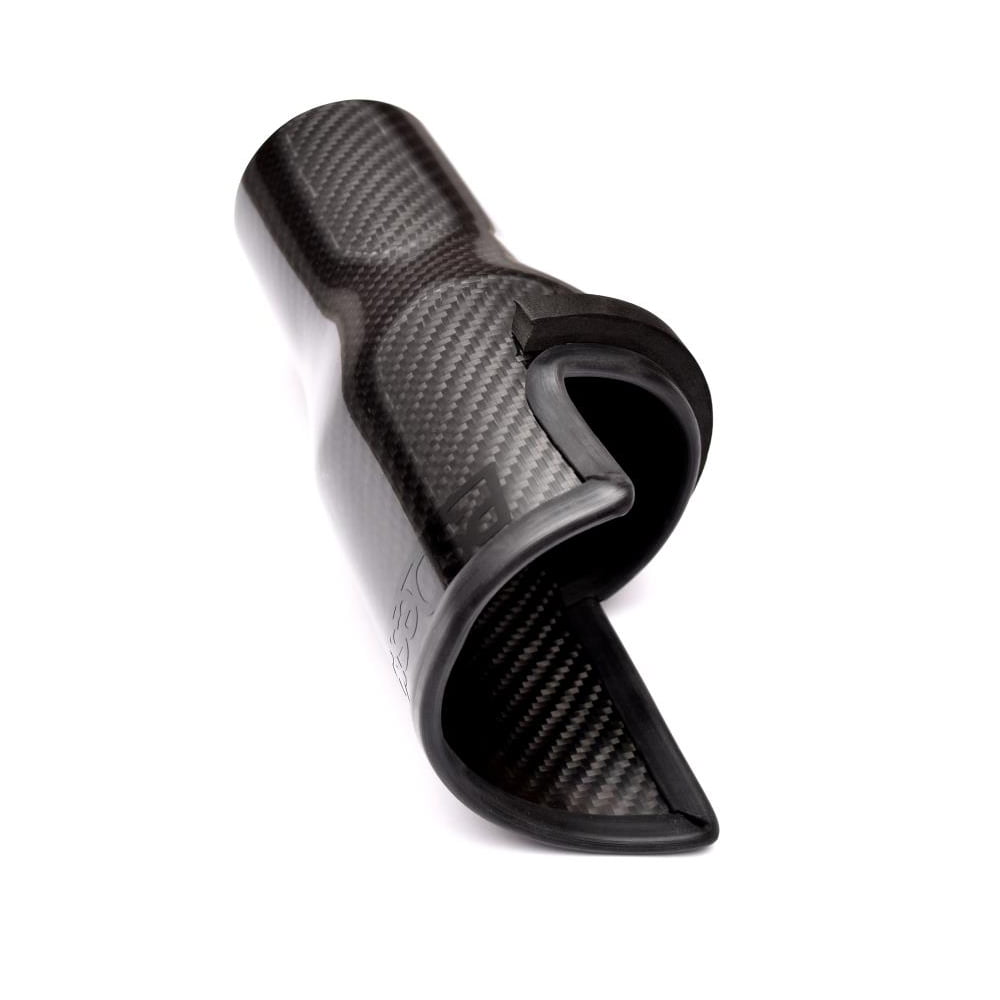
PSDesigns Headlight Duct Kit - E46 M3
$315.00 – $350.00Install Directions

1. Remove Headlight and Housing
1.1 Remove lower trim on the headlight. I’m doing this mod to my driver’s side to feed air into the intake.
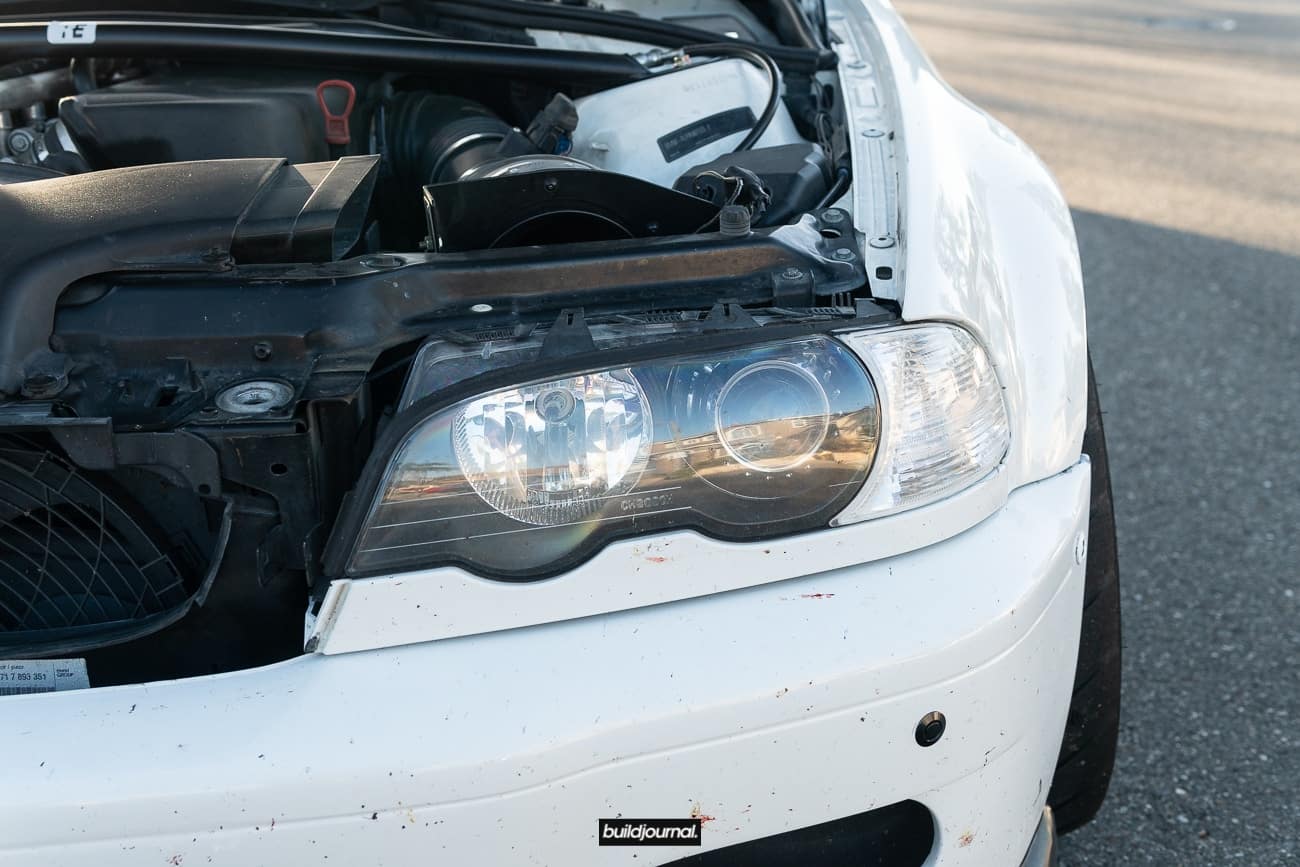
1.2 Remove the headlight weather stripping by detaching all clips on top and sides.
1.3 Remove headlight lens.

1.4 Reach around the back side of the headlight to remove the low beam caps and remove the light bulb.
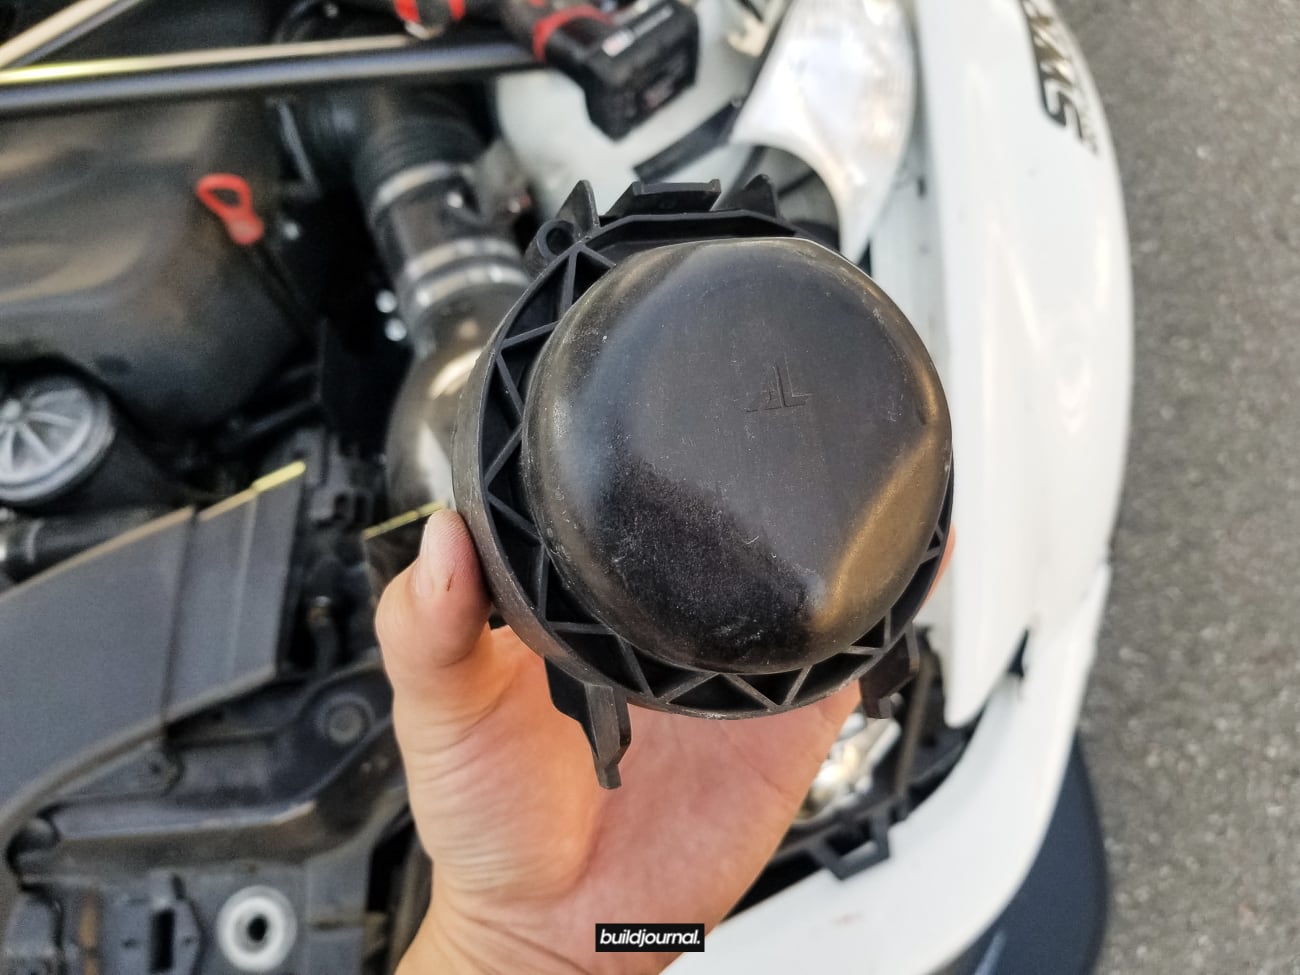
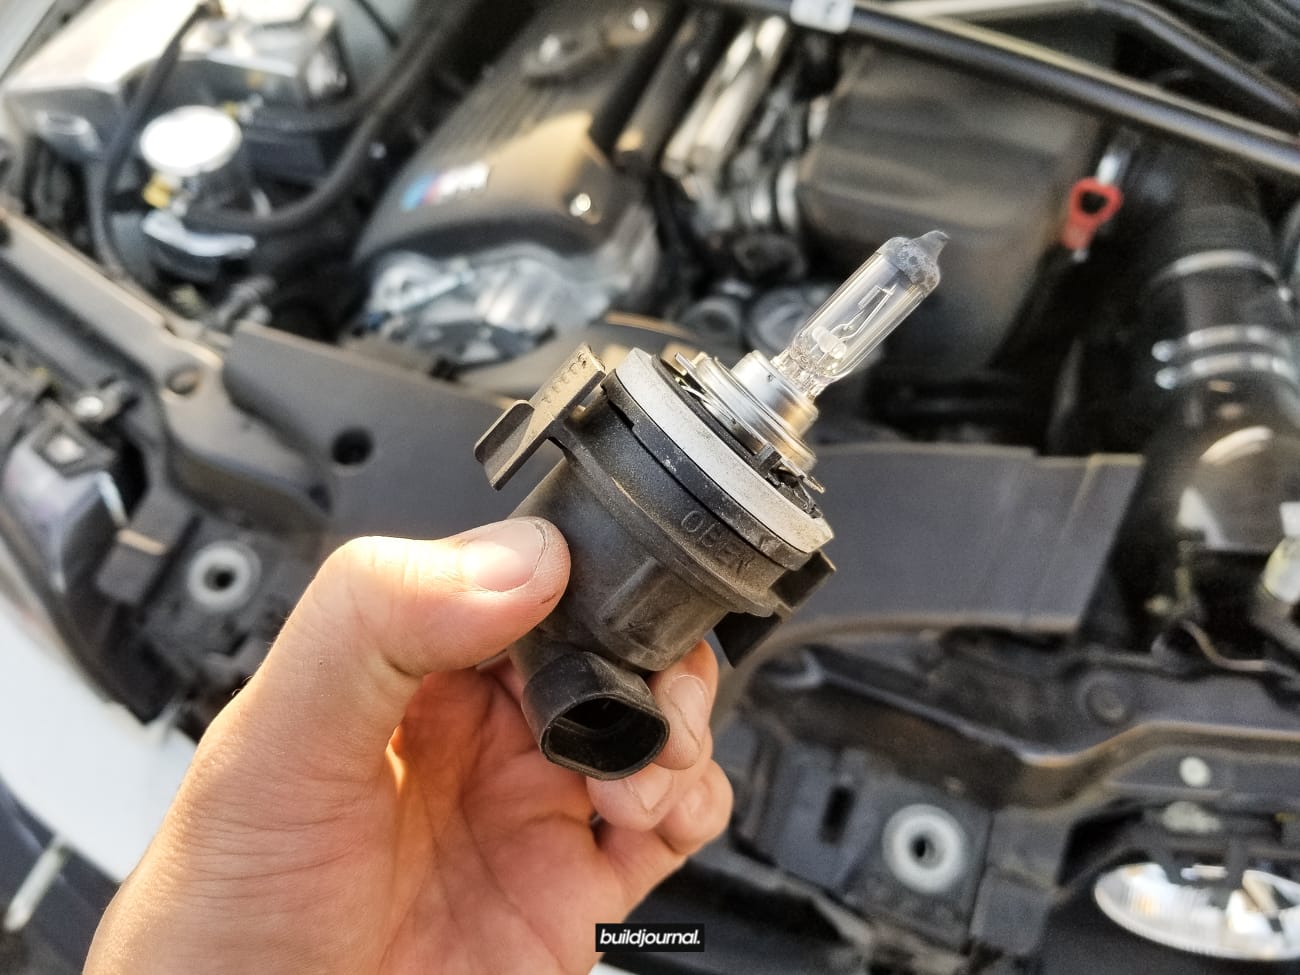
1.5 Unclip your high beam bulb as well.
1.6 Now we can take out the housing. Remove and loosen the housing by turning both headlight adjustment knobs counter clockwise. I used a powertool to do this because it takes forever if you do it by hand.
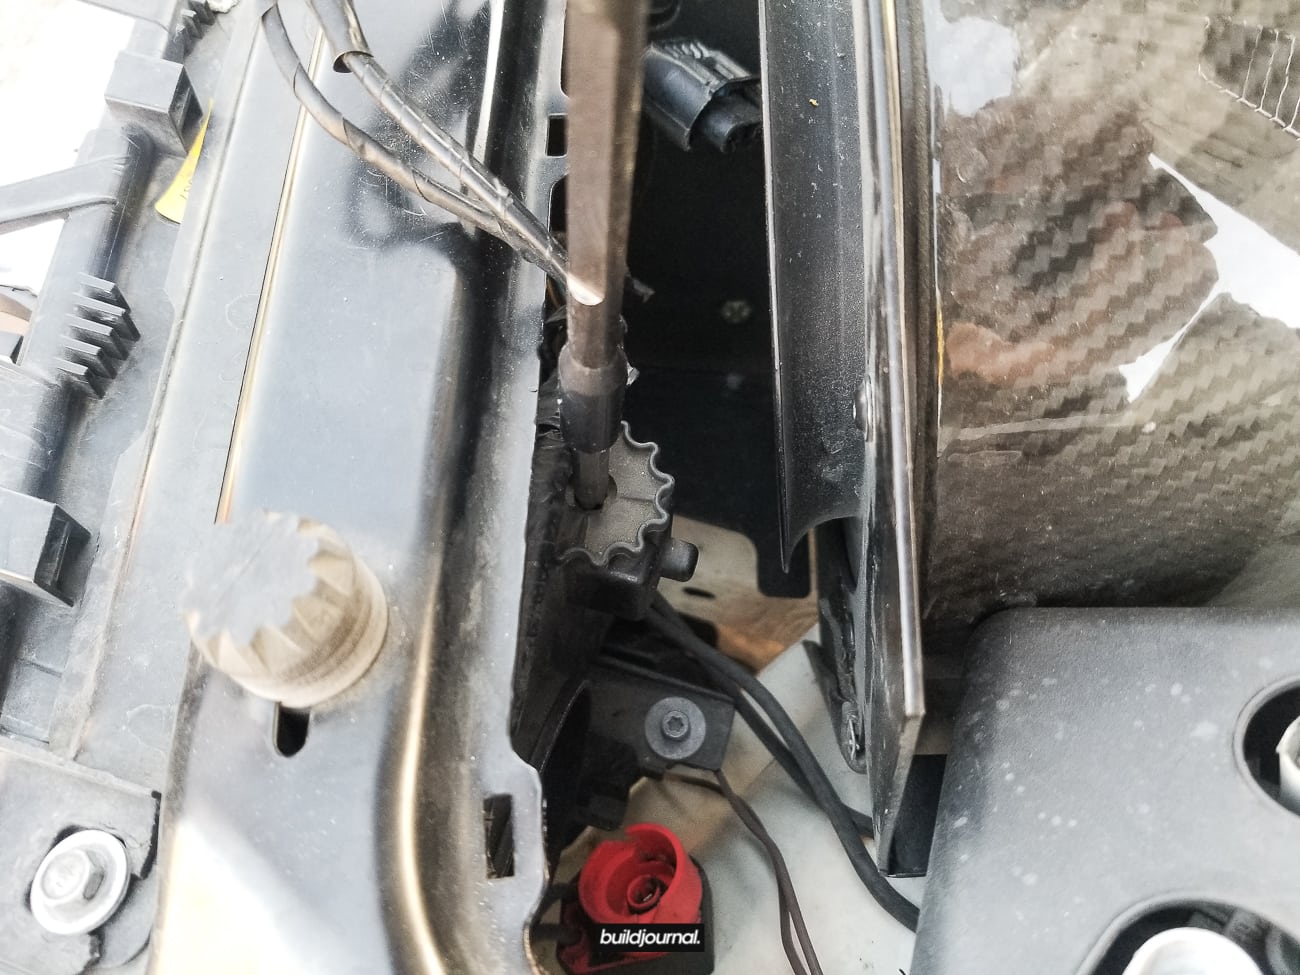
1.7 As the housing comes out, you’ll see the plastic guide rails come off the tracks.
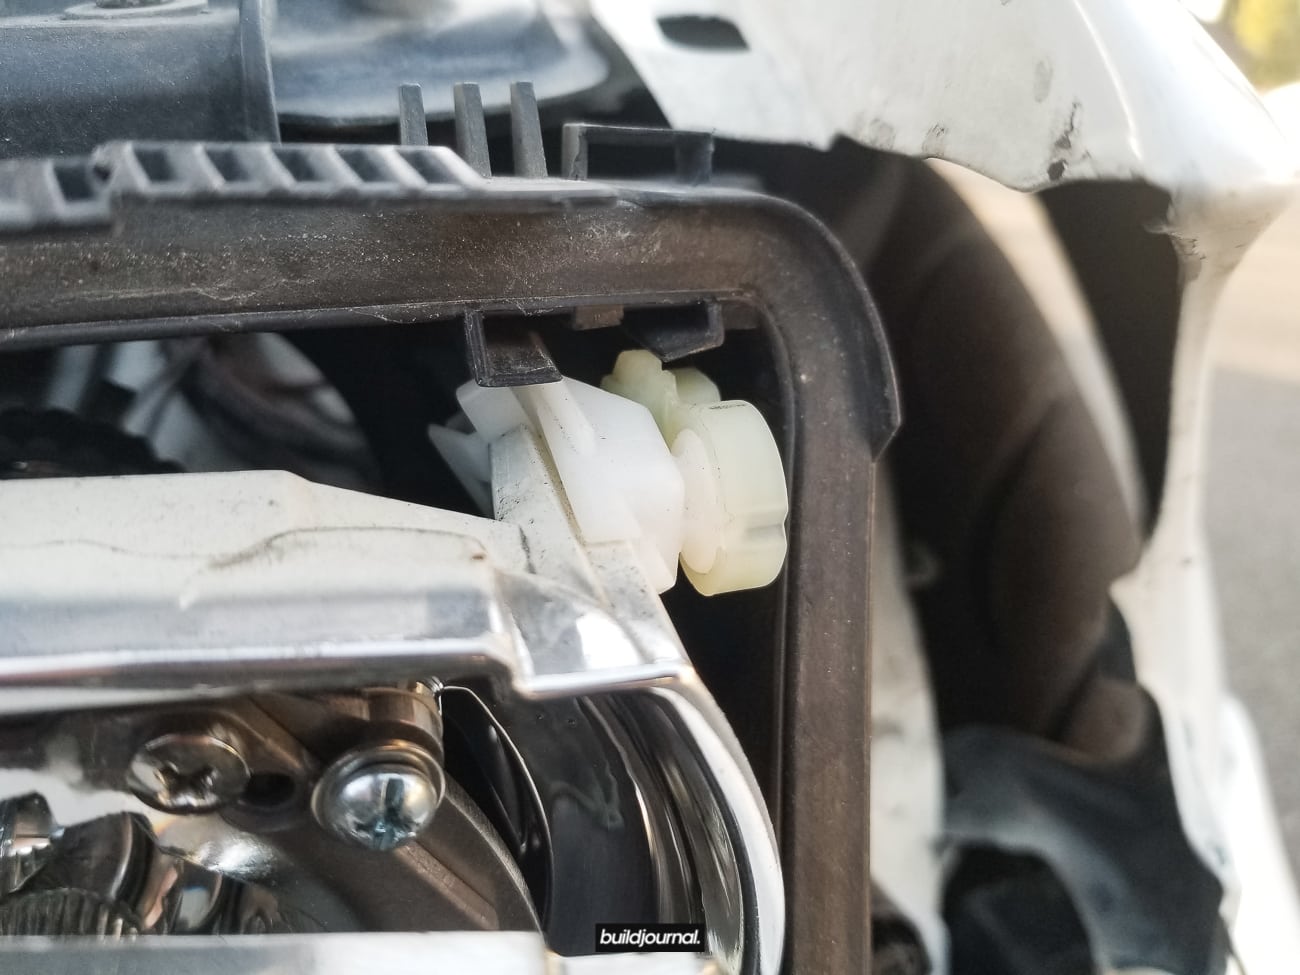
1.8 Optional: Once fully out, you’ll now have to remove the Bi-Xenon socket off the housing. It’s attached with a ball joint that slides into a u-channel. I used a flat head to pry out. It helps to angle the housing down so it “slides” out.
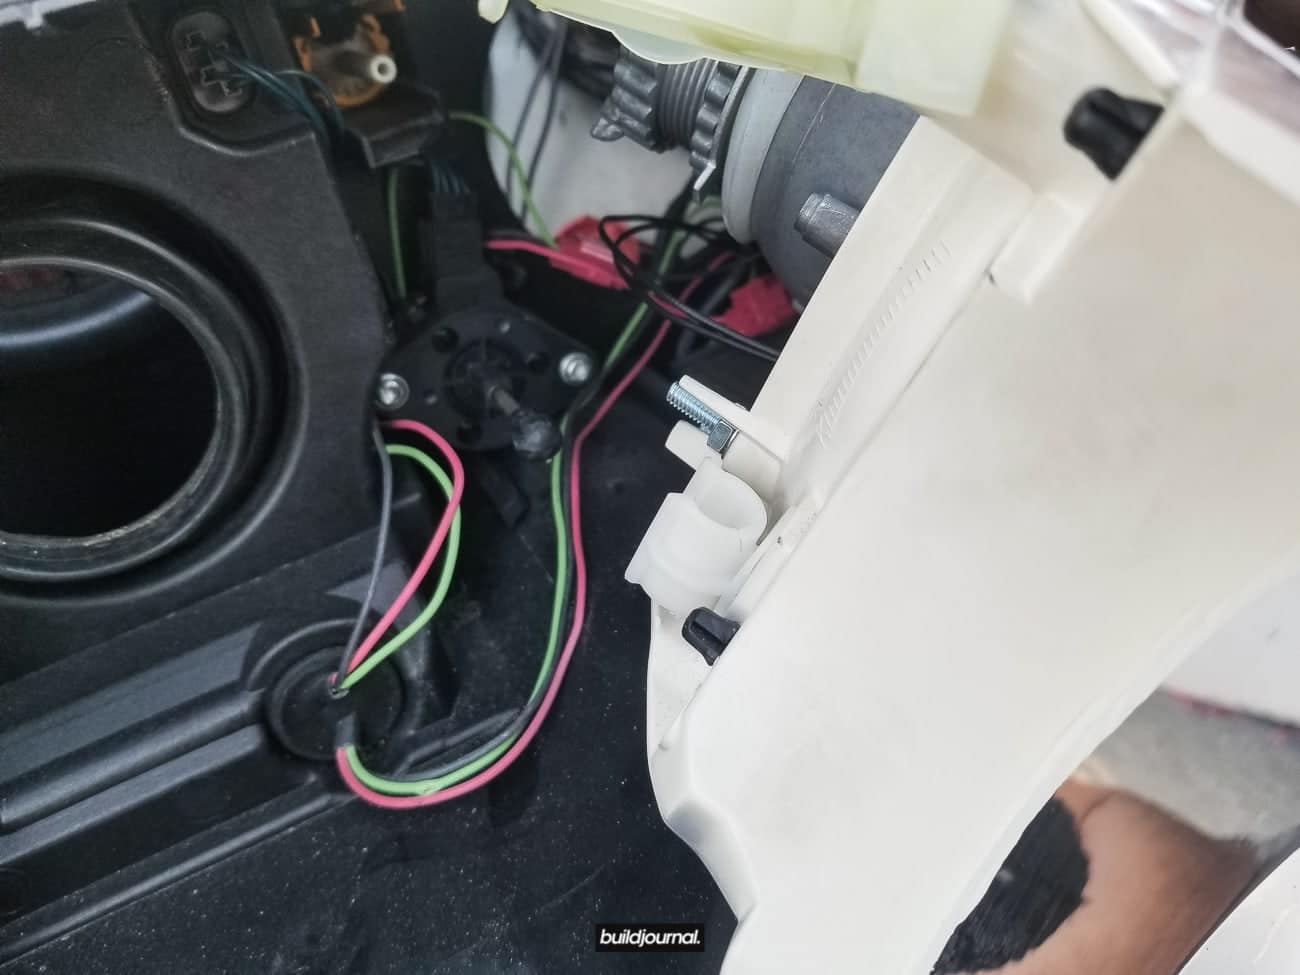
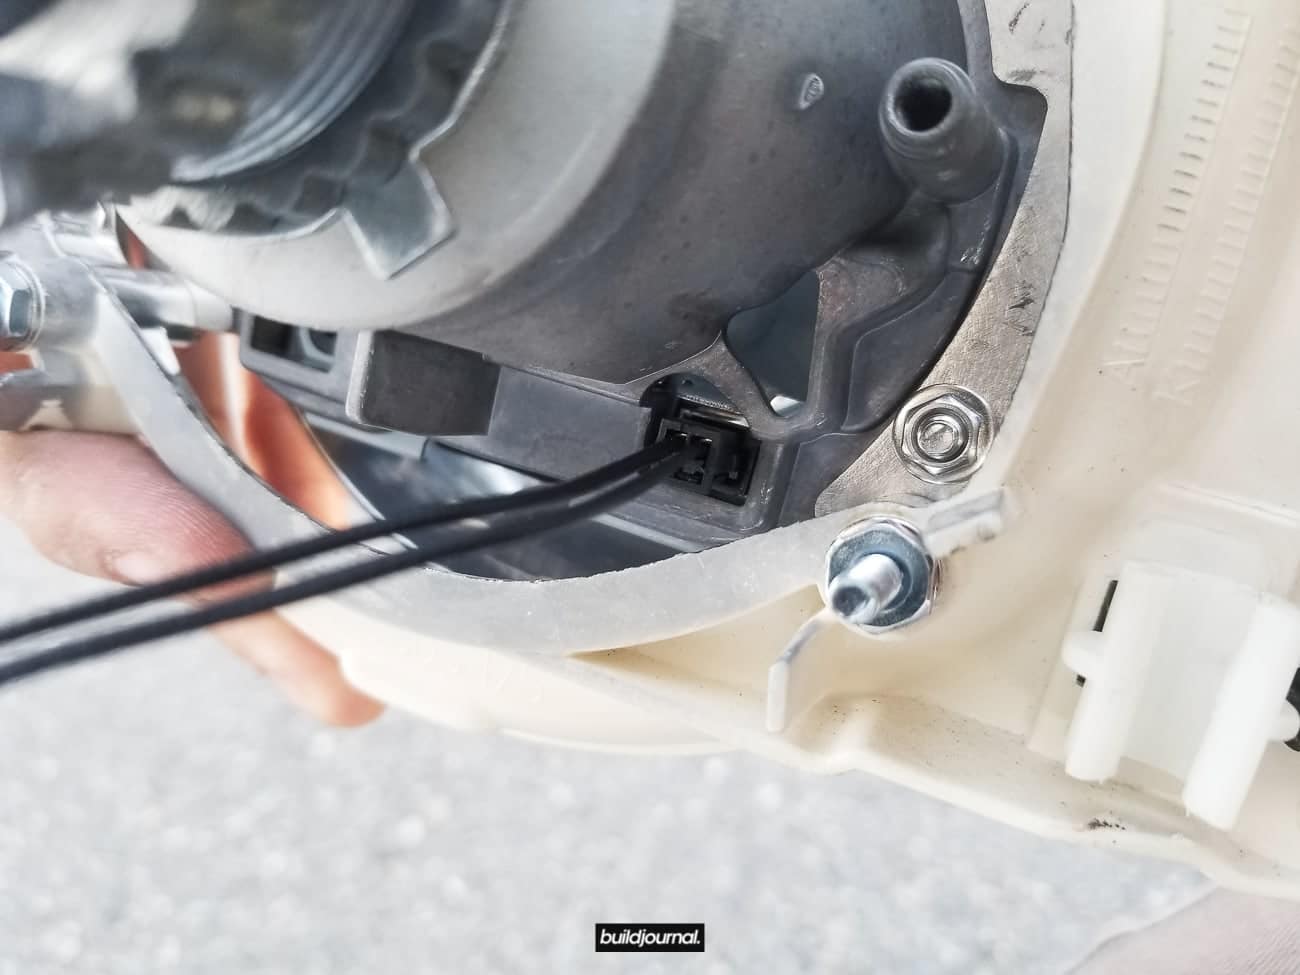
1.9 Before the housing fully comes out, you’ll need to detach the Bi-Xenon wire on the back of the projector.
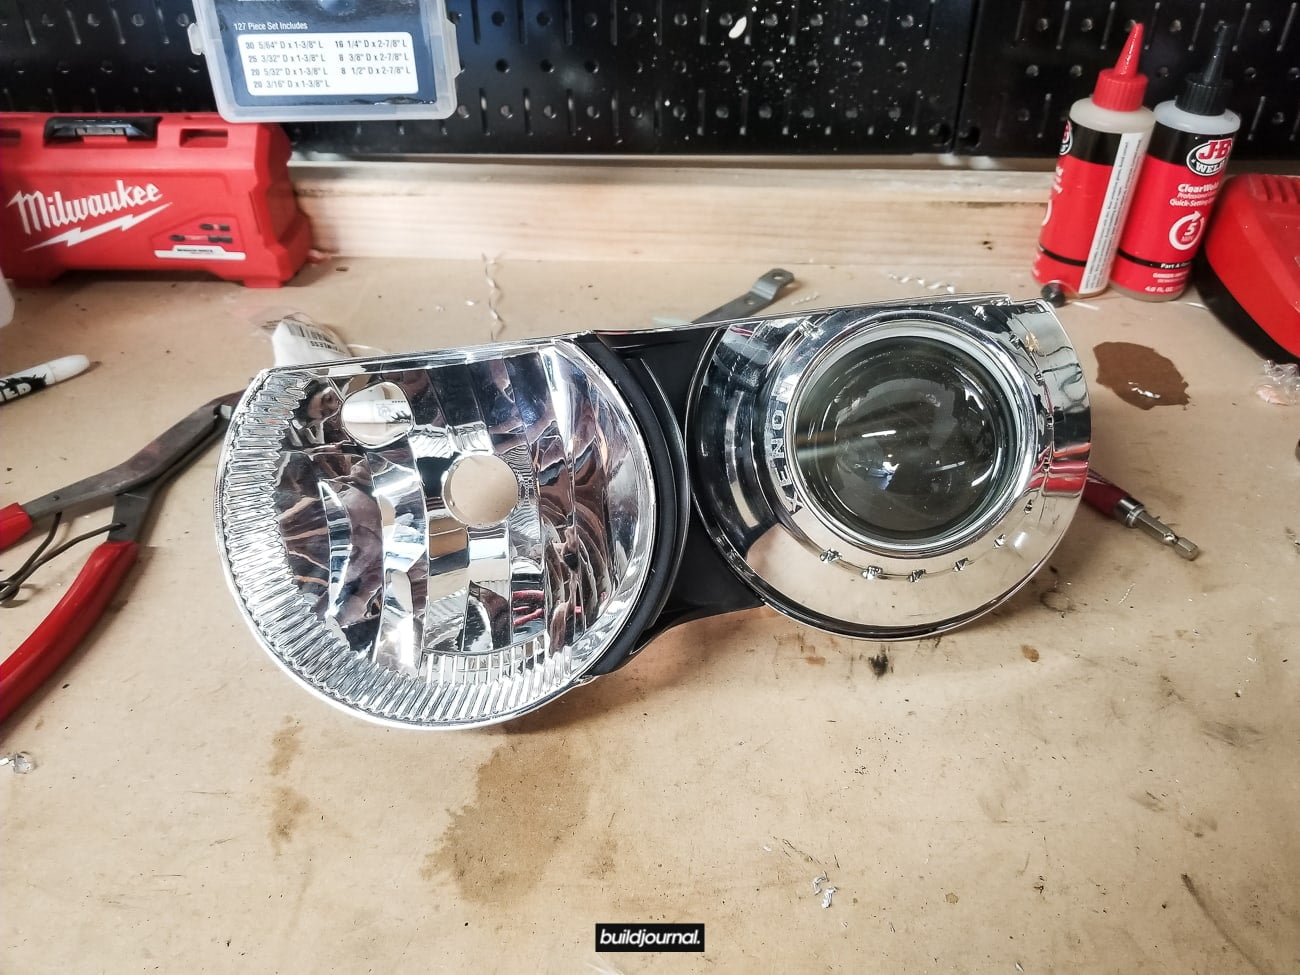
2. Trim Headlight Housing
2.1 Remove the black accent piece on the housing.
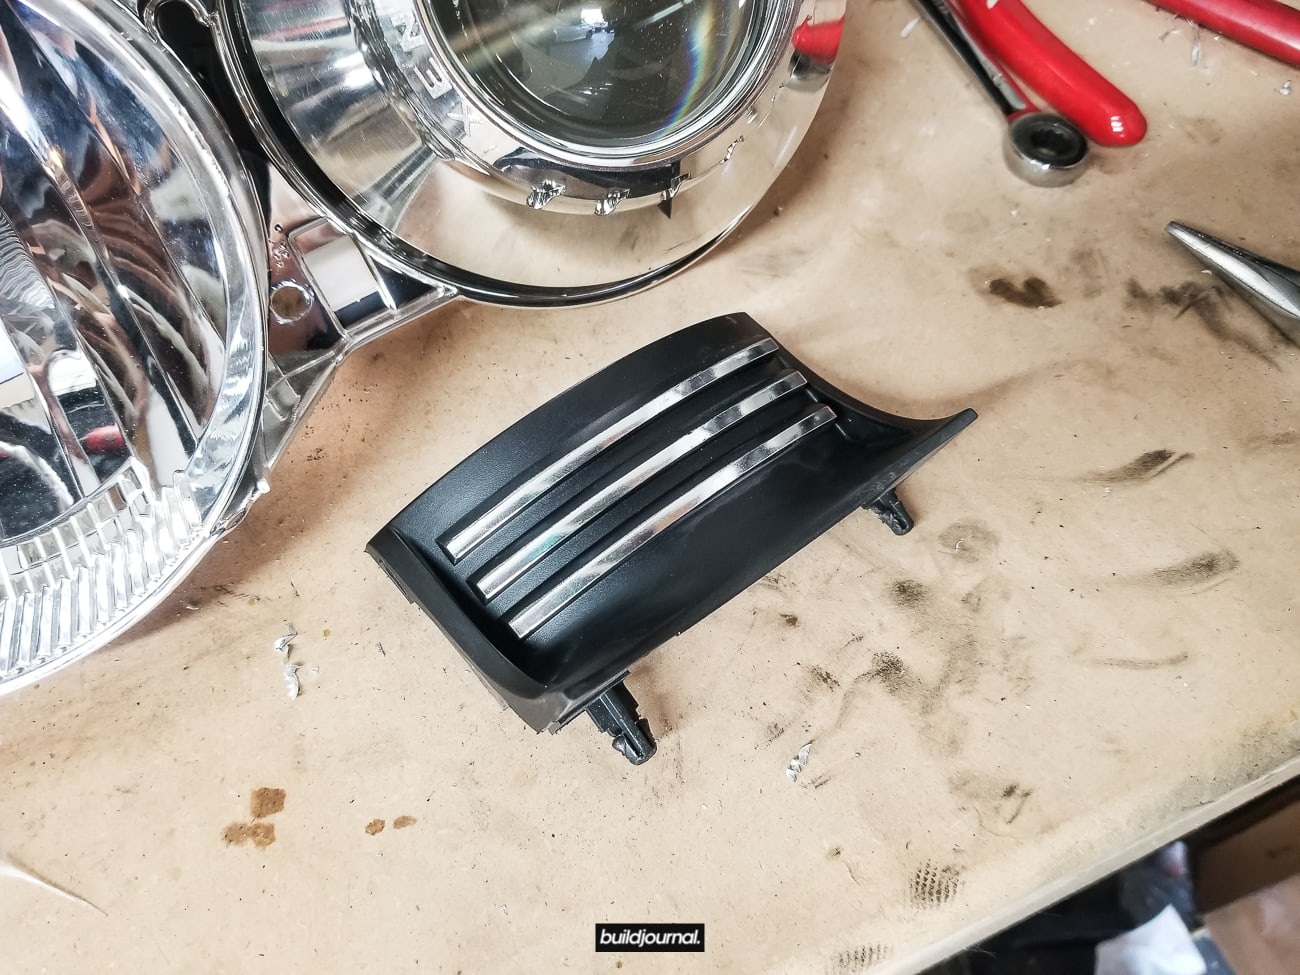
2.2 Trace a guide line to cut on the following seam. The goal is to remove the high beam bowl and if you inspect the housing you’ll get a good idea of where to cut.
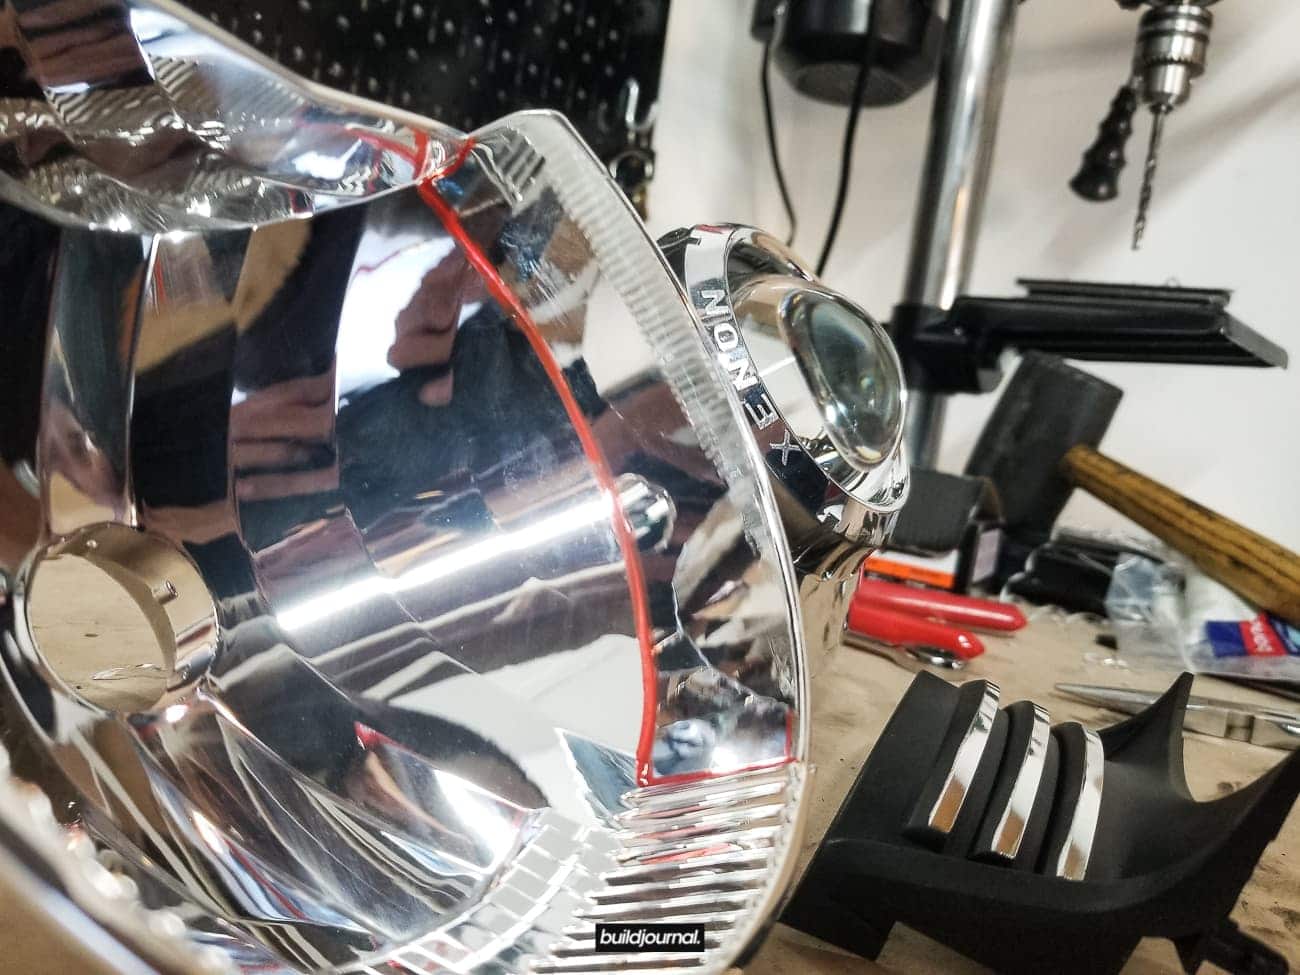
2.3 Use a dremel to cut the housing.
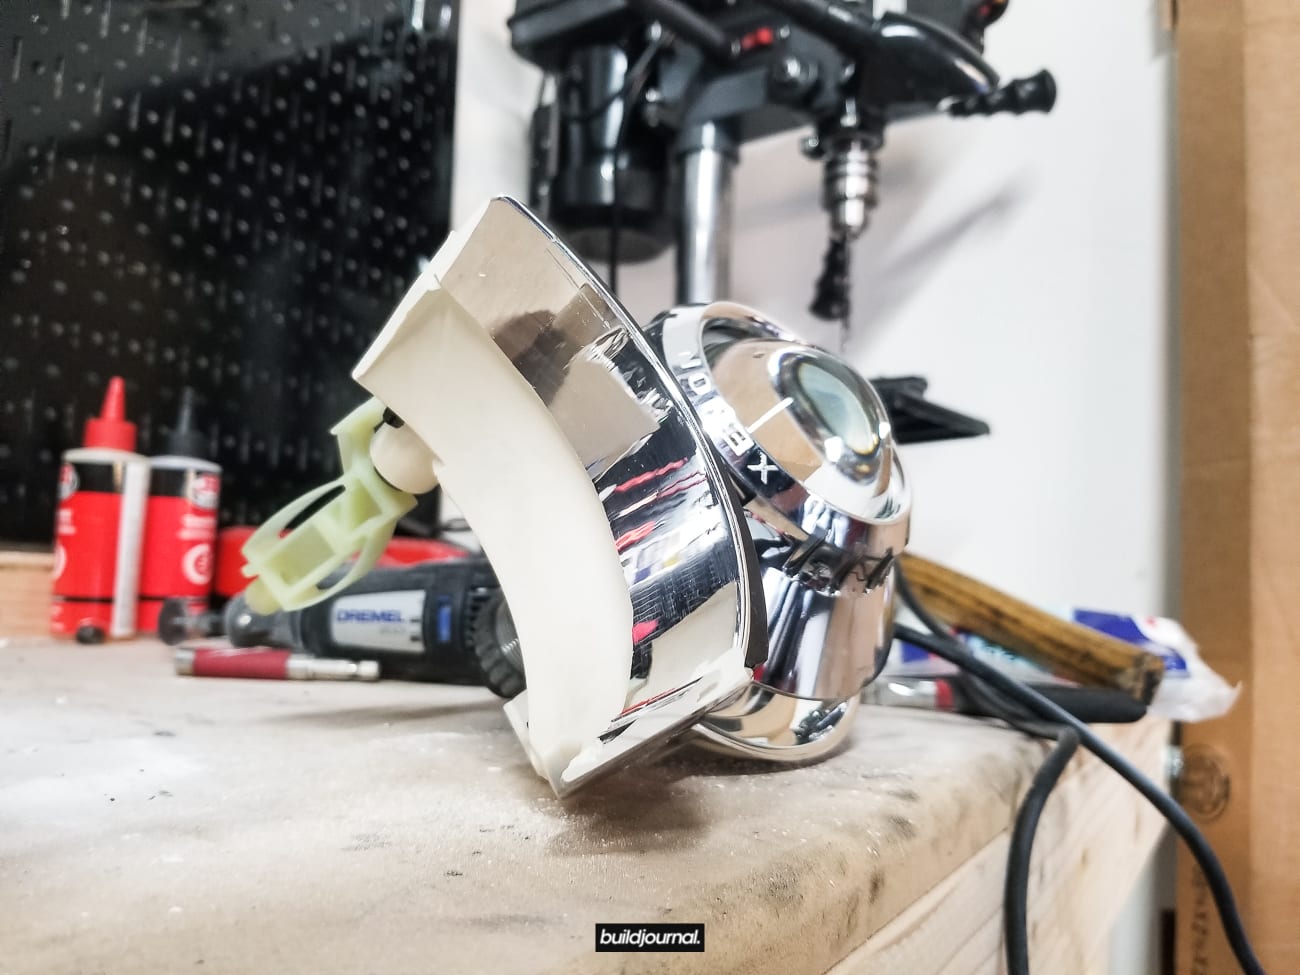
3. Cut Headlight Lens
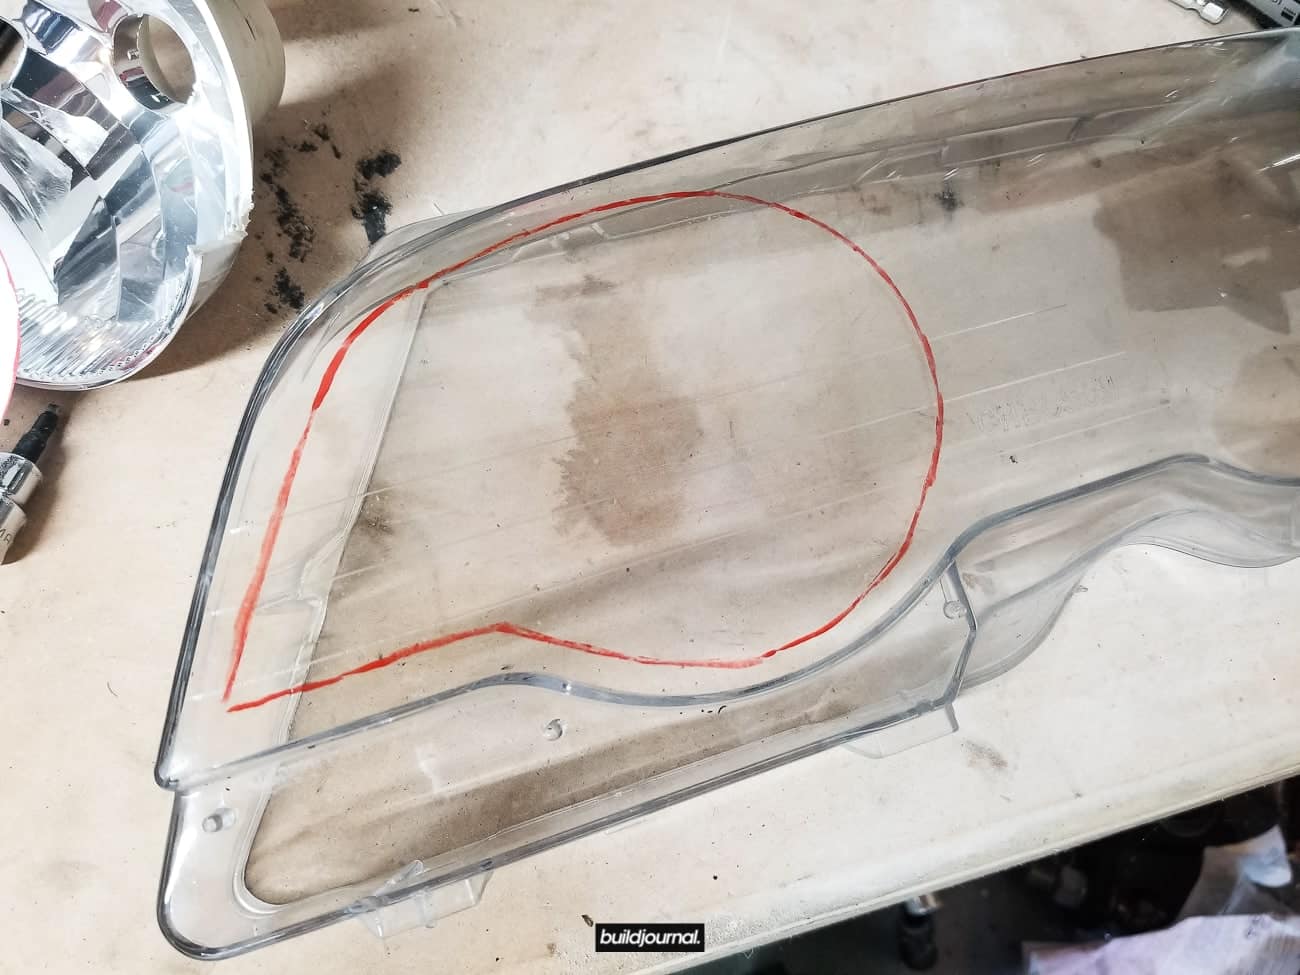
3.1 Get the provided template to draw a guide line on the lens.
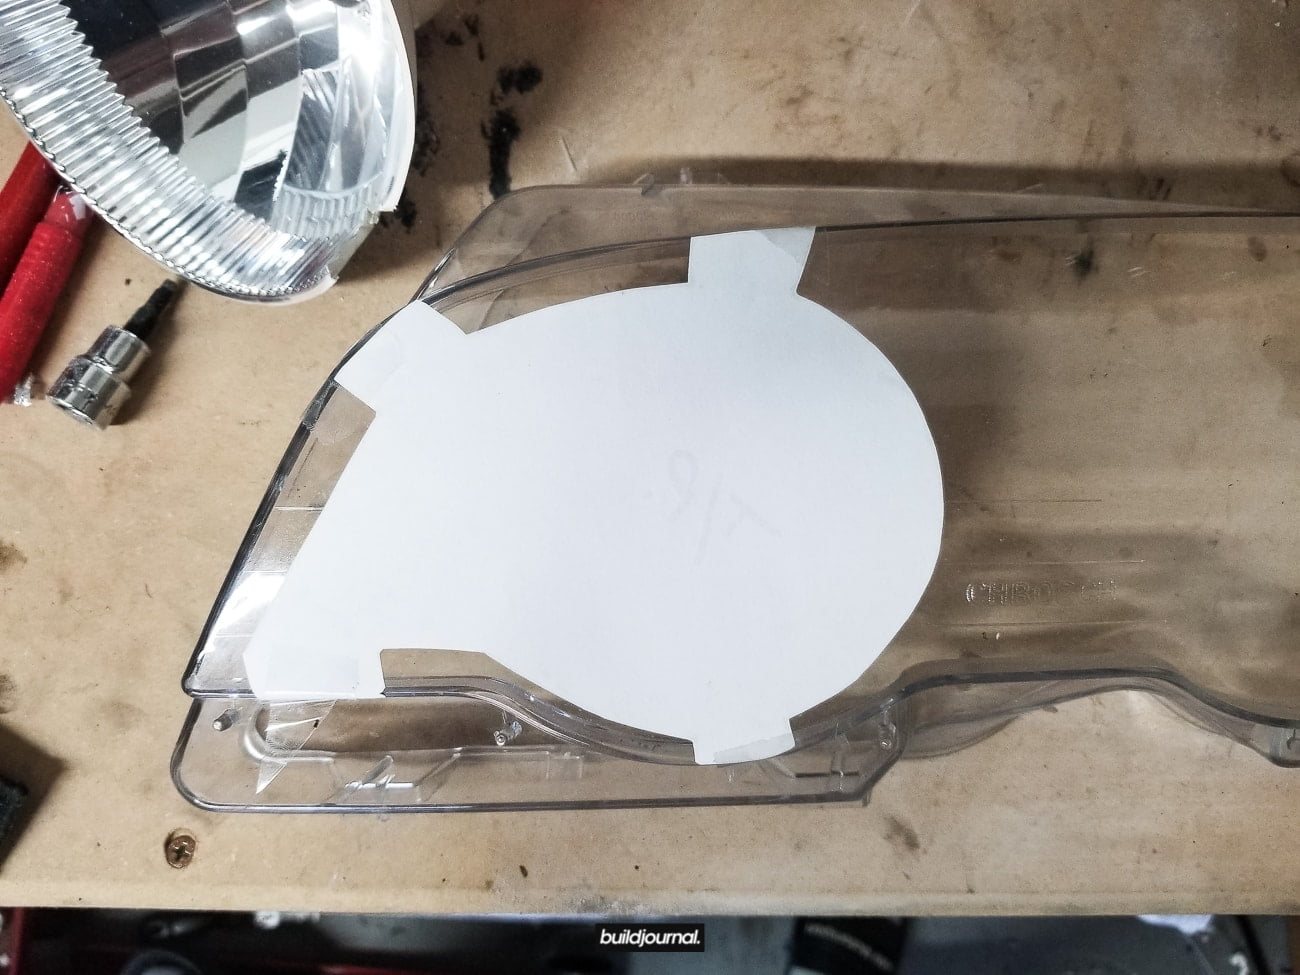
3.2 Use a dremel or similar cutting tool to cut.
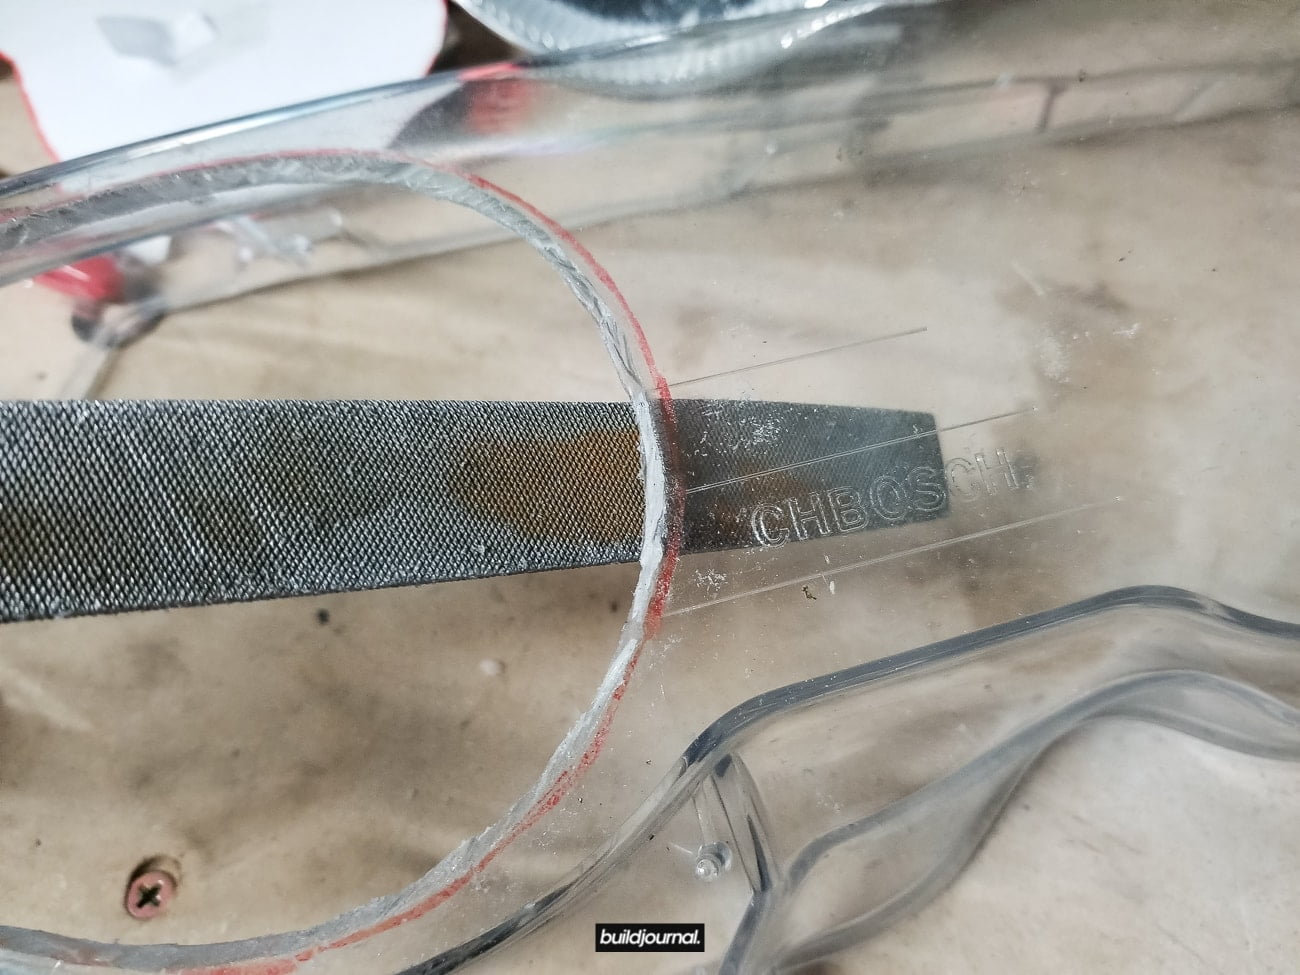
3.3 Deburr the edges to smoothen the cut area.
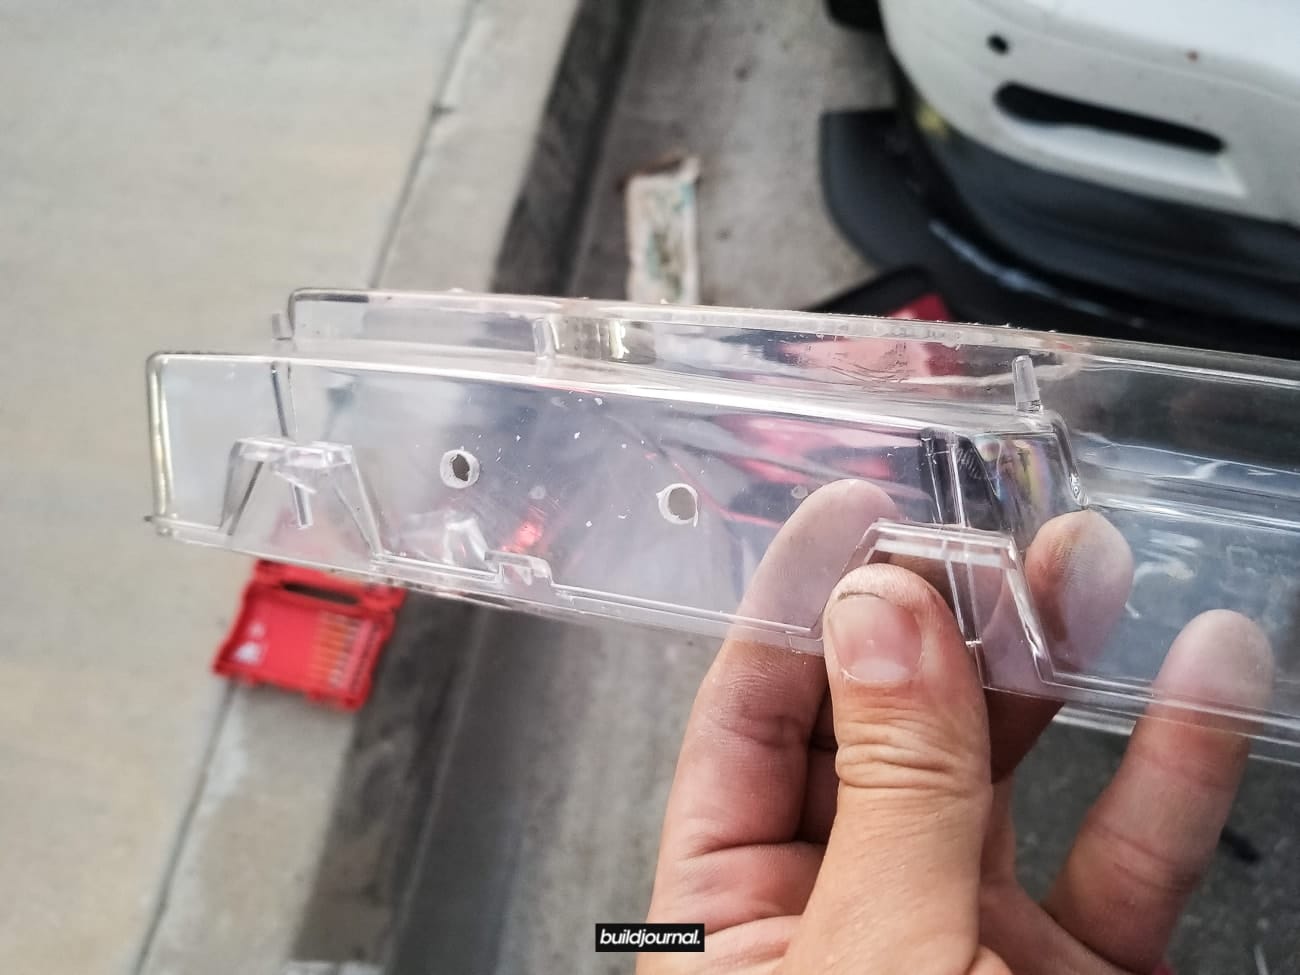
3.4 PSDesigns suggests you to drill 2 small holes on the bottom of the lens to evacuate any water/moisture.
4. Install Duct
4.1 Insert the housing back into the headlight. Make sure you reverse the steps from part 1.
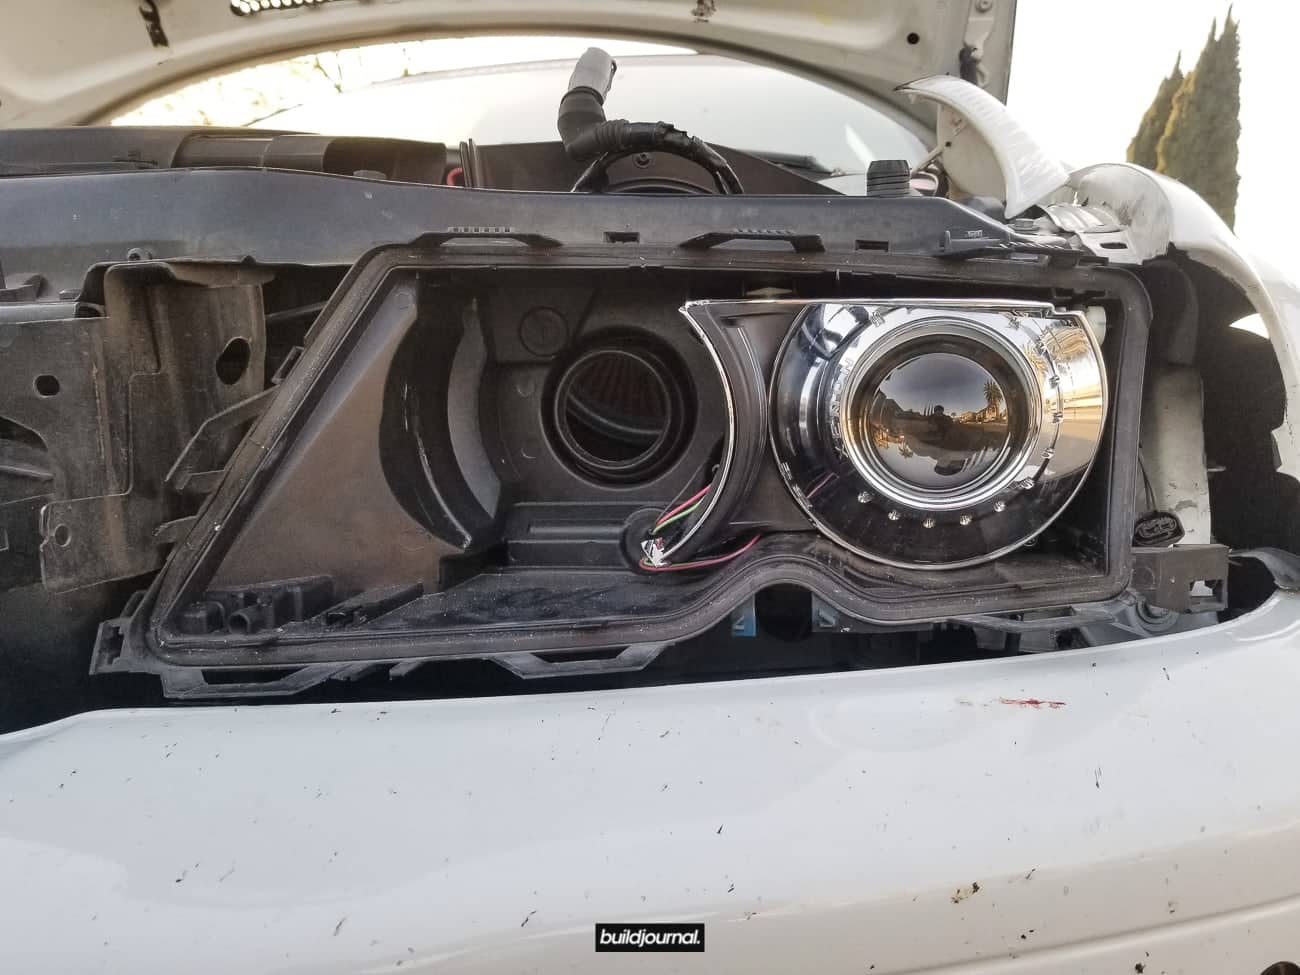
4.2 Insert the headlight duct into the high beam hole in the back of the headlight.
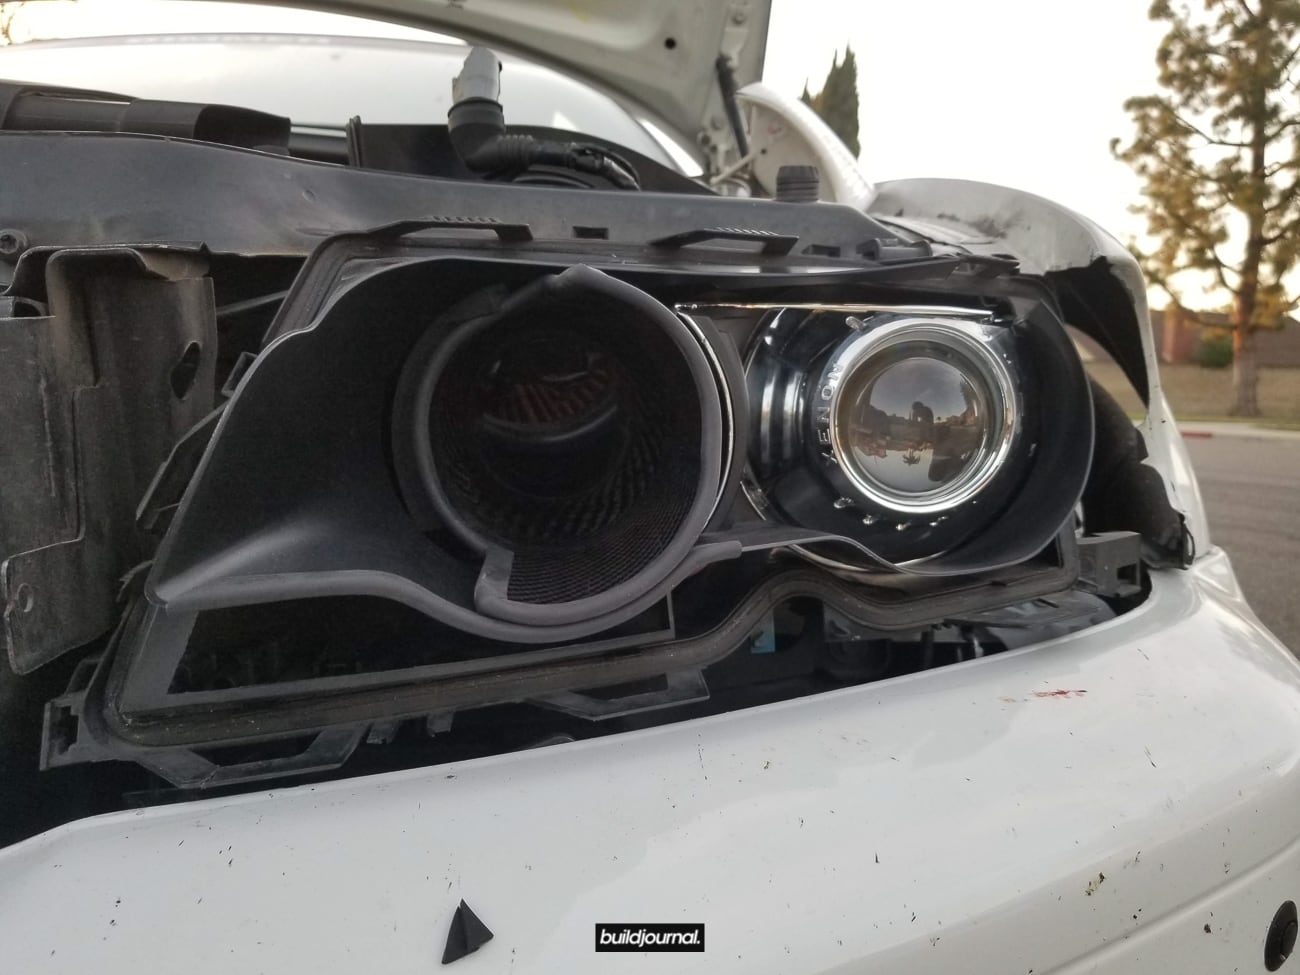
4.3 Install the headlight lens, lower trim and all other components. Now you can install the rubber trim.
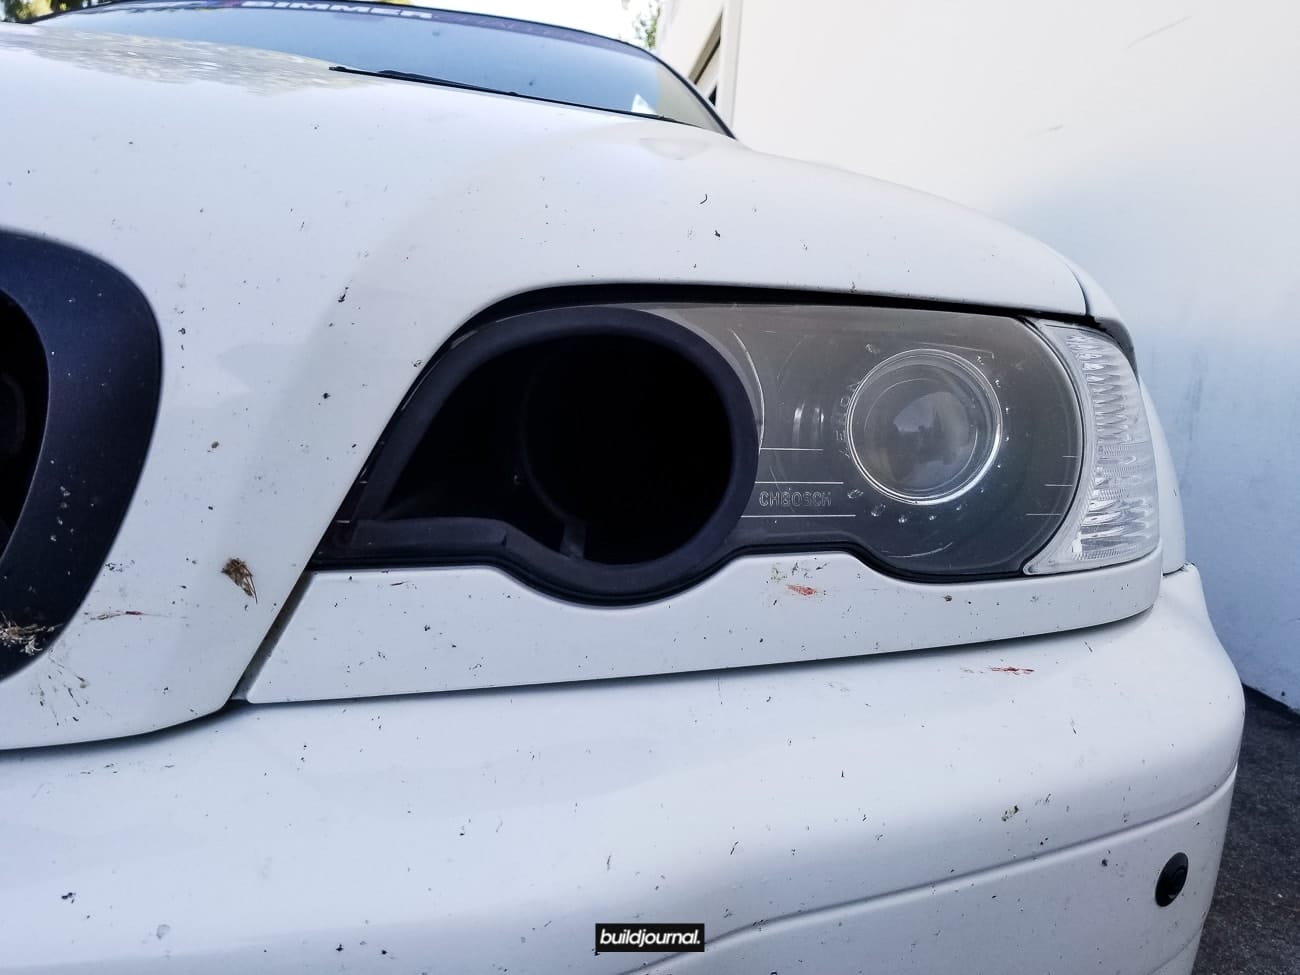
5. Tap Resistor Wire
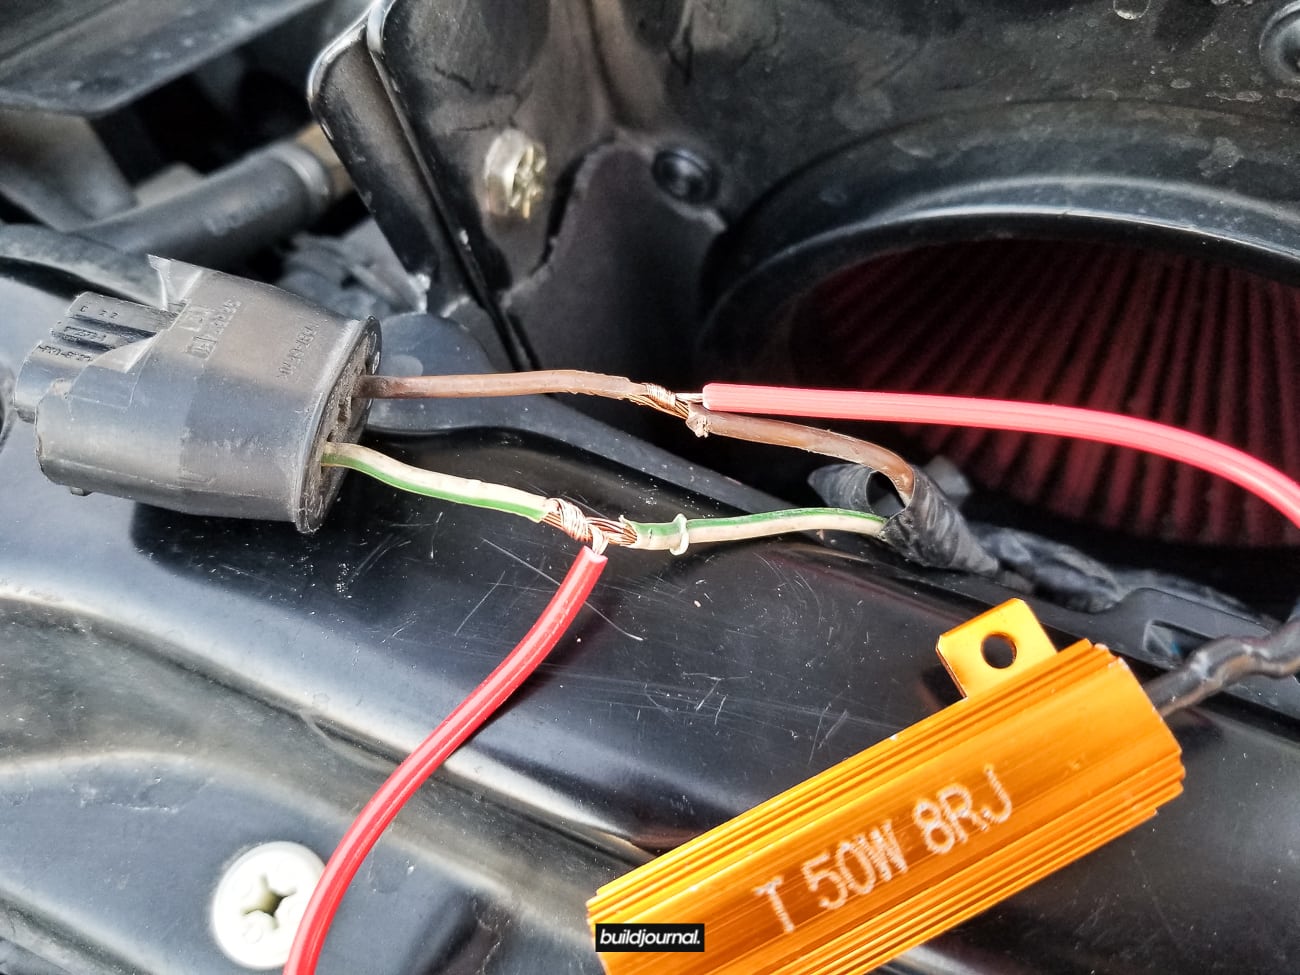
5.1 For this last step we need to tap the high beam bulb socket wires with the supplied resistor so the car doesn’t throw a code. Simply tap into each wire. Make sure to mount or tuck the resistor somewhere that won’t be affected by heat. It does get pretty hot.

2 Comments
Leave a ReplyCancel reply
This site uses Akismet to reduce spam. Learn how your comment data is processed.


Is it mirrored? I would like the intake to be on the passenger side to feed the turbo.
I saw this on the PS Design site too. A little bit of HellCat for the M3!