
Car Couples: His E92 M3 and Her E46 M3 [Short Film]
Here’s a short film edited and filmed by our friend @alex.sims. It’s about a car couple meeting up for a drive in the canyons then going to the movie theaters after. One with an E46 M3 and the other with an E92 M3.
If you’re local in the SoCal area and interested in video work – hit him up! He does all kinds of videos, not just cars. He’s a simple DM away.

Wire MAP and IAT Sensor for MSS54HP CSL ECU DIY
Going CSL Airbox, What Are My Options?
If you’re running a CSL airbox or planning to, you’ll need to figure out what you want to do on the ECU or tuning side of things first. There are 2 main options: Alpha-N or MAP sensor.
Alpha-N
- No need for MAP sensor nor modified fuel rail to accept the sensor
- May benefit (over MAP sensor route) with proper custom tune
- ECU cannot factor variable conditions
- Engine will run sluggish if actual oxygen flow differs from Alpha N values
- Custom tune can get very expensive
MAP Sensor
- Closer to OEM configuration and driveability
- ECU has the ability to utilize an additional sensor to calculate engine flow
- Ability to run OEM CSL MSS54HP ECU; no "tune" necessary
- Requires purchase of MAP sensor and compatible air rail solution
- Requires additional wiring of MAP sensor to ECU
What Did I Choose?
I chose to go the MAP sensor route. Why? Simply because I live in an area where conditions vary drastically and I want the added benefits of a MAP sensor so my engine/ECU can calculate variable flow when it needs to. In addition, I was able to save a little money by scavenging the forums and marketplace for a MSS54HP ECU with a CSL tune already on it. If you look on eBay I’m sure you’ll find a new plug and play ready ECUs for sale.
Special shout out to ECUWORX for providing diagrams on wiring up the MAP sensor and IAT to the ECU. I used this article as a resource and just providing a secondary article with picture references.
So here we go. I need to actually wire up the MAP sensor and IAT. I bought the MAP sensor conversion kit from Kassel Performance because they provide a cost-effective solution to install the MAP sensor by utilizing an existing air rail tube. No need to source an additional air rail or modify. Keep in mind this DIY is referencing the Kassel kit!
MAP & IAT Sensor Installation
1. Accessing ECU and Removal
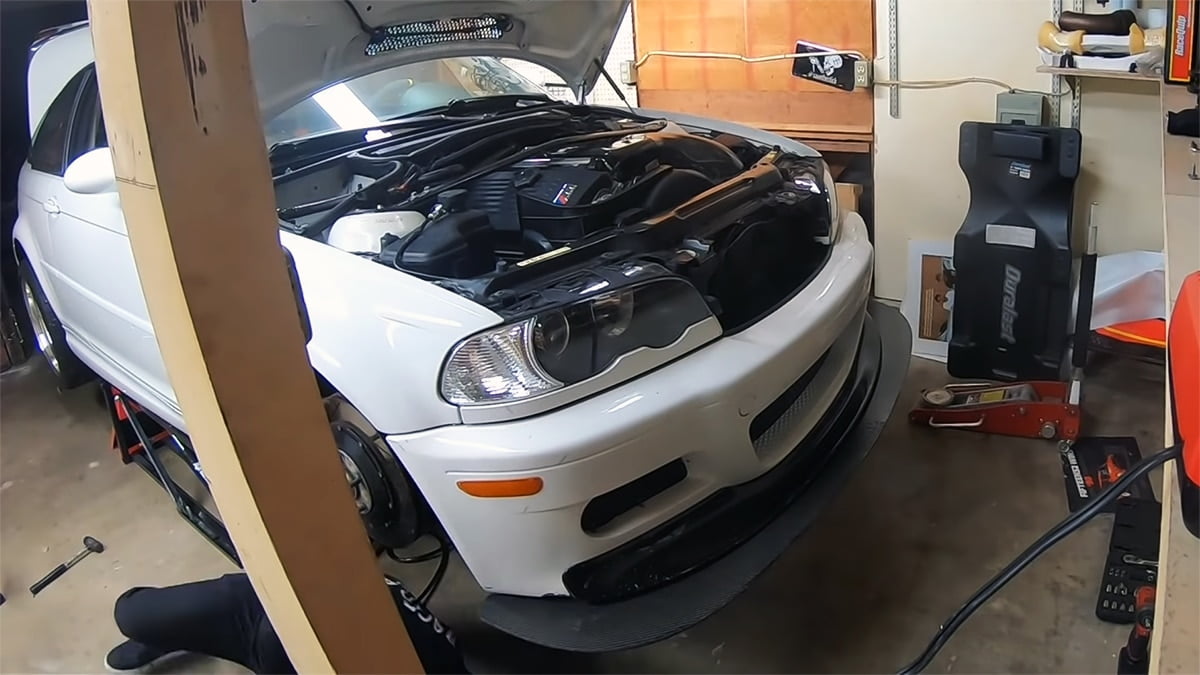
1.1 Under the hood, reach over to the driver side corner and look for the black cover.
1.2 Use a 5mm hex to remove the screws on the box cover. There should be 4 screws.


1.3 Once you have access, you should see your ECU. It has a total of 5 plugs.
1.4 Start by removing the plug furthest from the windshield. You’ll need this clearance when removing some of the plugs.
1.5 Once all 5 harnesses are disconnected, you can slide out the ECU by pressing on the 2 small clips holding it down in the tray.


1.6 Verify you have an MSS54HP or a modified MSS54 non-HP ECU for the installation.

2. Wiring the MAP Sensor
2.1 Locate the 52-pin connector (X60003). This is the largest connect found towards the middle of the 5 plugs. You can also refer to the diagram on ECUWORX.
2.2 Use a small pick to pry up the black tab on the black harness body and release the grey connector slot. It should slide out pretty easily.
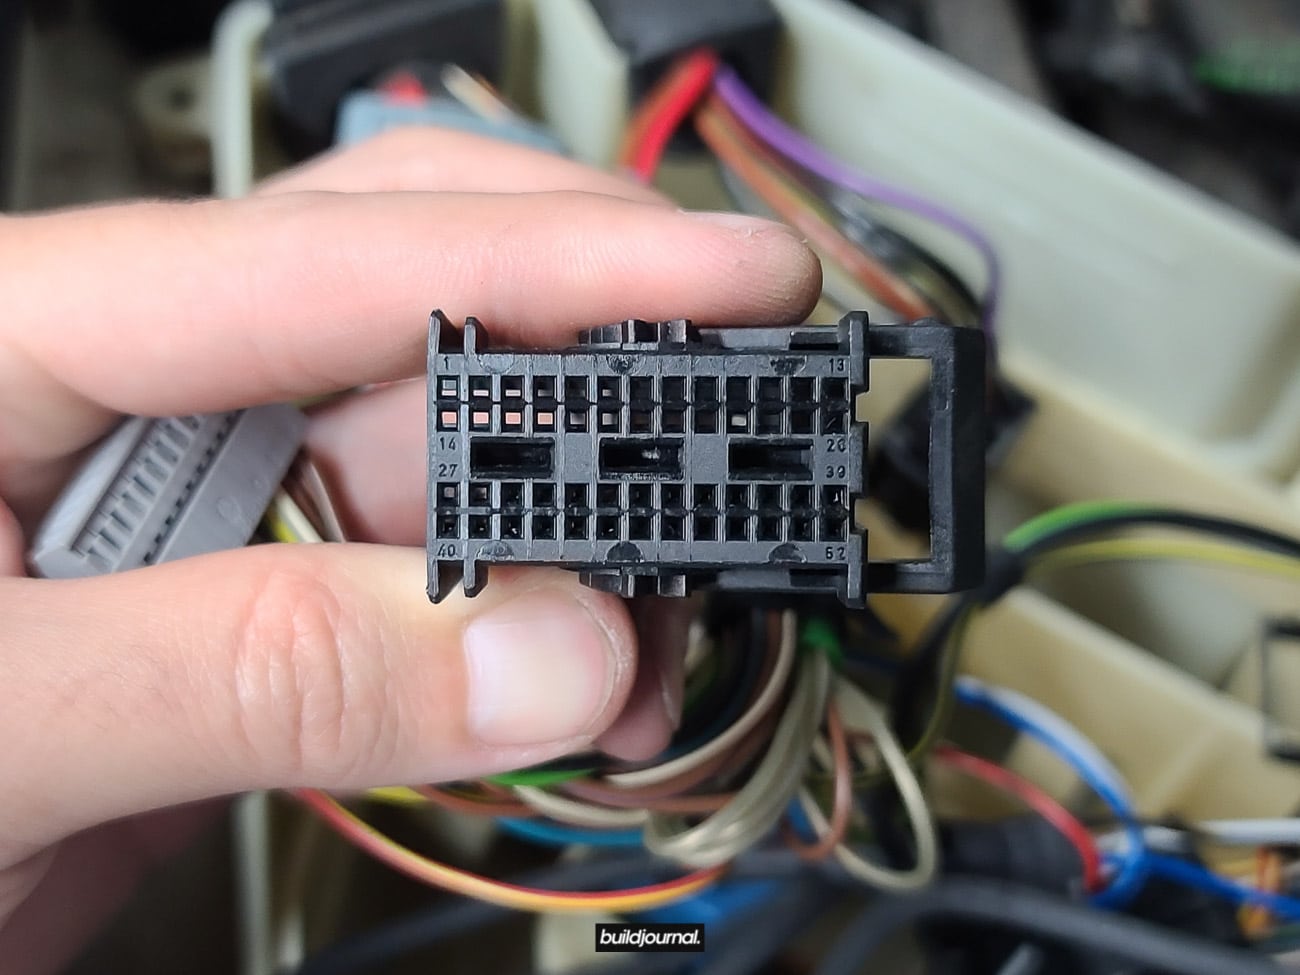

2.3 Once the grey connector is out, inspect the following pins: 16, 18. There are small numbers carved out on the grey connector. Then use the following instructions to wire the Kassel MAP sensor wiring harness.
Brown/Orange wire into Pin 16 (Ground)
Yellow wire into Pin 18 (Signal)
Keep in mind of the pin orientation. It only goes in one way.

2.4 Now locate pin 7 on the grey connector. There is an existing Red/Green wire which you will need to tap into using the supplied T-Tap connector.
Red/Green wire into Pin 7 (5V)
I used an extra heat shrink to cover up the exposed T-Tap.


3. Wire IAT Sensor
3.1 Locate pins 22 and 25 on the same 52-pin harness (X60003)
IAT wire to Yellow/Blue wire Pin 22 (Power)
IAT wire to Brown wire Pin 25 (Ground)
IAT wires do not have specific polarity.

4. Reinstall New ECU Plugs
4.1 Slide the grey connector back into the black harness and make sure it locks
4.2 Reinstall everything back together!


Unboxing the APEX ARC-8R Forged Wheels
Article Overview
Awesome products made by amazing people
- Quality
- Value
- Fitment/Color Options
Summary
I’m going to skip out on the technical details of this review summary. We all know it’s a great product. It’s forged. It’s a classic design. Colors options are plenty and so is the fitment/size offerings. If you’re buying these wheels, you’re buying because you’re most likely already wanting these – you already have your mind set. Aside from the technical side of things, let’s talk about something that no one talks about. The team at APEX.
APEX as a brand is more than just a wheel company. They are a team of track enthusiasts that are first and foremost passionate about the sport. Eddy the owner has a Spec E46 which he built from the ground up and is participating in club racing. Max is a BMW nut, participates in multiple HPDE track days a year, and has a super clean E36 M3 with an S54 swap. Ryan is a perfectionist. If you take a look at his track E92 M3, you’ll see what I’m talking about. I know if a group of enthusiasts like them are running this company, then I trust them to make a solid product and do everything in their power to make the best products for the community.
If you’re for whatever reason not set on a wheel and still in the market, I encourage you to talk to a specialist at APEX. I encourage you to read through all of their tech articles on fitment and see how much it helps you in your purchasing decision. I encourage you to take a deeper look the team running the brand. When you consider all these attributes, maybe, just maybe, the products from APEX will mean a little more than just the learning about the technical details on the product marketing front.
Let's Unbox This Wheel
First thing I noticed before opening up the box was the new packaging design. Looks like they added some graphics to the side print. I ordered the 18×10 ET25 ARC-8R in Satin Black for my E46 M3. Previously I was running the Hyper Silver in 18×9.5 ET 22 flow-formed version, but decided to use the 10″ wheel to fit larger tires while maintaining a proper amount of tire stretch to get a good balance of grip and sharp turn-in feel.


New Product Features
Paintless Knurled Beads
This was actually the first thing I noticed when I pulled it out of the box. There’s a shiny silver strip and although I know these beads are to help with tire slippage I never seen it in raw/paintless form. It should provide more grip than a painted surface.


New Stamps
There is an APEX logo stamp and a ARC-8R stamp on the inside lip of the wheel face. Adds a nice little touch to the aesthetics of the wheel.


1,800 lbs Max Load
The 10k forged press allows each wheel for 1.8k lbs of pressure. According to APEX, this is 1,000 lbs more than some of their flow-formed products! Kind of hard to read, but the stamp is on the bottom right corner of the back of the hub.

Profile 2 Face
The 18×10 ET25 comes with a Profile 2 concave face which gives it that iconic ARC-8 look that its most famous for. I do wish there was a Profile 3 variant for even more concave, but maybe we’ll see that for future models. I shot this on a wide angle lens so the concave is actually more than how it appears in this image.

Time to Mount Tires
I took the car to European Auto Source to mount my Nankang AR-1 275/35/18 tires. Luckily my car is gutted so I was able to fit all 4 boxes into my car. This is how I drove it. Everyone on the freeway kinda looked at me a little weird. I’m sure the wing has a lot do with it.


Unfortunately these are all the pictures I have at the moment. I wanted to take the car out and do a full shoot, but quarantine happened right after.

Fitment Details
Front
- -4° camber
- No spacer
- Stoptech C43 CBK clearance
- 13.25" height (center of wheel to fender)

Rear
- -2.5° camber
- 5mm spacer
- Porsche 996 caliper clearance
- 12.75" height (center of wheel to fender)

B-SPEC TUNE is Coming for BMW E9X M3
⚙️ B-SPEC TUNE FOR E9X M3
COMING SOON
Mods
- BUILDJOURNAL ⚙️ B-SPEC TUNE
- MACHT SCHNELL STAGE 2 INTAKE
- MACHT SCHNELL X-PIPE
- MACHT SCHNELL PULLEYS
- EISENMANN RACE EXHAUST
Conditions
- 91 OCTANE
- 95° AMBIENT TEMP
- 27% HUMIDITY
- DYNOJET 224xLC
- SMOOTHING: STD 5
Horsepower
391
WHP
Torque
291
WTQ


Meat Flush Fitment Specs for E92 M3 on APEX EC-7 Wheels
Dialing in wheel fitment for my E92
I was in search of the perfect meat flush fitment for my E92 M3. I wanted a square set that requires minimal camber, but can run a moderately aggressive street setup with a lot of tire tucked underneath the fenders. I went straight to APEX’s E9x M3 Wheel & Tire Fitment Guide to take a look at my options. They did a ton of fitment research with consideration to spacers, tire size, staggered/square setups, etc and it’s super helpful. Check it out if you have not. They have guides for a lot of BMW applications. Anyways, I ended up with a square set of EC-7 in Race Silver.

Wheel Size
18x10 ET25 square

Tire Size
275/35/18 Nitto NT01

Front Height
13.5" (center of wheel to fender)

Rear Height
13" (center of wheel to fender)

Front Camber
-2.5°

Rear Camber
-1.9°

Spacers
5mm F / 12mm R


Why did I choose this setup?
Whether it’s my track E46 or street E92 or my off-road truck – I’m a stickler for wheel fitment. People usually say form or function, you gotta pick one, but I think you can pick both.
SUMMARY
- Design. My top priority is the look of the face. The profile 3 face has the most aggressive concave face design.
- Fitment. 18×10 ET 25 square setup. Say no more.
- Ability to run bigger brake calipers in the future. Clears Brembo and Stoptech 6-pot 380mm BBK.
- Limited lifetime warranty. For wheels purchased after August 12th 2019 you get covered from factory defects.
- 50% Off Replacement Wheels. If I do take this on track and bend it, I can get half off.
Some people ask me, why not get the forged version? The APEX EC-7 flow-formed is not as light as the EC-7R, but this is a street car. I don’t care about that as much. On my track car, I’m running the ARC-8R forged wheels, because weight savings and forged matters for track applications.
So what do you think? Did I achieve the perfect meat flush fitment? Let me know in the comments below!
![BMW E92 M3 GT2 @ Buttonwillow CW13 - 1:39.902 [Assetto Corsa]](https://thebuildjournal.com/wp-content/uploads/2020/04/buildjournal-e92-m3-assetto-corsa.jpg)
Download: BMW E92 M3 GT2 Buildjournal Skin for Assetto Corsa
Here is the custom skin I made for the BMW E92 M3 GT2 on Assetto Corsa and it’s free to download for those of you that have the game on PC. Still need to work out the scaling on the carbon fiber texture of the wing because the weaves are huge! Leave me a comment below if you have any feedback on another skin design.
Install Directions
Copy folder of the car skin to your Assetto Corsa installation directory. There is a folder called “skins”, inside each car folder, which you simply copy to.
Example: D:\SteamLibrary\steamapps\common\assettocorsa\content\cars\bmw_m3_gt2\skins
Buildjournal BMW E92 M3 GT2
![BMW E92 M3 GT2 @ Buttonwillow CW13 - 1:39.902 [Assetto Corsa]](https://thebuildjournal.com/wp-content/uploads/2020/04/buildjournal-e92-m3-assetto-corsa-2.jpg)
![BMW E92 M3 GT2 @ Buttonwillow CW13 - 1:39.902 [Assetto Corsa]](https://thebuildjournal.com/wp-content/uploads/2020/04/buildjournal-e92-m3-assetto-corsa-3.jpg)
![BMW E92 M3 GT2 @ Buttonwillow CW13 - 1:39.902 [Assetto Corsa]](https://thebuildjournal.com/wp-content/uploads/2020/04/buildjournal-e92-m3-assetto-corsa-4.jpg)
![BMW E92 M3 GT2 @ Buttonwillow CW13 - 1:39.902 [Assetto Corsa]](https://thebuildjournal.com/wp-content/uploads/2020/04/buildjournal-e92-m3-assetto-corsa-5.jpg)
![BMW E92 M3 GT2 @ Buttonwillow CW13 - 1:39.902 [Assetto Corsa]](https://thebuildjournal.com/wp-content/uploads/2020/04/buildjournal-e92-m3-assetto-corsa-6.jpg)
![BMW E92 M3 GT2 @ Buttonwillow CW13 - 1:39.902 [Assetto Corsa]](https://thebuildjournal.com/wp-content/uploads/2020/04/buildjournal-e92-m3-assetto-corsa-7.jpg)
![BMW E92 M3 GT2 @ Buttonwillow CW13 - 1:39.902 [Assetto Corsa]](https://thebuildjournal.com/wp-content/uploads/2020/04/buildjournal-e92-m3-assetto-corsa-8.jpg)
![BMW E92 M3 GT2 @ Buttonwillow CW13 - 1:39.902 [Assetto Corsa]](https://thebuildjournal.com/wp-content/uploads/2020/04/buildjournal-e92-m3-assetto-corsa-9.jpg)
![BMW E92 M3 GT2 @ Buttonwillow CW13 - 1:39.902 [Assetto Corsa]](https://thebuildjournal.com/wp-content/uploads/2020/04/buildjournal-e92-m3-assetto-corsa-10.jpg)
![BMW E92 M3 GT2 @ Buttonwillow CW13 - 1:39.902 [Assetto Corsa]](https://thebuildjournal.com/wp-content/uploads/2020/04/buildjournal-e92-m3-assetto-corsa-11.jpg)
![BMW E92 M3 GT2 @ Buttonwillow CW13 - 1:39.902 [Assetto Corsa]](https://thebuildjournal.com/wp-content/uploads/2020/04/buildjournal-e92-m3-assetto-corsa-12.jpg)
![BMW E92 M3 GT2 @ Buttonwillow CW13 - 1:39.902 [Assetto Corsa]](https://thebuildjournal.com/wp-content/uploads/2020/04/buildjournal-e92-m3-assetto-corsa-13.jpg)
![BMW E92 M3 GT2 @ Buttonwillow CW13 - 1:39.902 [Assetto Corsa]](https://thebuildjournal.com/wp-content/uploads/2020/04/bmw_m3_gt2_buttonwillow-cw13-1.jpg)
BMW E92 M3 GT2 @ Buttonwillow CW13 - 1:39.902 [Assetto Corsa]
I find myself spending more time on my PC sim racing setup and in fact, a lot of time is spent on it. I joined the OnGrid Virtual Shootout which is a spec Miata race series on Assetto Corsa. It’s actually being broadcasted on Twitch twice a week. If you want to check it out there’s more info on their Facebook page which is linked here. Anyways, yeah. Sim Racing. Assetto Corsa, Assetto Corsa Competizione, Project CARS II, Gran Turismo Sport.
The cool thing about Assetto Corsa is the fact you can customize a lot of things. I mean, the community is by far the best in terms of content support. Take for example, this. It’s a laser-scanned Buttonwillow track map and it’s pretty damn accurate. It’s to my knowledge the only game that supports a Buttonwillow map so I find myself playing AC a lot more.
Customization is plenty. I took some time to re-design the car skin also using Photoshop and an NVIDIA Texture Tools plug-in. During these times, I have so much more time to kill especially since you know…all events are cancelled including BIMMER CHALLENGE. So take a look at this hot lap at Buttonwillow CW13 using the BMW E92 M3 GT2. This car comes with the game.
If you want to try out this track/game, we’re going to be setting up an Assetto Corsa server so you guys can all join the party. Stay tuned for details on server info.
Hoonigan Bonus: Vin Replaces All the Things on His BMW M3
I went over to help Vin on his last minute track prep stuff for his E46 M3 and although replacing his splitter brackets were not part of the to-do list, we found out that his current ones were damaged. Check out this video to see his OS Giken diff swap along with a cool montage of Driveshaft Pro installing the LSD into the OEM 210mm diff case. Oh also, you can see me using his Fikse Wheels as a workbench to drill into his carbon fiber splitter!

"5 Reasons to Own" E46 M3 Cinematic Short Film
We see a lot of E46 M3 videos, or just BMW videos in general, and there are only a handful that really gets my attention – this one is one of them. I’m also very pumped that Daniil Vataman, of BIMMERCLUB, reached out and asked to use some of my clips for this clip. I had no idea how this video project was going to turn out when he initially asked, but I’m glad he reached out because it’s awesome! Check it out and give his YouTube channel a follow for more BMW content.

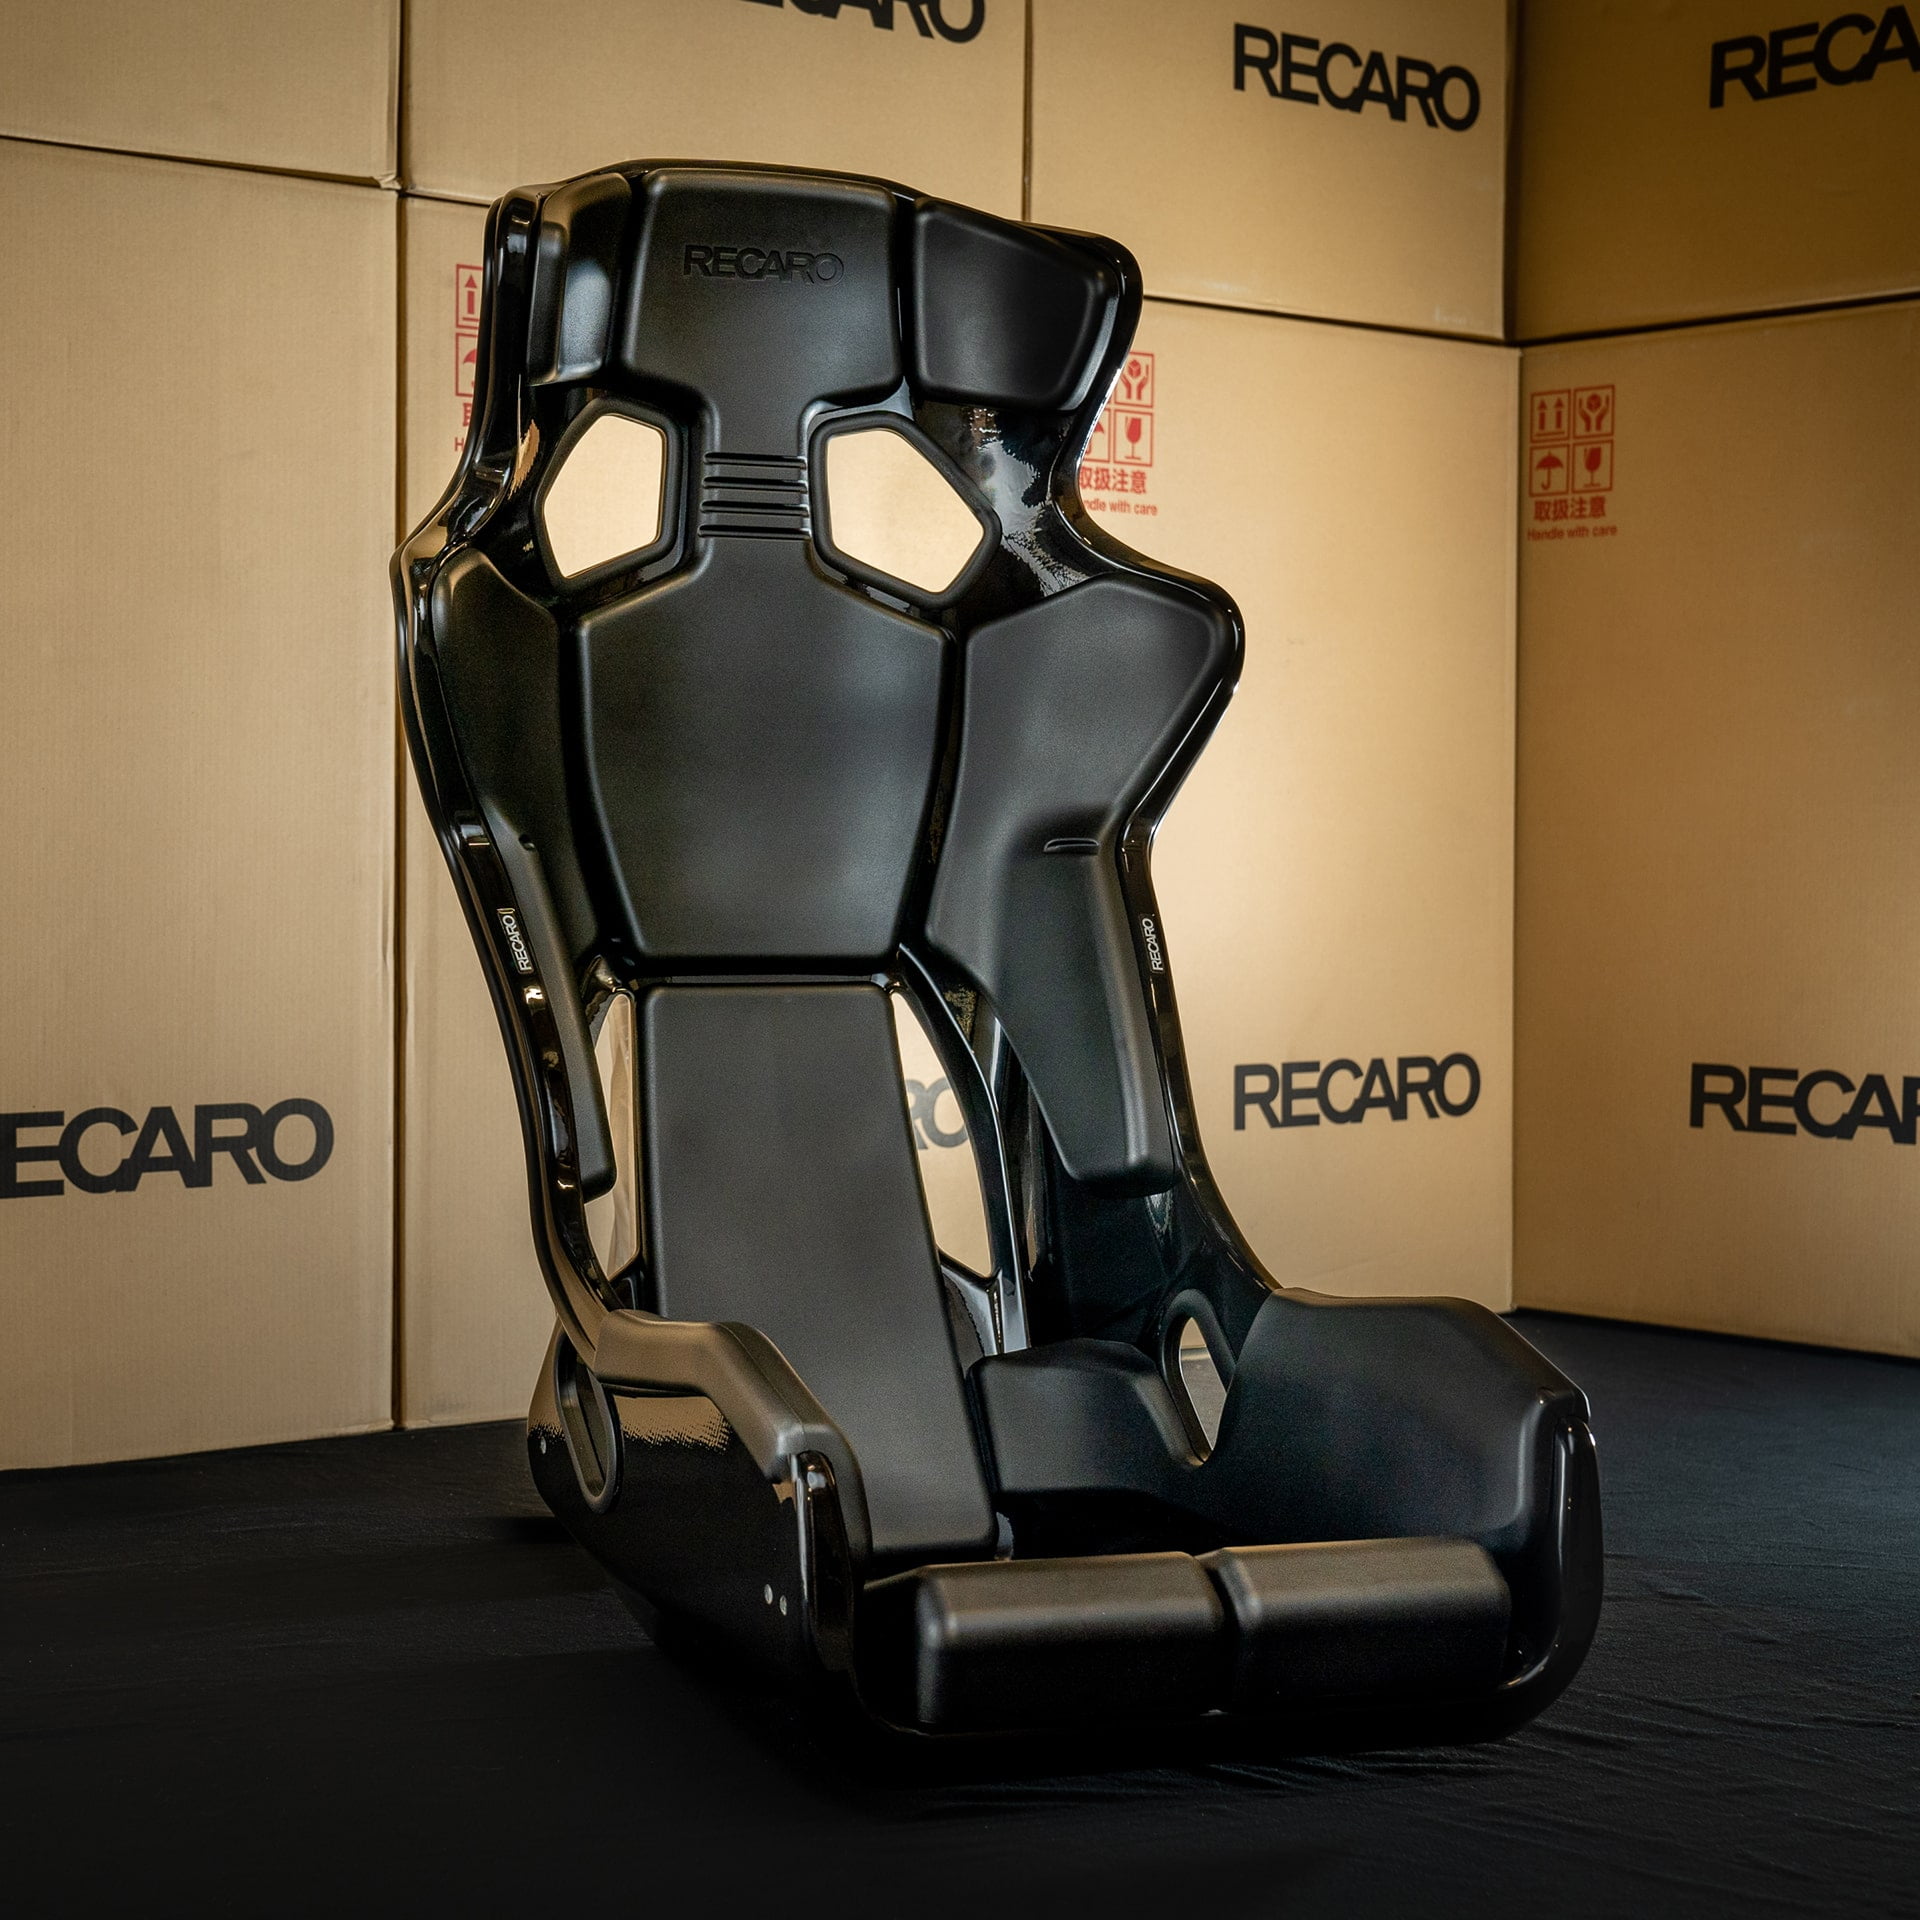
Super Limited Recaro Racing Seats in Stock!
Looking to upgrade your seats? Now is the time! Get your hands on the super limited Recaro racing seats including the new Recaro Pro Racer RMS series in both fiberglass and carbon fiber.


FIND YOUR RECARO

John DeFini's Super Clean E46 M3 Track Build
Building an E46 M3 track car
A few months ago we were contacted by a customer that wanted to do a front splitter build for his E46 M3. I didn’t know what he was building or what his plans were, but after some back and forth conversations he ended up wanting to do a custom splitter build similar to my current setup which is wider to support winglets and has enough area to support tire spats.
I ended up cutting up a splitter from 1/4″ alumalite paired with our Quick-Release E46 Splitter Brackets and shipped it over along with a few other items. A few weeks went by and I came across his post on Facebook after completing his build and wow I was so happy to see this E46 M3 across the country with the splitter we made for him. Not only was I happy to see the splitter, but it was such a clean build overall and I asked him for pictures to do a write up on the website.
Some additional parts on the car included carbon fiber headlight blanks, HARD Motorsport brake duct kit, AeroCatch fastners, hood vents, fender vents, lightweight racing mirrors, Stoptech BBK, the whole interior was upgraded, etc.
Splitter kit parts list
- Buildjournal Quick-Release Adjustable Splitter Brackets
- Buildjournal Front Race Splitter - E46 M3
- Splitter Guard
- U-Channel Kit
- Buildjournal Adjustable Splitter Cable Rods
- Buildjournal Splitter Brace
- Buildjournal Pop Latch Kit
- ACS Style Polyurethane Front Lip - E46 M3
- Buildjournal Sideskirt Splitter

The E46 M3 build is looking great already, but I’m sure there are more things to come including the splitter winglets. As an extra option, additional splitter diffusers can be installed on to the front splitter to increase downforce even more. I currently have the RSFuture splitter diffusers installed on my E46 M3.
Photo gallery

The ACS lip was mounted using screws and black-coated rivets. The lip was placed on a table to ensure the fitment was perfectly flat and even.


For the tire spats, John ended up custom fabricating a bracket to hold the spats in place. On my car I went with the tap screw method against the fender, but the the bracket is much cleaner and is easier to remove.

Extra material was placed in between the ACS lip and splitter to ensure no wind gets past the bumper.

BMW E46 M3 @ Buttonwillow CW13 - 1:53.140
My car is now around 2,900 lbs with half tank and no driver plus, with the addition of new Nankang AR-1 tires I knew it was going to be interesting. I went to BIMMER CHALLENGE Round 2 @ Buttonwillow CW13 with the new setup and had no idea what to expect in terms of time. Last time I went out, I was 150 lbs heavier and had new Advan A052. The weight vs tire grip would be very interesting to see how it all pans out.
The first session was pretty cool. It was about low 60’s and the track was a bit dusty. I knew I had to put in a good lap in the 1st session, but it’s always a challenge because there’s no pre-gridding based on time and everyone is out there. I have to just give myself a gap and attack. I planned to do 2 warm up laps followed by 3 heaters. Unfortunately I wasn’t able to get clear laps until the very last lap. By then, the tire temps were up to 35 psi and wasn’t really optimal, but I ended up beating my A052 personal best by 0.2 seconds.