The intake air temperature (IAT) sensor is integrated into the E46 M3 stock MAF location inside the intake tube and although the OEM location works, it is prone to heat soak which will allow the ECU to pull timing resulting in power loss. We made this IAT relocation kit so we can move the sensor location to a location outside the MAF that is optimized for air flow thus the engine is less likely to pull timing due to false temperature readings.
The install is fairly simple, but you will need to solder two wires together. There are some vendors that sell a plug and play harness so if you don’t want to cut and solder your stock MAF wires you can purchase their kit.
Tools Required
- Soldering kit (including soldering wire) [amazon_link asins='B06XZ31W3M' template='PriceLink' store='builjour-20' marketplace='US' link_id='74082f78-8dd9-40e1-9903-ca49edc52f5d']
- Shrink tube [amazon_link asins='B075WR9FVL' template='PriceLink' store='builjour-20' marketplace='US' link_id='3f69cf49-a1b5-4d36-b69c-d4ab4bcfee01']
- Wire cutter [amazon_link asins='B000OQ21CA' template='PriceLink' store='builjour-20' marketplace='US' link_id='309825f7-3e61-4369-854d-60fba522382a']
- Razor blade [amazon_link asins='B0006O5JR4' template='PriceLink' store='builjour-20' marketplace='US' link_id='14117261-e1ce-451e-bb96-50ddc8c5c444']
- Lighter
- Electric tape
- Scissors
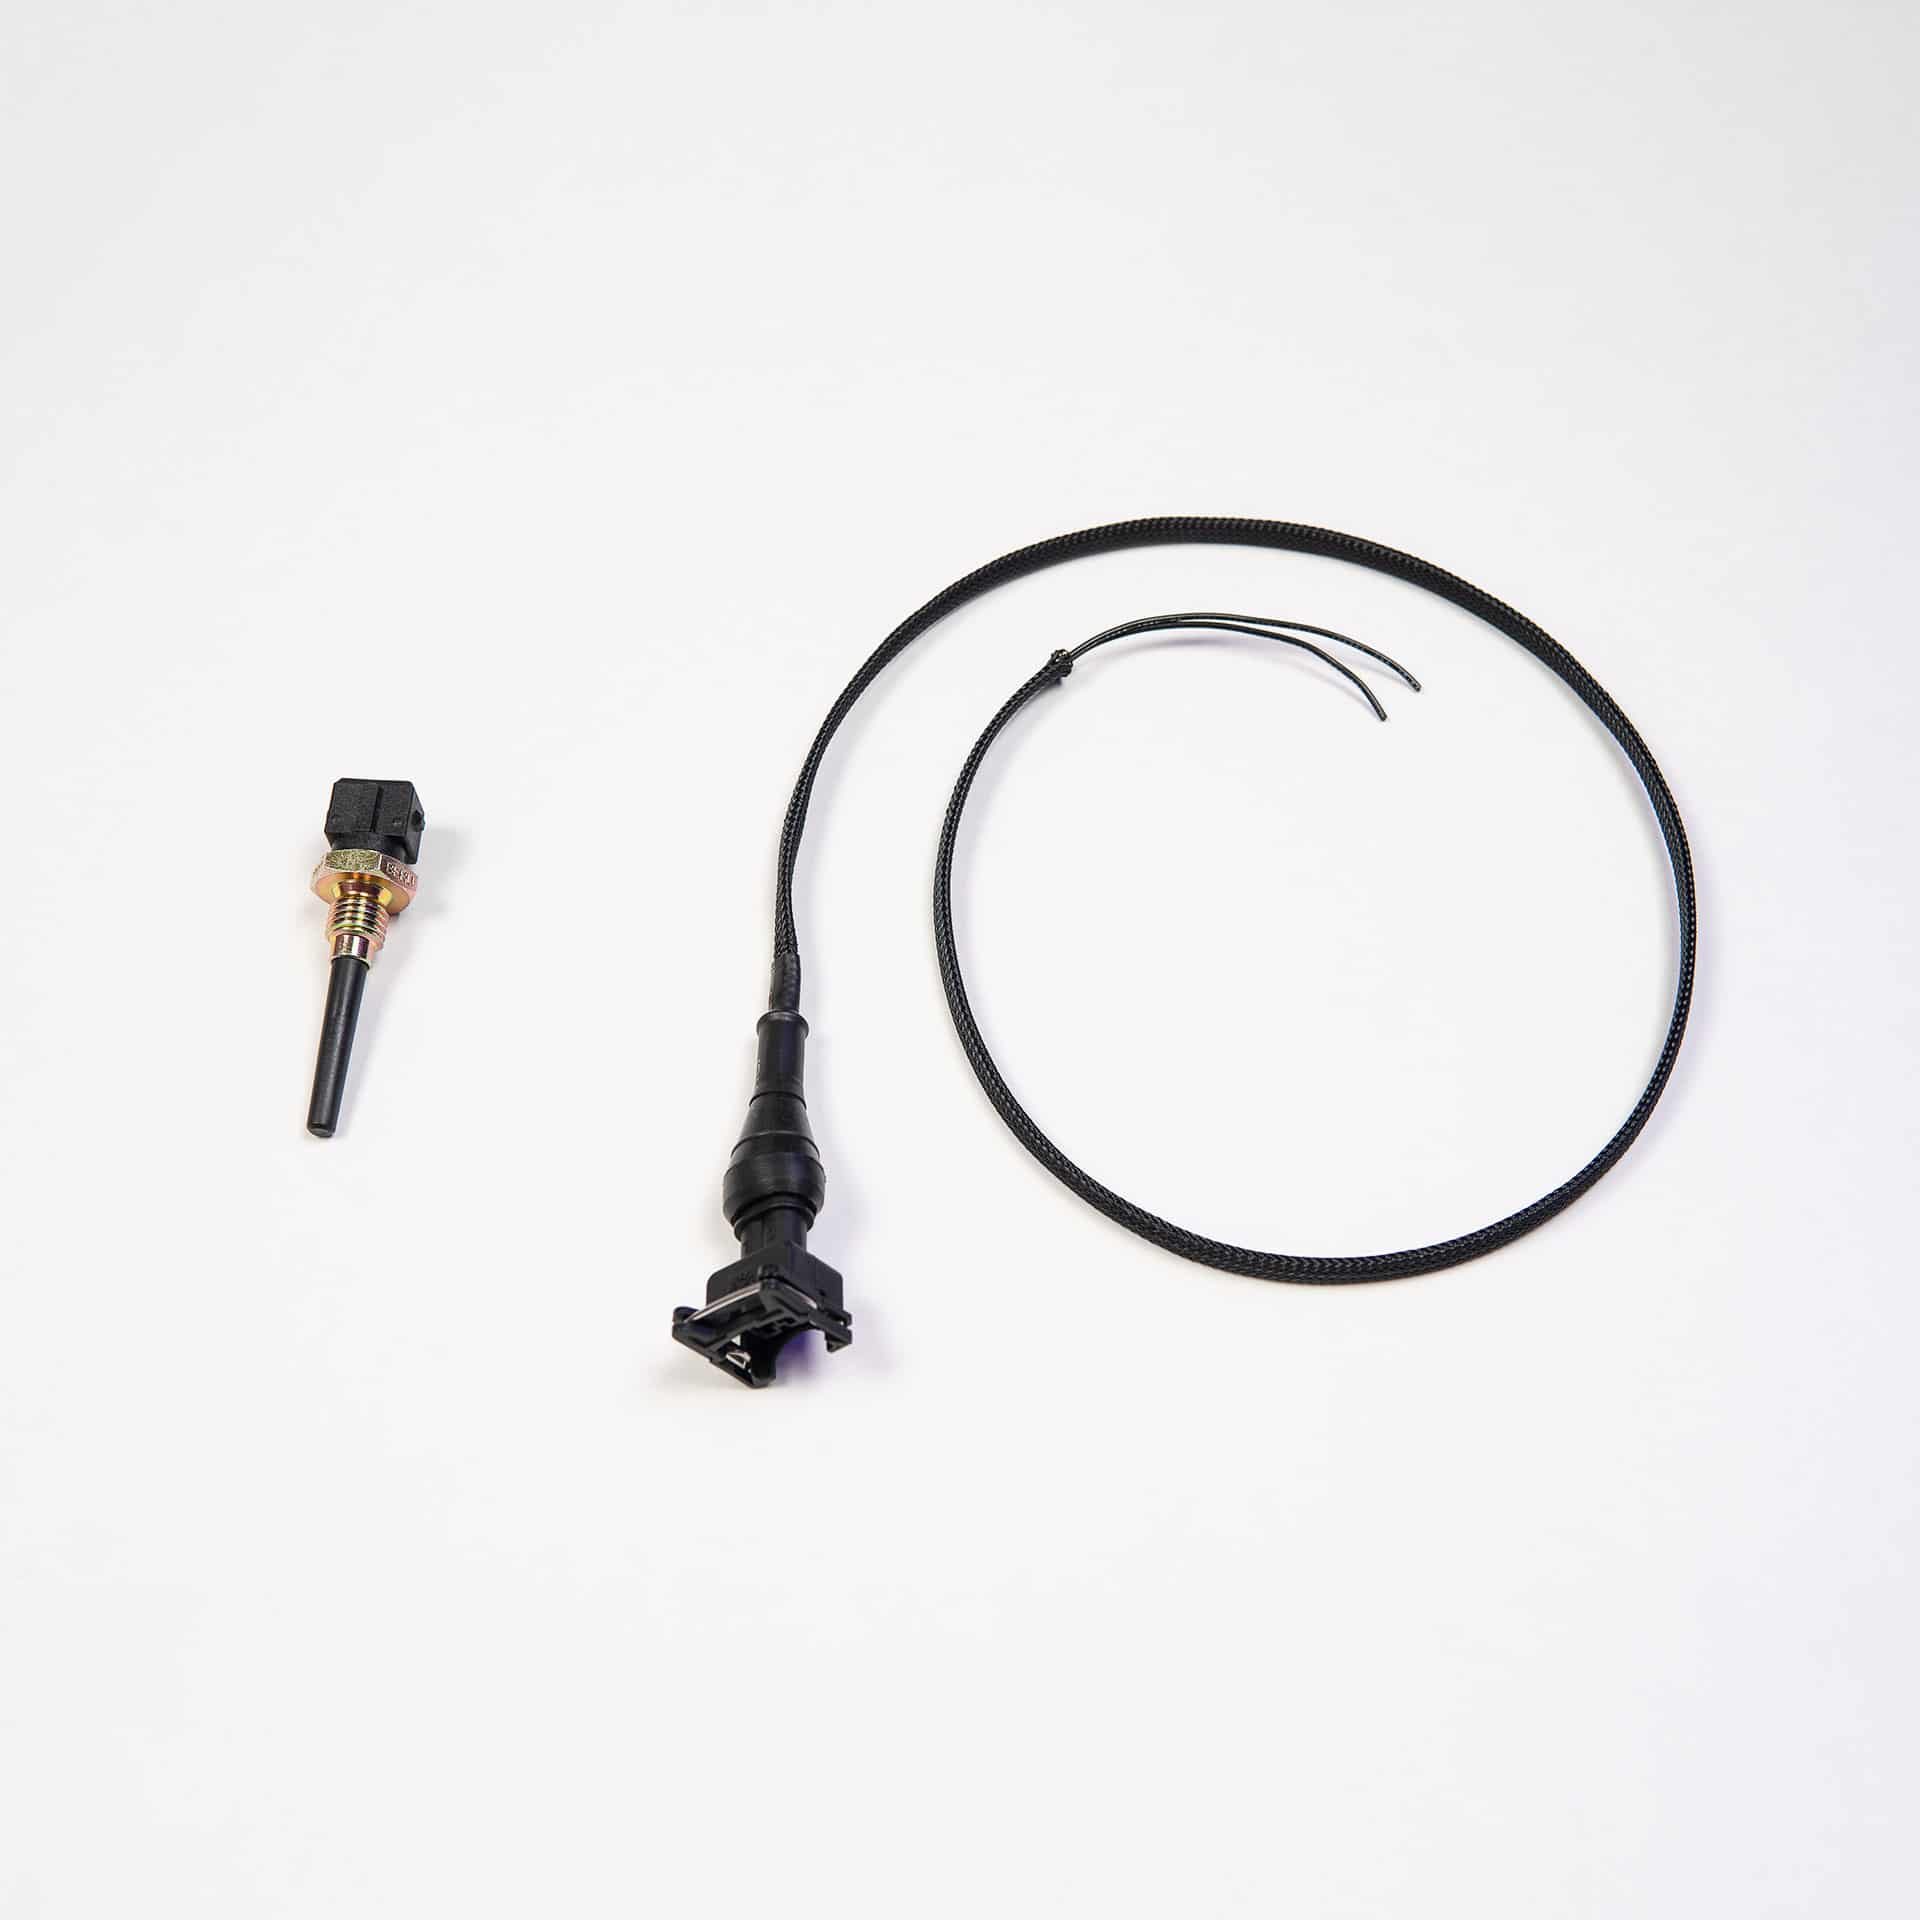
- IAT relocation sensor kit
Install Directions
1. Remove MAF and locate the wires numbered 1-5. Remove rubber grommet.
2. Cut and remove some of the plastic wiring loom with scissors then cut Wire #1 about 2″ down from the plug.

3. Wire #1: using the wire stripper, expose about 1/2″ of bare wire on the ECU side of the wire. (opposed to the plug side)

4. Wire #3: using a razor blade, skin and expose about 1/2″ of bare wire; do not cut.
5. Wire #3: use a razor blade to split the wires in half creating a gap to insert IAT wire.

6. Get one of the IAT sensor wire (doesn’t matter which wire) and insert a heat shrink tube. We will heat shrink once it’s soldered.

6. Split the ends of the Wire #1 and the IAT wire to mate for soldering.
7. Twist the wires.

8. Get the other IAT wire and insert into the hole you created in Wire #3 in step 5. You don’t need to split the wires on the IAT wire.

8. Twist the wires.

9. Your wires are ready for soldering. Solder both wires.
How to Solder: Watch Video

11. Use a lighter to heat shrink the tube for Wire #1.
12. Use electric tape to wrap Wire #3.

13. Tape and heat shrink the exposed (plug side) Wire #1.

14. Insert rubber grommet and install on MAF sensor.

Okay so now that we have the IAT sensor wired up, we need to install the IAT sensor somewhere. I’m leaving this step open ended because the IAT installation depends on which intake you’re running.
Personally for me I’m running the Eventuri intake so I decided to drill a hole in the intake bracket right below the filter. This works perfect because my PSDesigns Headlight Duct kit allows air right into the filter and IAT sensor.


I assume most of you are running the stock box. The IAT sensor can be installed on the lower half of the intake box right above the drain outlet. All you need is a 7/16″ drill bit to create a hole in the box. M3support.net user “s54smg2” did an excellent write up for the IAT relocation on S54 intake.