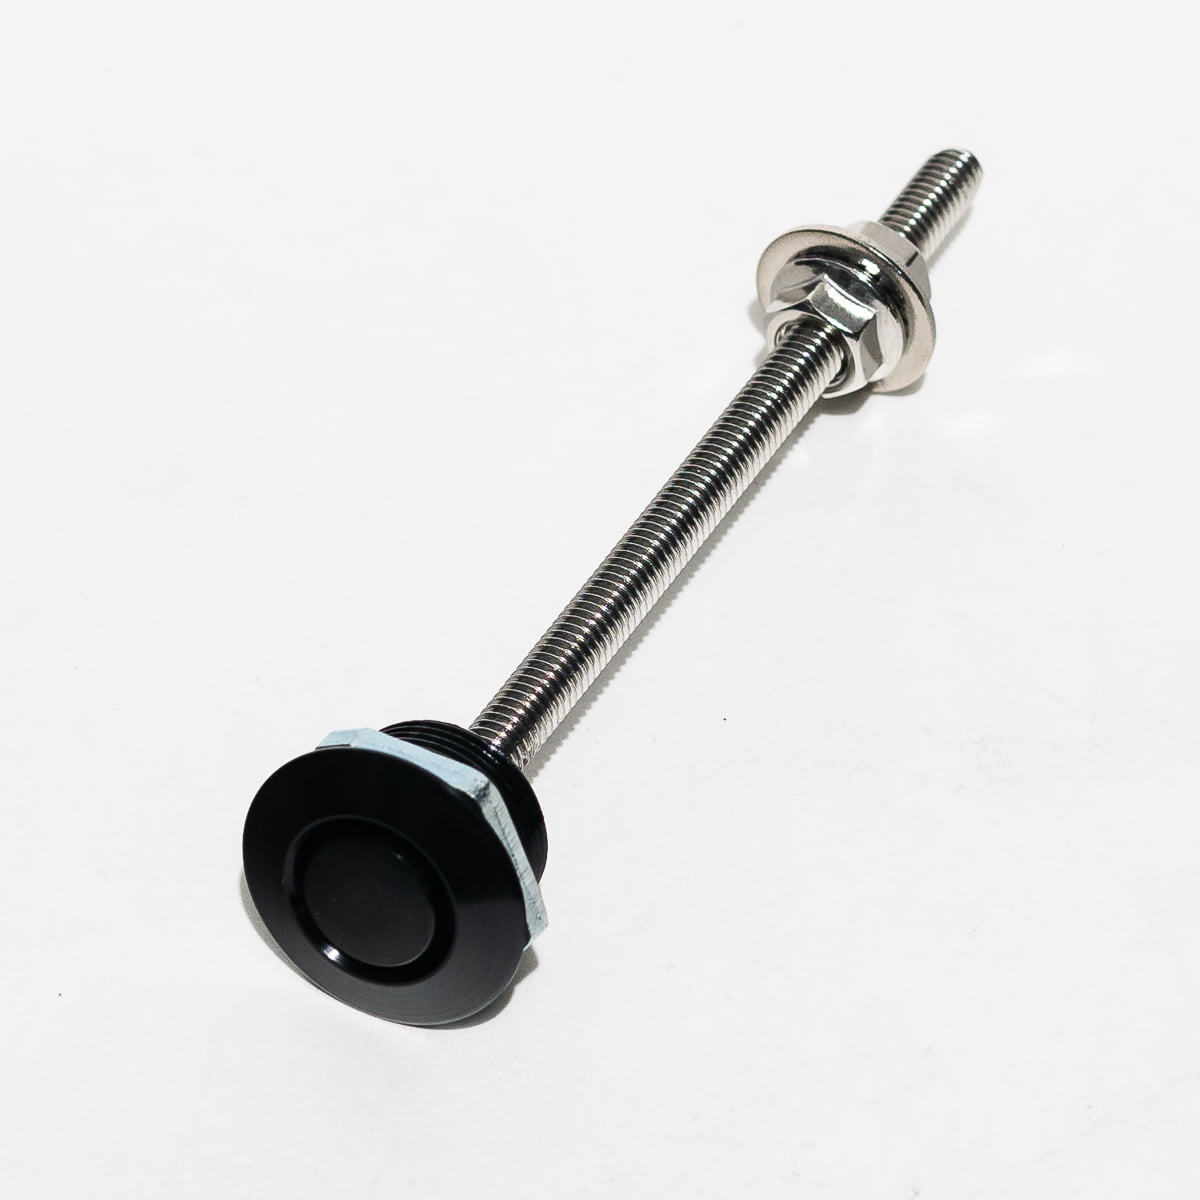
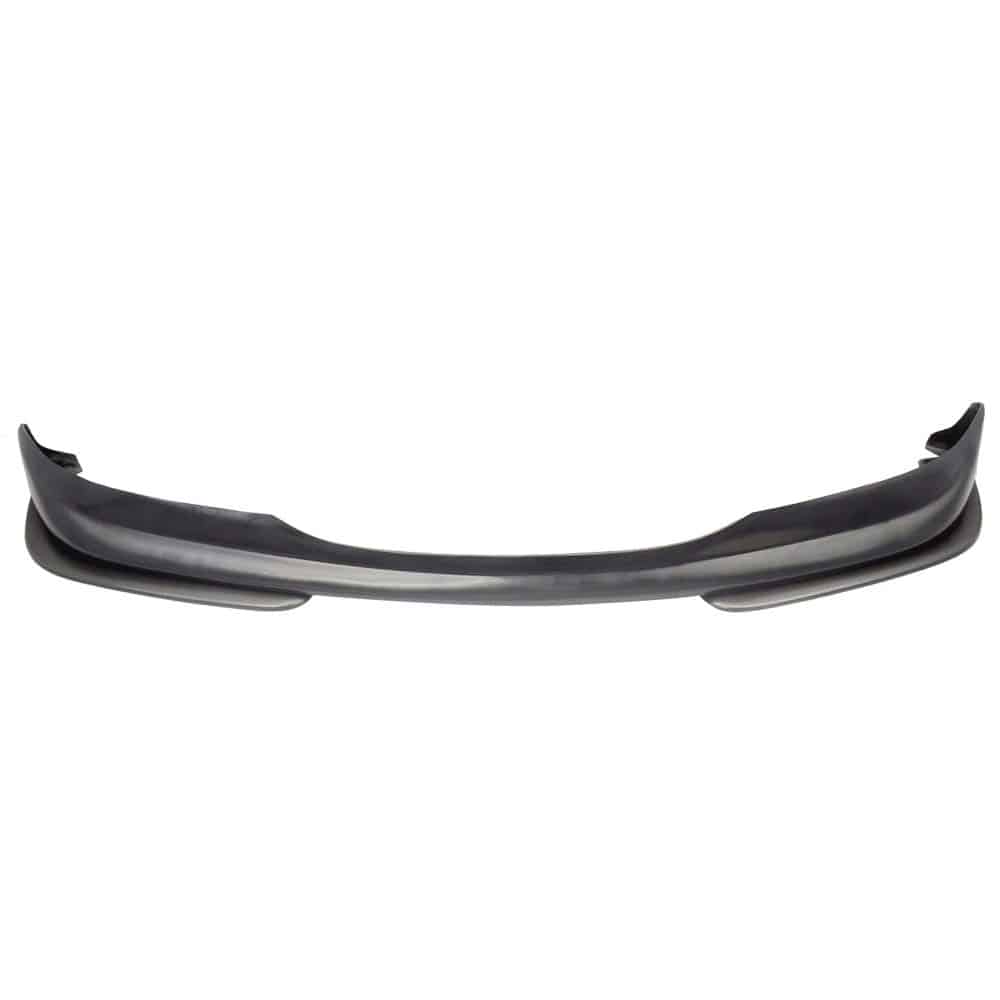
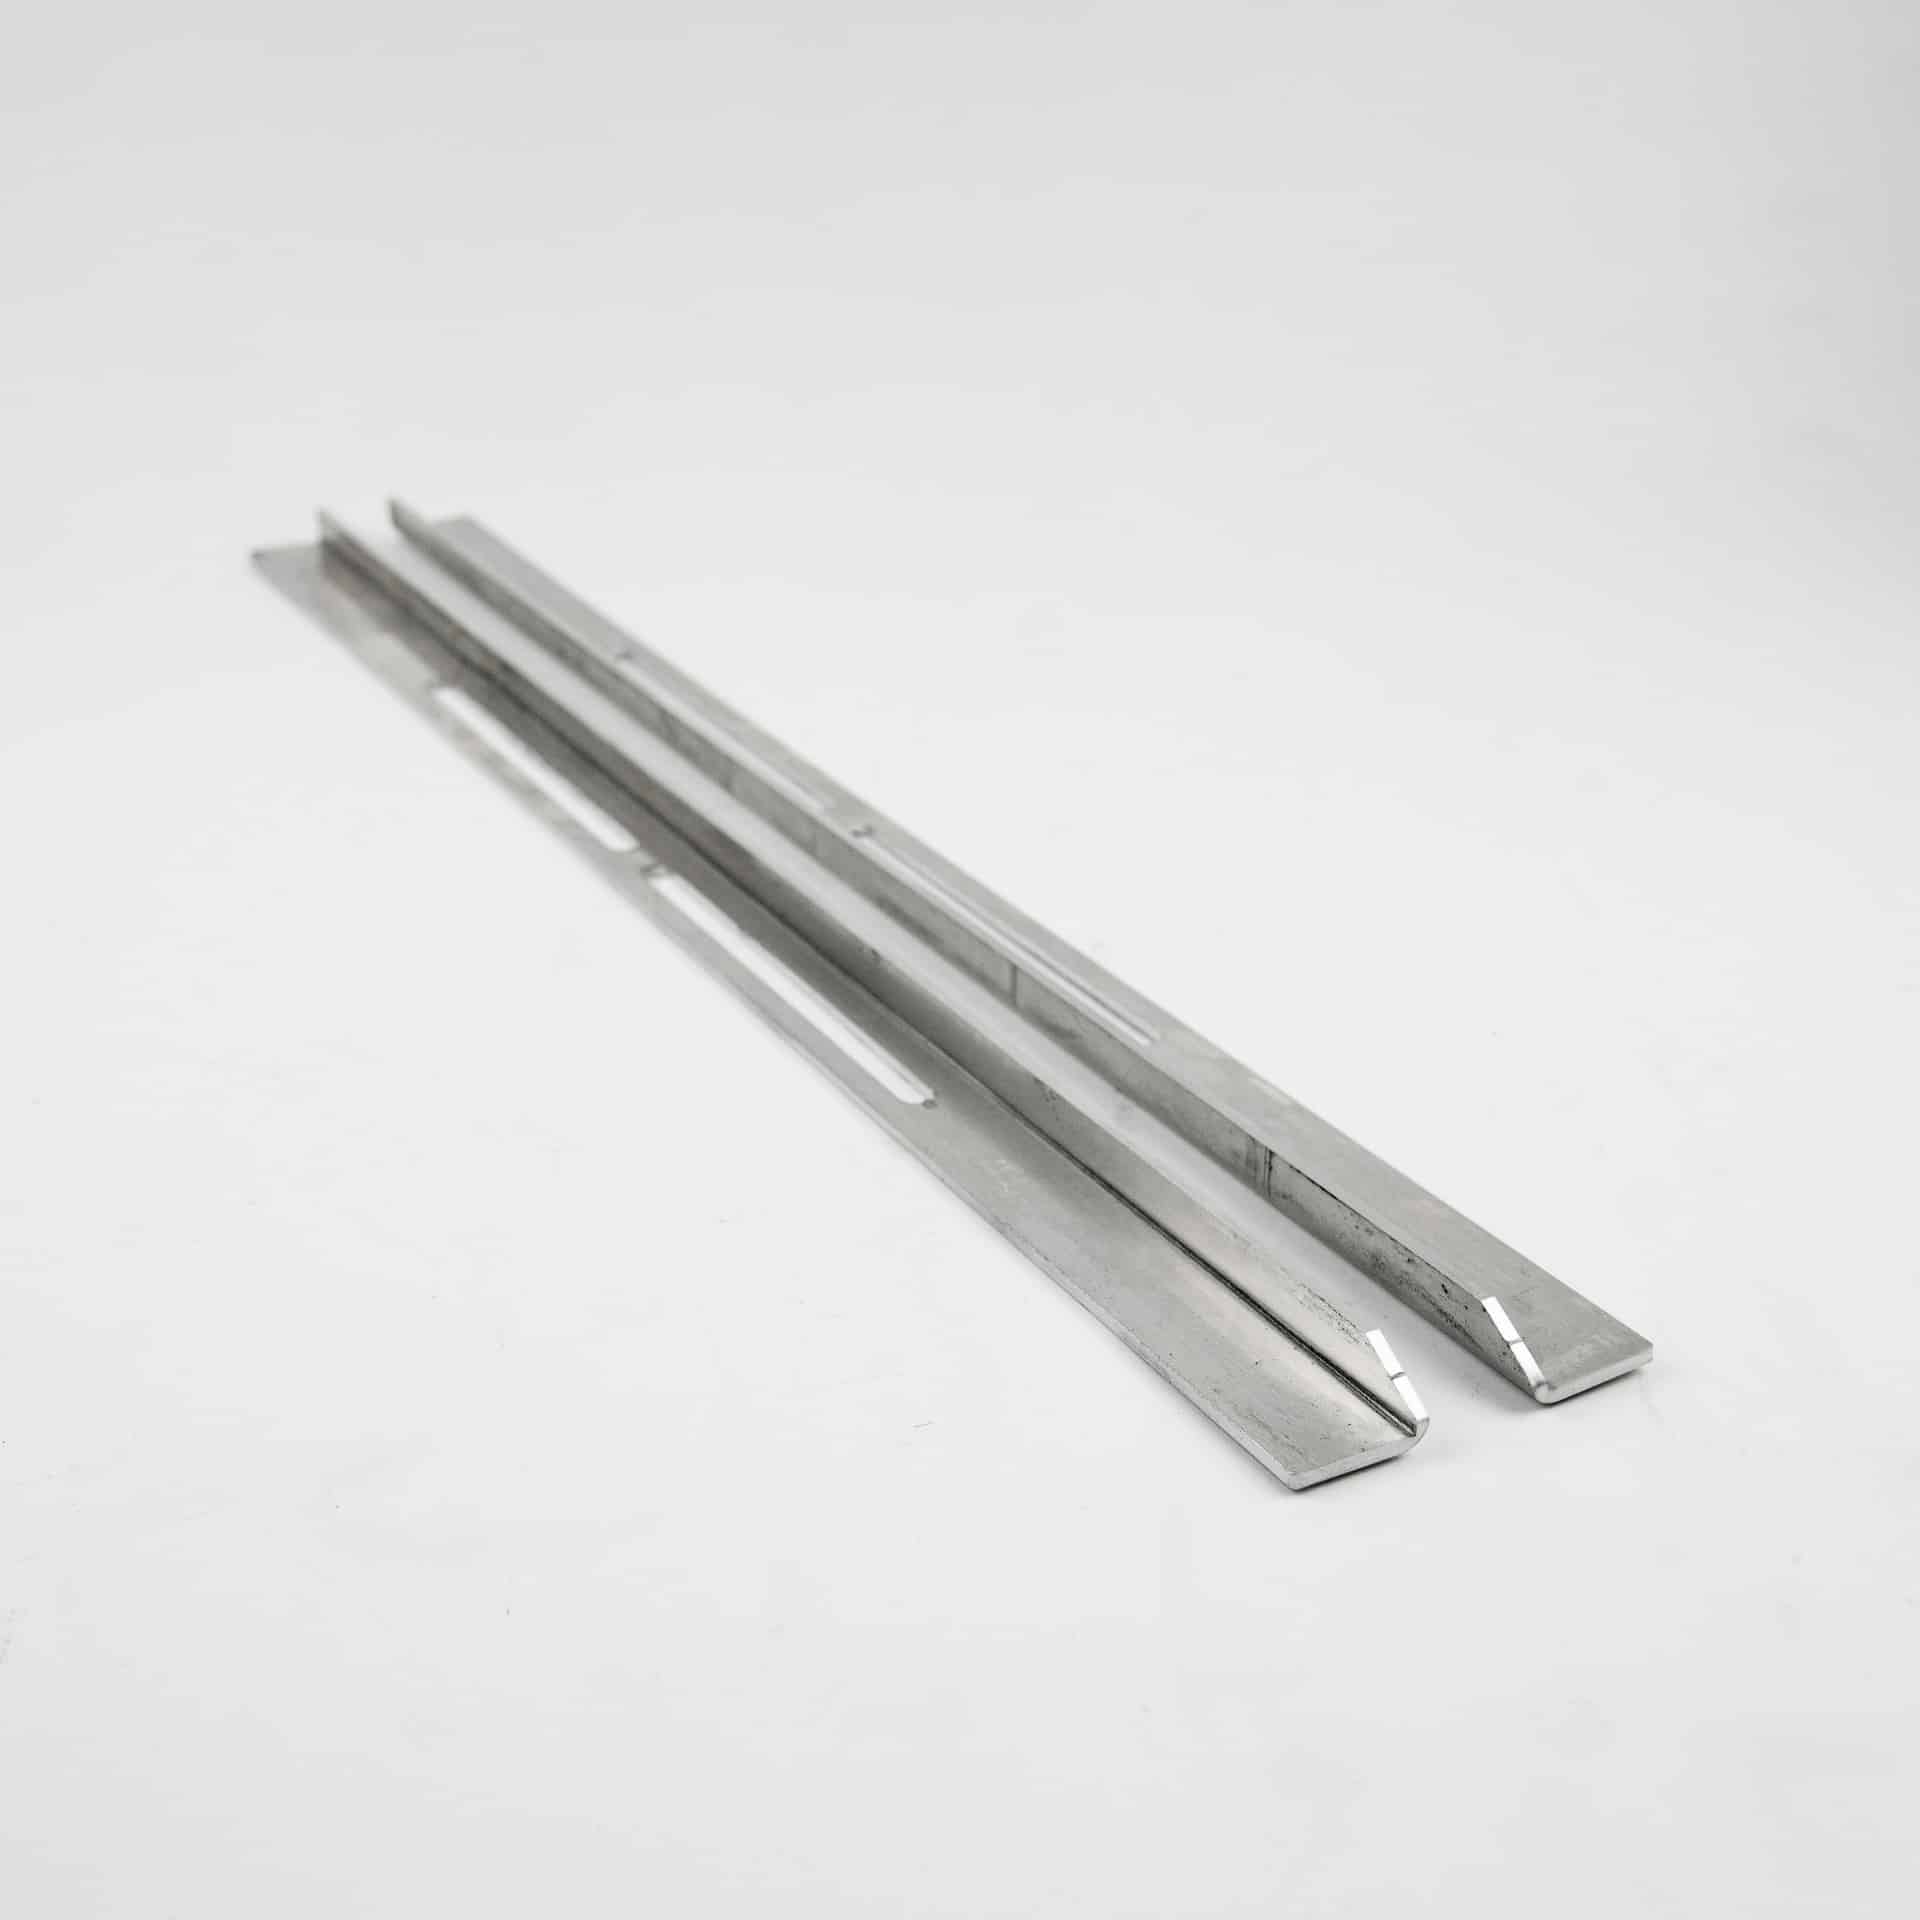
Instantly remove your front bumper cover in seconds! We’ve released a custom mounting solution for the Pop Latch Quick Release and we’re going to show you how to do the install. The studs use the factory hex stud location on Kevlar bumper supports for an easy bolt-on installation. Oh also, we now offer custom paint matched latches as an add-on option!
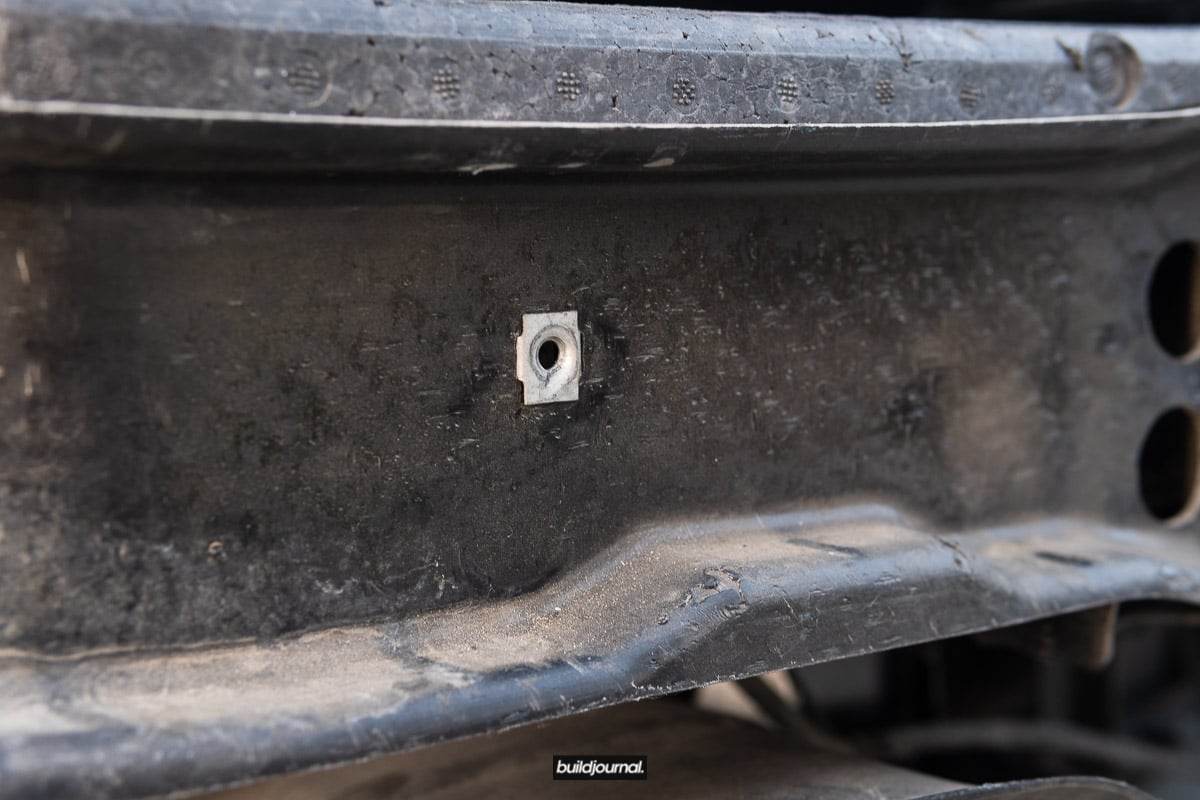
4. Remove thread insert and install new stud from Pop Latch kit
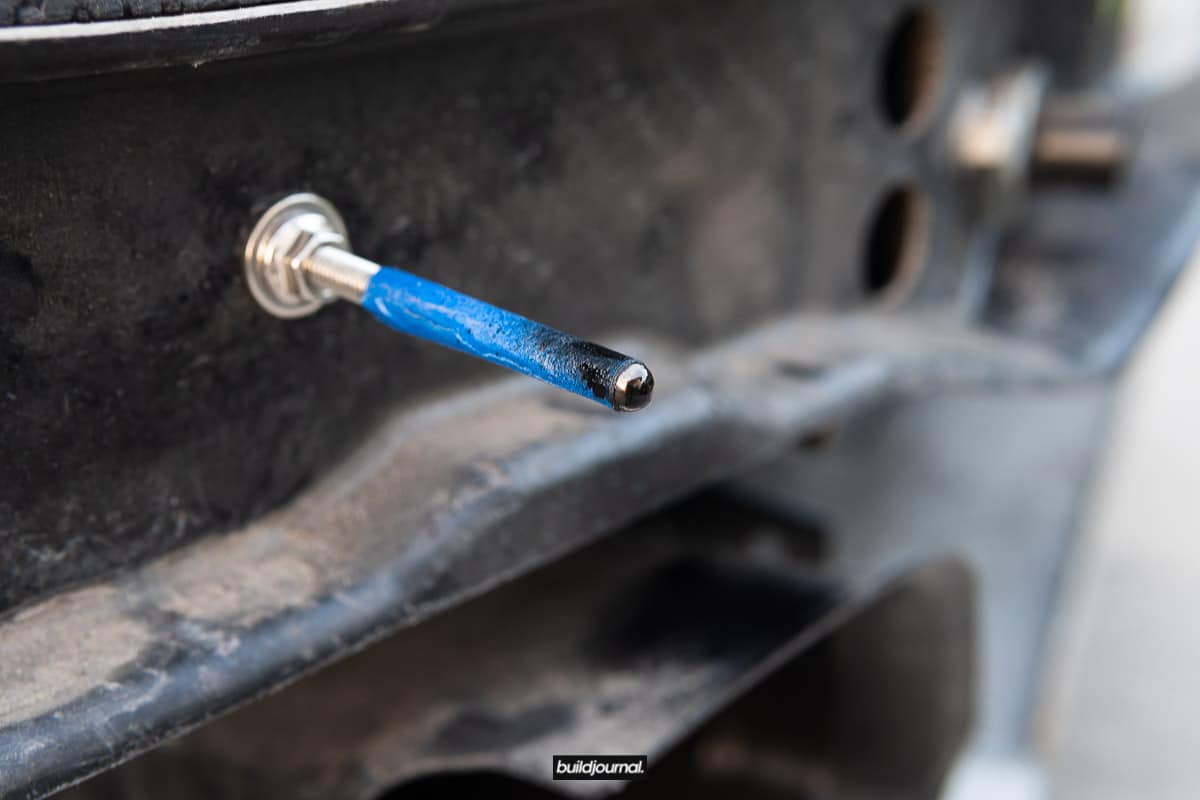
The Kevlar bumper has a hollow inside and you can get to the opening through the immediate sides of the support beam. Once the stud is inserted, you must back the stud towards the back and lock it down with the supplied washer/nut. The back of the stud should be almost touching the backside of the hollow bumper beam.
Aerodynamics
-
-
-
-
Select options
This product has multiple variants. The options may be chosen on the product page
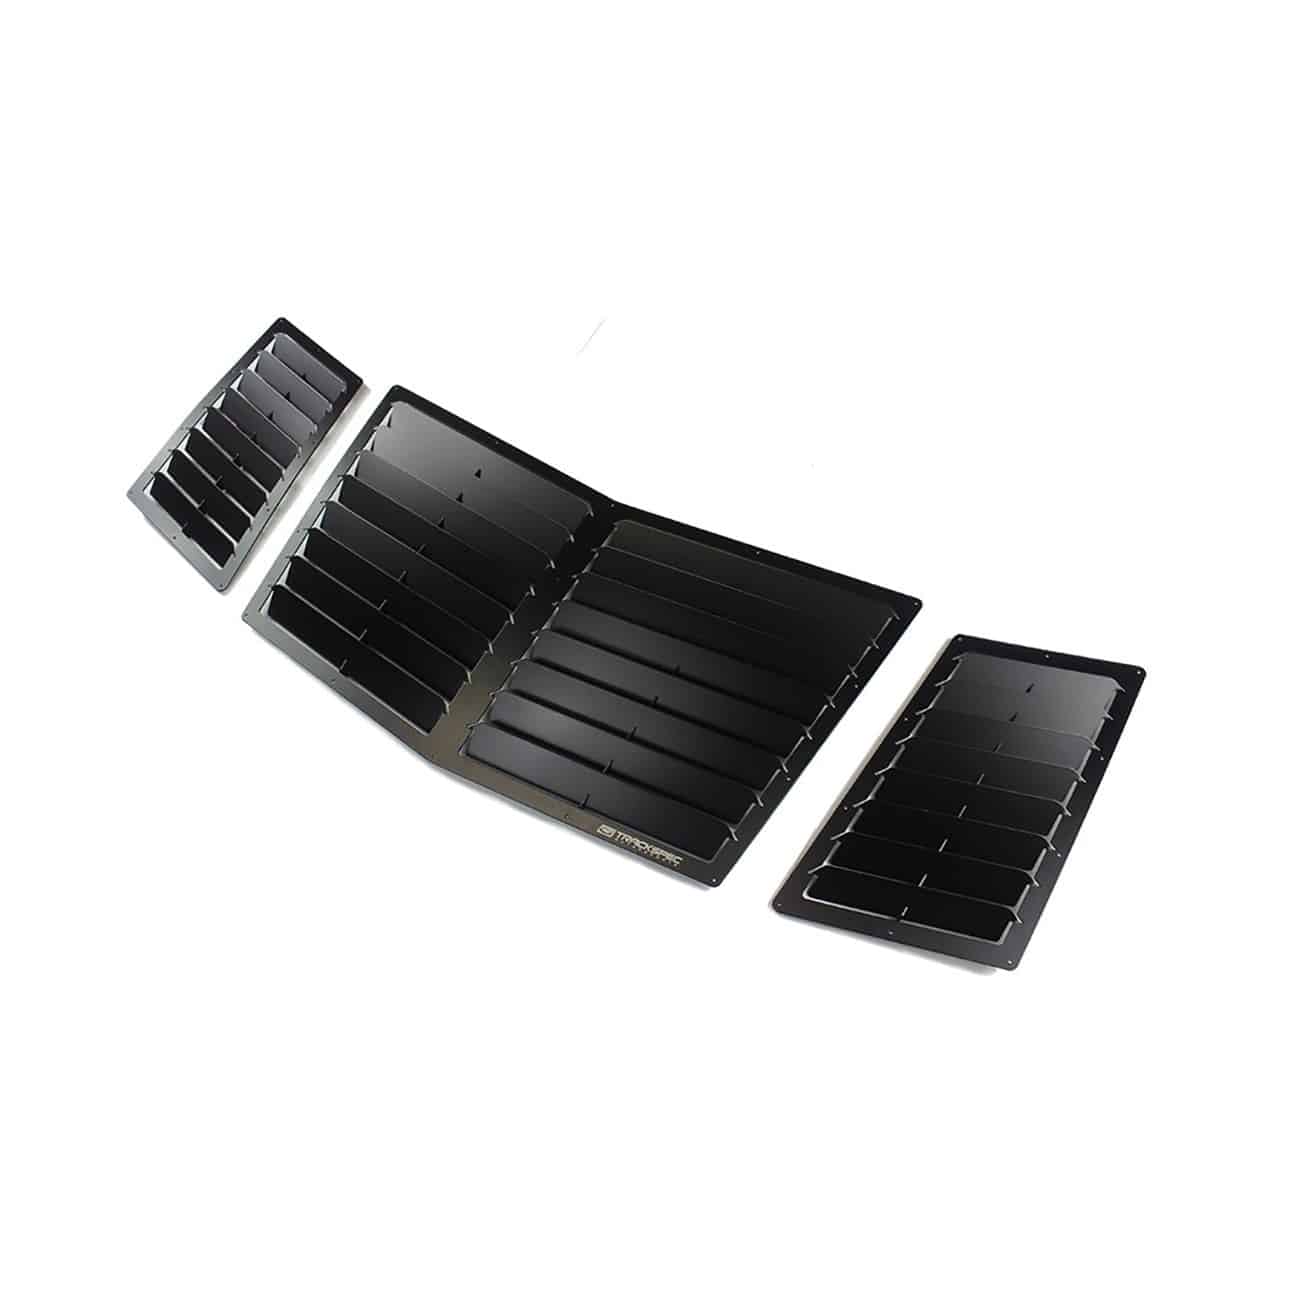
Trackspec Hood Vent Kit - E36 M3
$349.99 – $357.99-

Select options
This product has multiple variants. The options may be chosen on the product page
Trackspec Hood Vent Kit - E90 E92 M3
$359.99 – $367.99-

Select options
This product has multiple variants. The options may be chosen on the product page
Trackspec Hood Vent Kit (Center) - E36 M3
$229.99 – $237.99-
-
Select options
This product has multiple variants. The options may be chosen on the product page
Buildjournal Front Race Splitter - E46 M3
$240.00 – $260.00-
-
-
-


