
E46 M3 Throttle Body and ICV Cleaning DIY - Solve Your Rough Idle Issue
If you're running into idling issues on your E46 M3 a dirty throttle body or idle control valve (ICV) may be the problem. In my case, it turned out to be exactly that. I've tried cleaning the MAF sensor, intake filter, injectors, checked for vacuum leaks, and added in octane booster (crappy CA 91 gas here) but my idle was still giving me issues. After I cleaned the throttle bodies and the ICC my idle was perfect. Below is a DIY on the E46 M3 Throttle Body and ICV Cleaning.
The issue: Car does not idle and just dies or car has a rough idle with RPM bogging constantly.
A solution: Clean throttle body and ICV. Overtime the throttle body flaps accumulate oil and dust causing interference with the flap opening. The ICV which controls airflow also gets dirty and causes the flaps to get stuck sending too little or too much air.
I'd rate this job around a 6/10 in difficulty because it does require you to take off your air box. Before doing this, for those that have idle issues I suggest you try cleaning the MAF sensor, intake filter, injectors, check for vacuum leaks, and add octane booster first. Try the easy stuff first. Otherwise dig right into this DIY.
Things you need:
- Basic tools including sockets
- Various extensions
- Torx bits
- Throttle body cleaner
- Microfiber towels
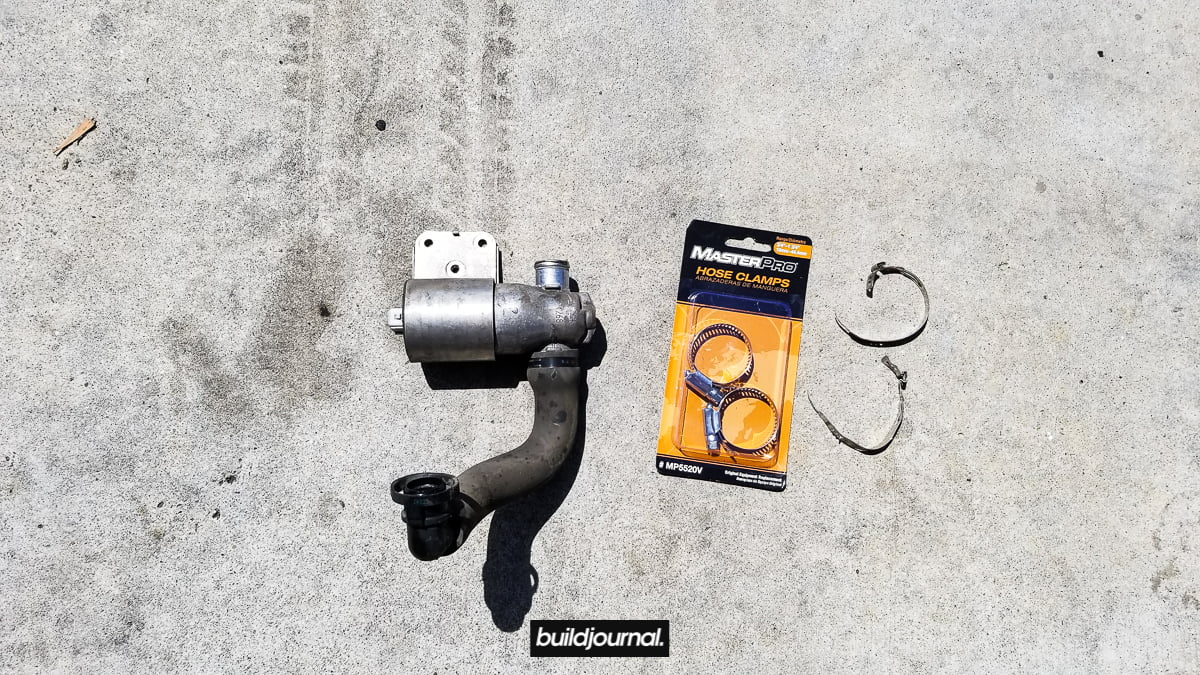
- Hose clamps (optional)
- Throttle position sensor (BMW Part # 13637840383)
E46 M3 Throttle Body and ICV Cleaning
1. Access intake box
1.1, remove 4 nuts holding front strut bar.
1.2, remove 4 torx screws holding cabin filter housing, remove filter.

1.3, remove intake including the nut for the oil dipstick.

1.4, remove crankcase vent hose.

1.5, remove vent hose grommet to give some more slack in the line when you take out the airbox.

2. Remove intake box
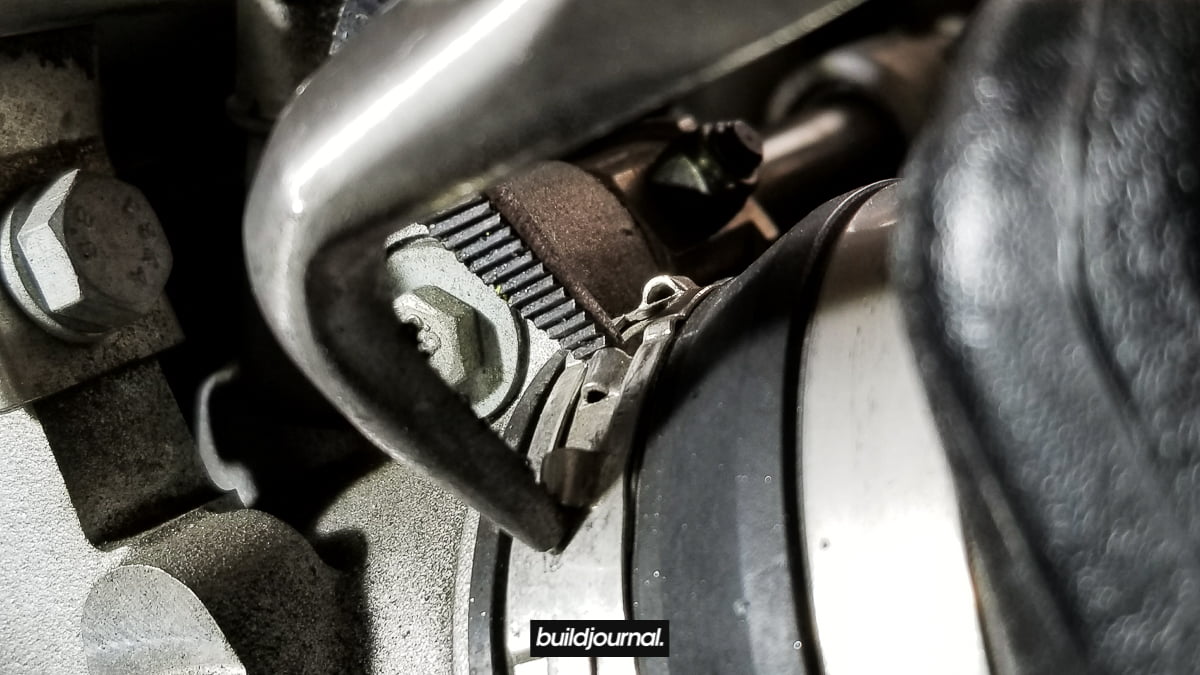
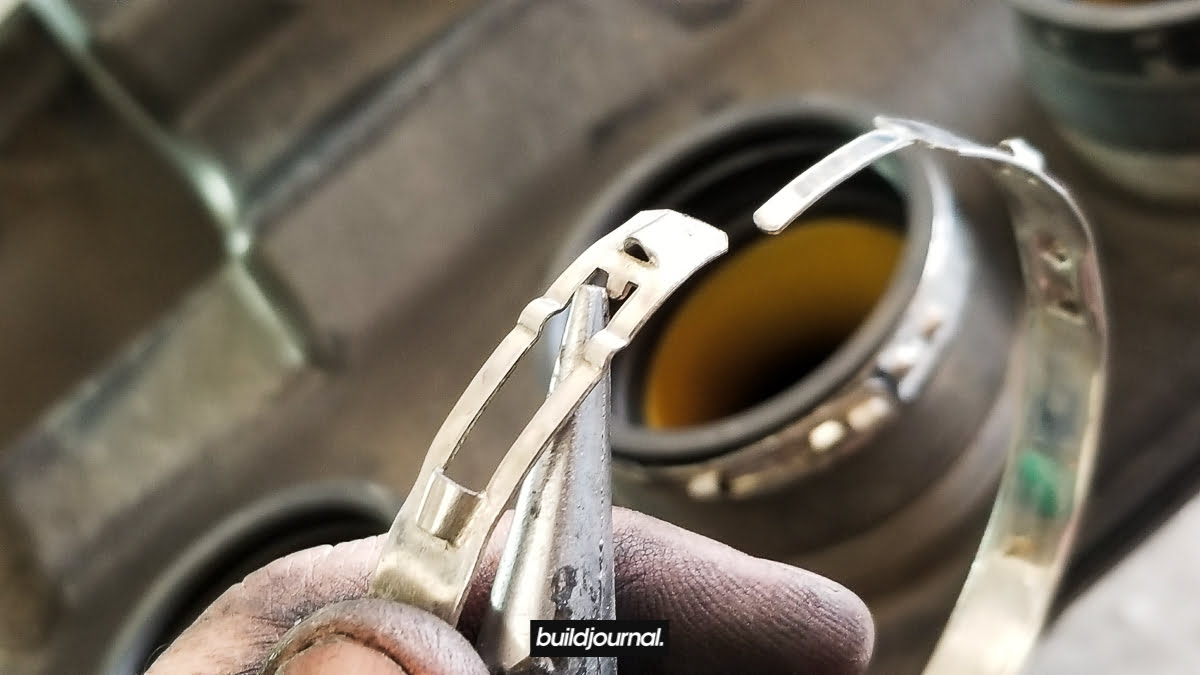
2.1, remove the throttle body hose clamps. There's not much grip and clearance so I had to use angled needle-nose pliers and locking pliers to squeeze the rivets together and with a flat head pry out the clamp simultaneously. Basically in the bottom picture below, I pry the two rivets together to alleviate clamping force and then used a small flat head to pry out the end of the clamp pictured on top.

Clamp the rivets together. Remove all 6 clamps.
2.2, remove the (2) two nuts holding the bottom of the intake box. Detach plug grommet between the two nuts.

2.3, unclip the (large) vent hose on the bottom of the intake box.

Below is a better view of the (large) lower vent hose and the 2 nuts holding the airbox.

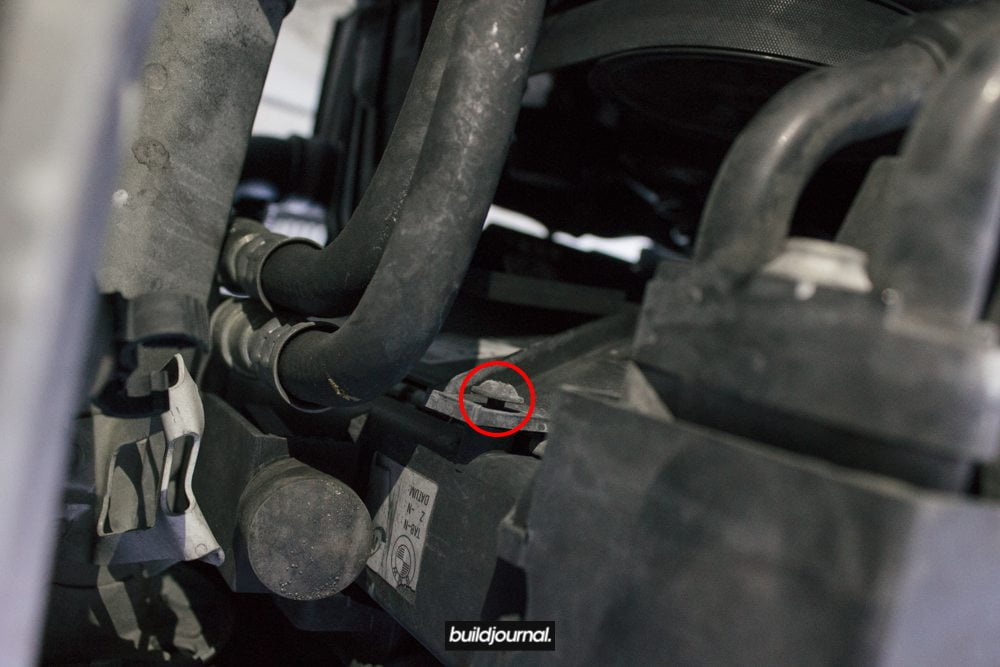
2.4, unclip the holder for the smaller vent hose on the side of the intake box - the small highlighted tab has to be pressed down and the plastic holder will slide up. (not away from box)


2.5, this part is a little tricky (any is the part everyone talks about breaking) so pay attention! Before the airbox comes out, you have to unclick the (small) vent hose below the intake box, but because the clearance is so small you have to wiggle the box out a little to slide your hand in. Be gentle because this part is fragile and if you break this hose, it's going to be an annoying trip to the dealership.

The best thing to do is slightly pull the airbox halfway out and then unclip the (small) vent hose.

Here is a picture showing the underside of the airbox.

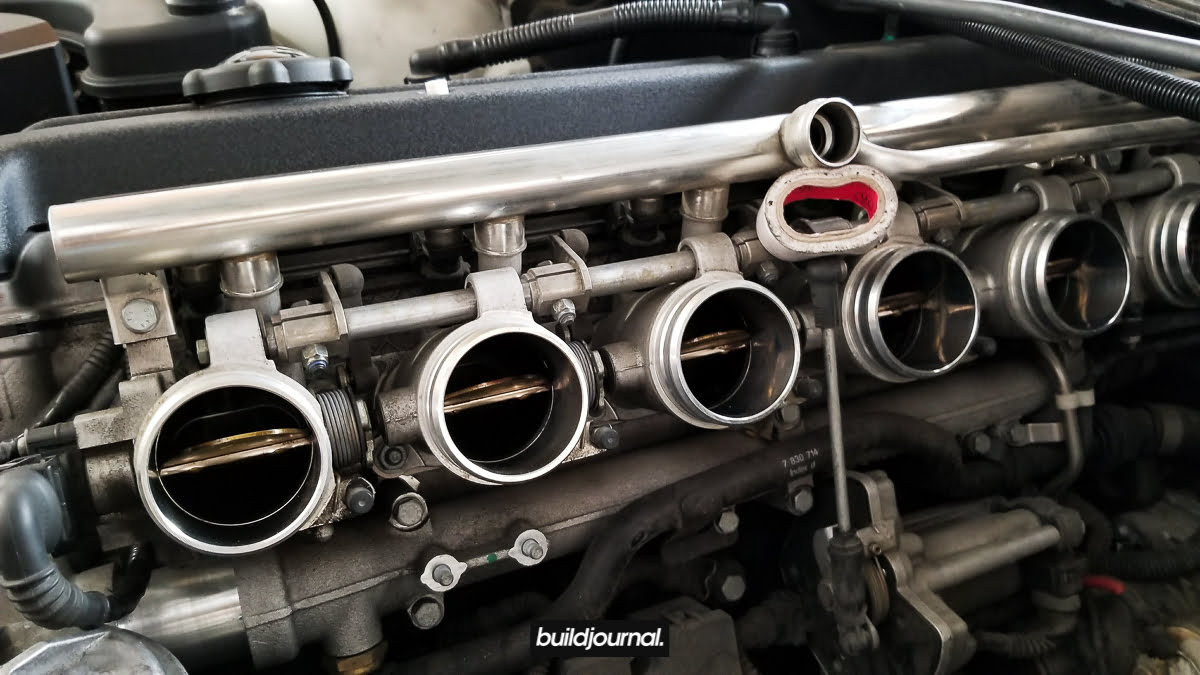
3. Clean throttle bodies and ICV
3.1, so now you have access to the ICV - remove 3 bolts, unclick plug, remove metal clamp. (Torque to 7.3 ft-lbs)
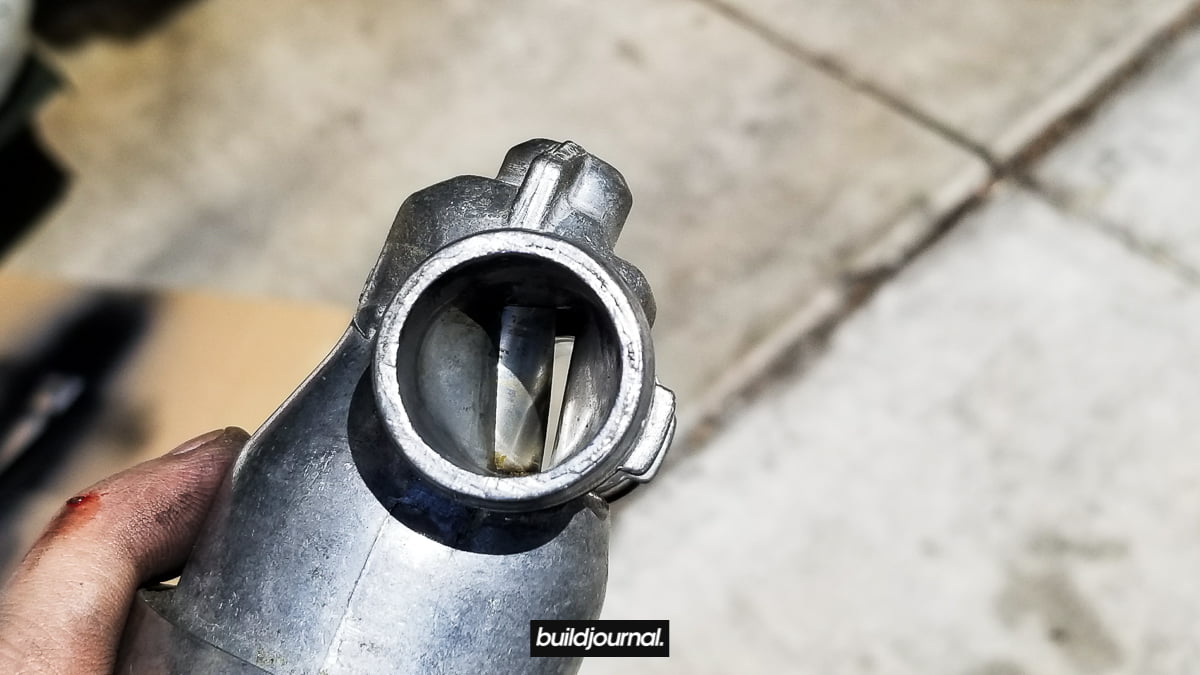
3.2, get your throttle body cleaner and spray both sides of the ICV inlet/outlet. Get your finger in the inlet and rotate the valve so you clean most of it. You can see build up on the bottom of the picture below.

3.3, now clean throttle bodies with valves closed first. I had 1/4 of a can left over after I was done cleaning everything.

3.4, open throttle body flaps and clean as far as you can. I used a roll of tape to hold the flap up, but be careful not to have the flaps close on your fingers while you clean the insides.
4. Replace Throttle Position Sensors (TPS)
4.1, now while you have the airbox out I highly recommend you replace the TPS sensors. There are 3 total, but 2 of them are in the engine bay but the one located on the throttle actuator is only accessible with the intake box out.

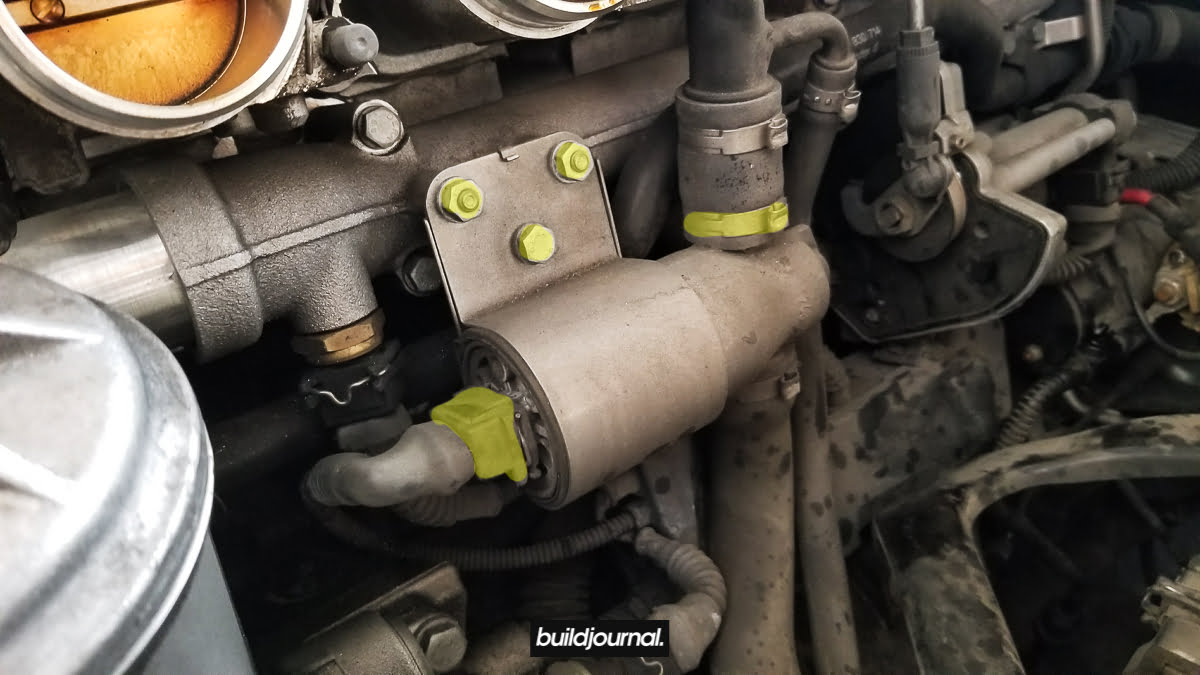
4.2, the other TPS sensor is located on the throttle body right in front of the oil filter housing.


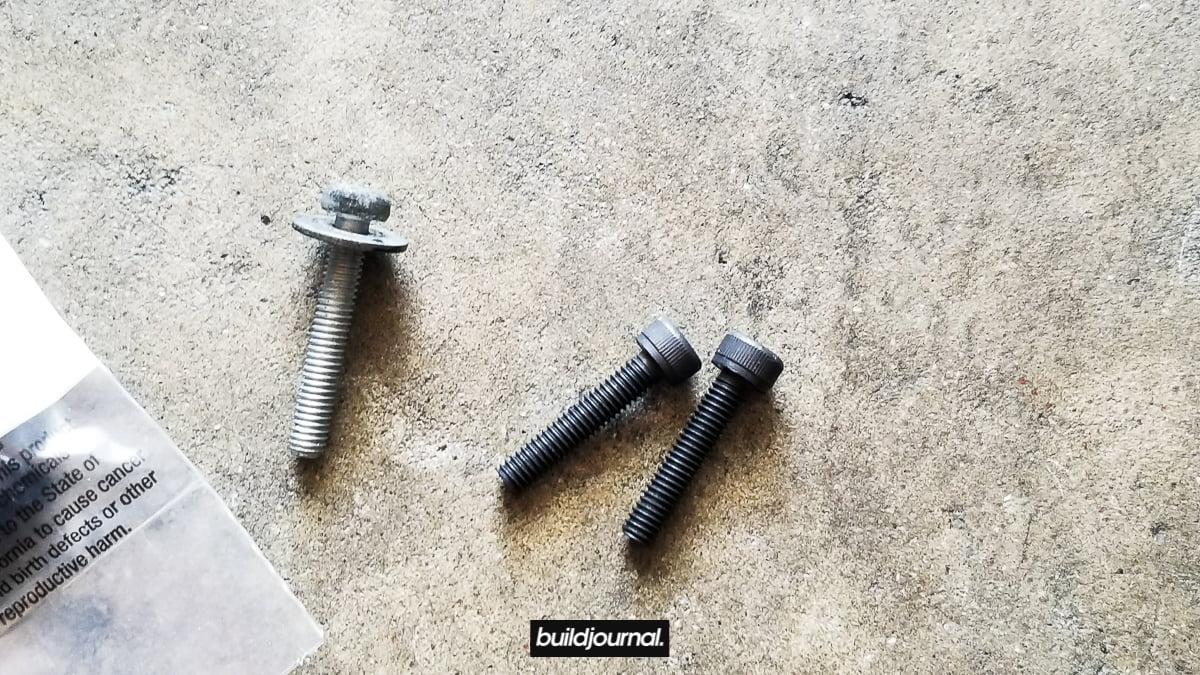
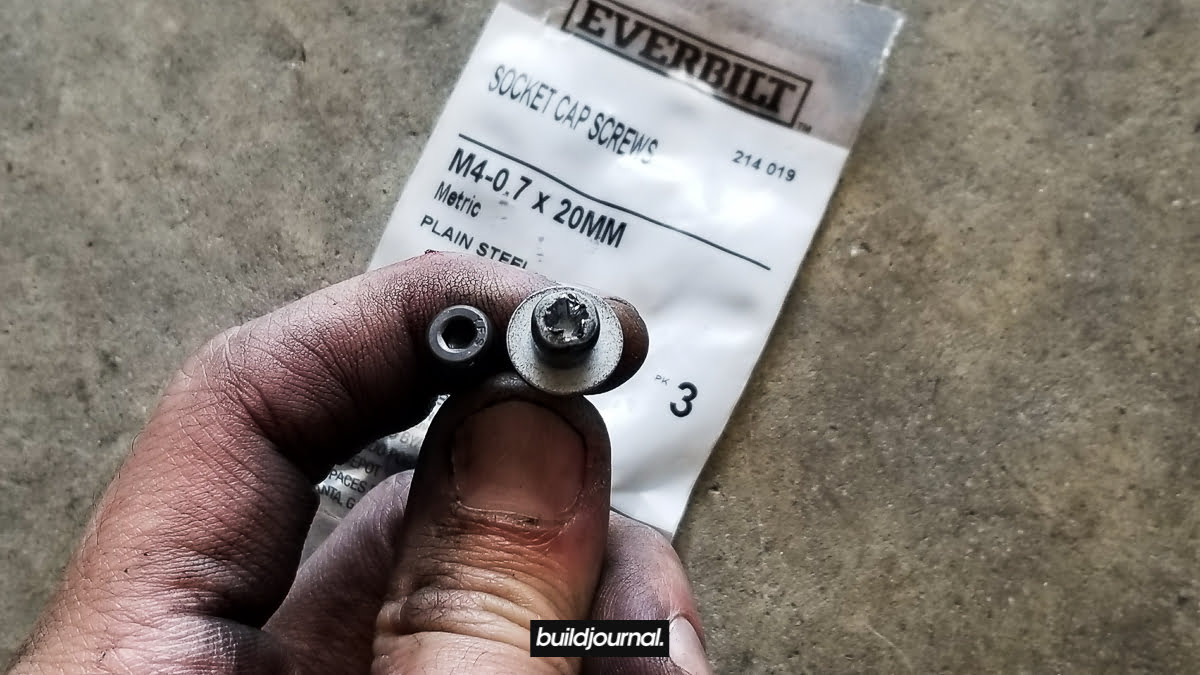
*Pro tip: I bought M4-0.7 x 20mm socket screws to replace the original TPS screws because they strip VERY easily.
5. Reinstall airbox
5.1, I re-used my throttle body clamps, but you can choose to get new ones with tie downs. The clearance is small so I recommend you use the original, slimmer clamps. Pre-install the clamps on the hose.
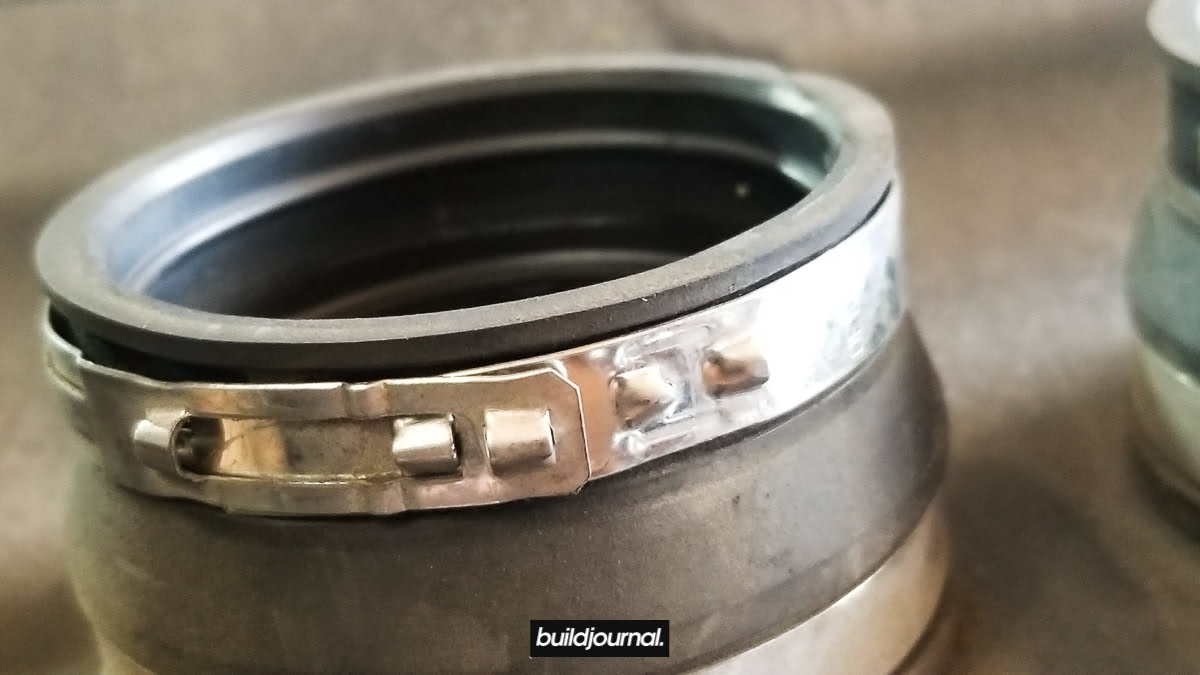
The trick is to bend down the little clamping nubs so they stay locked in position 1. (position 1 pictured above)
5.2, once the airbox is back on the throttle body, use the pliers to clamp down to position 2. Now you can reinstall everything back in reverse order including the ICV, intake, cabin filter, and strut bar.
The car may burn off residue from the throttle body cleaner so let it idle for a bit. As a bonus, check out the video from seans54. He does a great job visually showing the removal, but be careful because he broke his vent hose.
[tg_youtube width="1920" height="1080" video_id="Cqsq_5DoAVU"]

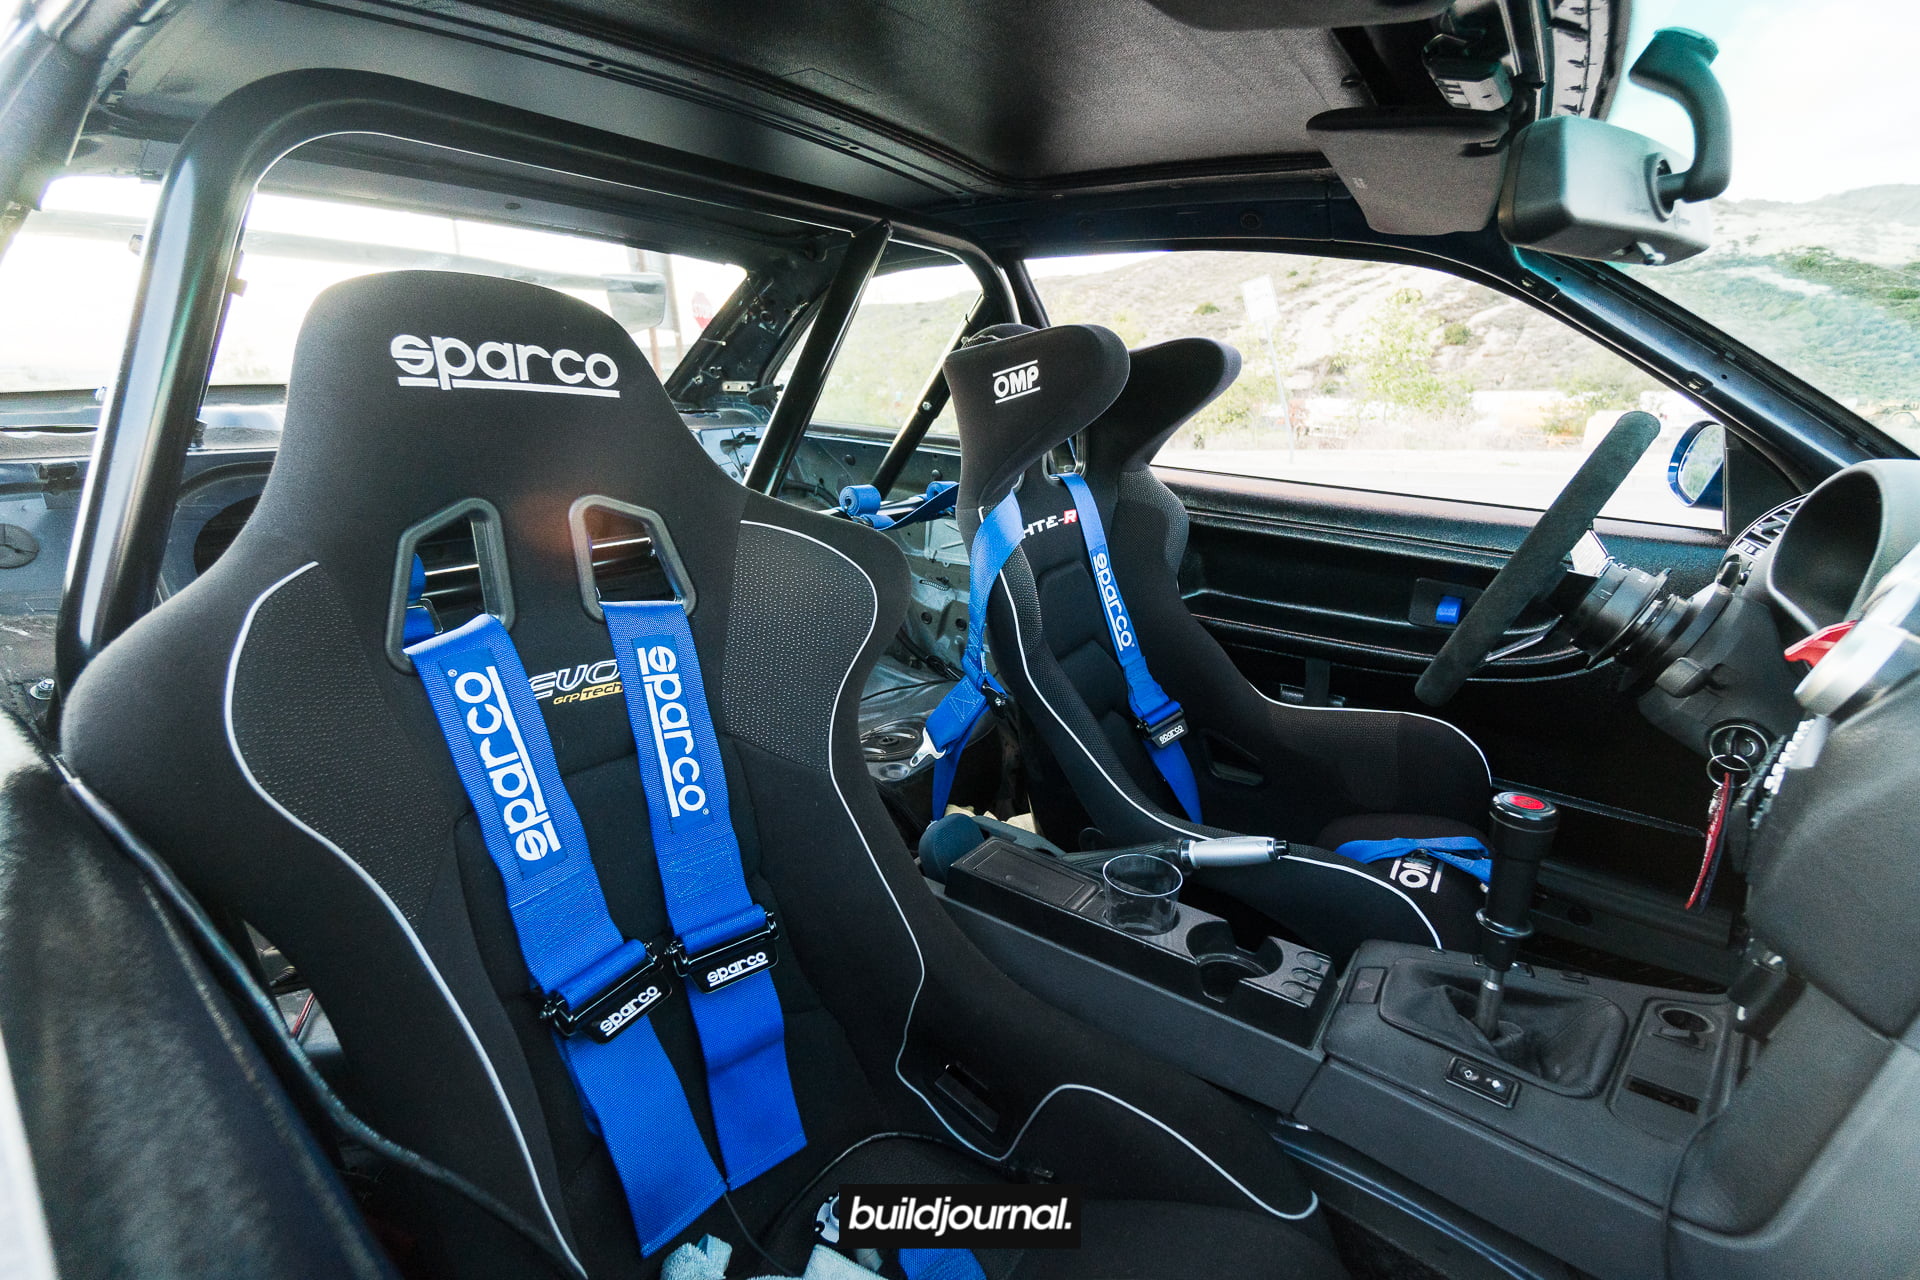
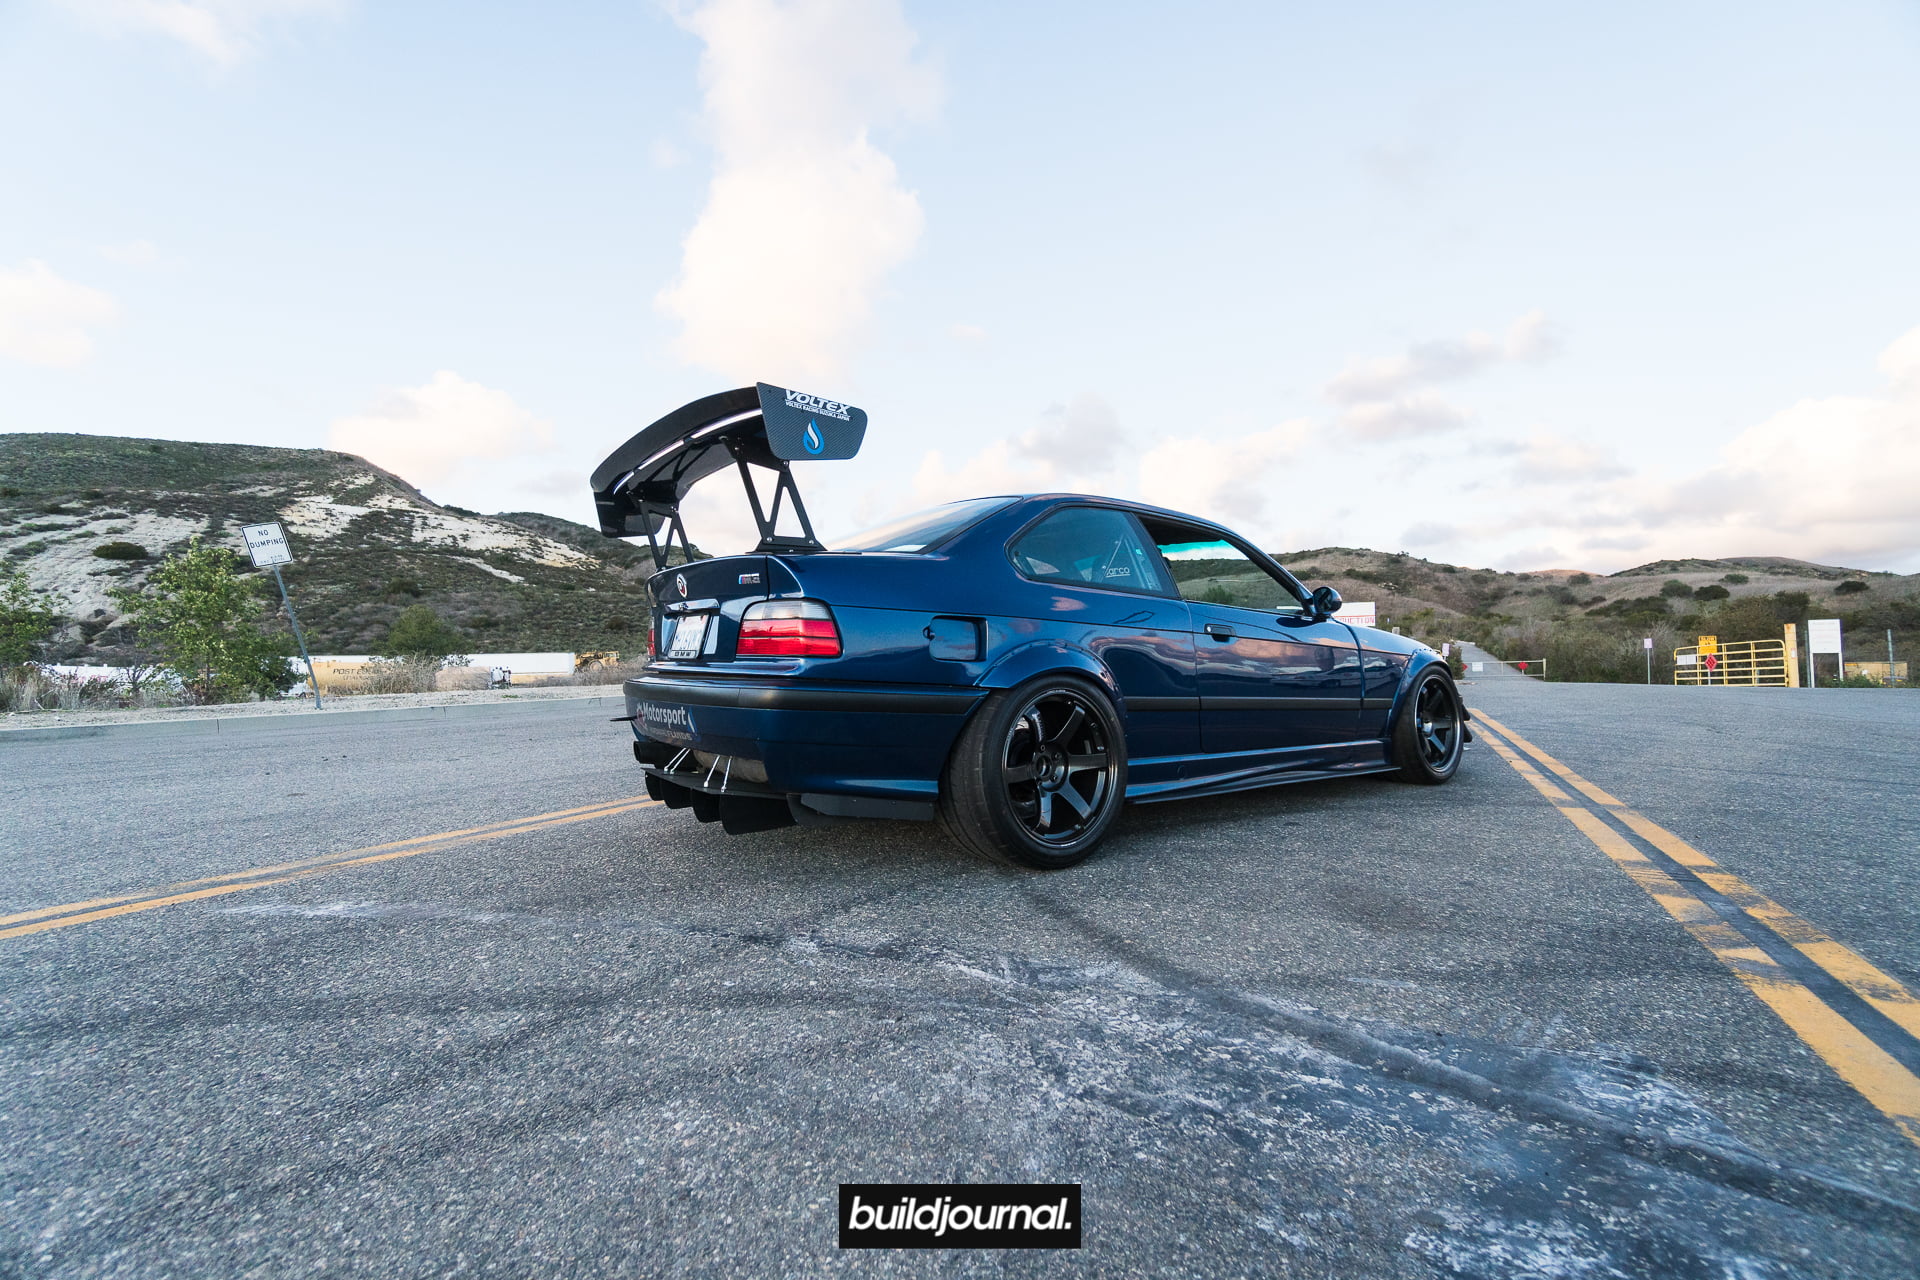
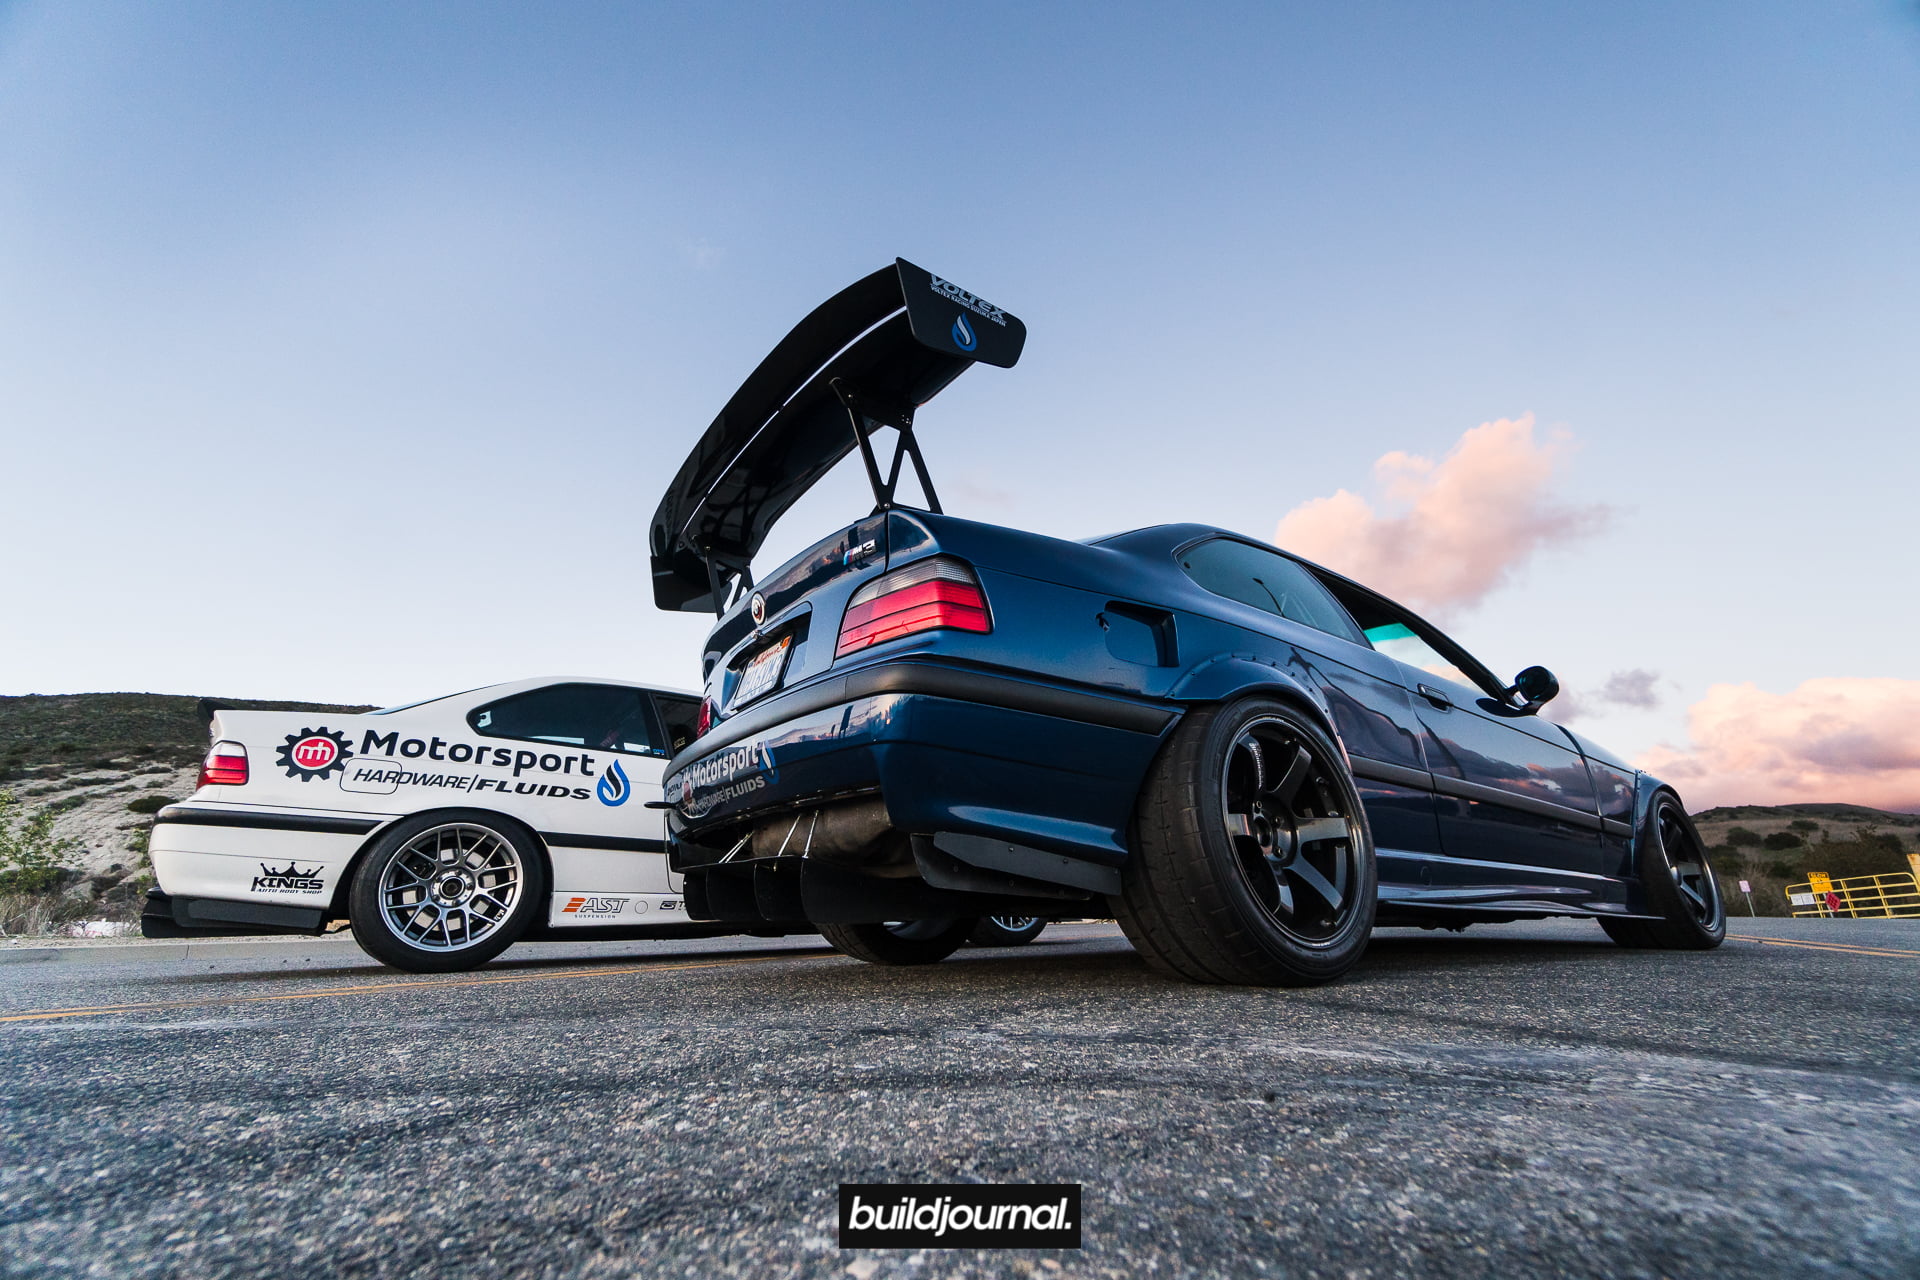
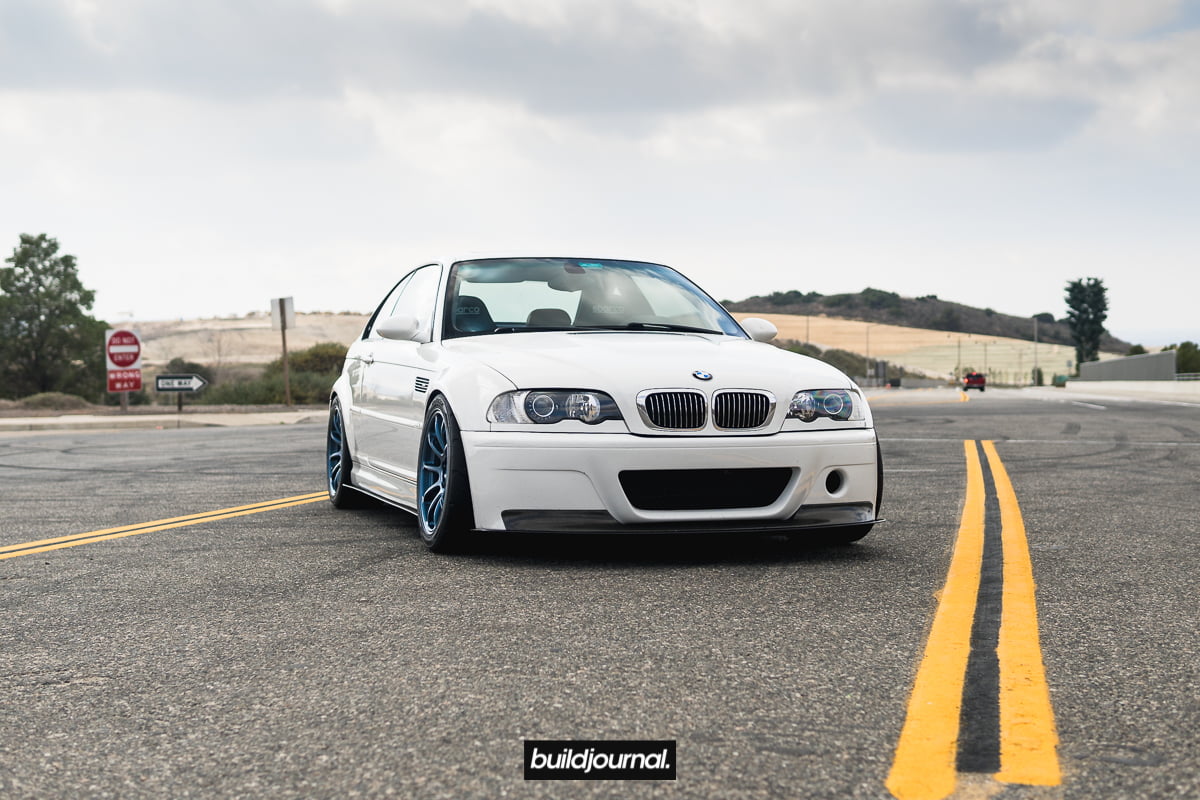
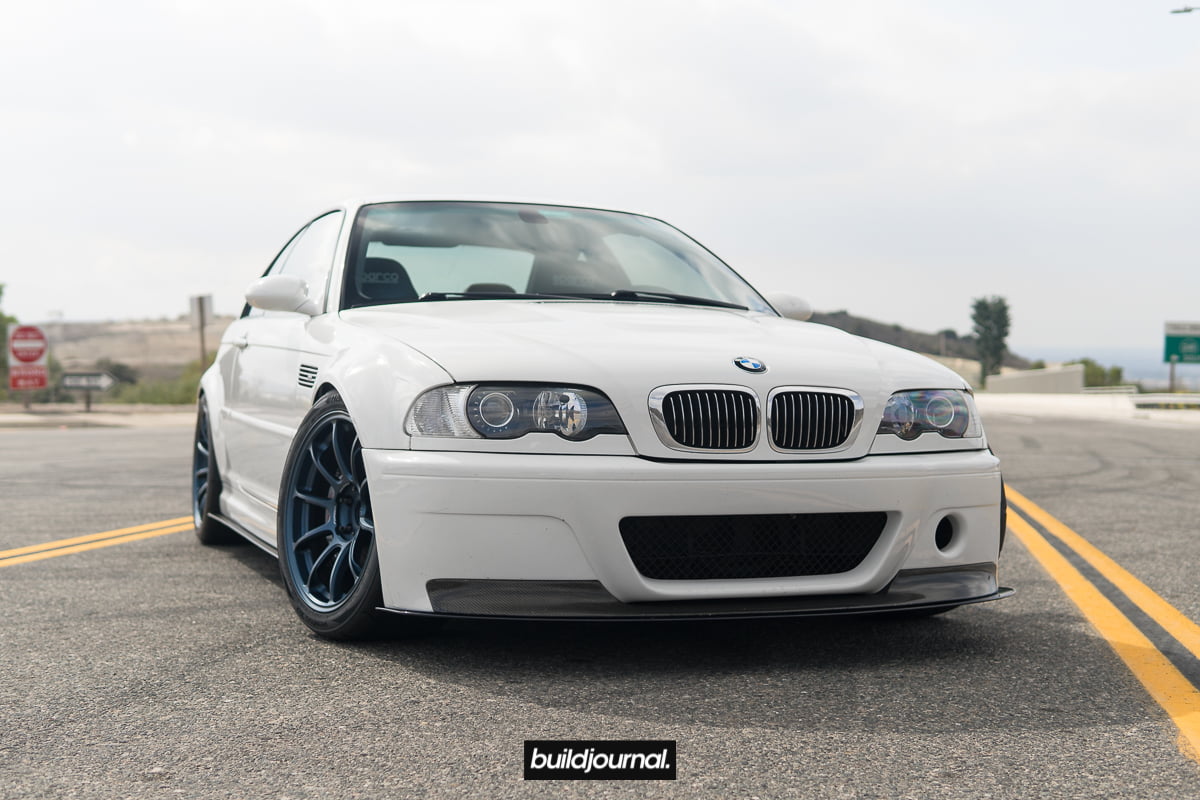
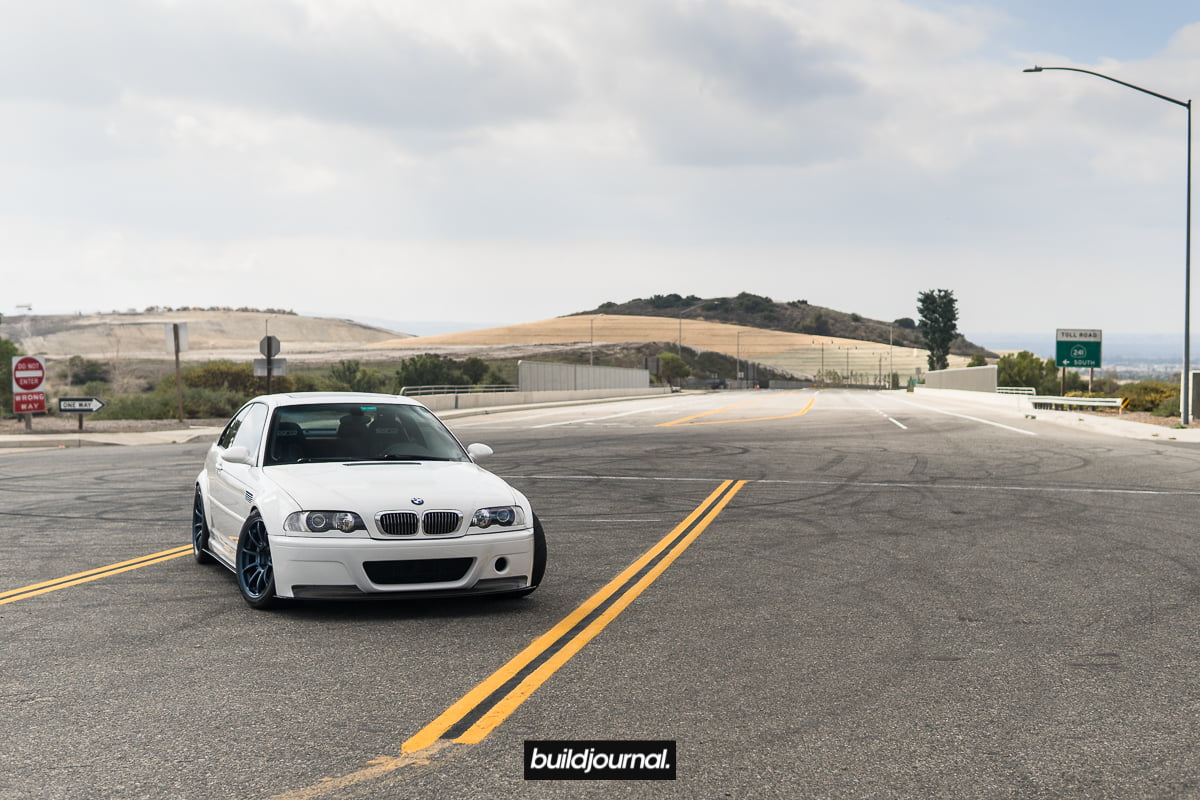
Motorsport Hardware Widebody E36 M3 LS1 Swap
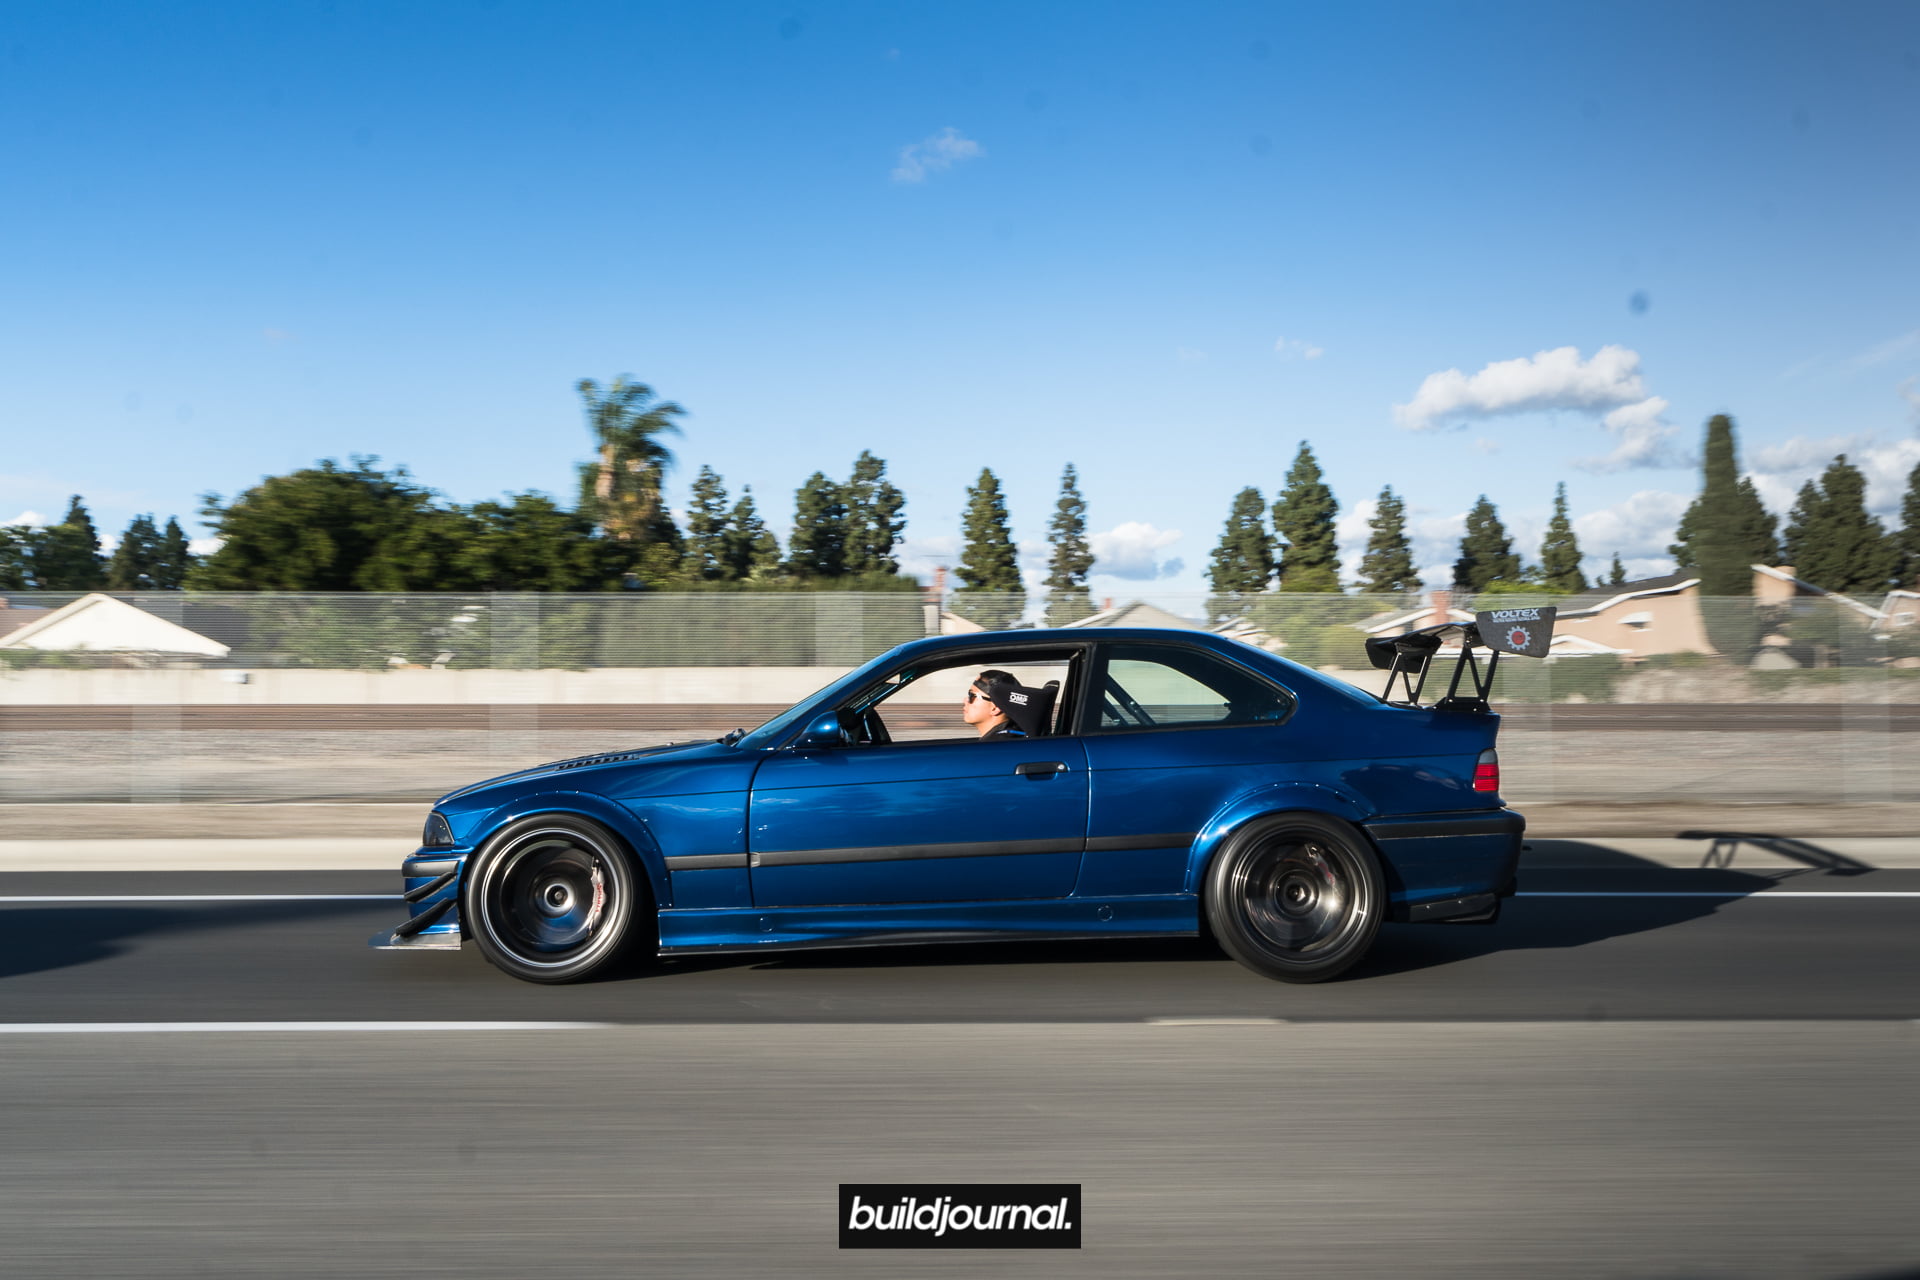
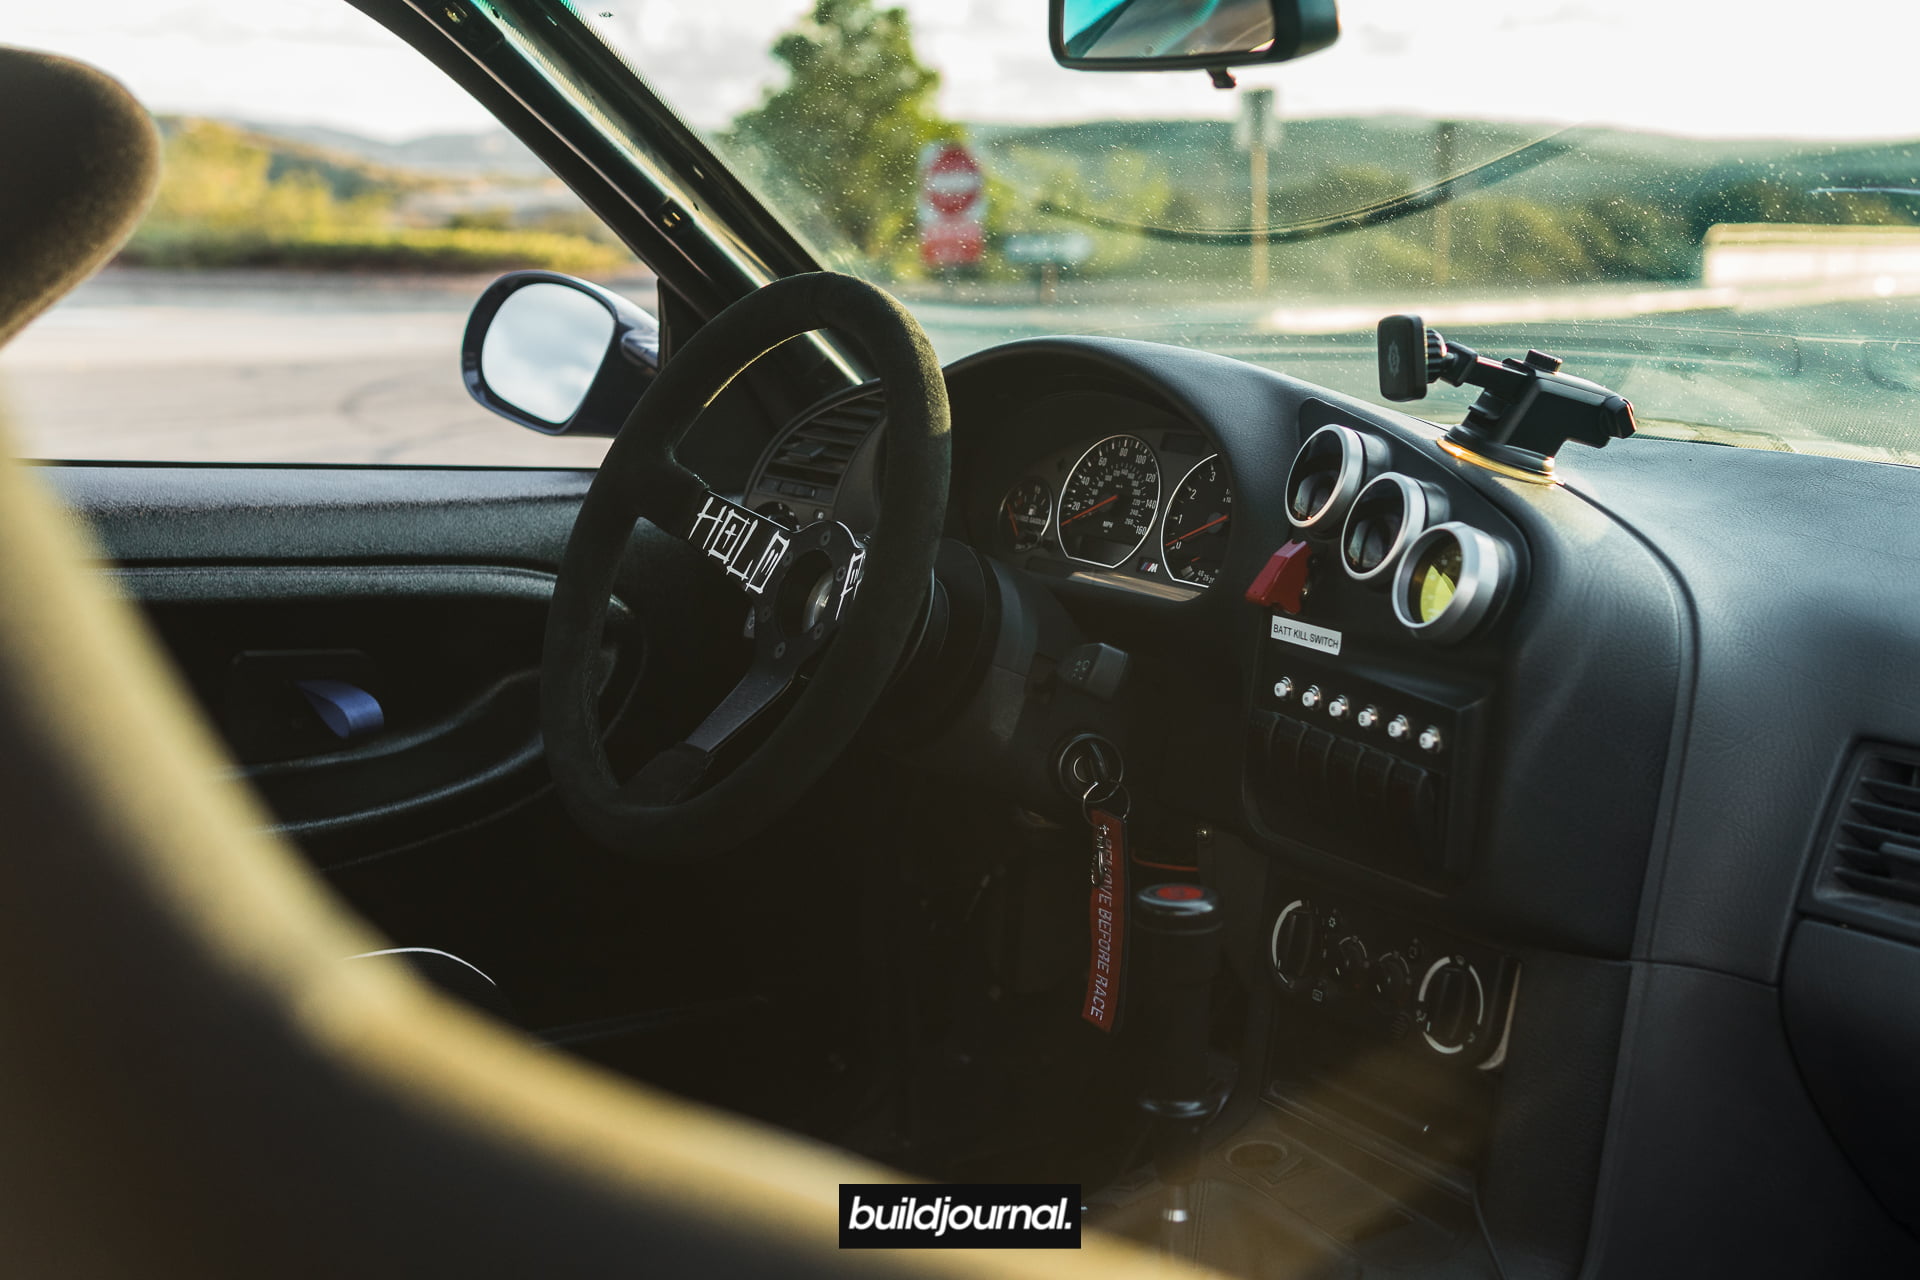
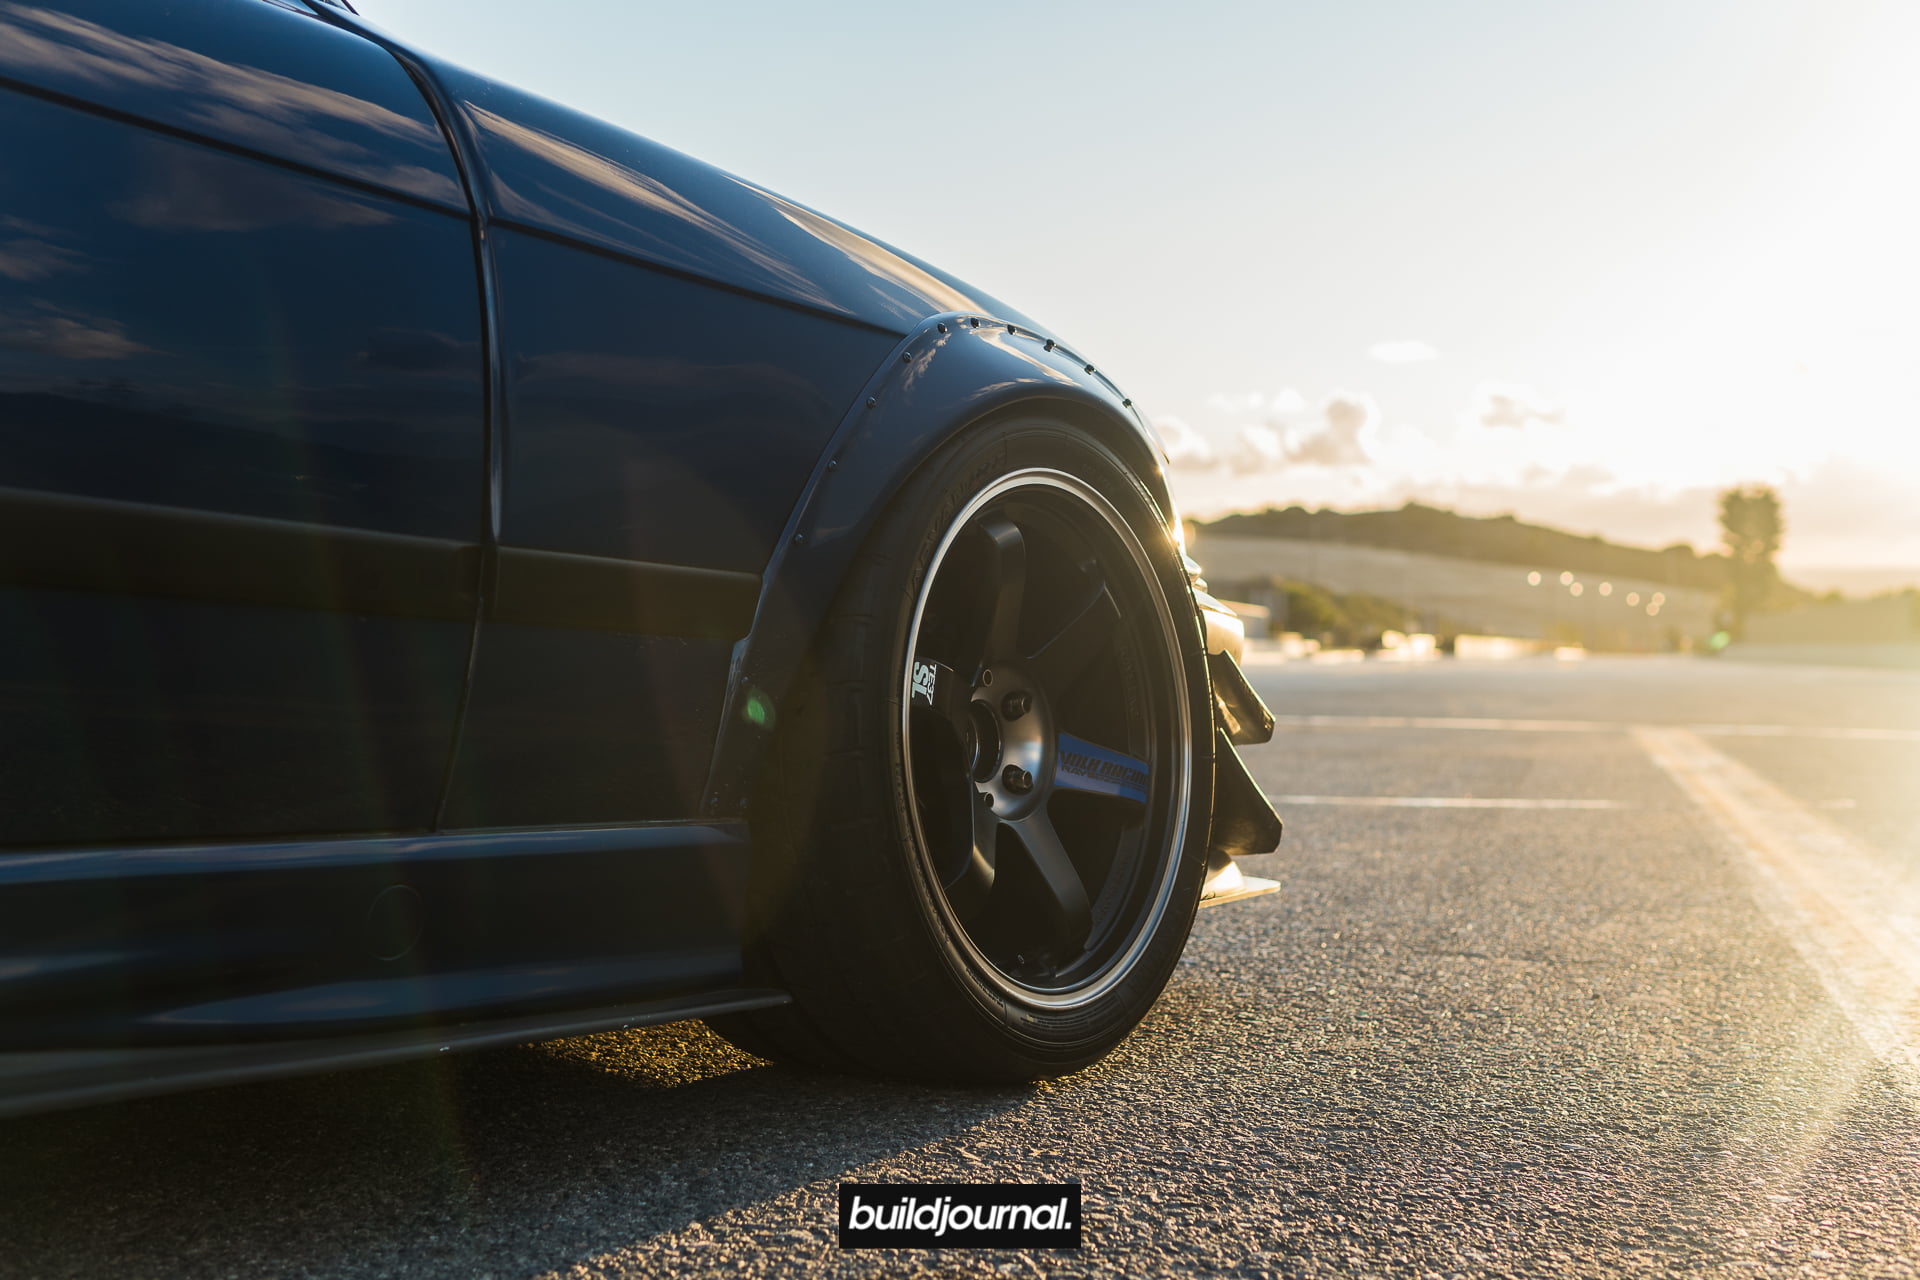
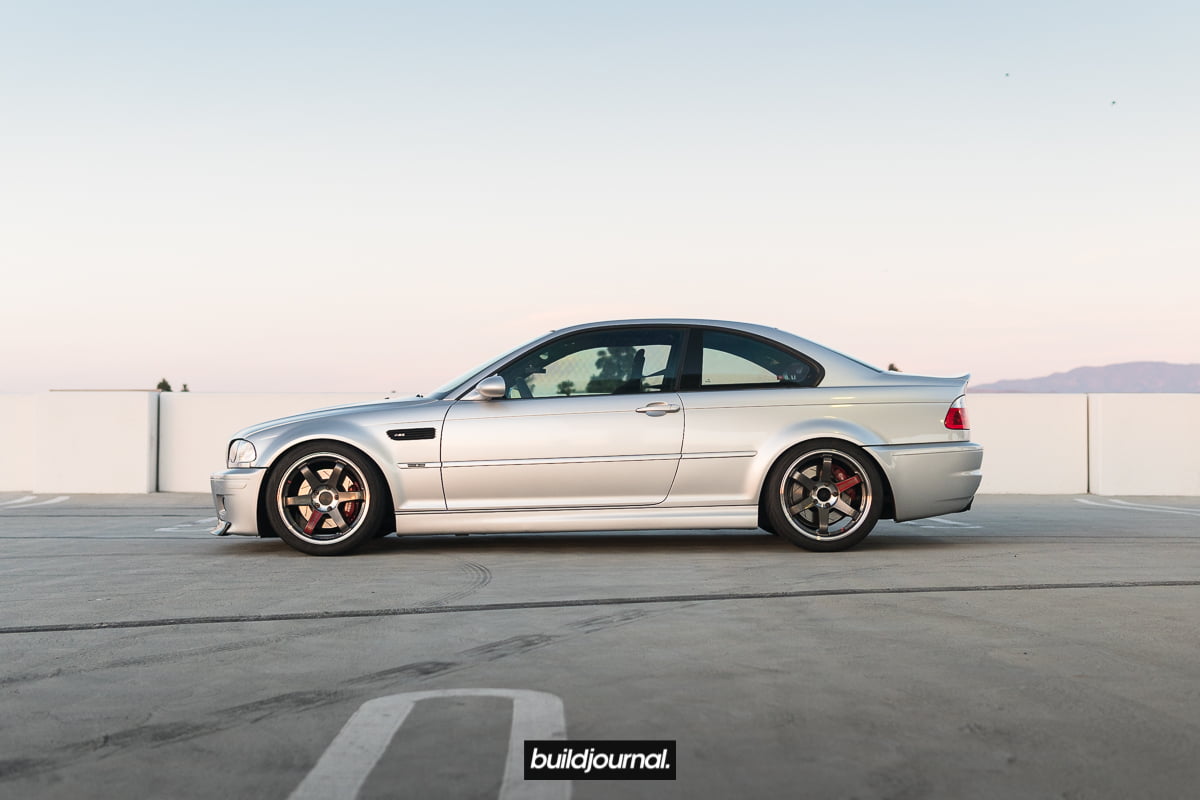
I was at a car meet a few weeks ago and this widebody E36 M3 came rolling into the lots and I couldn't help but chase it down. It had super beefy tires, competition Sparco seats, just straight up ready to hit the track. The crazy part? That was no ordinary S52 engine sound. I walked up to the car and sitting there was a nice little LS1 engine. I chatted it up a bit and later found out he was Ryan, owner of Motorsport Hardware and Motorsport Fluids.
Fast forward a few weeks later, I asked if I can shoot his car. I hardly ever get an opportunity to shoot people outside the E46 community, so this was a breath of fresh air. We met up in Irvine to do a few rollers and then met up at my usual spot to do a golden hour shoot. I'm using my Sony mirrorless now (I switched from Canon) and I got to test the low light capability. For the photographers out there, try the Sony with the ISO cranked up. You'll be amazed. Well here are how the photos turned out!


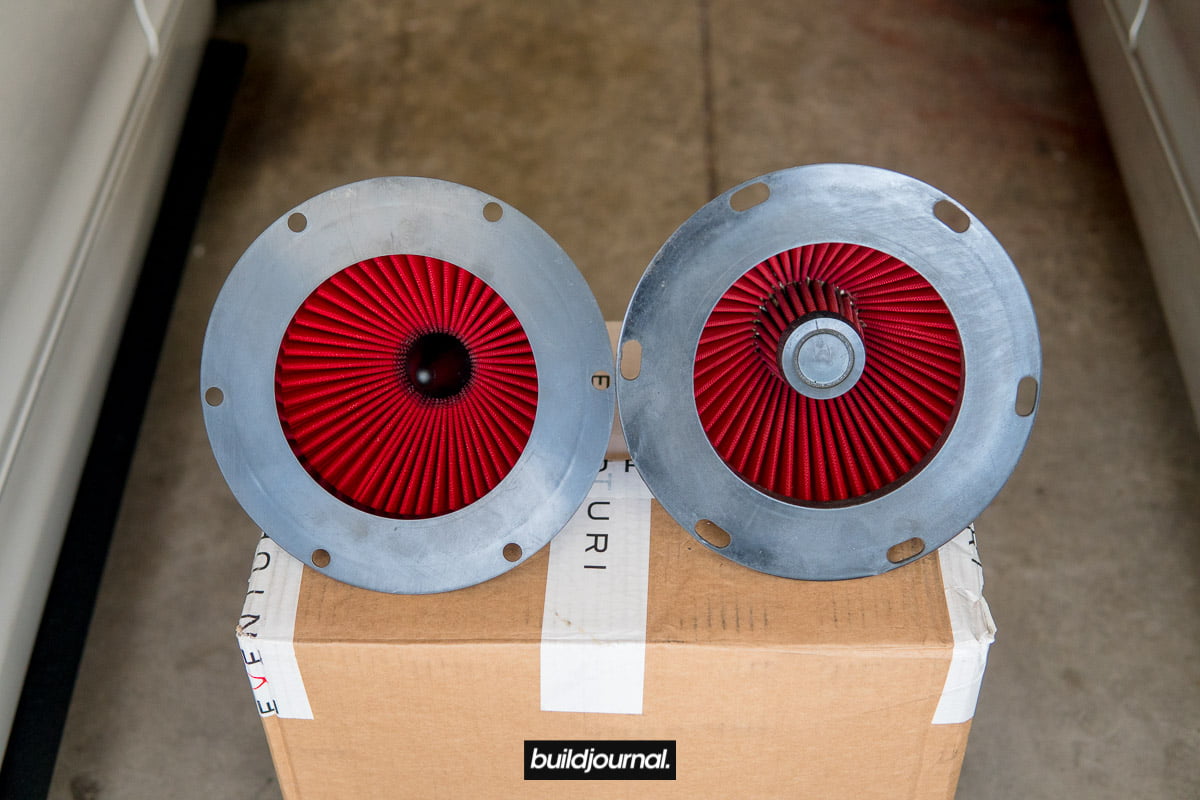
Eventuri Intake vs Stock Intake Dyno with E46 M3 Review
I finally got a chance to dyno the Eventuri intake on my E46 M3. The dyno testing was done to measure the power difference between a stock airbox and the Eventuri intake. Eventuri claims 10-15 hp and 8-12 ft-lb gains at the fly, which equates to around 8-12 whp and 5-10 wtq measured in wheel horsepower. But does it really gain that much?
As a disclaimer, I did not receive a discount or free intake from Eventuri. I purchased this used from a member on the forums and decided to do the testing on my own.
Eventuri Intake Analysis
Before we dive into the numbers, there are a few important things to mention so you have a full understanding of the results. See below for the notes:
- My stock airbox has a BMC panel filter with the Macht Schnell intake elbow installed during the runs. This setup already made some gains over stock before the Eventuri went in. With the stock intake filter and stock elbow the margin would’ve been more.
- We are running 91 ACN octane without ANY additives or octane boosters to simulate real world environment.
- As users requested, we did our entire testing with the hood closed to simulate real world environment.
- My car has an odd dip around the 4.2k RPM area and the dip is apparent on both stock intake and Eventuri intake. As it happens on both runs, we can rule out both intakes as a possible cause of the issue.

The overall community consensus seems to be that only a handful of aftermarket intakes actually provide reliable and consistent power without issues like heat soak. The “better” intakes out there are the Deluge CF intake, GruppeM RAM intake, and the Eventuri CF intake for MAF based solutions. For alpha-n or map sensor systems, you have the CSL style airboxes which can be purchased from various companies.
Why Eventuri?
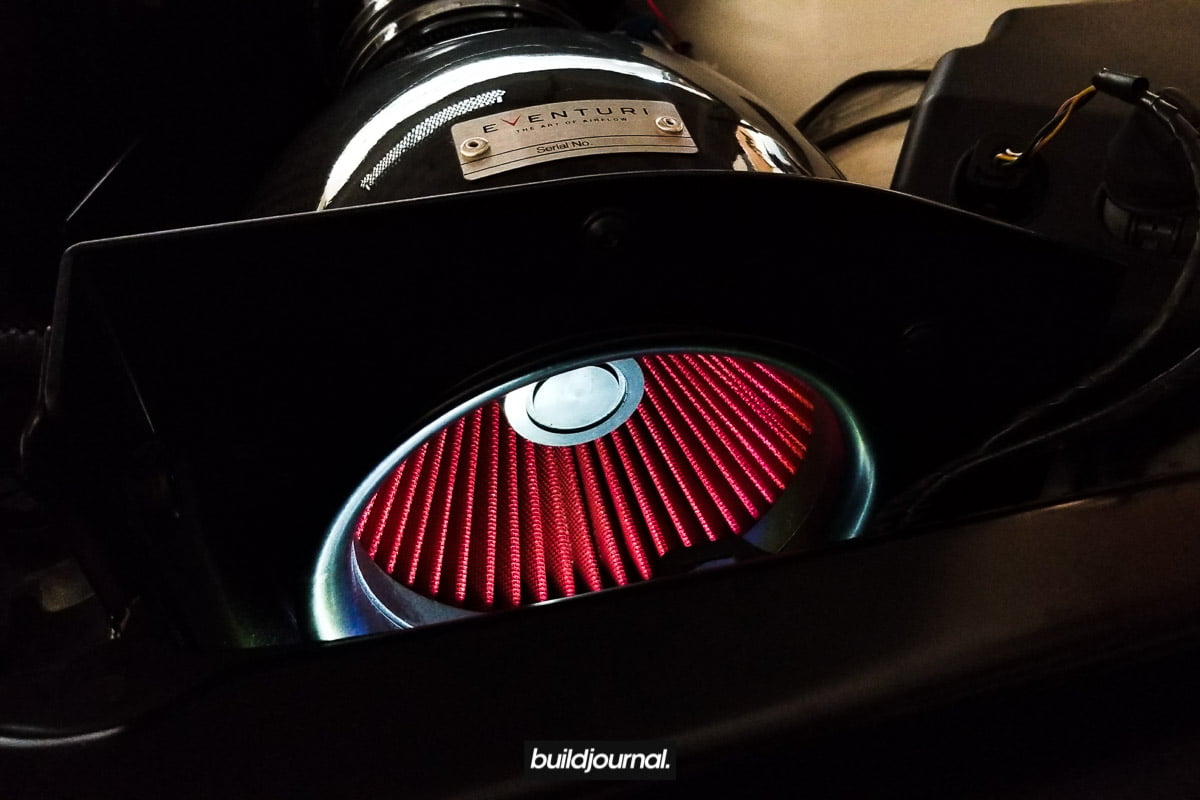
So why did I choose Eventuri? I wanted a system that resembles the CSL intake sound and performance while staying on a MAF based system. I know the sound isn’t exactly like a CSL and the performance isn’t going to be as good, but from other members that have tried both they say it’s a great alternative for those that don’t want to drop a few thousand on a CSL intake. Plus, Eventuri’s whole philosophy is built on making intakes with the Venturi effect. It seems like they put a lot of R&D into making these intakes. They also made a new bespoke cone design which optimizes the flow in the venturi design. I ended up ordering one for the dyno test.
The results? After doing several runs we saw consistent gains of around 9 whp and 15 wtq on the low end and 9 whp and 6 wtq top end gains. For peak to peak gains it was about 8 whp and 8 wtq.
 So to answer the question on power, yes it does make power. And it’s significant. When you go WOT you can feel the low end power and the sound of the throttle opening up is just pleasant to hear. As you climb towards the top end it just wants to keep going and going. It keeps making power until 8,100 RPMs. The construction is fantastic. The carbon fiber weave is almost perfect and brings a smile when I open up the engine bay.
Is it worth the money? Well put it this way. Looking at it from a cost/horsepower perspective, it’s just about the same or even less than headers. I mean some owners drop $2k on stepped headers to gain 10-15 whp! I give it a 5 stars for performance/quality and 4 stars for price. For the money, the Eventuri is a great value. If you’re looking to buy an intake I strongly recommend you consider this intake. Why spend money on an intake that doesn’t give you gains?
IND is their North American distributor so if you want to purchase, I’d recommend buying from them. Here is a link to the Eventuri E46 M3 intake.

E46 M3 S54 VANOS Oil Feed Line DIY
The E46 M3 is starting to see more track duty now so I decided to replace my S54 VANOS oil feed line so I can lessen the chance of anything catastrophic happening at the track. It's not super common, but I've heard a good amount of stories where the stock VANOS oil feed line breaks. No one wants be end their day early at the track because of a failed oil line. Not only that, no one wants to have an engine bay splattered with oil! So here we go, I'll take you guys through the little DIY I did.
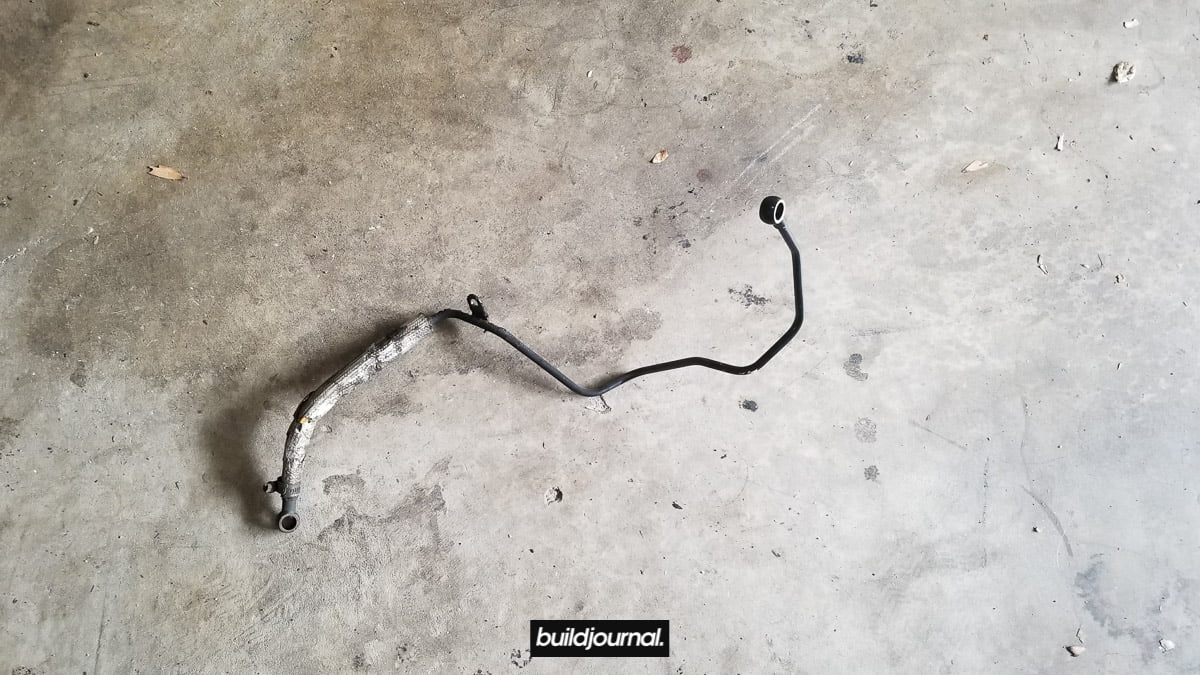
The Problem: The stock (hard) oil feed line is pressured to 1,200+ psi and overtime the bends tend to crack. The stock VANOS oil feed line is #2 pictured below.

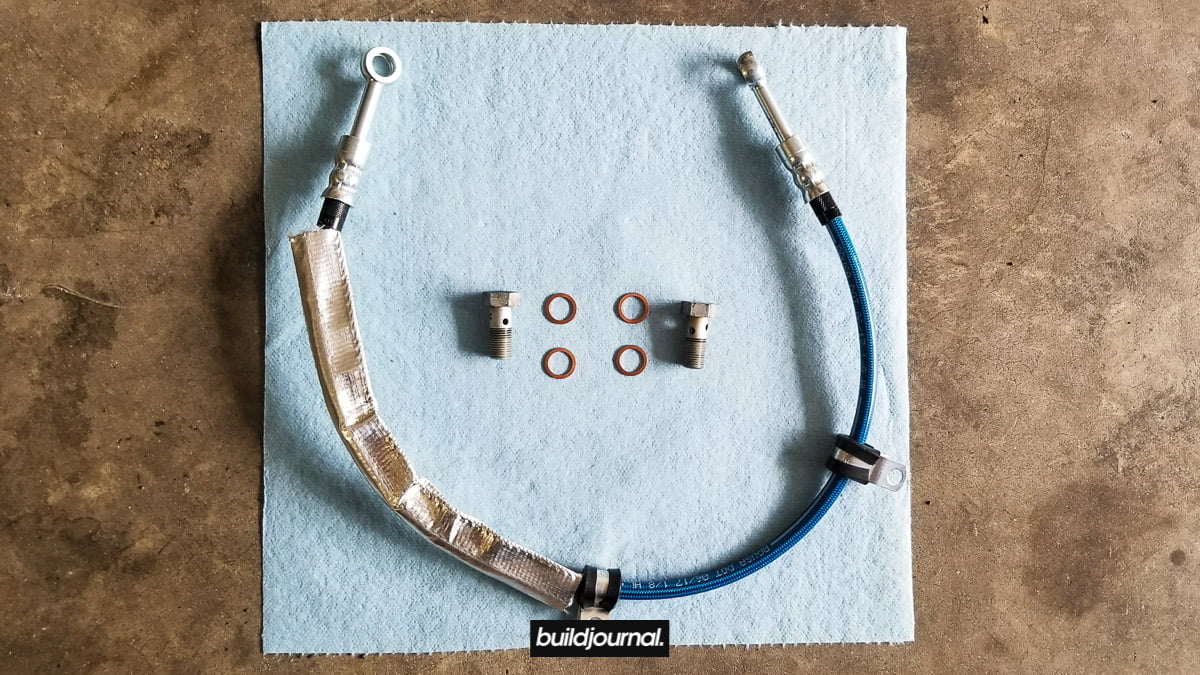
The Solution: Replace your stock line with a stainless steel braided hose! There are a few companies out there including Rogue Engineering, DrVanos and Hack Engineering, but I chose to go with the Bimmerworld S54 VANOS Oil Feed Line. The BW kit comes with a stainless steel oil feed line, (4) crush washers and mounting points. If you just want to replace it back to stock, you can get the ECS Engine Oil Line/Pressure Hose. (P/N: 11367837614)

Disclaimer: This DIY does require you to lift your car so please use proper tools and follow all safety procedures if you choose to attempt. This guide is for your reference only. We are not liable for any damages or injuries that result from this guide.
E46 M3 S54 VANOS Oil Feed Line DIY Installation
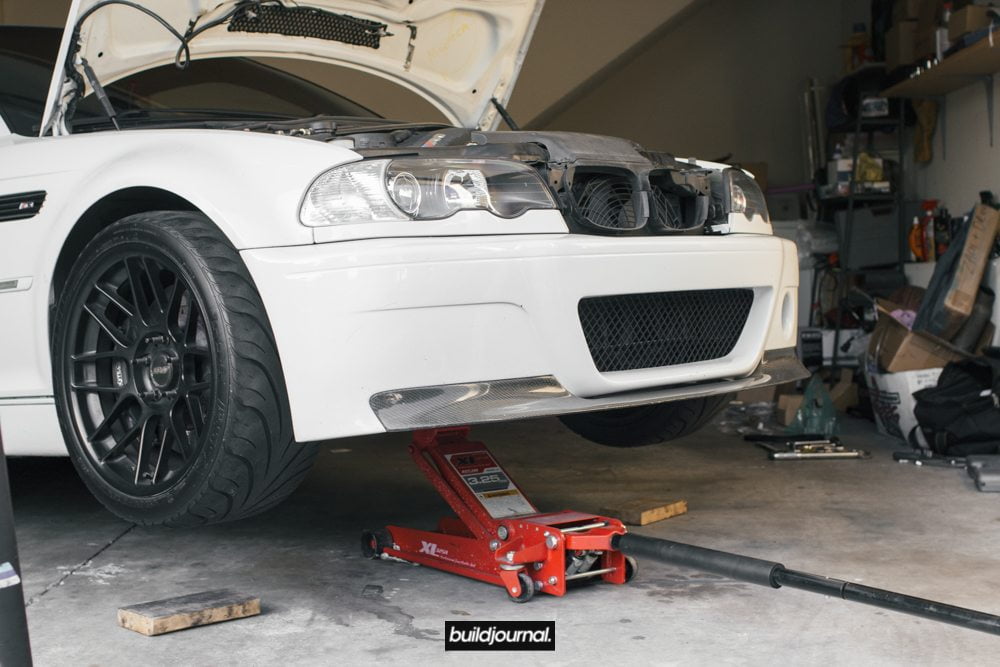
1. Jack up the car
1.1, straighten your wheel and use the center jack point to lift the front.
1.2, place 2 jack stands to keep the front of the car lifted.
1.3, use jack or tire as an emergency backup support.
1.4, remove plastic under tray located underneath the car. There are ten 8mm hex screws total.
2. Remove intake air scoop
2.1, open your hood and look for the plastic intake air scoop.
2.2, remove intake air scoop. There are 4 push pins holding it in. Use needle nose pliers to remove pins.

3. Remove radiator shroud and fan
3.1, remove the 3 push pins holding the shield. There is one on top directly center, one driver and one passenger. Remove using pliers. I don’t have pictures of the passenger side of the shield because I don’t run that. Below is a picture of the driver side shield.

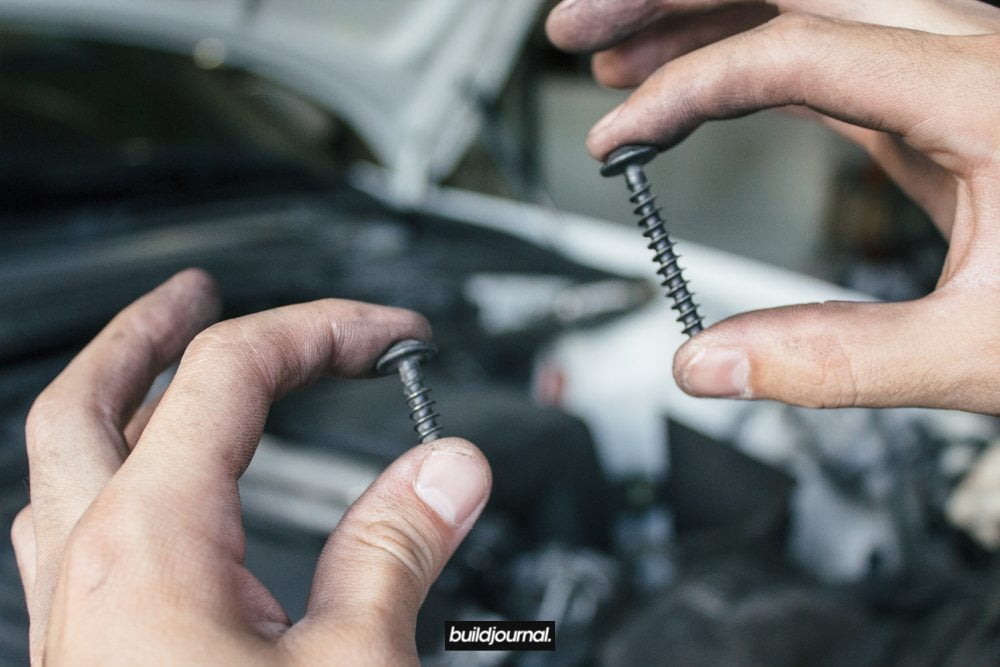
3.2, there are a total of four T25 torx screws (one on each corner) and 2 plugs on the passenger side of the radiator/shroud. Unplug cables first, then remove the four screws. The passenger side top torx screw (pictured below) is longer than the others. Tape up plugs and set aside.

3.3, remove passenger side lower screw.

3.4, remove driver side lower screw.
3.5, remove driver side top screw. There is also one little latch hooked on the heat shield. It should pop off with a little bit of wiggling.

3.6, remove fan using the E46 M3 water pump locking tool (001170SCH01A) and a 32mm wrench. The fan clutch nut is reverse threaded. Lock in the water pump pulley and unscrew using the 32mm wrench. Spin the fan to unscrew a little faster, but make sure you don’t let the fan drop.
4. Remove the stock VANOS oil feed line
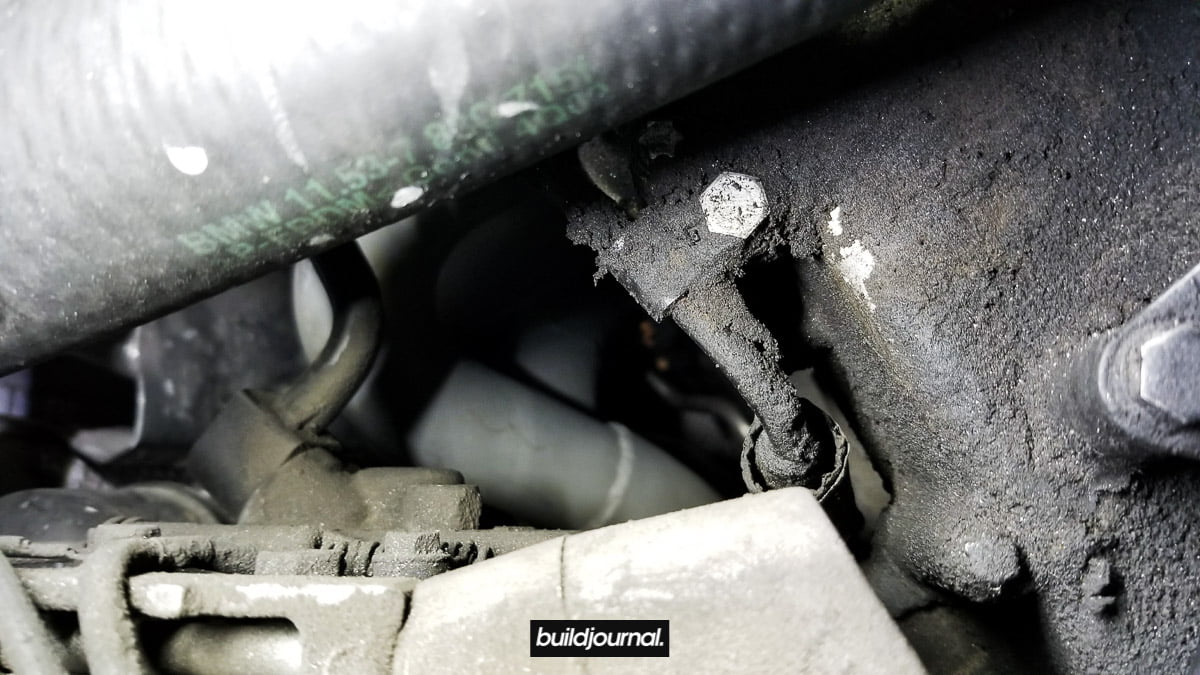
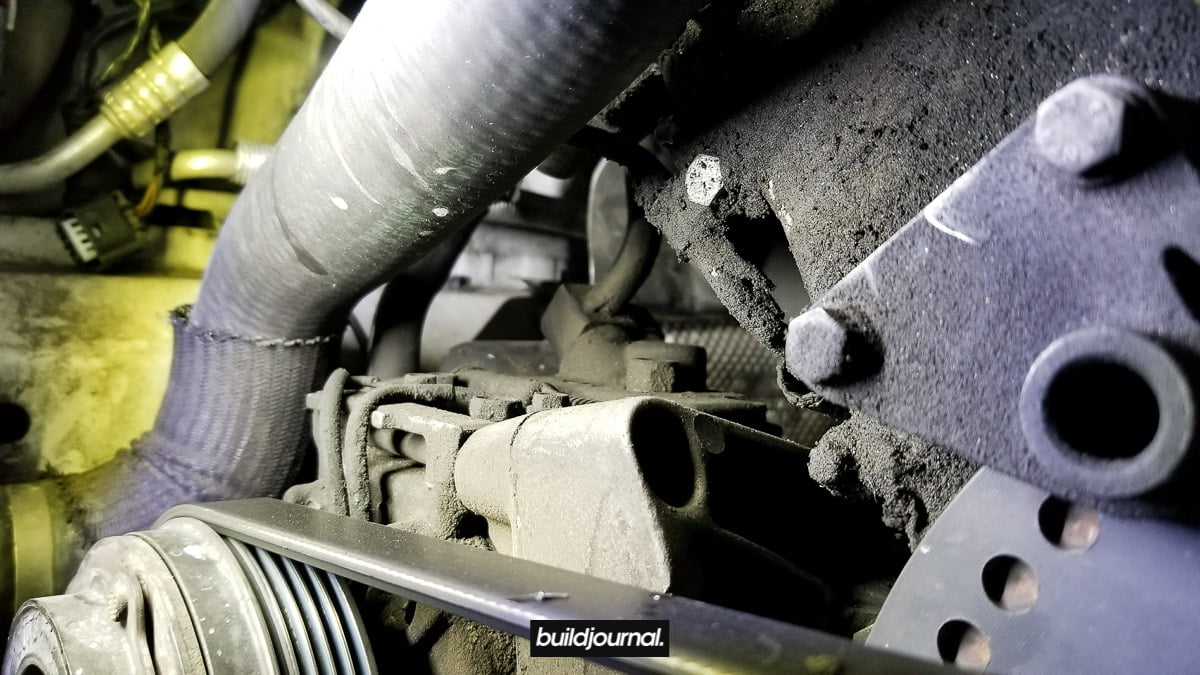
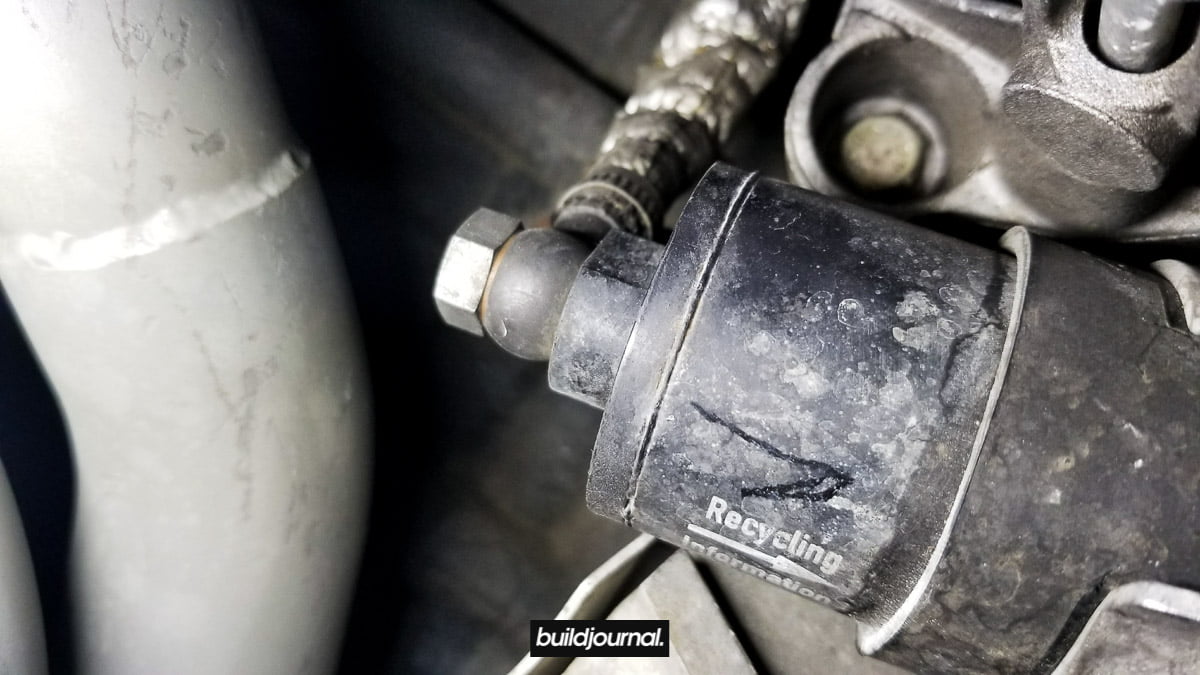
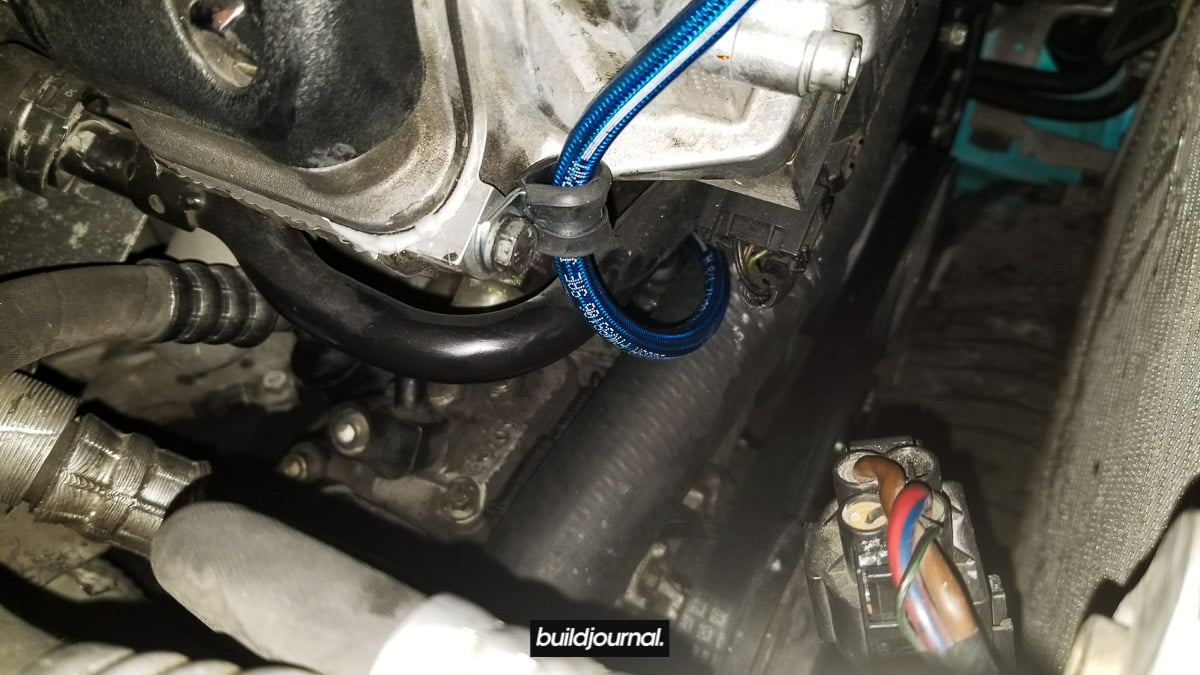
4.1, locate the top oil feed line bolt.

4.2, follow down the line and you'll find the 10mm bracket holding the line. It's hard to spot if it's dirty so make sure you wipe the area down before you search it. The bolt is right behind the radiator hose. Remove this bolt. [!] Note: some cars may have a 2nd bracket on the VANOS unit itself.

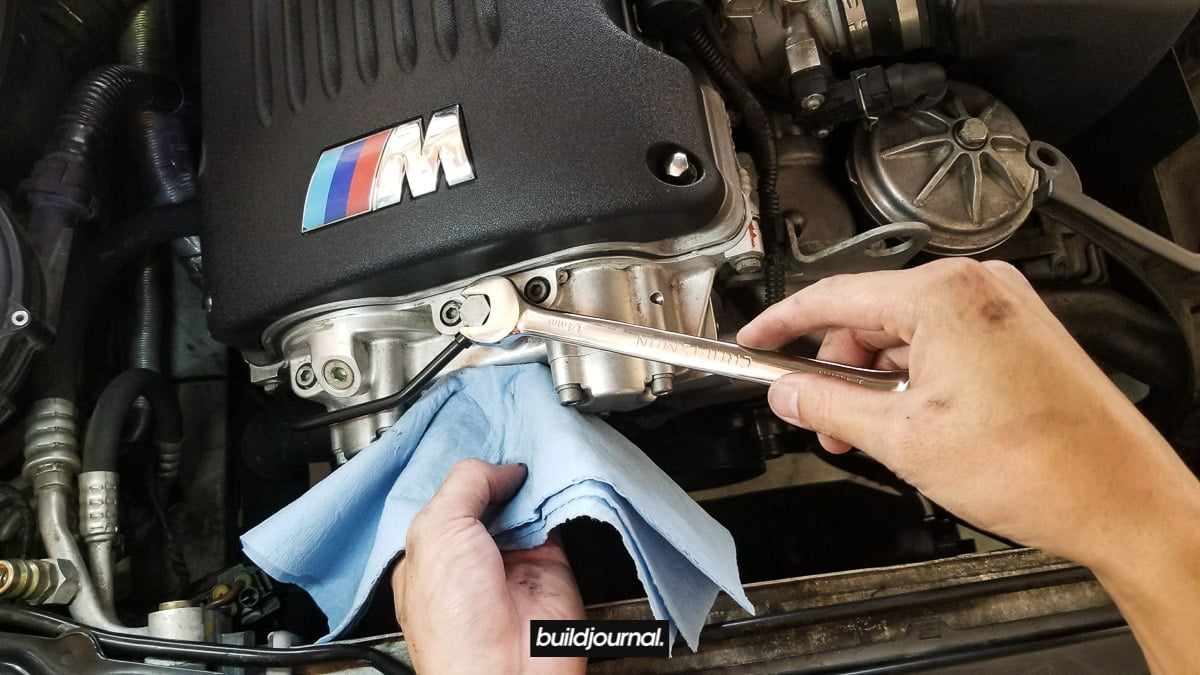
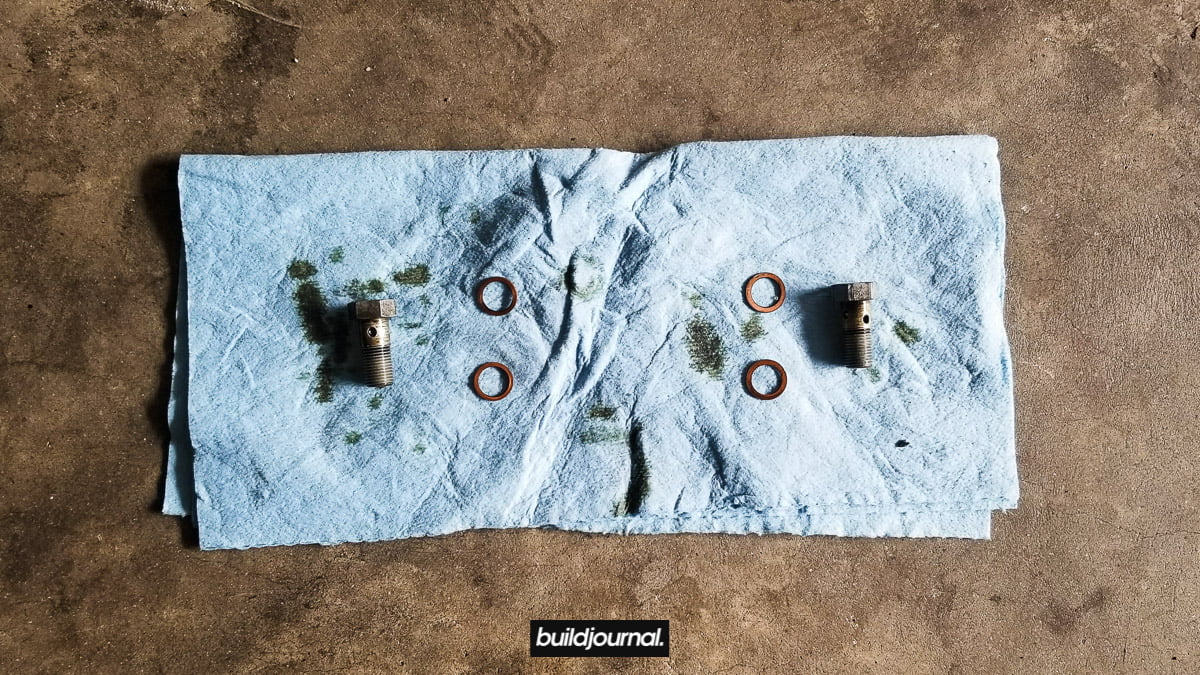
4.3, remove the 14mm banjo bolt located on the top of the VANOS unit. Get a drip towel ready.
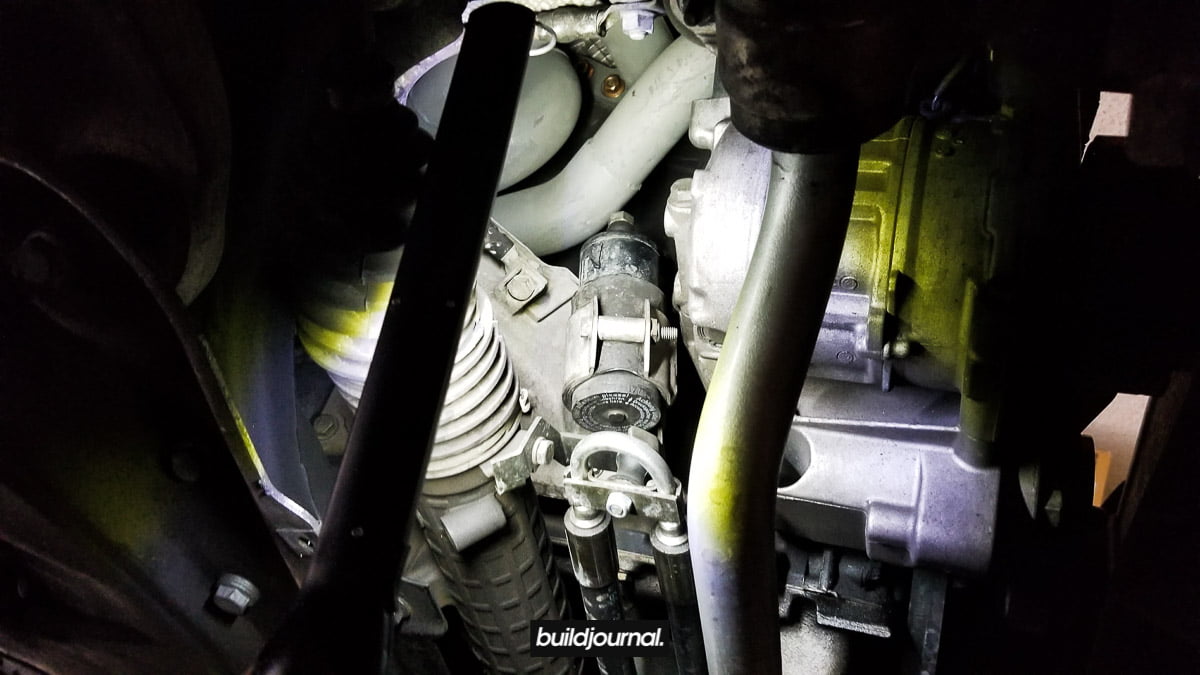
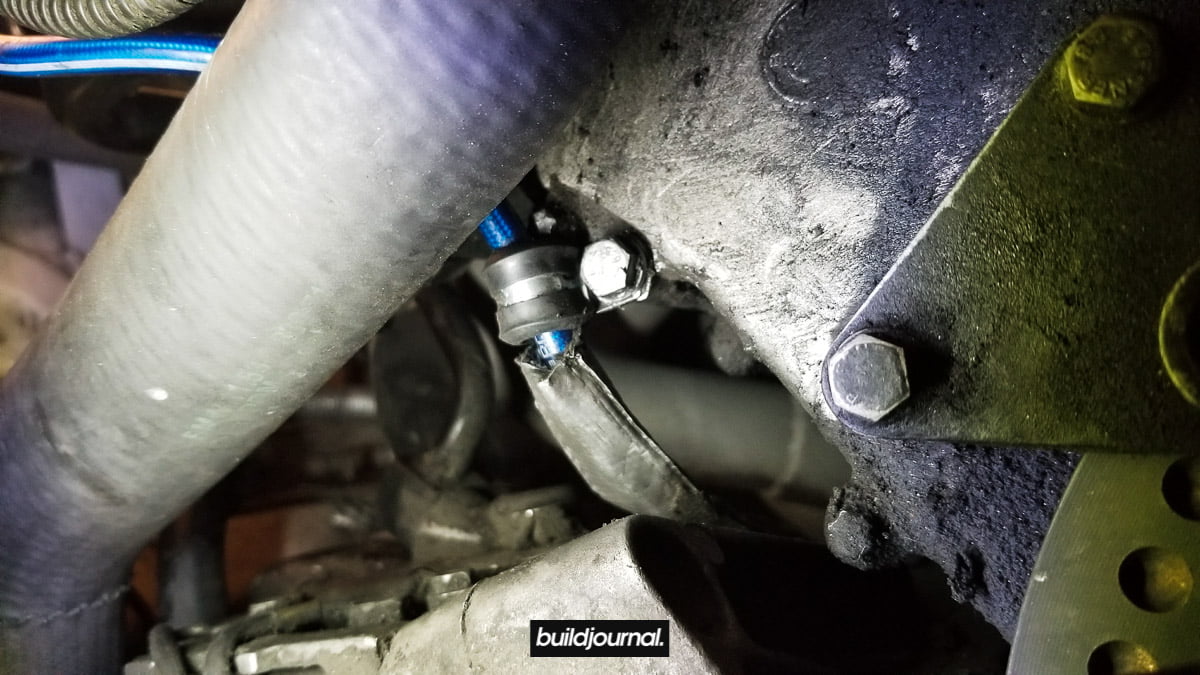
4.4, go underneath the car and locate the oil pressure accumulator. It's on the passenger side right above the power steering line. The other side of the VANOS oil feed line goes straight to this. You can see the 14mm banjo bolt on top.
4.5, go ahead and remove the lower banjo bolt and the stock line should come out. Get a drip towel ready.
4.6, get the new BW kit and feed the line from the top down. Start by installing the top banjo bolt first. Secure it, but don't torque it. Make sure to use the new supplied crush gaskets - one on each side of the oil line connector.
4.7, there should be 2 mounting points on the BW line. Locate and remove the 10mm bolt located directly to the left of the VANOS and mount the BW line. Keep this snug, not tight.
4.8, now this was the most time consuming part of the install. Wire the BW line down towards the oil accumulator and look for the lower mounting point. It's a lot easier if you remove the radiator hose, but I didn't want to deal with fluid leaking all over the floor. Smash the supplied mounting tabs together on the BW line so they don't spread apart while you're trying to thread the 10mm back in. I used my left hand to direct the BW mounting point to line up flush with the hole. Then I used my right hand to blindly hand-thread the bolt. This took me 20 minutes to do, but maybe you'll have better luck!
4.9, once the 2 mounting points are secure, hand tighten them down. Then torque the top banjo bolt to 20 ft-lbs. Make sure the line isn't hitting the VANOS unit.
4.10, go underneath the car and hand tighten the lower banjo bolt to 20 ft-lbs. There was no way I could fit a torque wrench there (even with swivel joints) so I just hand tightened. Make sure you have the 2 crush washers in there!

You're done! Start the car up and check for leaks before you put everything back together.

Flash Sale 20% Off Today Only!
Spring is coming and we're celebrating pre-daylight savings with a flash sale! Get ready for warmer weather and hotter track days this season. We want to get everyone out on the track so we're doing a flash sale for 20% off on our B-Spec Tune for the E46 M3. Use code PSPRING20. Act fast, today only!
Not ready to flash yet? Waiting for parts? Buy today and flash later. We will honor your purchase until you are ready.


E46 M3 Buttonwillow CW13 2:04.2
This is my first time running Buttonwillow and a long time since I took my E46 M3 to a big track. I spent a lot of time watching YouTube videos trying to perfect my lines mentally, but once I was out on the track it was as if everything I knew about the track went flying out the window. To be honest, I thought I can be in the mid 2:00’s off the bat, but I was humbled after the first session. My best time was 2:12.
As I began to find my braking points, turn in points, and finding the best line to carry speed around the corners, I became faster and faster. At the end of the day my best time was 2:04.2 according to my AIM SOLO time. I’m pretty happy with the time, but most of all I had a lot of fun. Can’t wait to go out again!
For my full mod list check out the Buildjournal V2.0 article.
Buildjournal V2.0
There has been some changes for us at Buildjournal the past few months. Let me just go over some highlights and then tell you about the big change...
We're proud to say there are over a hundred E46 M3's out there that are running the B-Spec Tune and we're glad to hear nothing but positive feedback/support from the community! We want to say thanks to everyone in the community.
In addition, some of you may know Connie who's on the team with tune support. Well, she recently picked up an E46 M3 also and so we'd like to congratulate her on the purchase! Oscar also finally picked up his dream set of wheels: Volk TE37 SL.
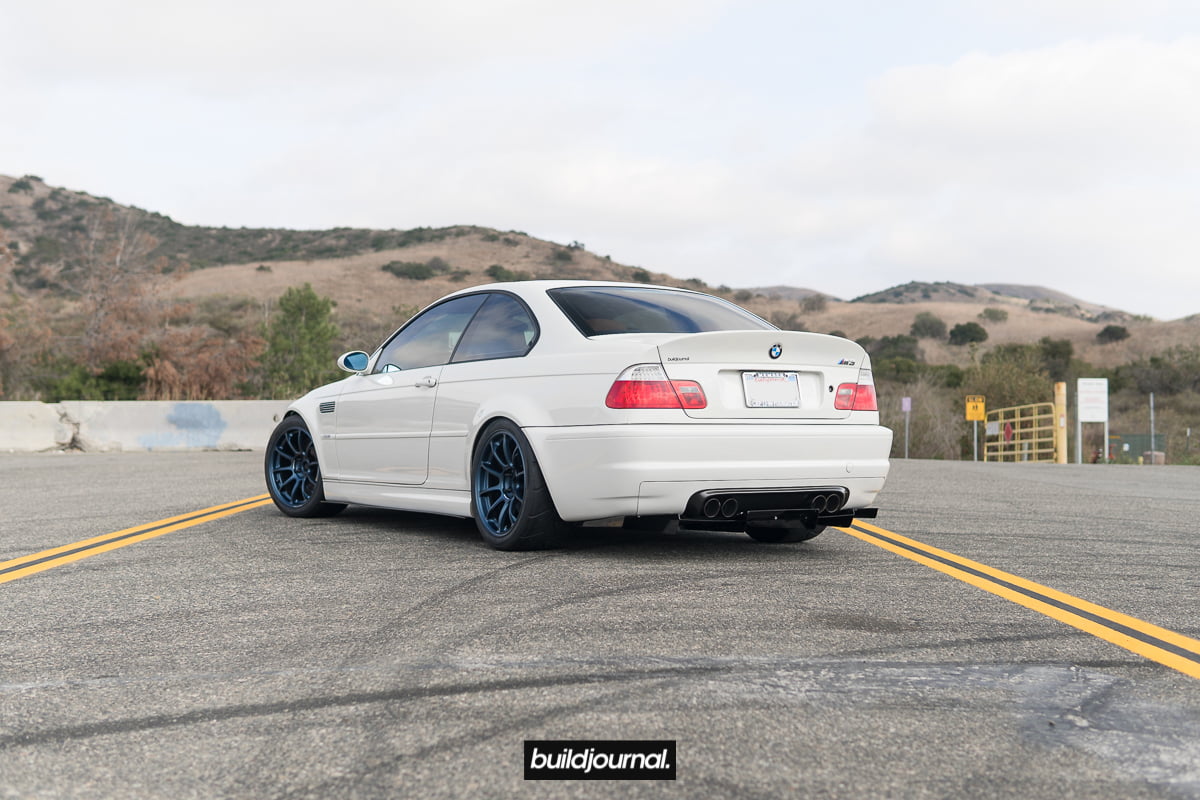
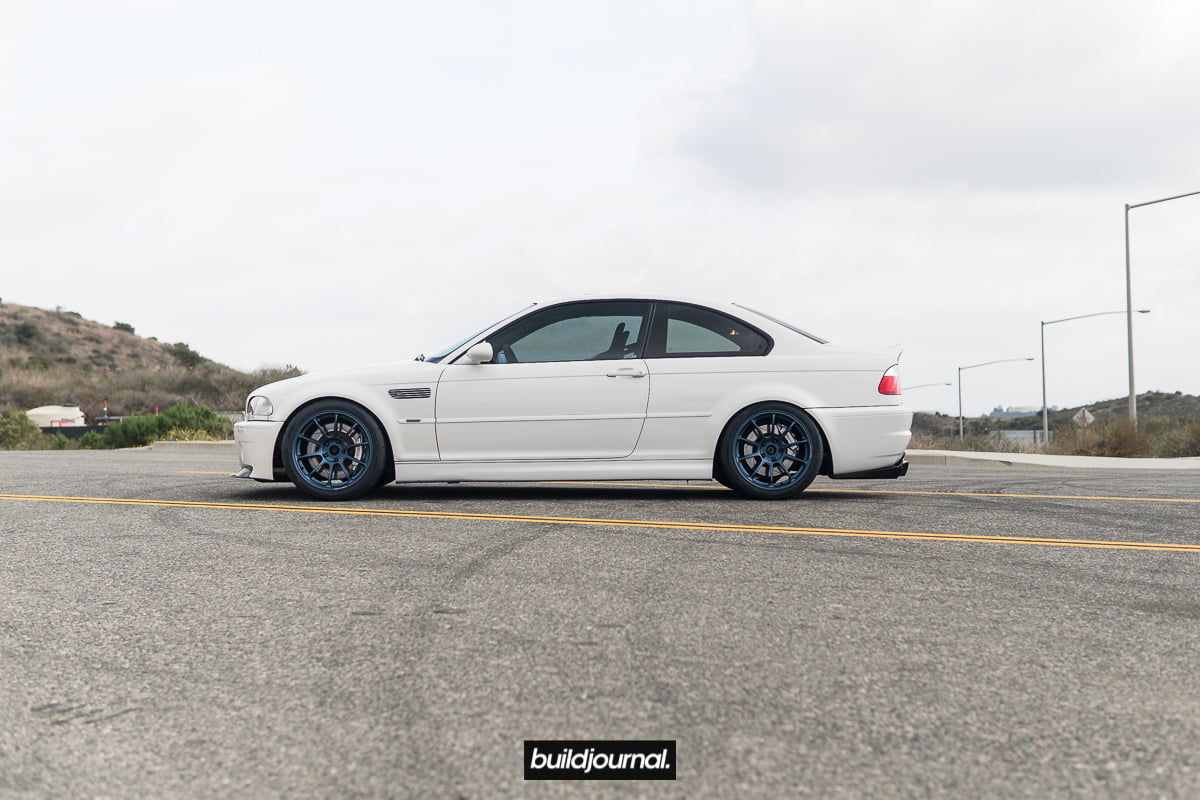
And finally, I've done quite a few things to my car - going towards a track build. The goal was to turn my E46 M3 into a daily driven track car. Something that can perform on the track while being able to drive to and from work on the daily. Although I have a separate daily for the work commute, I still want that peace of mind knowing I can drive 300 miles without any issues. I think I'm just about there. I present to you, Buildjournal V2.0.


Engine
- Buildjournal B-Spec Tune
- Macht Schnell intake elbow
- Eventuri carbon fiber intake
- Evosport stepped headers
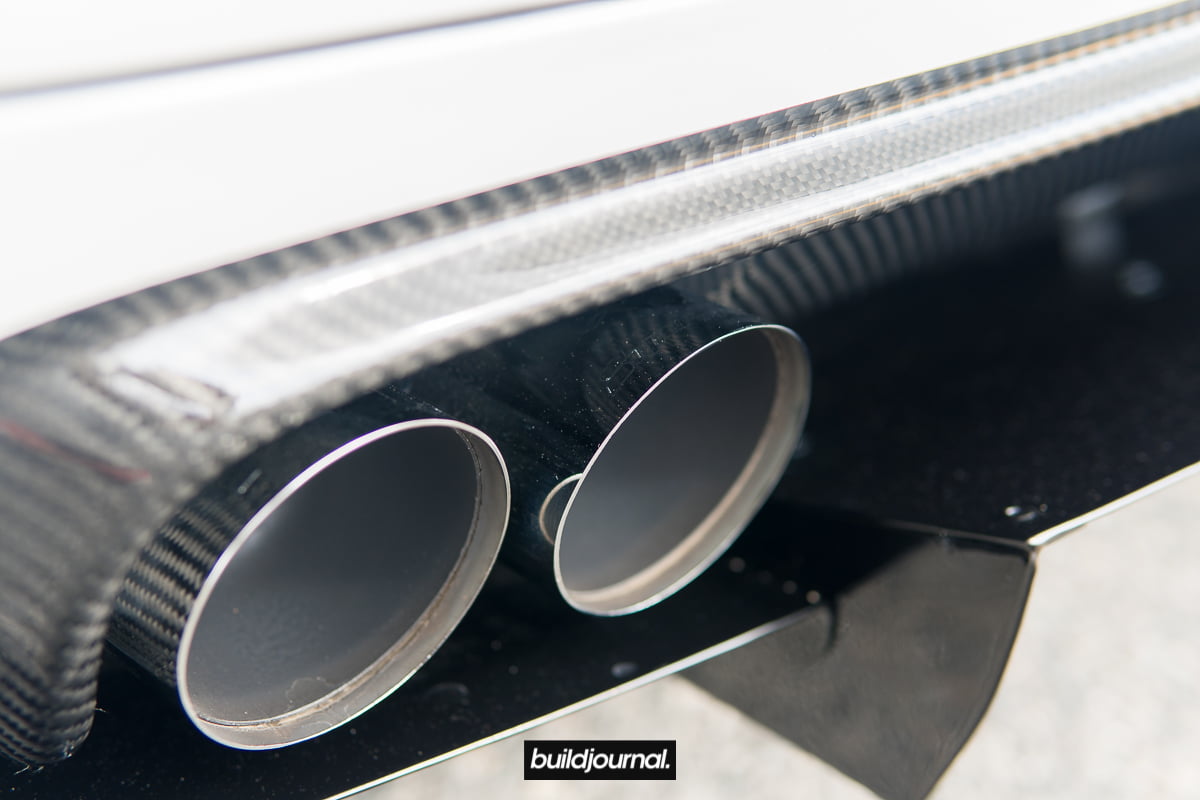
- Supersprint "Lightweight" Race exhaust
- Turner Motorsports power 2-pulley kit
- Walbro 255lph & Radium Sleeve
Suspension/Wheels
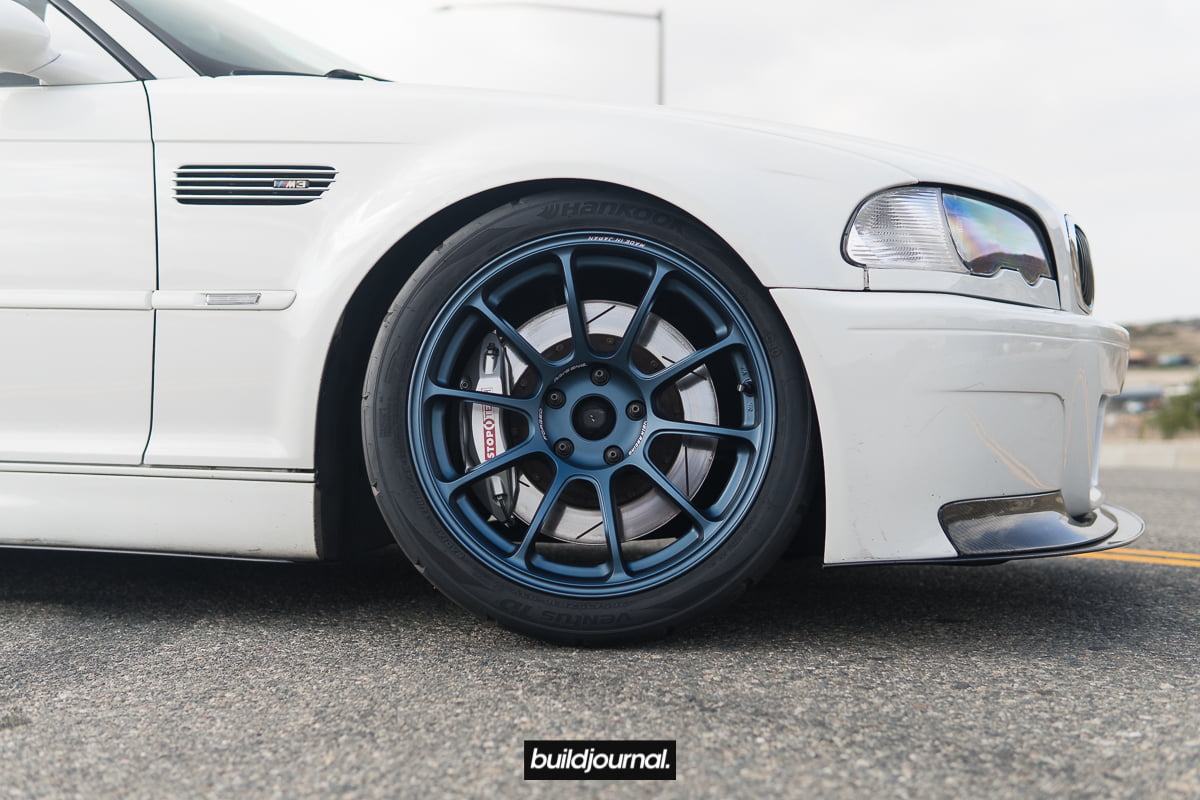
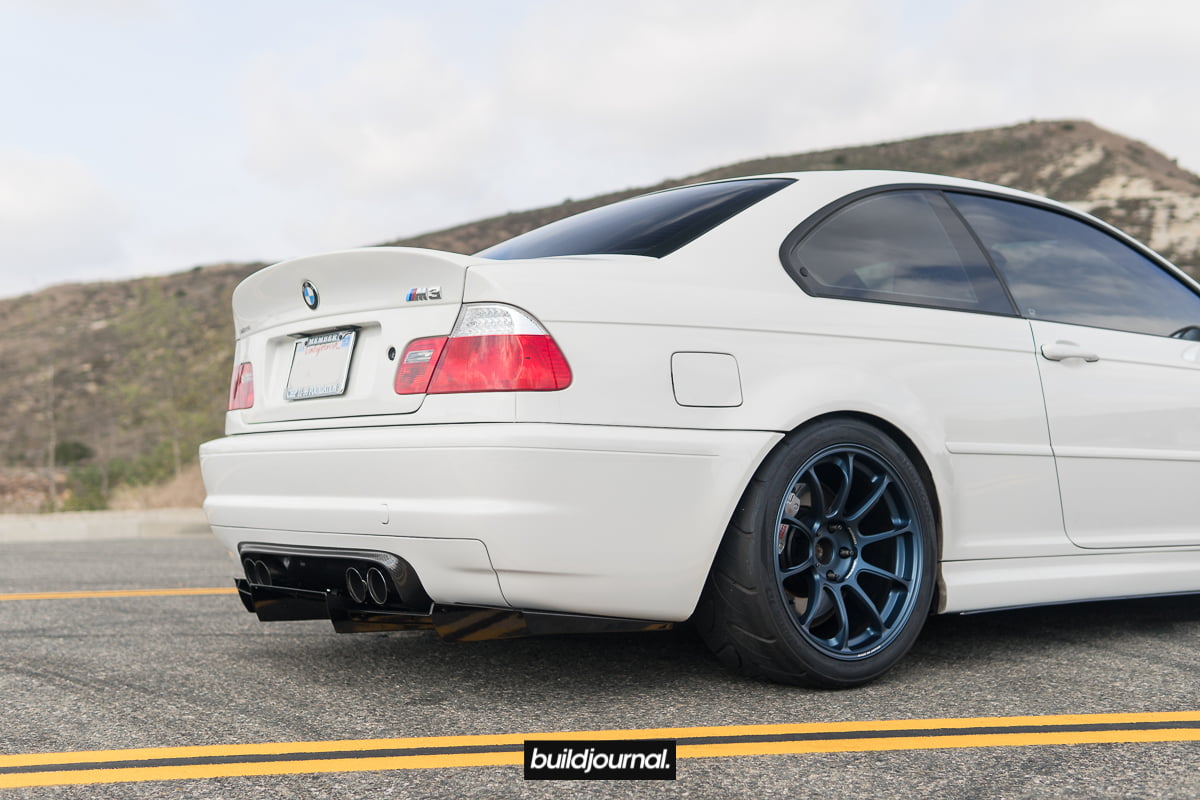
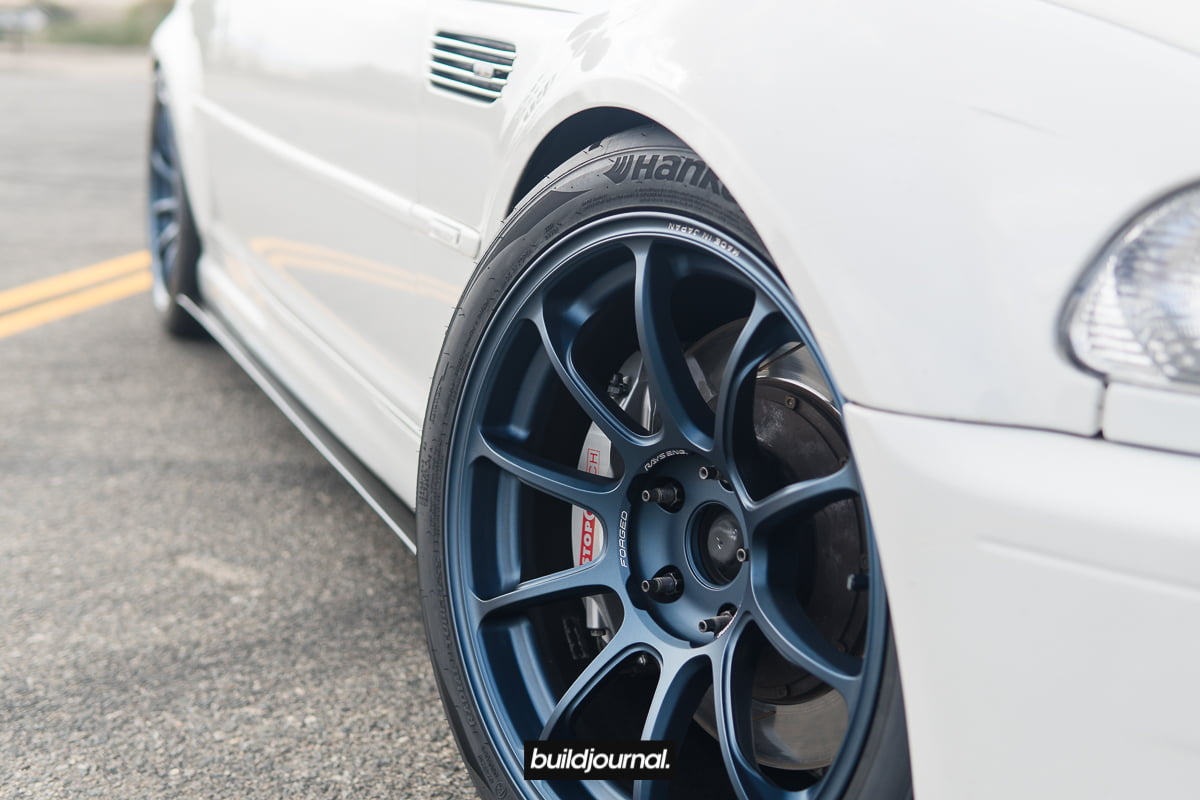
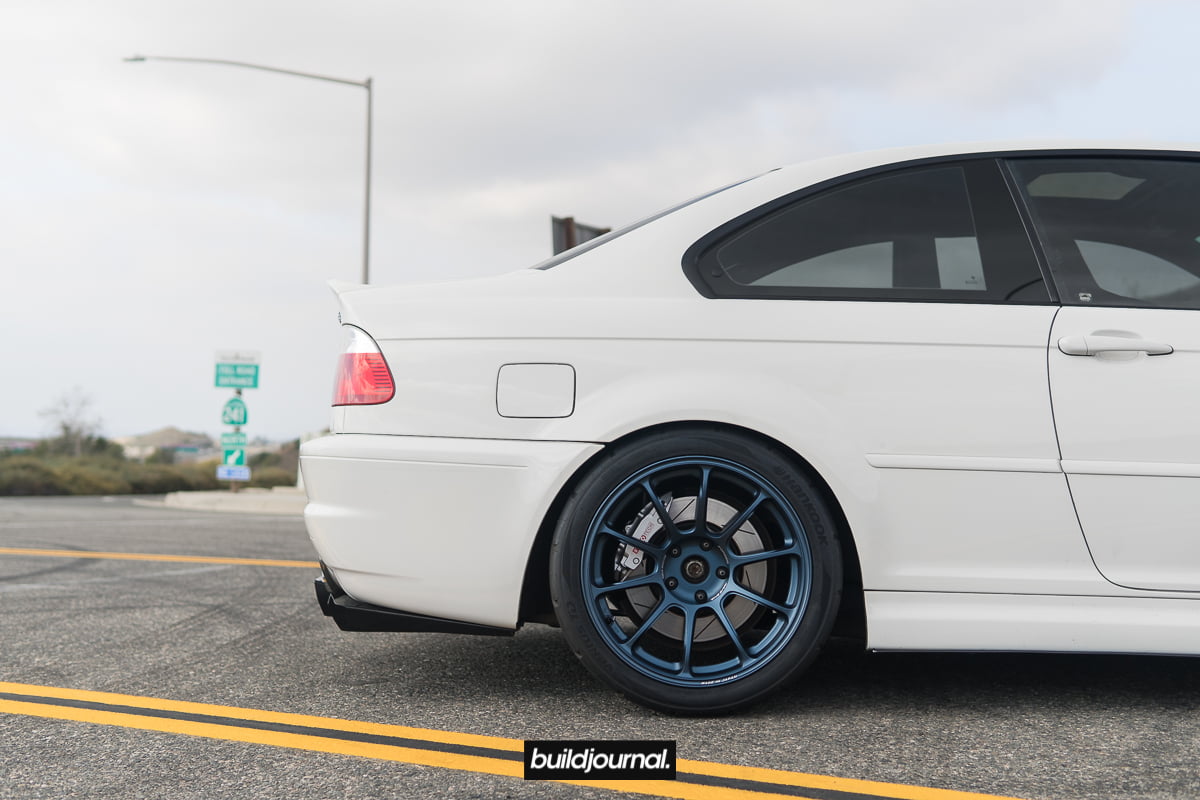
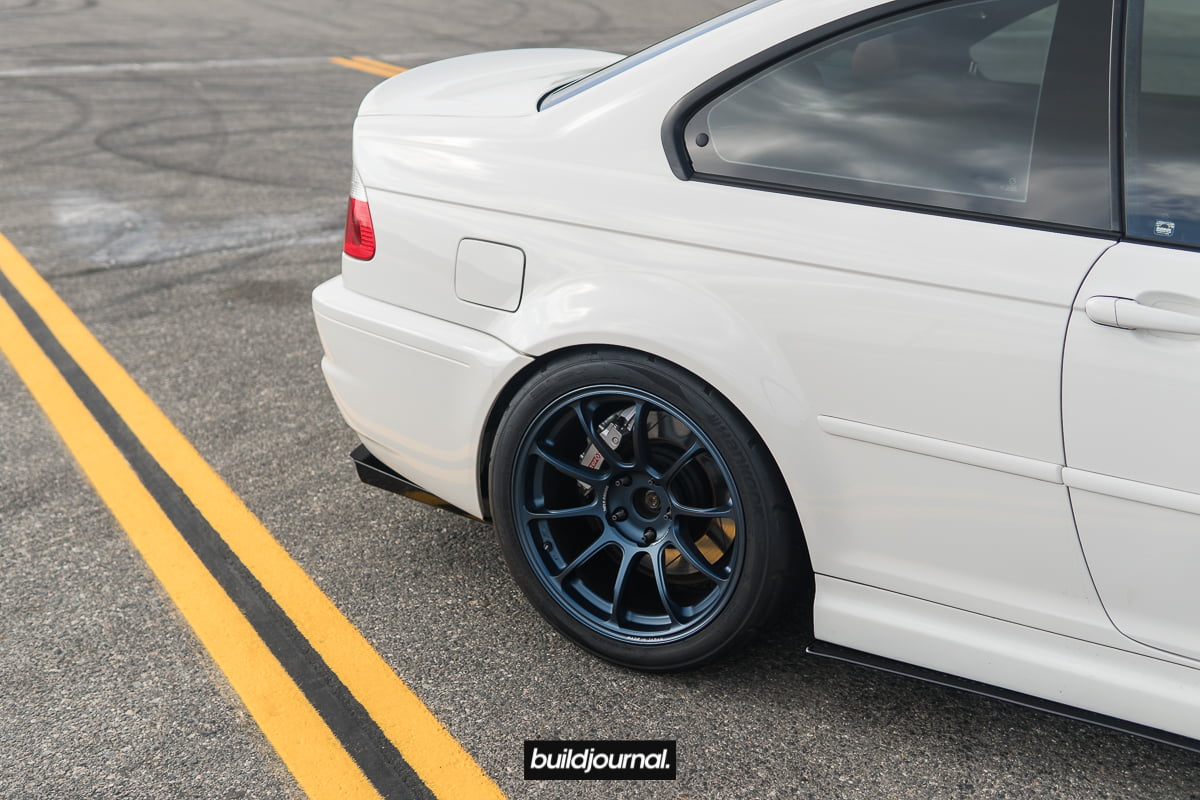
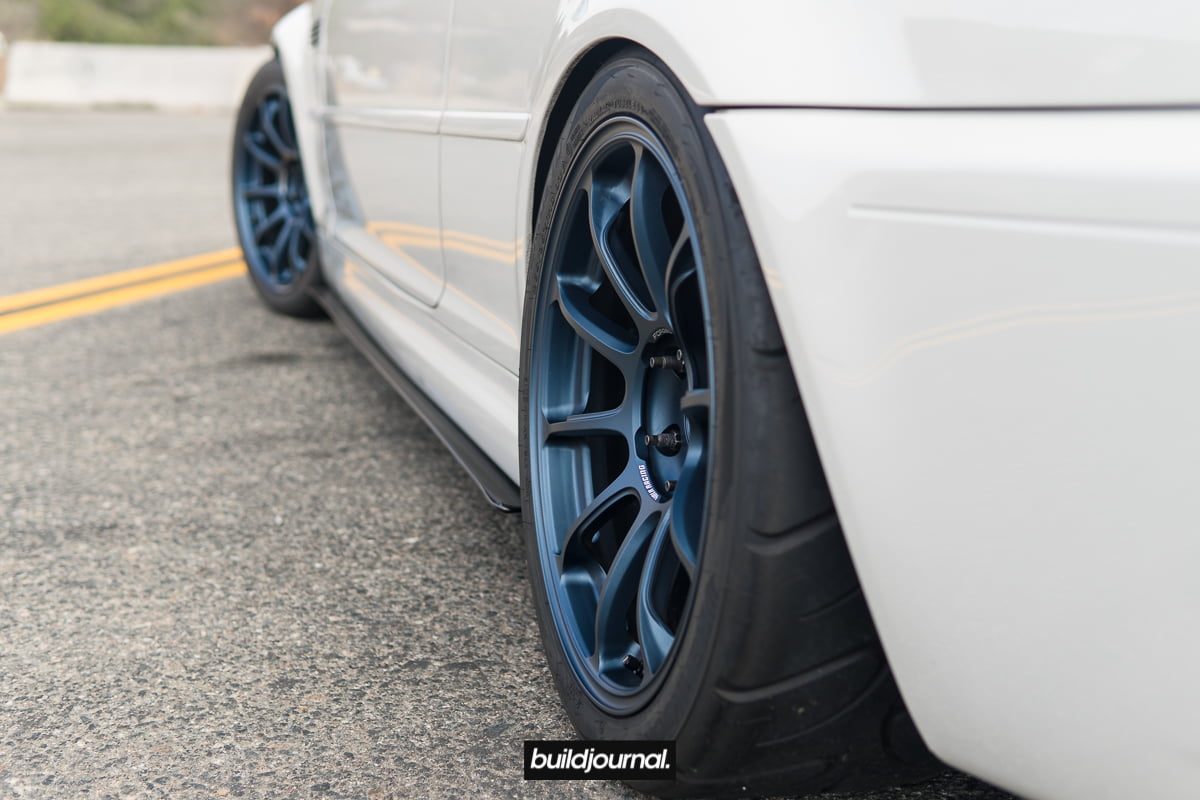
- Volk Racing ZE40 18x9.5 ET20 in Matte Blue Gunmetal
- Hankook TD C3 265/35/18
- AST 4100 coilover kit custom valved to Eibach/Hyperco springs
- Whiteline front sway bar
- Ground Control race camber plates
- Ground Control rear shock mounts
- Stoptech ST-40 front / Brembo 996 rear calipers
- Stoptech stainless steel lines front
- Rallyroad stainless steel lines rear
- EBC Yellow pads
- HPF rear subframe reinforcement kit
- AKG front control arm bushings
- AKG rear shock mount reinforcement plates
- AKG rear trail arm bushings
- AKG differential mount
- AKG subframe bushings
- AKG front sway bar links
- Garagistic upper strut reinforcement plates
- Garagistic rear spring perch reinforcement plates
- Motorsport Hardware stud kit
Exterior
- Status Gruppe CSL front bumper with 1-piece lip
- Status Gruppe CSL trunk
- Status Gruppe CSL diffuser
- Aeroflow Dynamics front splitter
- Aeroflow Dynamics side splitter
- Aeroflow Dynamics custom rear diffuser
- G5-R project retrofit with Philips CBI bulbs
Interior
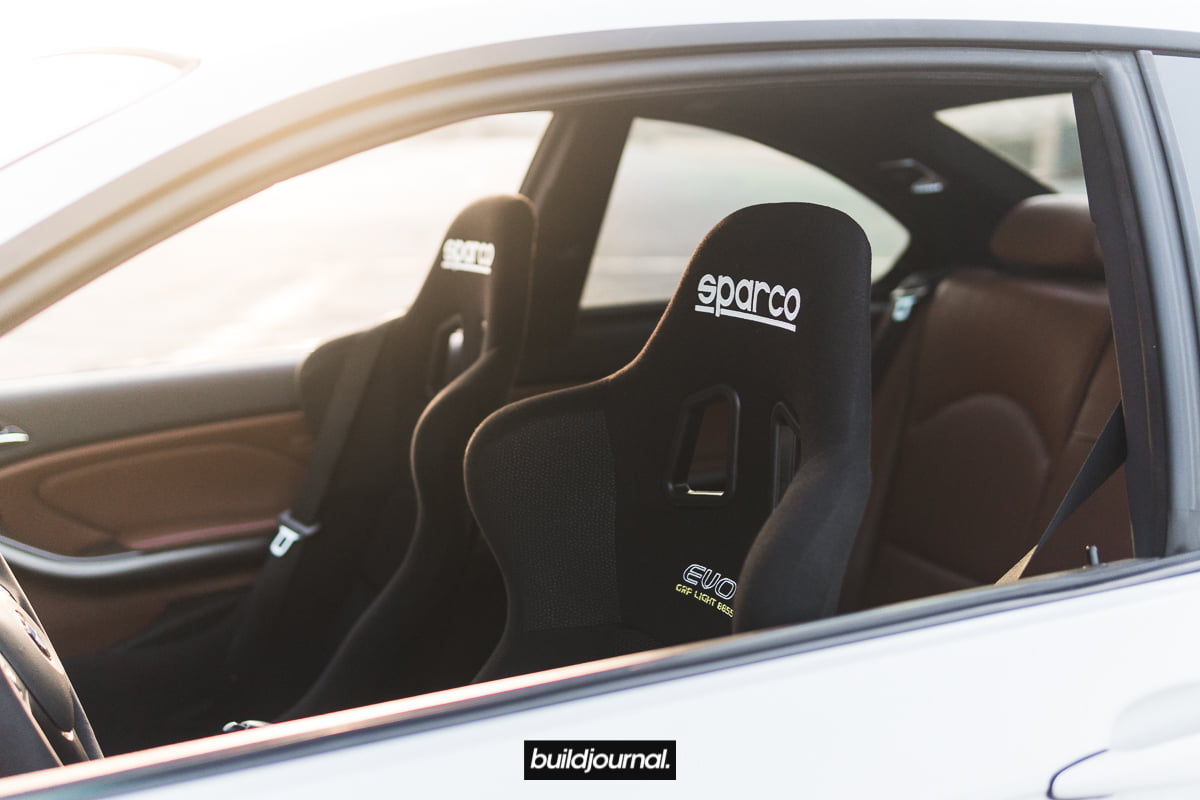
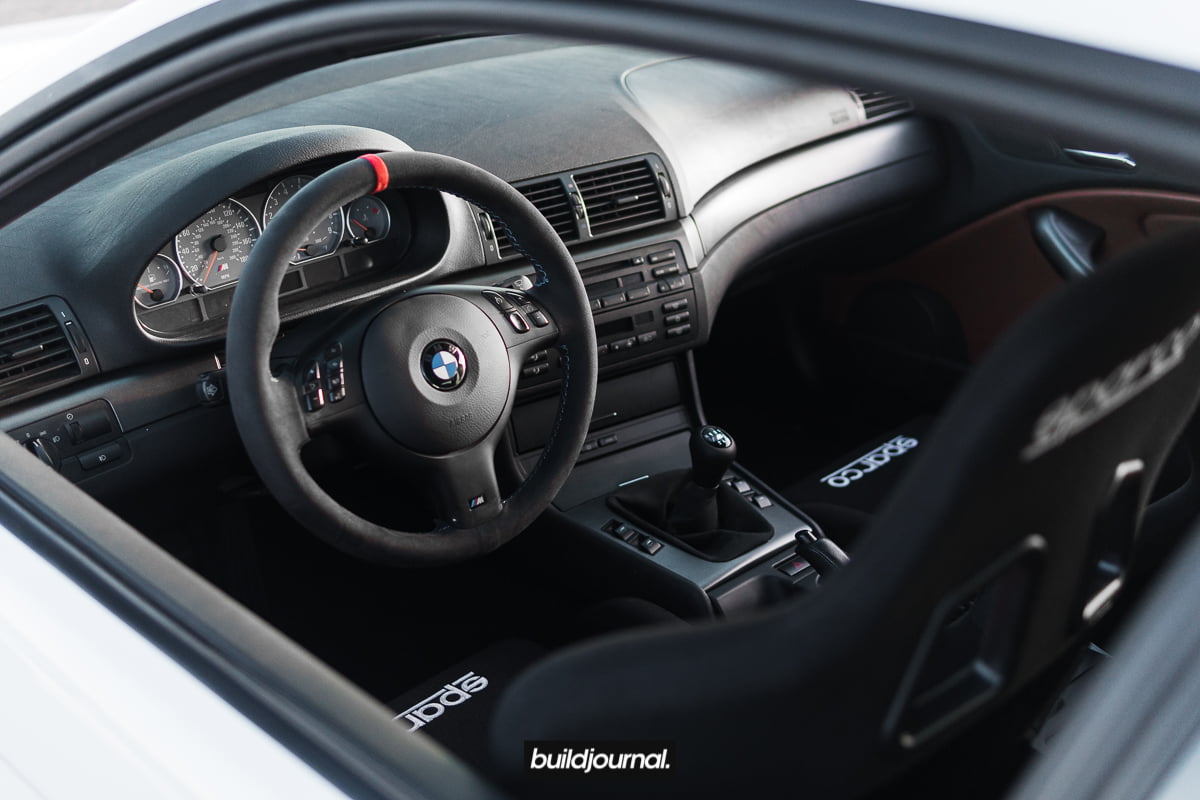
- Sparco EVO seats
- Sparco side mounts and sliders
- Coby alcantara tri-stitch steering wheel
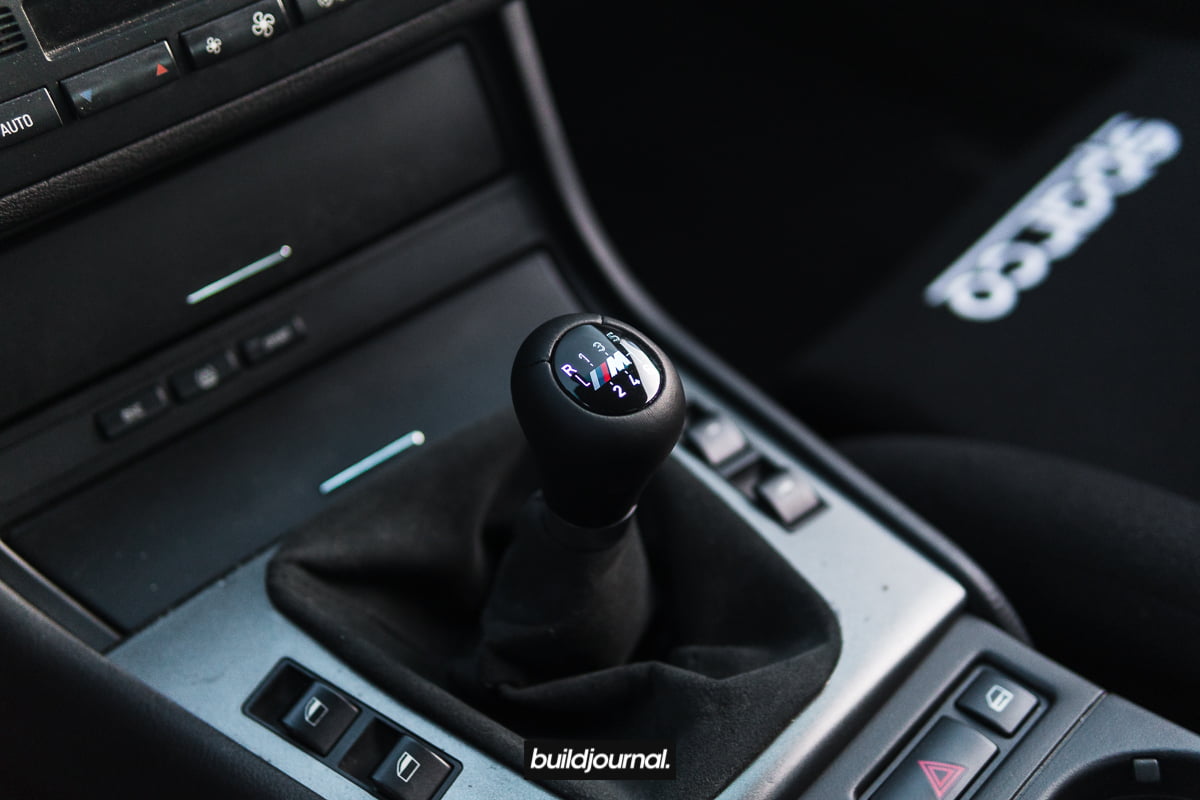
- ZHP shift knob
- UUC Evo3 shifter
And for bonus, here is Connie's new Imola/Black E46 M3 with CSL goodies and Apex FL-5 wheels plus Oscar's TiAG/Imola with his new Volk TE37 SL.

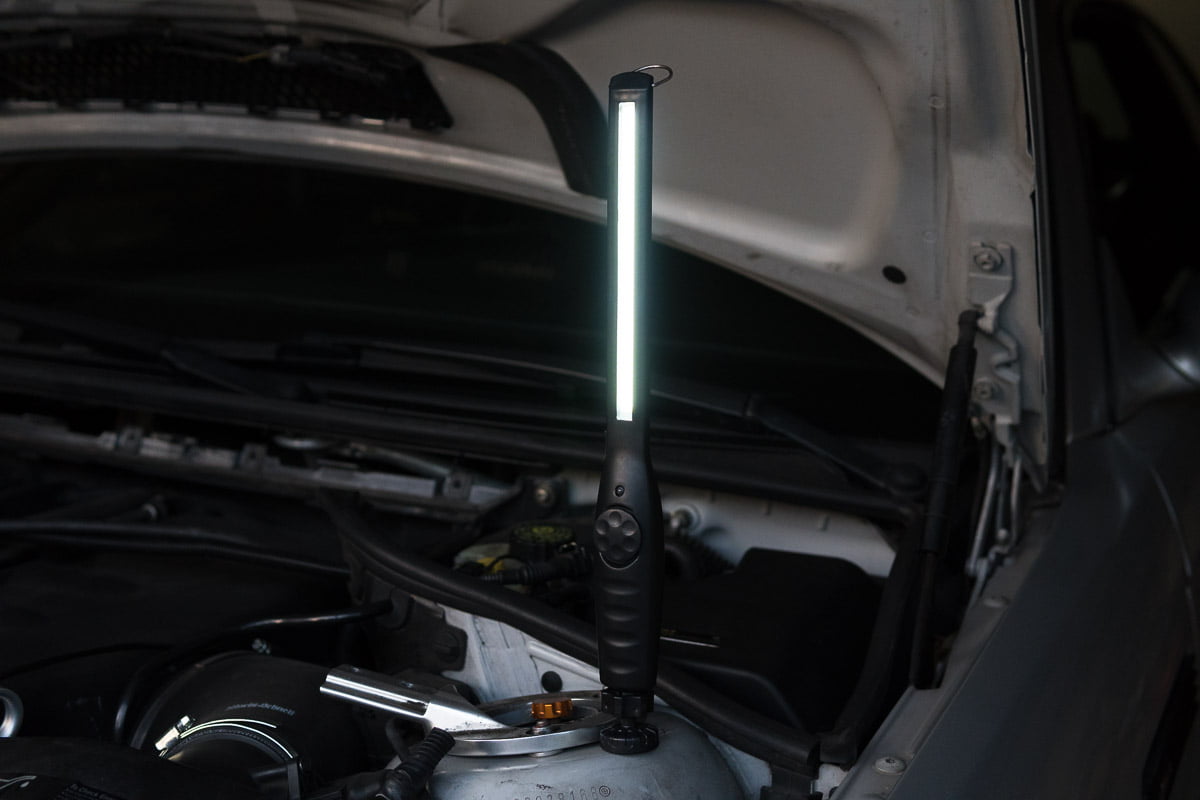
Swag Find: $10 Magnetic LED Work Light 410 Lumen Rechargeable
We recently did an E85 kit install on Oscar's E46 M3 and surprisingly I got a lot of questions asking where I got my $10 magnetic LED work light so I'm sharing this little secret with you all. I originally found this when I was searching for a magnetic LED light, but the brand name was $40 and I had to think twice about purchasing it. I started searching around some more and I came across a light that looked very similar (exact replica actually) but it was only $9.99. I was hesitant, but for $10 what the hell. So I ordered and it turns out it's a replica of the brand name one.
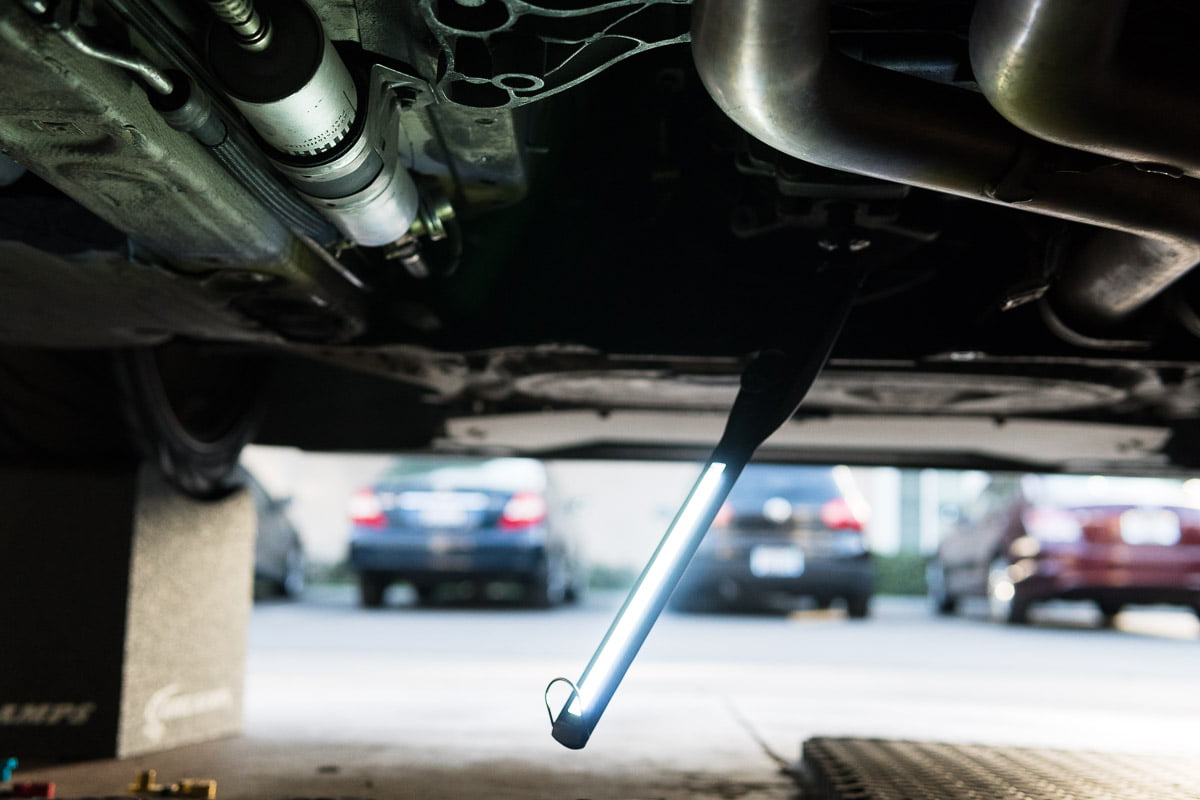
It's fully rechargeable with a lithium ion battery with a dimmer dial to set from 0-410 lumens of power. You'll get about 10 hour work time at 50% power and 2.5 hours at full power. The best part of all obviously is the magnetic end with a swiveling joint. Get your's at the link below:
Rumas LED Slim Work Light - $9.99

E46 M3 Fuel Pump DIY with Walbro 255lph & Radium Sleeve
UPDATE: THERE HAVE BEEN MULTIPLE CASES WITH USERS EXPERIENCING MELTED WIRES ON THE RADIUM FUEL PUMP KIT. PLEASE READ THIS ARTICLE BEFORE IF YOU ARE INTERESTED IN THIS KIT.
Don't let your E46 M3 fuel pump die on you leaving you and your car stranded unexpectedly. I'm doing a quick DIY and write up on a recent Walbro fuel pump install I did on my E46 M3. I noticed a rough idle and hiccups when I'm stopped at the red light so I decided to look into replacing my fuel pump with an OEM.
What are my options?
I was planning on buying the entire OEM fuel pump kit with the housing so it can be a true drop in install without having to transfer the pump, however after researching a bit I came across a fuel pump kit with a Walbro 255lph that can be used on the E46 M3. Walbro is well known and their products are without a doubt top tier stuff. The only problem is that the fuel pump doesn't fit into our stock housing holder. That is where Radium Engineering comes into play with their custom 39mm sleeve. They offer a simple solution to convert your OEM fuel pump to accept various fuel pumps from Walbro E85 pumps to even AEM pumps. I ended up purchasing the Radium Engineering Walbro GSS342 255lph (20-0082) kit since I don't plan on going E85.
Why get the Radium kit?
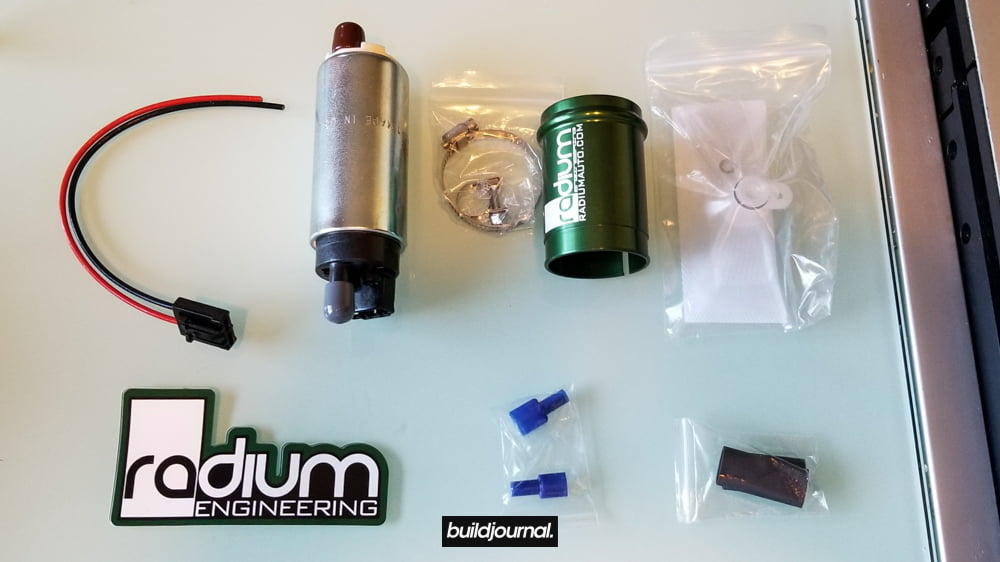
A lot of people will say you don't need to spend money on the sleeve and you can just fit the Walbro in the stock holder with some creativity, but I would rather have the peace of mind knowing I have a proper sleeve holding the fuel pump in and convenience of having all the parts for a true plug and play fuel pump replacement solution.
Installing the fuel pump
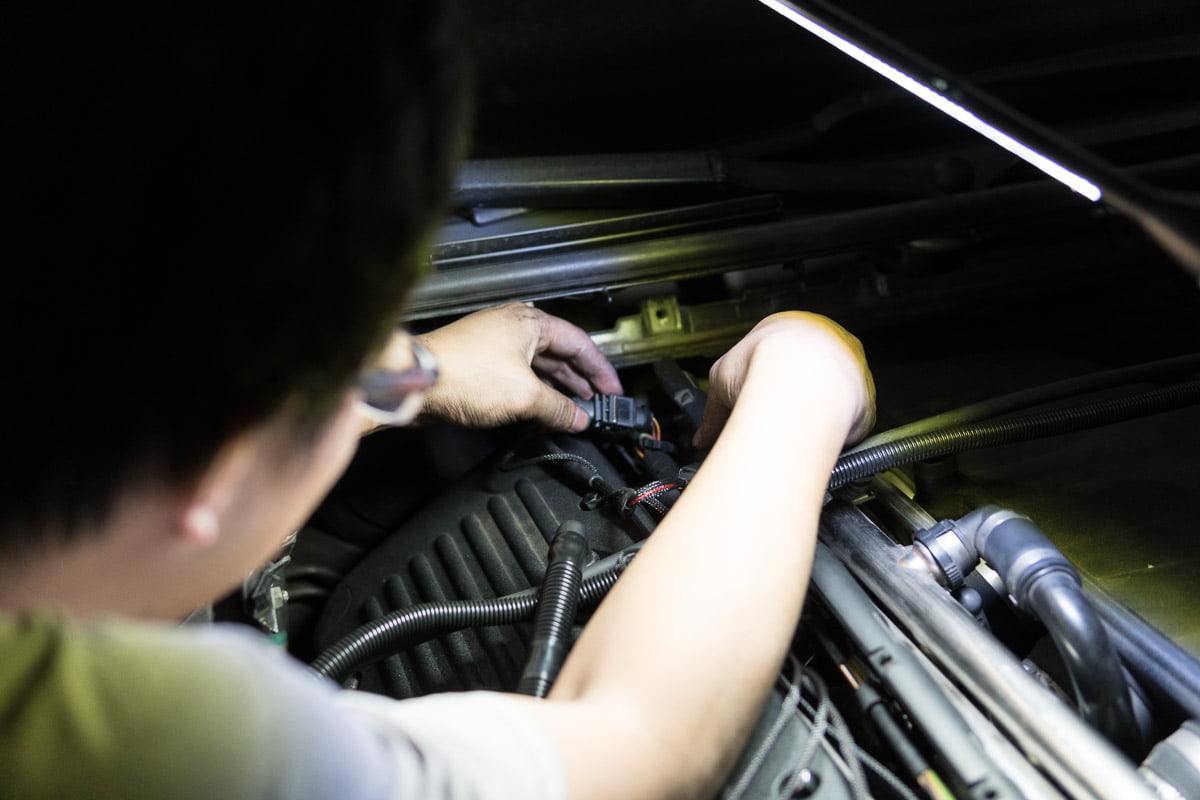
First things first: Pull the 20 amp fuel pump fuse in the glove box! There are 2 white tabs on the ceiling inside the glove box. Twist to release the fuse box down and you'll want to pull fuse #54. Double check your legend to make sure you're pulling the fuel pump fuse. Then you want to start your car and let it stall. This will remove most of the fuel from the system so you don't make a mess when you pull the fuel line later in the guide. Once the car is stalled you can put the fuse back in and shut the glove box, however I kept my fuse out during the installation. Now disconnect the negative terminal on your battery. I'm not going to go into too much detail on the fuel pump removal and focus on the Radium build.
1. Remove the stock fuel pump
1.1 Remove backseat. There are 2 pop clips on each side of the seat. Simply lift and it should pop off.
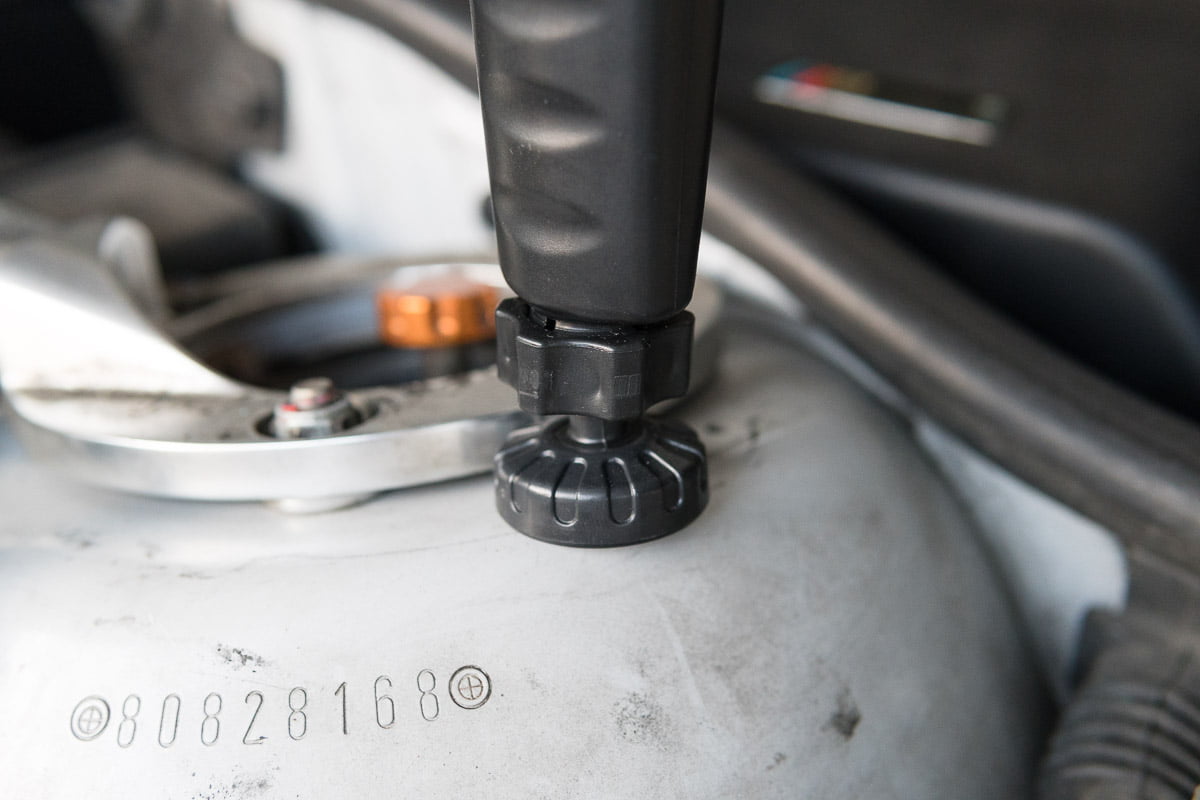
1.2 The fuel pump is located beneath the back passenger seat. You'll see a circular metal cover with super fragile rubber material. There are four 10mm nuts holding the metal plate which needs to be remove to access the fuel pump. Gently lift each corner of the rubber to remove nut. Once all 4 are remove you can flip the plate over on it's back. Be care careful as the rubber is very very fragile.
1.3 You'll now see the fuel pump. Remove the wiring harness by pulling the latch to the side. Remove the fuel feed line by pressing the 2 push tabs; push in then out. Pro tip: if the fuel line is not coming off, look inside the fuel line plug and see if the white insert is visible or sticking out. My line would not come out initially. After trying to remove it for 30 minutes, I was able to remove after I pushed in the white insert in the plug with a small flat head. If it's still not coming out, take it to a shop! You DO NOT want to break your fuel line. If you do, you're going to need to drop your fuel tank.

4. You should now see the fuel pump. There is a metal lock ring which you can remove by getting a BMW specialty tool. If you don't have it, a screw driver and a mallet/hammer would suffice.
2. Installing the Walbro fuel pump
2.1 Lay your stock pump on a clean work bench. Don't get your housing dirty as it's going back in your fuel tank!
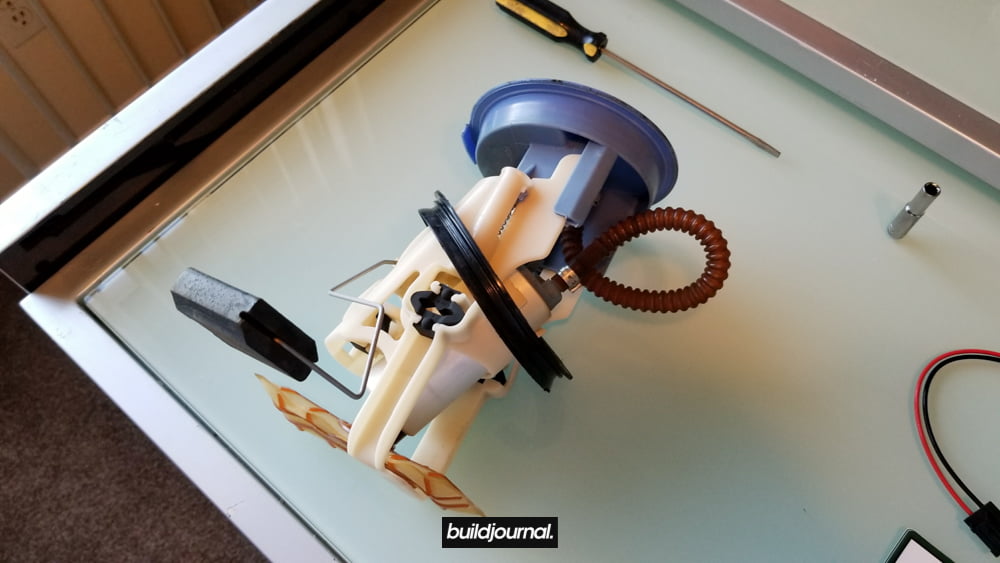
2.2 Find the metal pinch clamp on the fuel pump side hose. Find the small lock tab holding the clamp down. bend it up so you can being to pry the clamp. Remove the hose clamp with wire cutter pliers.

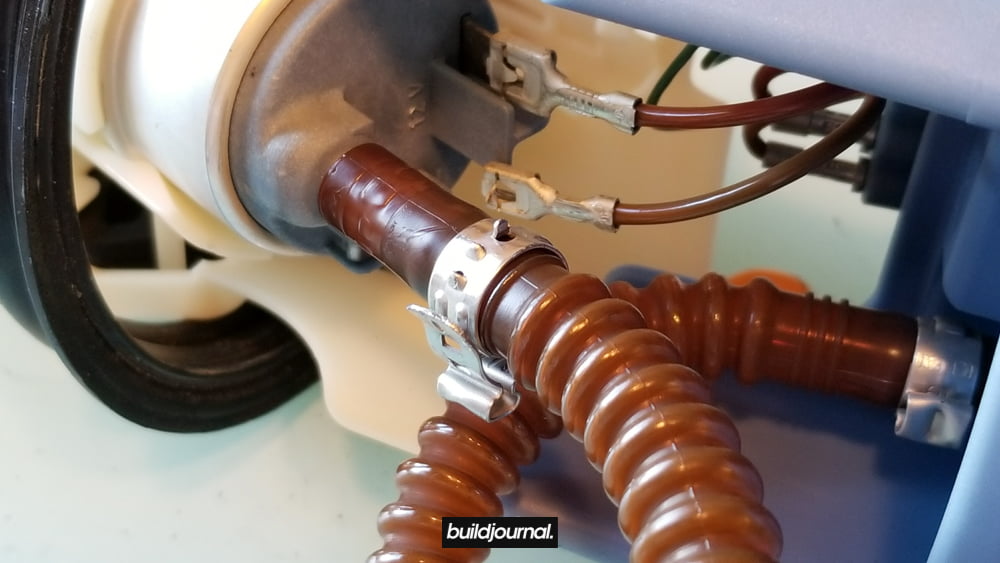
If I can get it off with my gardening tools, you can get it off too.
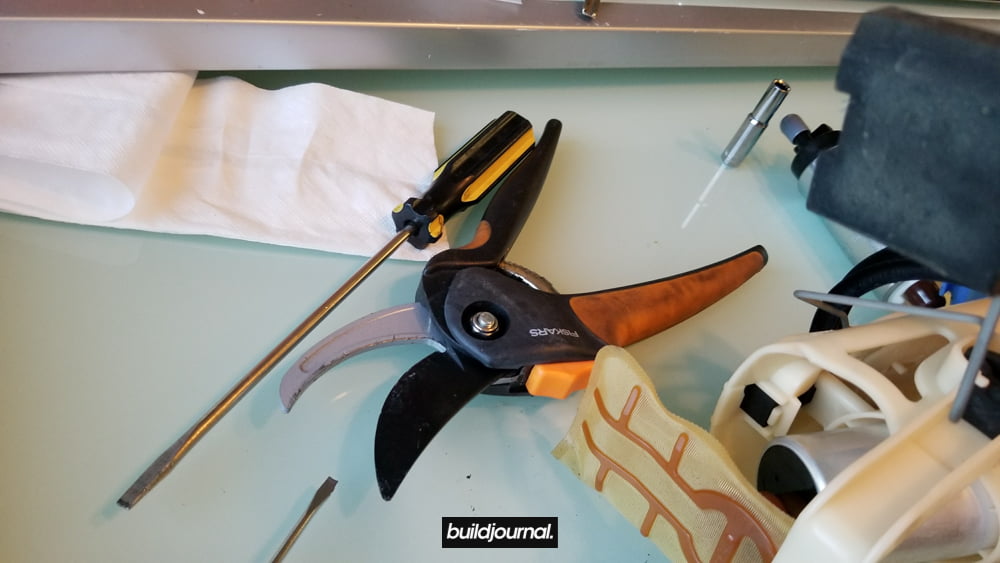
2.3 Find the 2 spade connectors on the fuel pump. Each connector is being locked with a metal tab. Push down on the tab and pry with a flat head to release each connector.
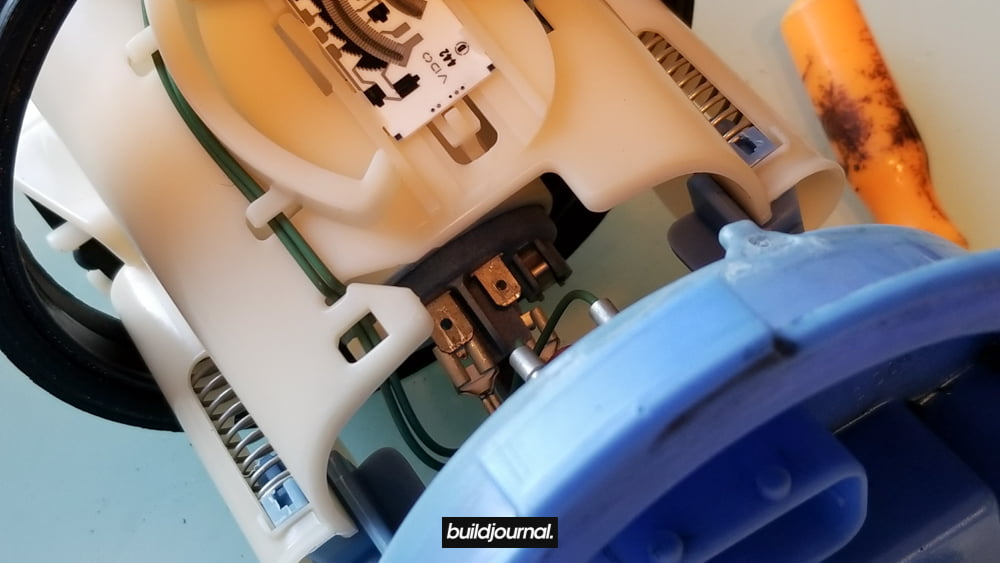
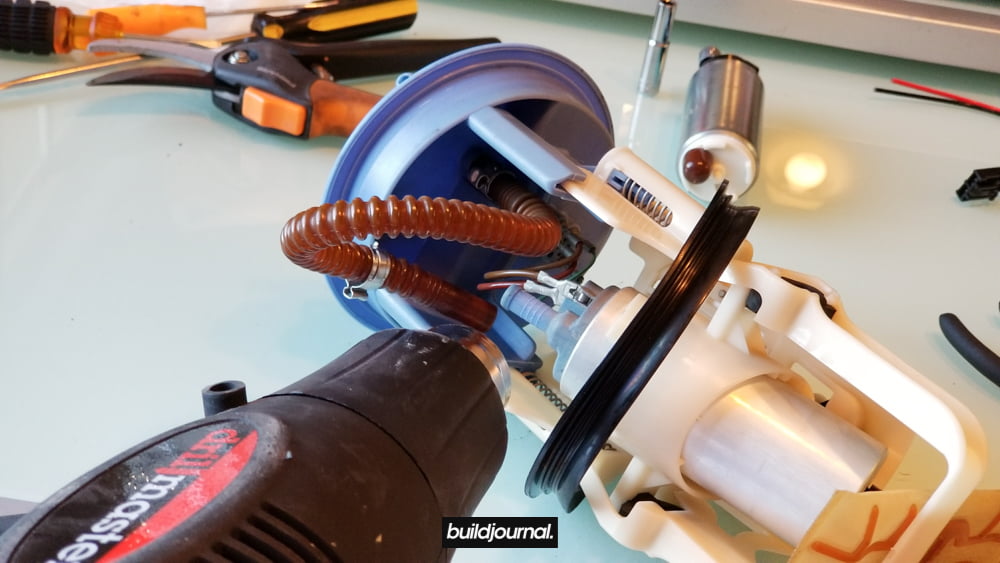
2.4 Remove the brown fuel tube from the fuel pump. I had to use a heat gun to warm up the base of the tube.
2.5 Remove the 3 rubber grommets holding the fuel pump housing from the assembly.
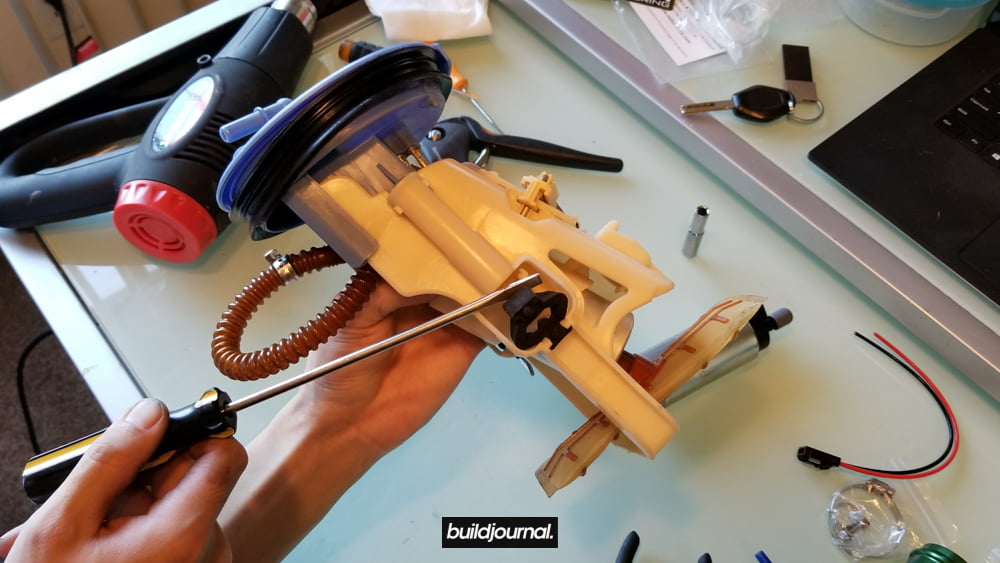
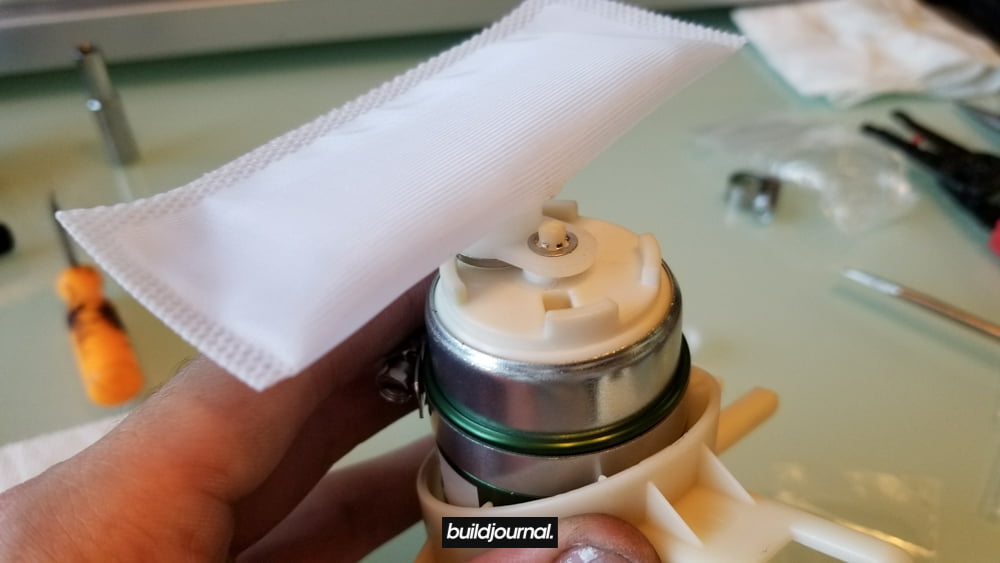
2.6 Remove the sock at the bottom. Simply twist and pull. Then separate the fuel pump from the housing.

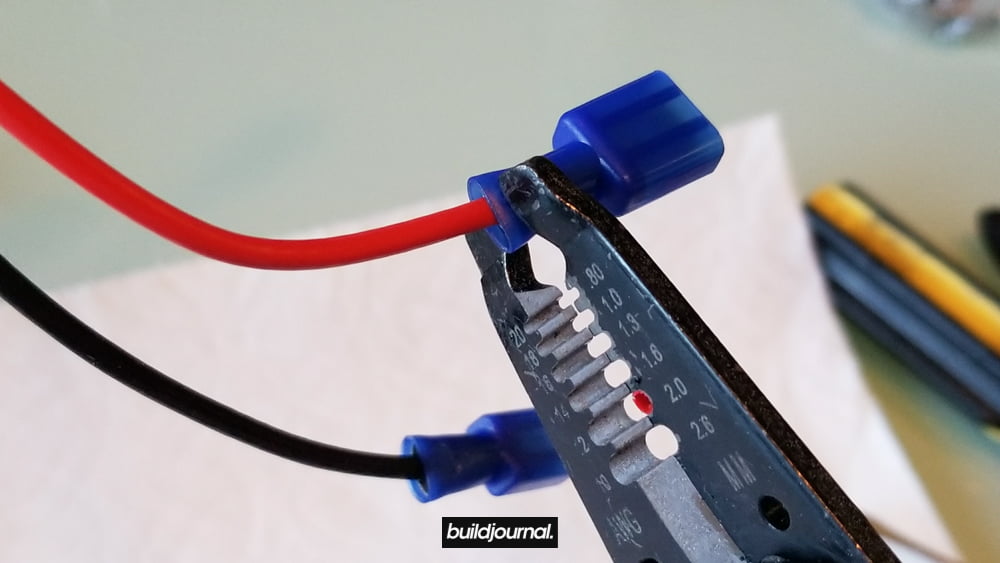
2.7 Crimp the small 3/16" male spade on the black "-" wire and the larger 1/4" male spade on the other "+" wire using the supplied connectors.
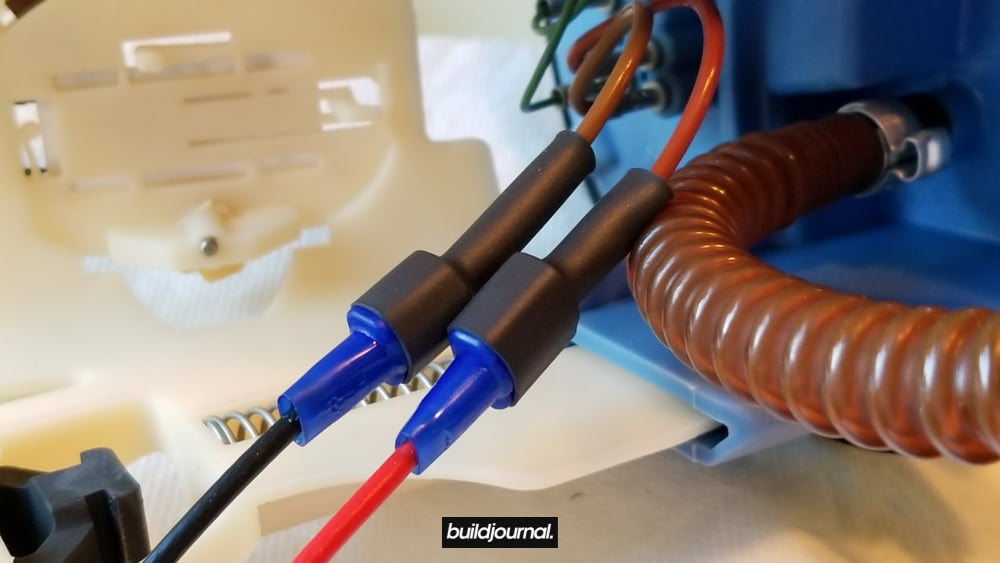
2.8 Plug the connectors in and gently give a tug to make sure they're in. You may need to pry the metal tab back up again so the connectors lock. Heat shrink the terminals using a heat gun.
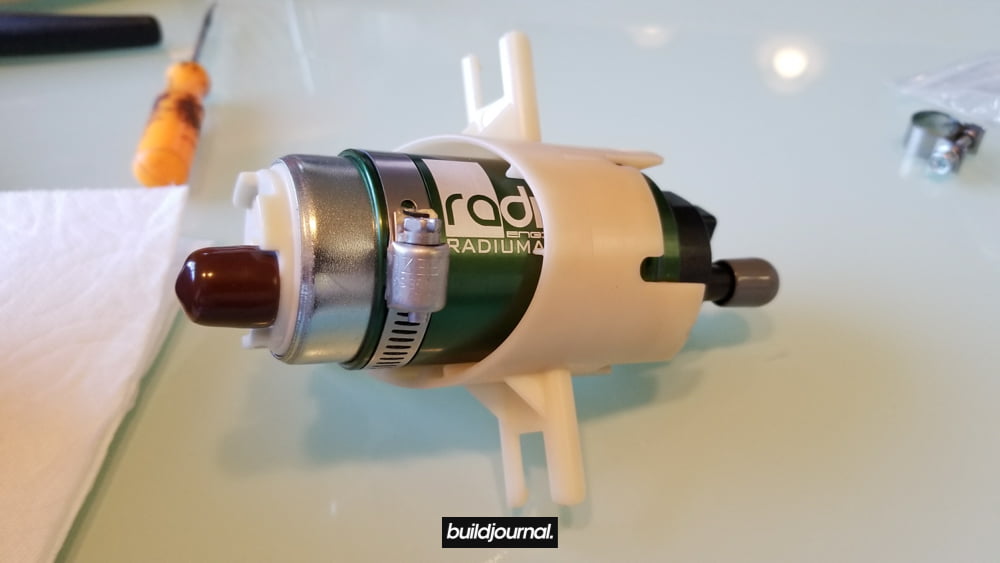
2.9 Fit the Radium sleeve. Notice the orientation.
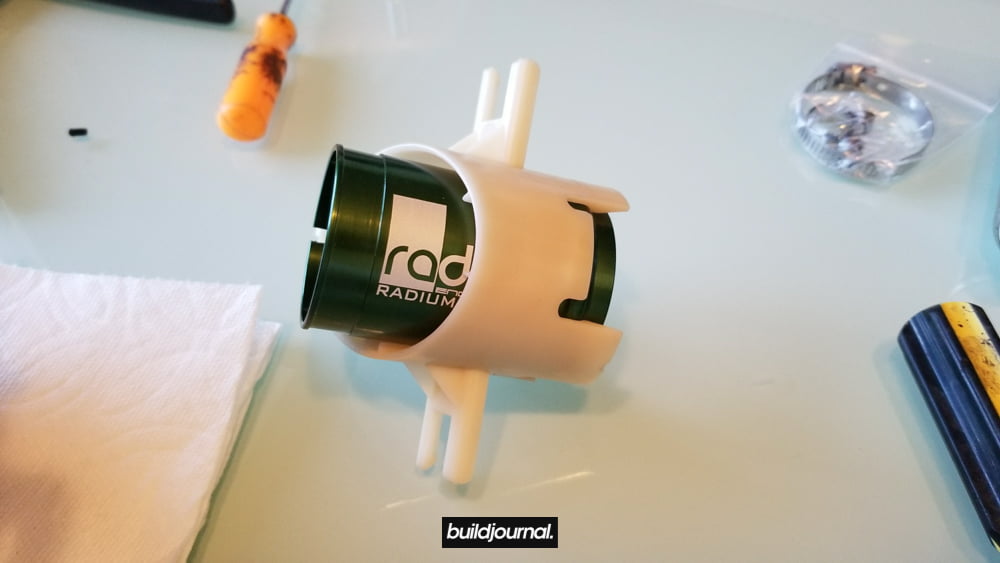
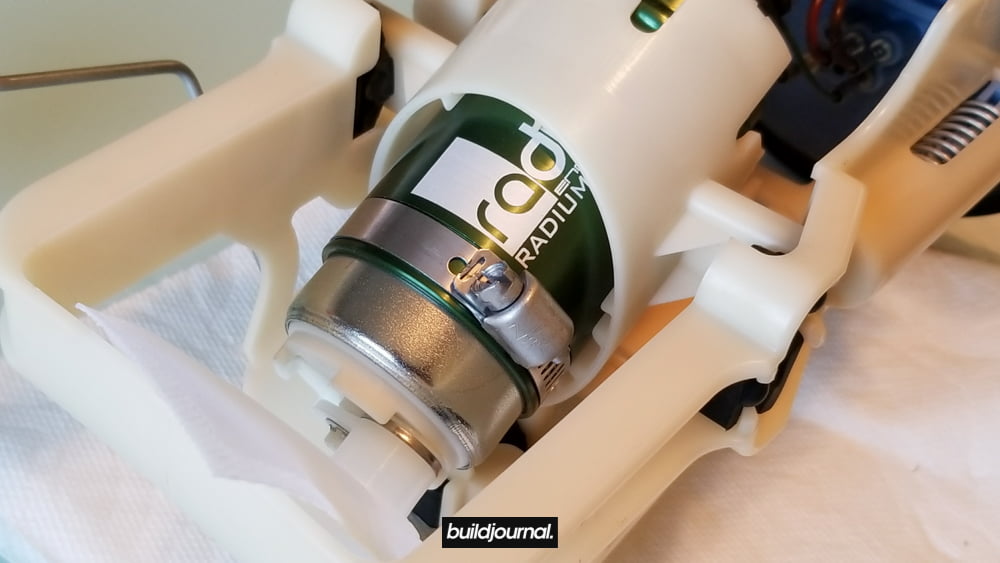
2.10 Fit the Walbro pump and use the c-clamp to tighten the sleeve. The top of the pump and top of the sleeve should be flush. Again, notice the orientation.
2.11 Remove the protection grommet on the sock and install. Secure with supplied lock washer.
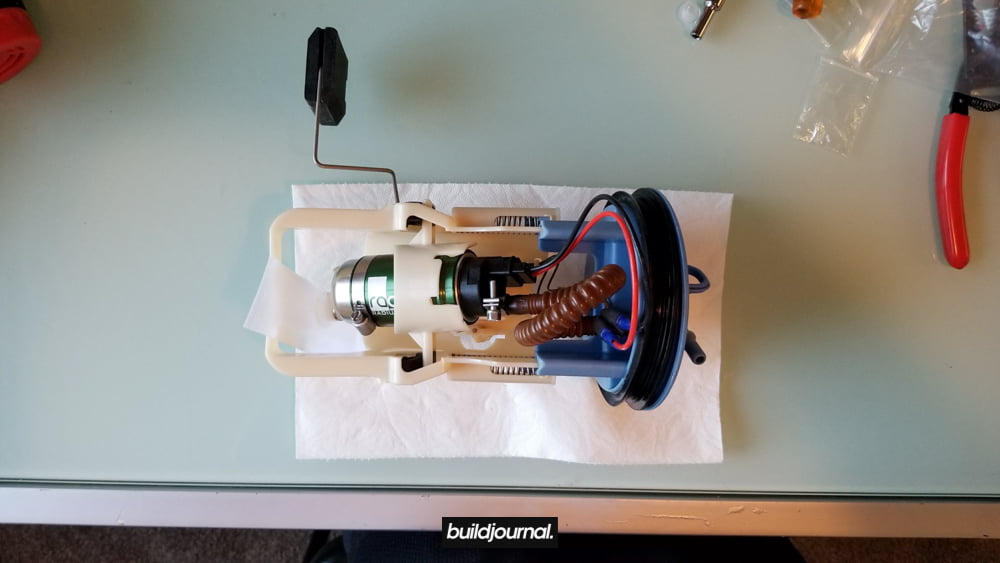
2.12 Install the fuel pump housing into the assembly and connect the black connector on the Walbro. You're all done! Please note I had to clock the fuel pump a bit sideways to retain the original orientation of the sock. The Radium instructions did not mention this, but I think it's okay.
*UPDATE: forgot to mention you also need to connect the corrugated fuel hose to the new Walbro pump and clamp it down with the supplied small hose clamp. Then you're finally done. Thanks to Ron Olexa for catching that!


I was a bit worried about premature fuel starvation because the stock sock is angled to be parallel with the bottom of the fuel tank, however the Walbro sock sits angled with one side sticking up high. If you're worried about the same thing do not be. I clarified with the guys at Radium and they had this to say below:
"Because the Walbro 255lph is a gear rotor pump it does not need to be completely submerged as a turbine fuel pump does so there is no starvation worries."
Now all you need to do is reverse the steps to install the fuel pump. Make sure to test the pump for leaks before you seal everything back up. Drop me questions in the comments section below or post pictures of your fuel pump setup. Did you go with OEM or something else? Let us know!
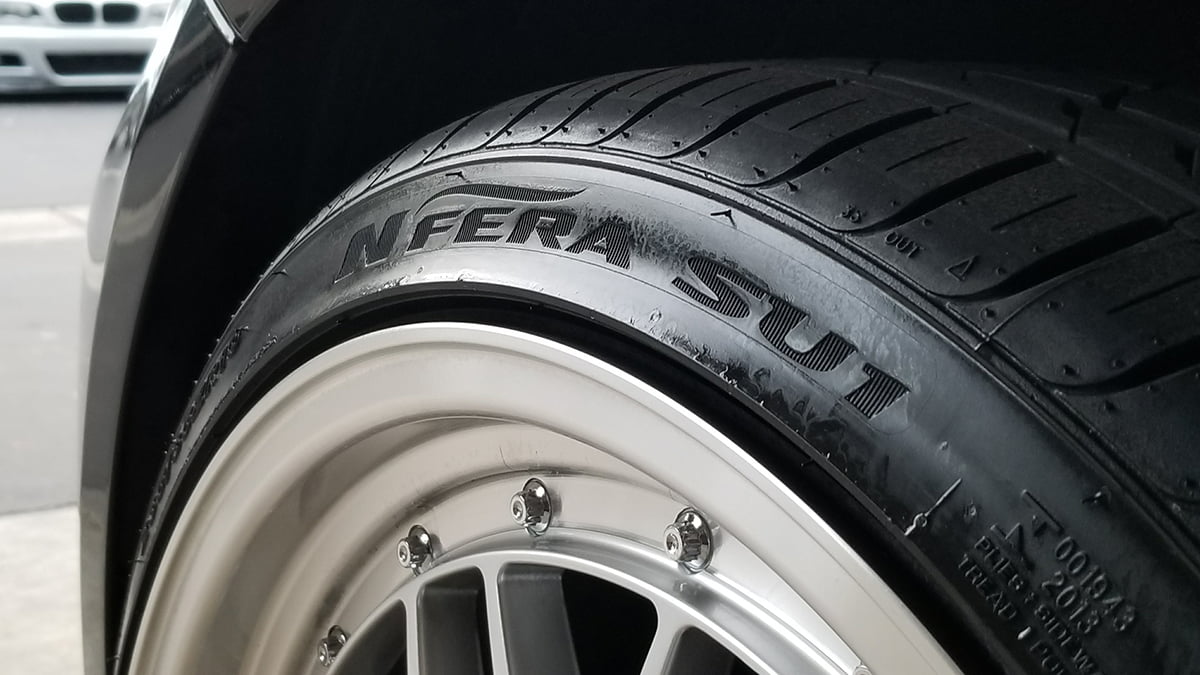
Duplicolor Tire Paint: Permanent Tire Shine
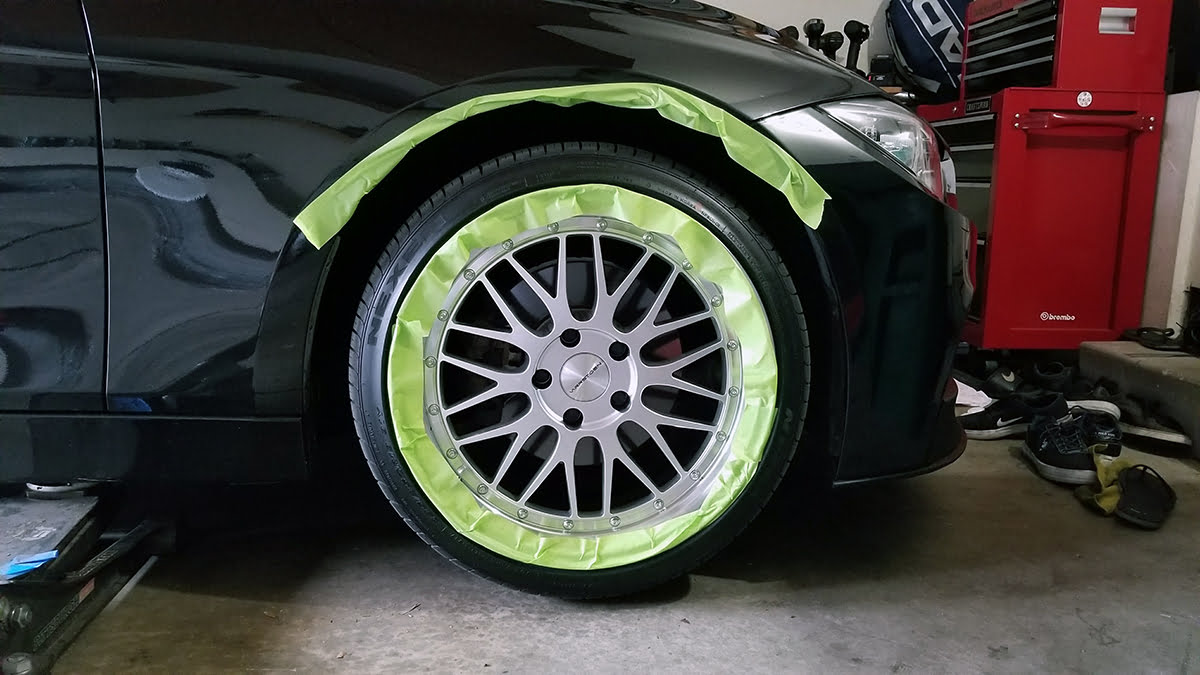
If you're tired of putting tire shine over and over again to maintain that glossy show car look, I have a solution to your problem: Duplicolor Tire Paint! Basically yes, it's spray paint that gives you tire shine. It's not a new invention, but a new application method. All you have to do is prep the surface of your tire, mask off the tire/body, then spray away. See below for a link to purchase on Amazon along with the application procedure.
The first thing you want to do, similar to any other painting process, is to clean and prep the surface of the tire. I used rubbing alcohol and some shop towels to clean it. You can probably use window cleaner also, but spray on the towel instead of the wheel. After it's nice and clean, I masked off my rim with 3M auto tape (green) but I do recommend the blue painter's tape because it's not as sticky. Then for the painting process spray one light later all around the tire. Let it dry 5 minutes and then apply 2-3 more coats of medium to heavy layers. It's that easy!


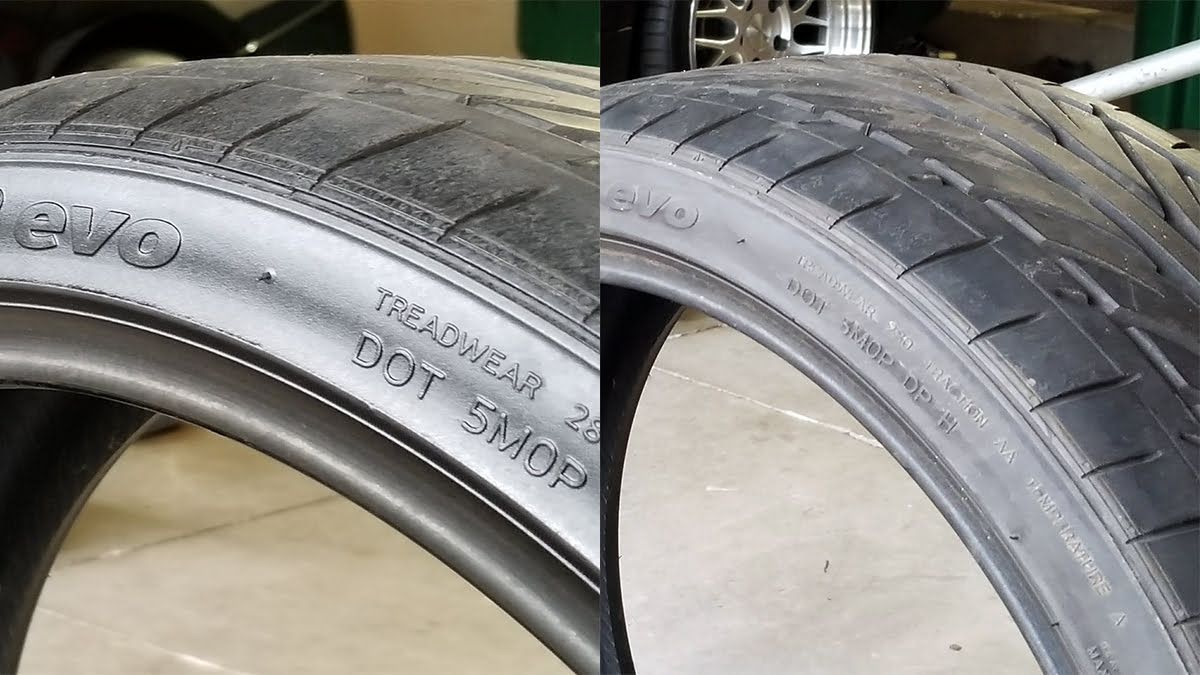
This is just with 1 layer of shine (left); uncoated on the right.
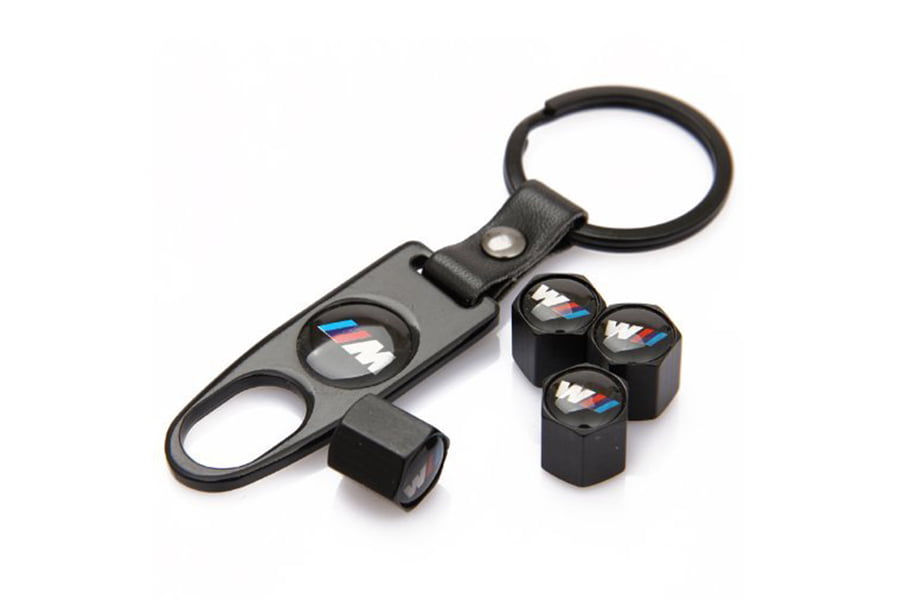
Swag Find: BMW M Keychain and Valve Stem Caps
I don't know about you, but I always convince myself to buy little car accessories or small items as I browse through the internet. I wanted to start a little thing called Swag Find where I'll post things that I think are cool and you guys may also like. I'm not going to post $300 carbon fiber interior trims, but things not so expensive that you might just spontaneously end up purchasing.
Today it's a BMW M keychain and black valve stem caps. I came across this just searching for keychains and while the price at $6.99 is very reasonable for just a keychain, it also includes valve stem caps. Perfect for those that have black valve stems or black wheels. Oh also, for Amazon Prime members it's a free one-day shipping! Check out it out at the link below.
BMW M Keychain and Valve Stem Caps![]() - $6.99
- $6.99

Launch Control Released for B-Spec Tune
I know a lot of you guys have been waiting for the 6MT Launch Control feature on our B-Spec Tune after we posted the teaser video a few weeks back. Well, it's finally here! You can now choose from four different options to set your RPM limiter for stand-still launch.
We have tested our solution extensively and glad to report there are no issues that affect drivability when compared to other Launch Control programs on the market.
So how does Launch Control work?
Once the Launch Control tune is flashed on your vehicle, the LC feature is activated once the wheel speed sensors are at 0 MPH. So basically, whenever your car is immobile, you can clutch in and throttle to the floor to activate the LC. Our LC does not take clutch switch settings into consideration, so if you have modified your clutch switch you can still use our LC. You can choose to set your LC to 4 RPM settings:
- 2,500 RPM (Recommended Launch Setting)
- 2,800 RPM
- 3,100 RPM
- 3,500 RPM (Moving Burnout Mode)
Okay, so what is this Burnout Mode? For those that just want to "dump" the clutch and make the wheels spin while inching forward, you can maximize the LC RPM.
Will it hurt my drivetrain?
If you do it wrong, yes. A lot of people will "dump" the clutch or let go of the clutch pedal instantly and that is also the carried assumption whenever "launch control" is discussed. This technique can be effective, but this needs to be paired with the right suspension/tire setup. Not only that, you'll need a built drive train. For most people, simply dropping the clutch can not only be the slower technique, but the most harmful to your driveshaft especially on the E46 M3 with a weak subframe. It is far better to burn the clutch rather than shock the driveshaft. Instead what we recommend is to feather the clutch release so the 100% press to 0% press takes place in 1-2 seconds.
How do I get the best launch?
If your car hesitates on launch, you can fix one of two things: 1, feather or release the pedal slower or 2, raise the Launch Control RPM. Alternatively, you can try turning off traction control if it activates and also lower the RPM to reduce wheel spin. Note that raising the RPM may wear out your clutch faster. If you start to smell that nasty clutch smell, give your car a break. You just gotta get a good feel of the release technique and practice will only help you get better. If you have M-Track mode, please enable that when launching.
Can I get it?
Because SMGs already have this feature from the factory, the Launch Control add-on is available for 6MT only. If you purchase the B-Spec Tune for your E46 M3, you can add this feature on the order form. Please note by enabling Launch Control, the ability to enable Dyno Mode is restricted.
For all new customers, please order the B-Spec Tune on our page. For all existing customers who would like to update their tune with Launch Control, please email us at info@thebuildjournal.com with your first/last name and your desired Launch Control RPM.
Future Research and Developments?
For those with the older MK20 units, we are testing out a performance recalibration tune for the MK20 DSC unit. This feature should help with Launch Control with MK20 Performance Traction Control and making the MK20 less sensitive with aggressive wheel/suspension setups. We are also working on ignition based rev limiter cutoff to aid with no lift shifting.
Released:
- Launch Control RPM Limiter (6MT only)
- Ability to raised Idle RPM for NVH or E85 (6MT+SMG)
- Ability to select redline rev limiter rpm (8,000-8,200)
In Beta Testing:
- E85 Flex Fuel Kit compatibility with tune
- B-Spec Performance Traction Control for Non M-Track (MK20 Only - Usually 2001-2003)
- Torque Intervention Reduction
- Minimum Torque Intervention
In Research & Development:
- Flat Foot Shifting (6MT+SMG)
- Fuel Based Cutoff
- Ignition Based Cutoff (Allows for Flat Foot Shifting)
- Ignition/ 2 Stage Fuel Cutoff (Default)
[tg_youtube width="1920" height="1080" video_id="UvVgRXUgHVs"]
Buildjournal Tuning Labs products are for off-road use only. Improving the performance of an engine by altering the engine’s computer software may cause excessive “wear and tear” to the engine and could result in damage or even destruction of the vehicle. The user assumes these risks. Buildjournal is not responsible for damage to a vehicle of this kind. Please read our Terms of Service for more information.